How Can We Help?
aNinja Custom Fields
aNinja Custom Fields allow you to add extra information to your lead’s contact. They can be created manually, or dynamically created via API-injected leads.
What is a Custom Field
A custom field is a personalized data field that you can create and define to store specific information in your aNinja account. It allows for customization and flexibility in capturing and organizing data according to unique requirements.
aNinja Custom fields allow you to augment your lead data with additional custom fields of different types.
Moreover, custom fields are searchable within the system and can be used to build smartlists and search for leads and execute a trigger action based on a custom field value changed event.
Types of Custom Fields
- Text – For text input
- e.g. Campaign, category, form name, etc…
- Link – For fields with any link/URL
-
If you designate the type as “Link” here, it will render the URL value as a clickable link in the lead view.
-
- Date – Date in different formats
- Select “Date” or “Datetime” as the type, and indicate the desired date format for displaying the value in the lead view.
- Dropdown – Fields with multiple options dropdown
- Select “Dropdown” as the type, and indicate the desired values for displaying in the lead view. Type one value on each like and hit enter to enter the second value.
- e.g. “Source” with the values “Facebook”, “LinkedIn”, “Twitter”, etc…
Manually adding a custom field
- On the left sidebar, click on Settings
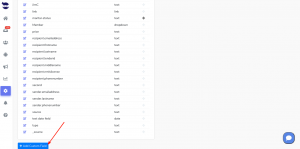
- Go to Custom Fields
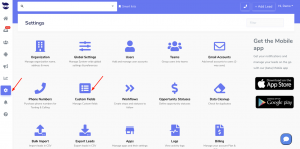
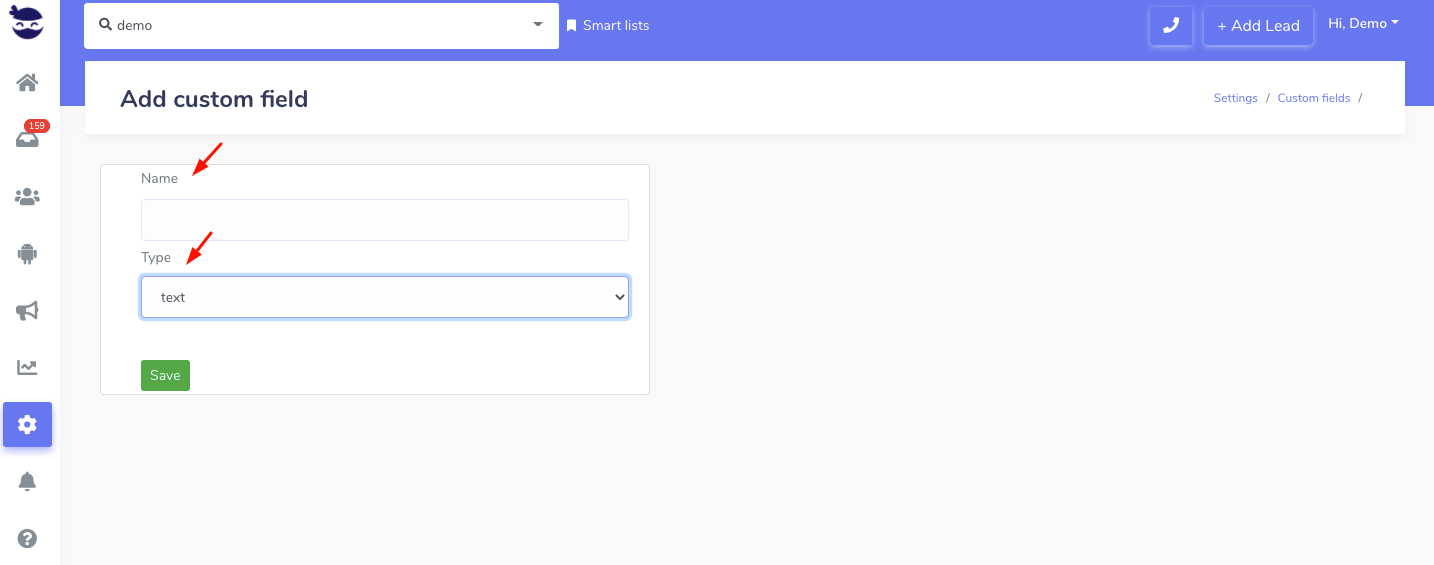
- Here, click on Add Custom Field
- Label the Custom Field,
- And, select the Type as described above (Text, Link, Date, or Dropdown).
- Lastly, hit Save


Editing a Custom Field
- On the left sidebar, click on Settings
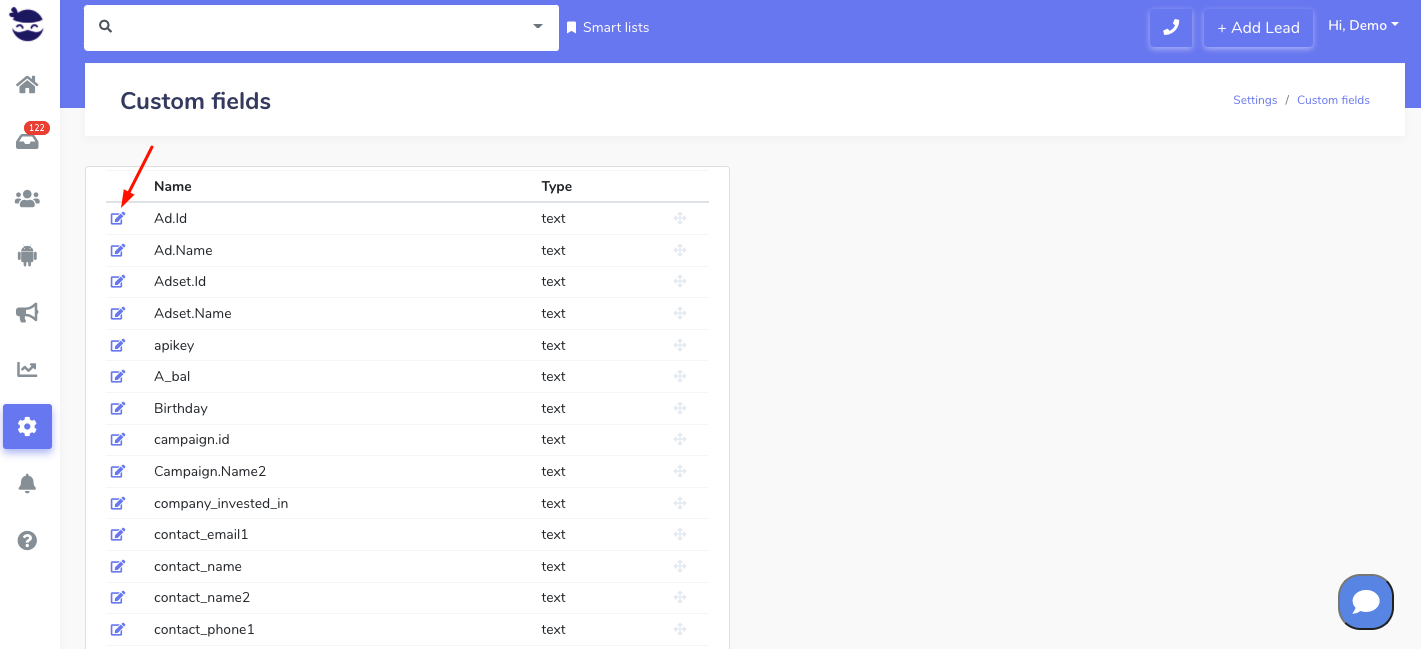
- Go to Custom Fields
- Click the edit pen next to the field name

- Make the changes and hit Save
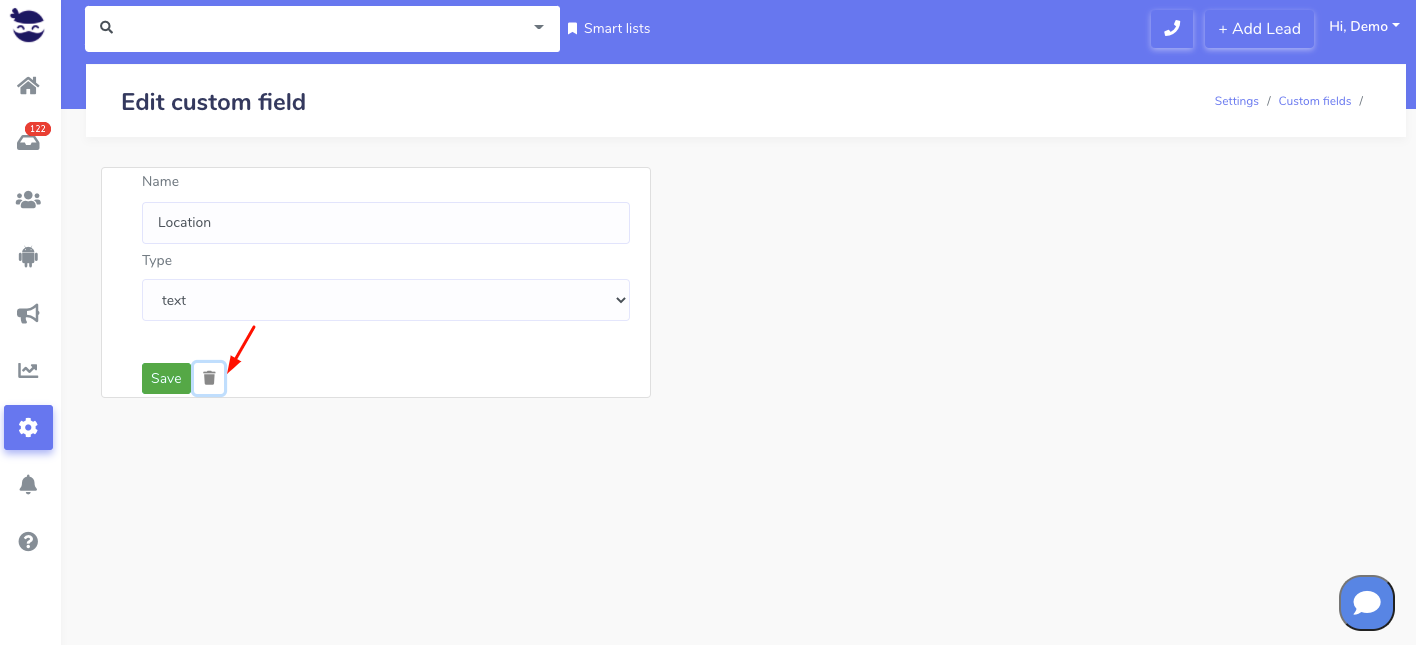
Deleting a Custom Field
- On the left sidebar, click on Settings
- Go to Custom Fields
- Click the edit pen next to the field name
- Click the recycle bin icon
- And hit OK to delete.
Adding a custom field to the contacts file / CSV file
When you’re preparing the contacts file, and before you import it to your aNinja account; save any additional information that you have on the leads as custom fields. Like “created date”, “source”, “platform”… Then map them to the aNinja custom fields.
Name the header and prefix it with “Custom.” e.g. Custom.Platform.
Using Custom fields in Triggers
You can use the Custom field value changed as a Trigger event to execute a trigger action.
Related articles:
Segmenting leads using Custom fields
Searching for leads using custom fields
Trigger Custom Field value changed event