How Can We Help?
Email parsing using Zapier
In this article, we show you how to automatically copy data from your emails and inject it into your aNinja account. This is called Email parsing.
And we’re going to expose this through Zapier.
*Requires Zapier Premium account.
Email Parsing
Email parsing is extracting data from an email using an email parser like Zapier Email Parser. Then connecting the email parser to a Zap to inject that data into your aNinja account.
As long as the emails are all laid out generally the same way, the email parser should be able to detect the data and copy it for you.
Parsing Emails
To parse an email, follow the below instructions:
1- Make a new Email Parser mailbox
- Go to parser.zapier.com
- Sign in with your Zapier account or make a new account.
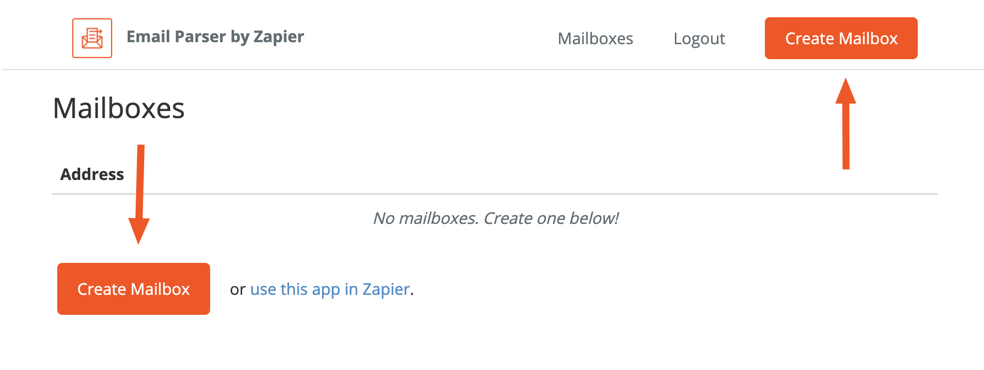
- Then, click either of the Create Mailbox buttons to add a new mailbox.

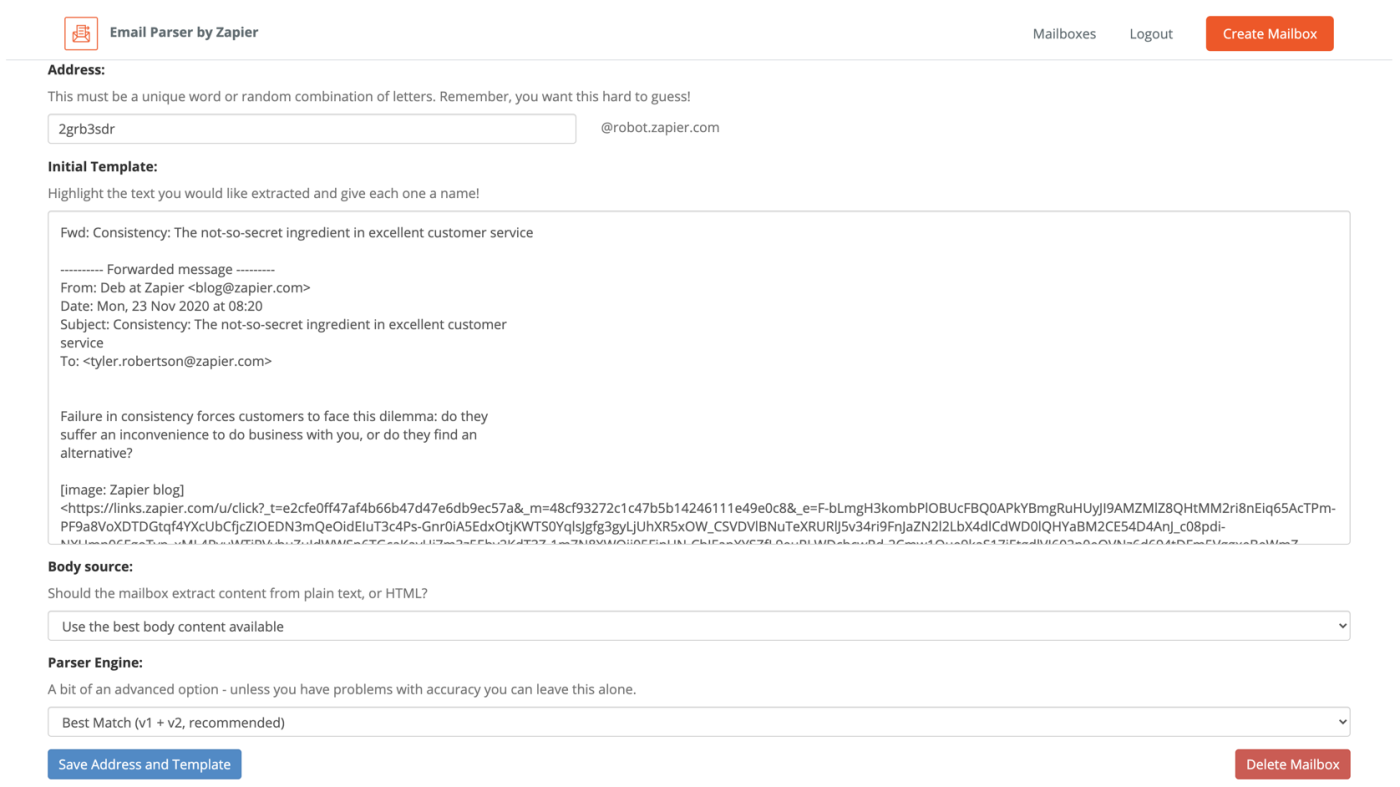
- Email Parser will then show you an email address like 2grb3sdr@robot.zapier.com.

- Copy that address and keep it handy, because that’s where you’ll need to send emails to be parsed later on.
2- Send an email to the parser
- Open your email app, and find an email like the ones you want to extract data from.
- Forward this email to the email address you copied earlier (e.g. 2grb3sdr@robot.zapier.com)
- And click Send.
3- Teach the parser how to read your email
Once Zapier Email Parser receives your email, it shows a text version of your email in the Initial Template box.

All you need to do is indicate to the parser the data that you want to copy.
- Select the text or field that you want the Email Parser to copy.
-
For each field you select, type a name for that field in the box, and click Save.
-
The Email Parser will replace the text with the name in curly brackets, like
{{headline1}}.
-
Repeat that for each field you want the email parser to copy and give each item a unique name.
-
Once that’s done, click the blue Save Address and Template button at the bottom, and your email parser is ready to work.
Want to make Email Parser more reliable?
- Forward another similar email to the same address.
- Then click View Emails beside your parser’s name in Zapier Email Parser’s Mailboxes list, to see all of the emails the mailbox has received.

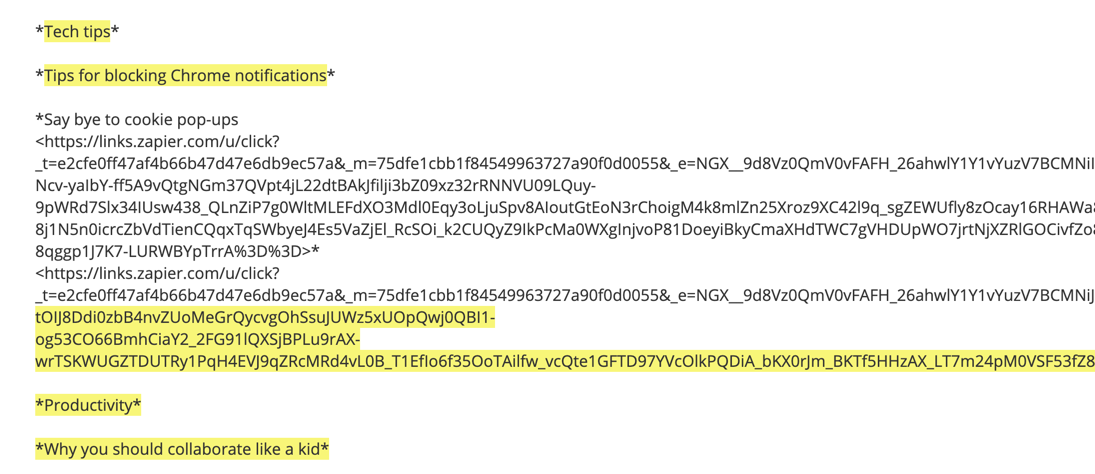
- Click Show on one of the items to see the text of the email, with the text Email Parser selected in yellow.

- If anything looks incorrect, click the Edit extra template link near the bottom.
- Select the same text you originally wanted to copy from your emails.
- Give it the same names, then save the new template.
- You can repeat that multiple times to make your parser more reliable.
4- Automatically forward emails to the parser
The Email Parser you made is now ready to copy text from other similar emails. We need to send every new email that contains the data you want, to the email parser.
- Set a filter in your email app to automatically forward messages that match the one you sent to Email Parser.
- Typically, your notification emails will all have something in common; they come from the same sender and often have the same subject.
We’re going to show you how to set a filter in Gmail. If you use another email service, check your documentation to see if your app or service can automatically forward email messages.
To watch for those emails in Gmail, you’ll first need to add your email parser address to Gmail to automatically forward emails. Here’s how:
-
-
Open your Gmail Forwarding settings, Settings > Forwarding tab.
-
Click Add a forwarding address.
-
Enter your Email Parser e.g. 2grb3sdr@robot.zapier.com email in the text box and click next.
-
Check your email. Zapier should send you a confirmation email from Gmail. If you don’t see it, check the Email Parser app’s mailbox, it should have the email. Either way, copy the confirmation code, then paste it into the box back into your Gmail Forwarding settings.
-
Now you can have Gmail automatically forward emails to your email parser. First search for the email address and/or subject of the messages you’ll have the email parser process.
-
Click the tiny down arrow on the right of the search bar to see the full Advanced Search options.
-
Then click the Create filter button or link in the lower right corner. Have that filter forward the email to the email parser address you just added and you should be all set.
-
Every time you receive the email messages you want to parse, Gmail will send it along to the Email Parser.
-
5- Put your parsed email data to work
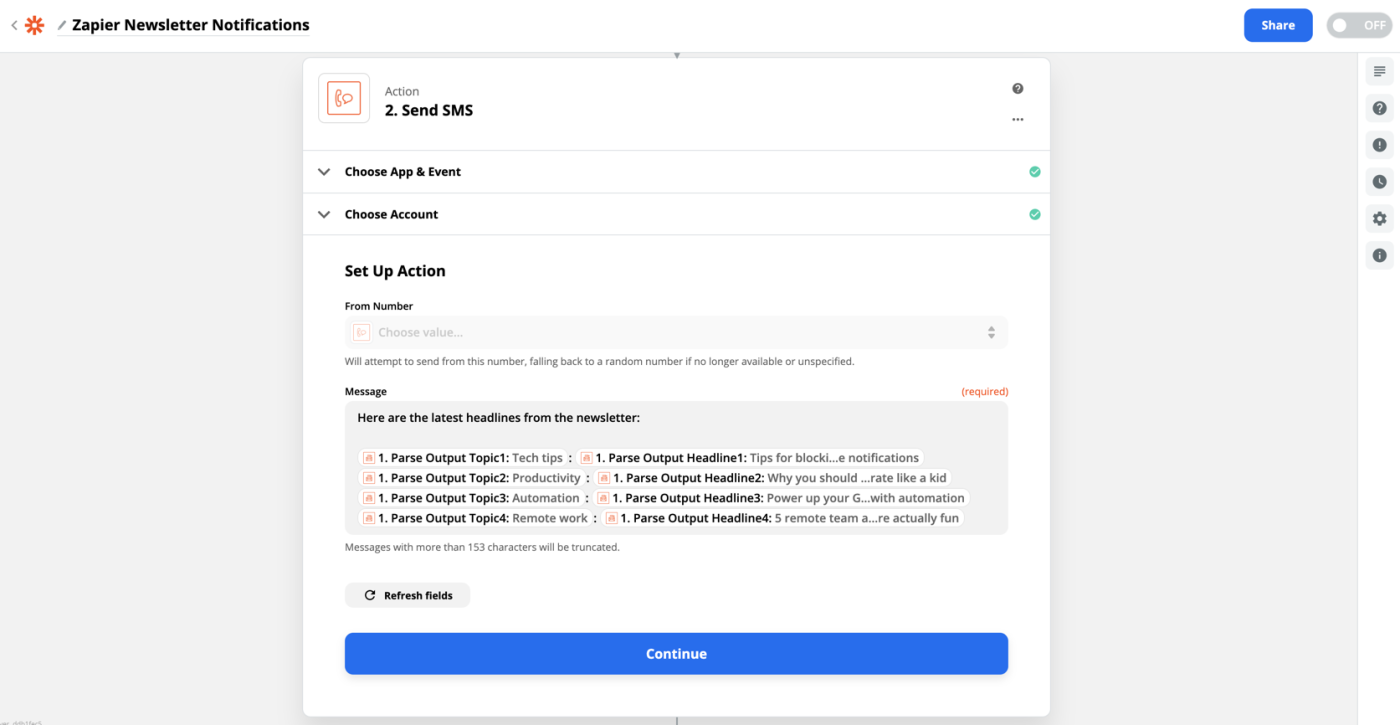
Now, you need to connect your Email Parser to Zapier’s app automations, which lets you send data from your emails to your aNinja account.
Follow instructions here to create a Zap and connect your Email Parser with aNinja:
https://help.aninja.com/knowledge-base/zapier-aninja-integration/
- The Email Parser is the trigger event.
- aNinja is the Trigger Action.
