How Can We Help?
Godaddy API Form integration
With the simple Javascript code, you can forward your web form leads into your aNinja account. In this article, we show you how the Godaddy API Form integration can be done.
Godaddy API Form integration
The following example is specific to GodDaddy websites.
- First, log in to your GoDaddy account
- Then, go to the Product page.
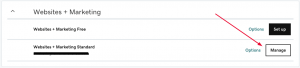
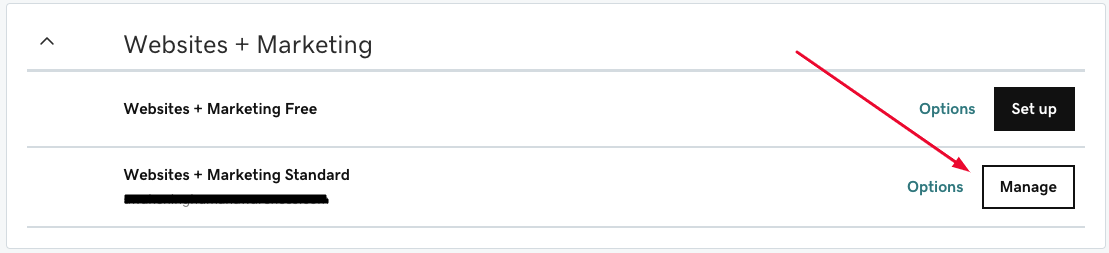
- Scroll down to Websites + Marketing
- And, select Manage next to your website to open your site.
- Select Edit Website or Edit Site to open your website builder.
- Then, select the form page.
- Here, you want to search for the HTML section and select Add.
- Click Embed custom code on the page.
- Click inside the new section to open up the HTML editor.
- Here, in the “Custom Code” box, paste the Javascript code in the following example.
- You want to replace the fields names used in the example with your form fields names.
- Also, check the fields mapping table section to map your form fields to aNinja’s.
Example:
<script src = “https://ajax.googleapis.com/ajax/libs/jquery/3.2.1/jquery.min.js”></script>
<script>
$(document).ready(function () {
window.parent.submitted = false;
$(window.parent.document).on(‘submit’, ‘[data-aid=”CONTACT_FORM_CONTAINER_REND“] form’, function (e) {
// Avoid mutliple submissions during 5 seconds period to avoid duplicates
if (window.parent.submitted) {
return;
}
window.parent.submitted = true;
setTimeout(() => {
window.parent.submitted = false;
}, ‘5000’);
let contact_name = ”;
if ($(‘input[data-aid=”CONTACT_FORM_NAME“]’, window.parent.document)) {
contact_name = $(‘input[data-aid=”CONTACT_FORM_NAME“]’, window.parent.document).val();
}
let contact_email1 = ”;
if ($(‘input[data-aid=”CONTACT_FORM_EMAIL“]’, window.parent.document)) {
contact_email1 = $(‘input[data-aid=”CONTACT_FORM_EMAIL“]’, window.parent.document).val();
}
let contact_phone1 = ”;
if ($(‘input[data-aid=”CONTACT_FORM_PHONE“]’, window.parent.document)) {
contact_phone1 = $(‘input[data-aid=”CONTACT_FORM_PHONE“]’, window.parent.document).val();
}
let address_street1 = ”;
if ($(‘input[data-aid=”Address (Street, City, Zip Code)”]’, window.parent.document)) {
address_street1 = $(‘input[data-aid=”Address (Street, City, Zip Code)”]’, window.parent.document).val();
}
let custom_message = ”;
if ($(‘textarea[data-aid=”CONTACT_FORM_MESSAGE“]’, window.parent.document)) {
custom_message = $(‘textarea[data-aid=”CONTACT_FORM_MESSAGE“]’, window.parent.document).val();
}
// Ajax call
$.ajax({
type: ‘POST’,
url: “https://aninja.com/api/v1/contactform/?apikey=<YOUR_APIKEY>“,
data: $.param({contact_name : contact_name}) + “&”+ $.param({contact_email1 : contact_email1}) + “&”+ $.param({contact_phone1 : contact_phone1}) + “&”+ $.param({address_street1 : address_street1})+ “&”+ $.param({custom_message : custom_message}),
success: function (data) {
alert(‘success’);
}
});
});
});
</script>
Fields mapping Table
The following are standard fields you can map to, in addition to any custom fields created in your application that you can see under Settings > Custom fields.

For the Custom fields:

Where does the imported data appear
After the integration, you can search your aNinja CRM for the imported leads. You can also search for any custom field, opportunities, and any other info that you have imported.
- Lead’s contacts appear in the leads contact section in the lead view
- Opportunities also appear in the opportunity section in the lead view
- The company’s info appears on the top left of the lead view, in the Company section.
- Custom fields appear in the custom field section of the lead view
- Lead Search is a field that also appears in the bottom left of the lead view. Specifically, these are info/links on the lead or the organization found in Google search.
Need help with Godaddy API Form integration? Leave us an email at support@aninja.com. And we will happily assist you.