How Can We Help?
Google Forms aNinja Webhook integration
With Google Forms Webhook integration, you can push forms responses to your aNinja account as soon as someone submits a new Google Form.
The newest version of Email Notifications add-on supports webhooks and in addition to making HTTP requests to the webhook callback URL.
The add-on can also include the user’s response and the form data in the payload body of the HTTP request.

Enabling Webhooks in Google Forms
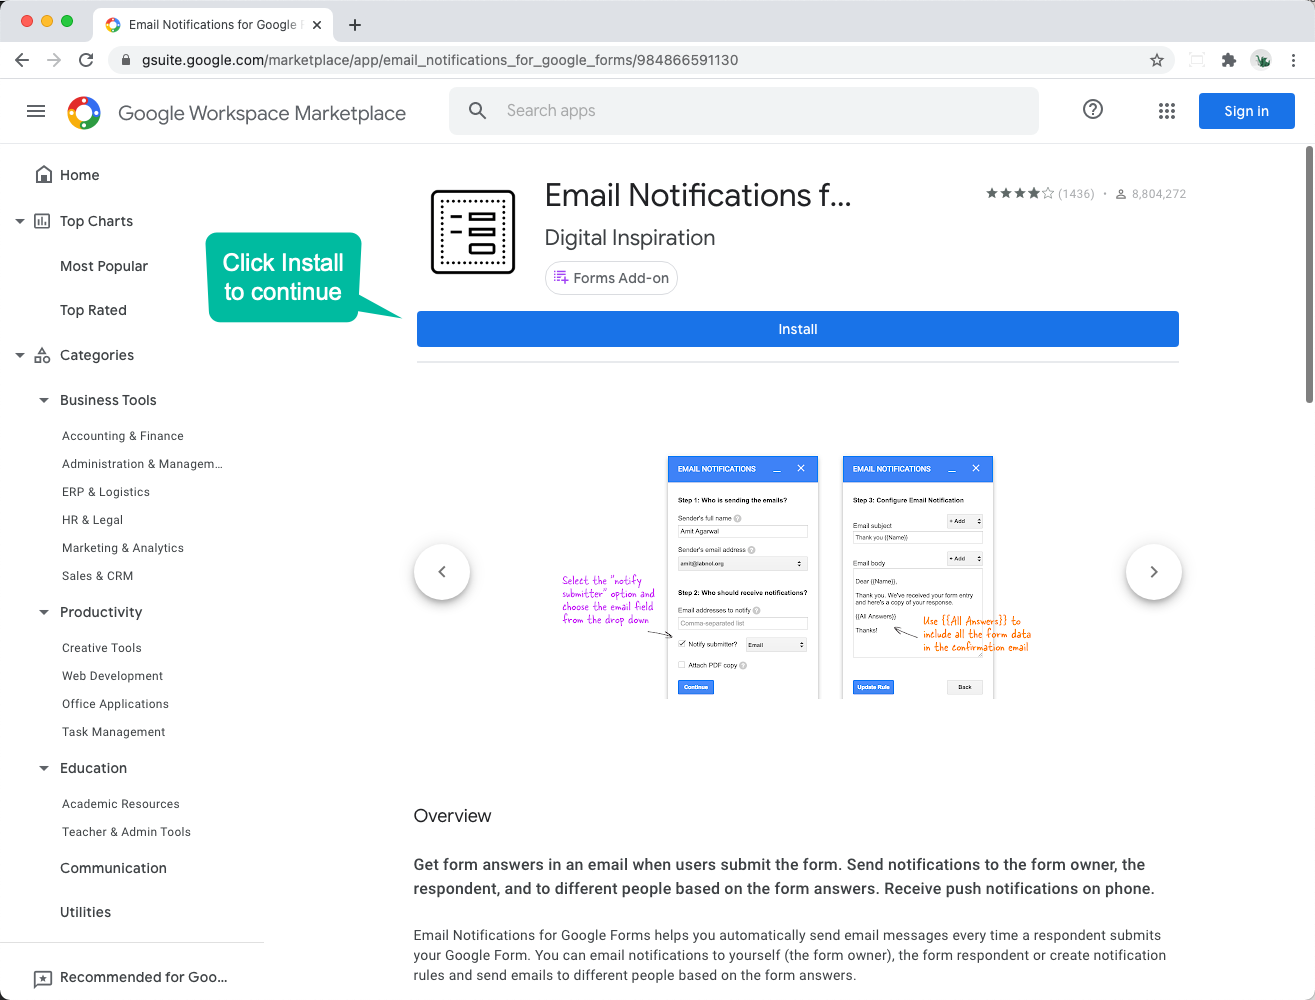
- To get started, install the Google Forms add-on from the Google marketplace.
- The add-on is titled ‘Email Notifications’ but it also includes support for sending instant push notifications to any webhook URL.
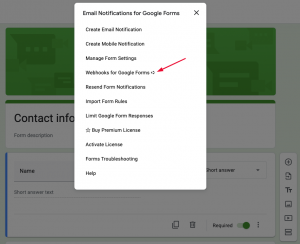
- Next, launch the add-on and choose Webhooks for Google Forms from the menu.
- Lastly, click the
Create Webhookbutton to integrate a new webhook with your Google Forms.- You can have multiple webhooks associated with the same Google Form and it would send the forms data to all webhook URLs when a new form submission is received.
1- Install Google Forms add-on
Email Notifications for Google Forms add-on is available for both Gmail and Google Workspace accounts.
- To install the Google Forms add-on, open Google Marketplace
- And click the blue
Installbutton to add the app in your Google Account.

- On the next screen that says “Email Notifications needs your permission in order to start installing”, click the
Continuebutton. - Choose the account under which you wish to install and authorize the Forms add-on.
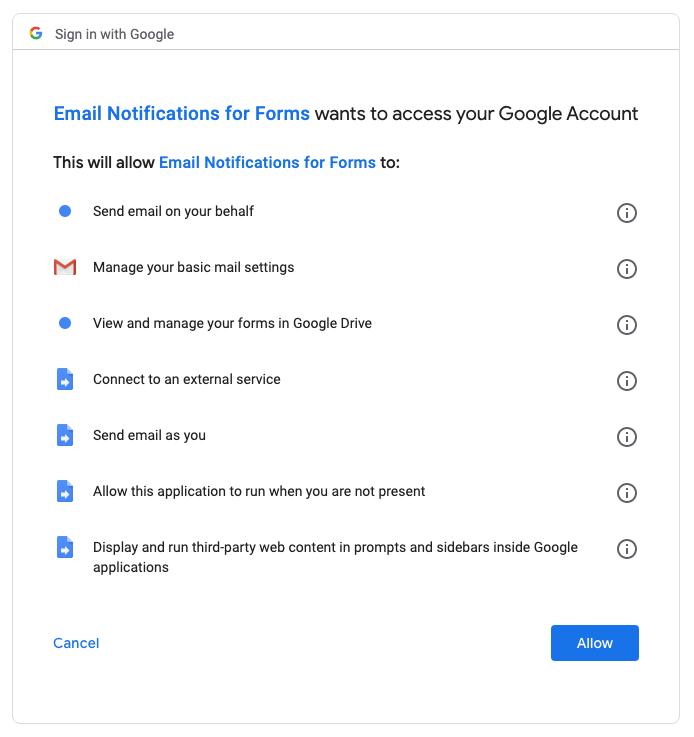
- The add-on will now request permissions to access your Google account.
- Click the
Allowbutton to grant the necessary access and launch the add-on.
- Click the

2- Launch the Email Notifications Add-on for Google Forms
After you have installed the Google Forms add-on, it can be accessed and launched from any Google Form that is associated with your Google account.
- Go to
forms.google.com - And open any existing Google Form in your Drive.
- Or you can type
forms.newin your browser’s address bar to create a new form where you wish to use the email add-on. - Inside the Form editor, click the
Add-onsicon that resembles a puzzle piece as shown in the screenshot.

- Next, choose
Email Notifications for Google Formsfrom the list of available add-ons.- If you are running the add-on for the first time inside a Google Form, you may also have to choose
Enable Notificationsto activate the add-on form for that Google Form.
- If you are running the add-on for the first time inside a Google Form, you may also have to choose
3- Create Webhook for Google Forms
- Inside the
Email Notifications for Google Forms, chooseWebhook for Google Forms
- Then click on
Create webhook
Add the Webhook URL and Query Parameters
- On the first screen, provide a unique name for your webhook (used internally) and choose an HTTP Request method.
- You are more likely to do a POST request but the webhook module also supports GET, PUT, PATCH and DELETE methods.
- Here, you need to get your aNinja API key
- Next, provide the below webhook URL to integrate aNinja with Google Forms:
https://leads.aninja.com/handlers/googleforms/index.php
- For testing purposes, we recommend using either the webhook.site or requestbin.com service to get a unique URL for inspecting and testing your webhooks.

- The Query Parameter section lets you append custom parameters to the webhook URL.
- For instance, if you are sending webhook from multiple forms, you can append the
{{Form Id}}parameter to your URL to easily distinguish the source of a particular webhook call. - You may use any dyanmic field for query parameters:
- Dynamic fields are always enclosed in double curly braces – like
{{Your first name}}– and are automatically replaced with the actual answers that the user submits in the form.
- Dynamic fields are always enclosed in double curly braces – like
Authorization and Authentication
You can configure your webhook to include a secret bearer token or access token to authorize the calls.
You can do basic authentication with login and password or include the API keys with the authentication headers.
Custom Headers
You may also include custom headers in your webhook endpoint(s).
The keys of the header can be either strings or numbers and may not include spaces or other invalid characters.
Request Body
The request body defines the payload (form response and custom data) that is sent to the web service when a form entry is received.
You may send payload in different formats including JSON, Form data, XML and more.

- The payload may have form meta data (like the form ID, response Id, response Edit URL) and user’s answers.
- Each question should be added as a new key, value pair in the request body with the answer title enclosed in double curly braces.
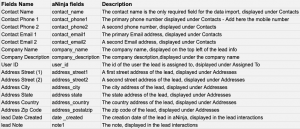
- Map the form fields to aNinja fields:
- After you are done defining your webhook, click the Test button and the add-on will send make an HTTP request to the callback URL using form data from the most recently received response of your Google Form.
- Click Save to enable the webhook.
Manage Webhooks
The webhook manager lists all the webhooks that are enabled for your current Google Form.
You can click:
- The
Editicon to change a specific webhook, - The
Duplicatebutton will help you create a copy of the current webhook - And the
Deleteoption removes the webhook from your form.


