How Can We Help?
Marking a lead as “Do Not Contact”
When you don’t intend to message a certain lead, you can mark them as “Do Not Contact”.
Moreover, through triggers, you can stop emails or texts sequences for this lead separately.
Marking a lead’s contact as “do not contact”
To mark a lead as “do not contact”,
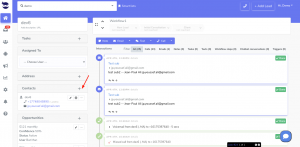
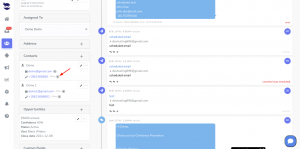
- Push the Stop next to a contact item to activate the “do not contact”.
- e.g. If you want to stop sending texts to a certain lead, just click on the stop button next to the phone number(s).
- If you want to stop sending emails and texts to a certain lead, click on the stop button next to all contact items (emails and phone numbers).
- Once the “do not contact” button turns red, all automatic messages (emails or texts based on your selection) will be automatically blocked for this lead.
- You can still however manually contact the lead through email from the lead view.
- If you’re replying to a lead’s text after being marked as do not contact, it will show you “no contact” in the phone number section.
- Regarding the leads that were added to the “do not contact” list; they do get included in the bulk sequences but their texts get blocked by aNinja so it doesn’t get actually sent.
You can check them by clicking on the blocked leads count in ‘Bulk Sequences’ widget. - “Adding a lead’s contact to the “do not contact” list”, can be automatically executed through Triggers, based on an event that verifies the trigger’s condition.
- You can manage the contacts saved in the “Do Not Contact List” in Settings > Do Not Contact Lists (view, remove from the do not contact list, and export as CSV).

