How Can We Help?
Schedule your email
In this article, we show you how you can schedule your email to delay the delivery to send it at a later time and date.
To reach out to your lead, you can send them an email via aNinja.
Create an email, but don’t send it. Choose the time you want to send the email.
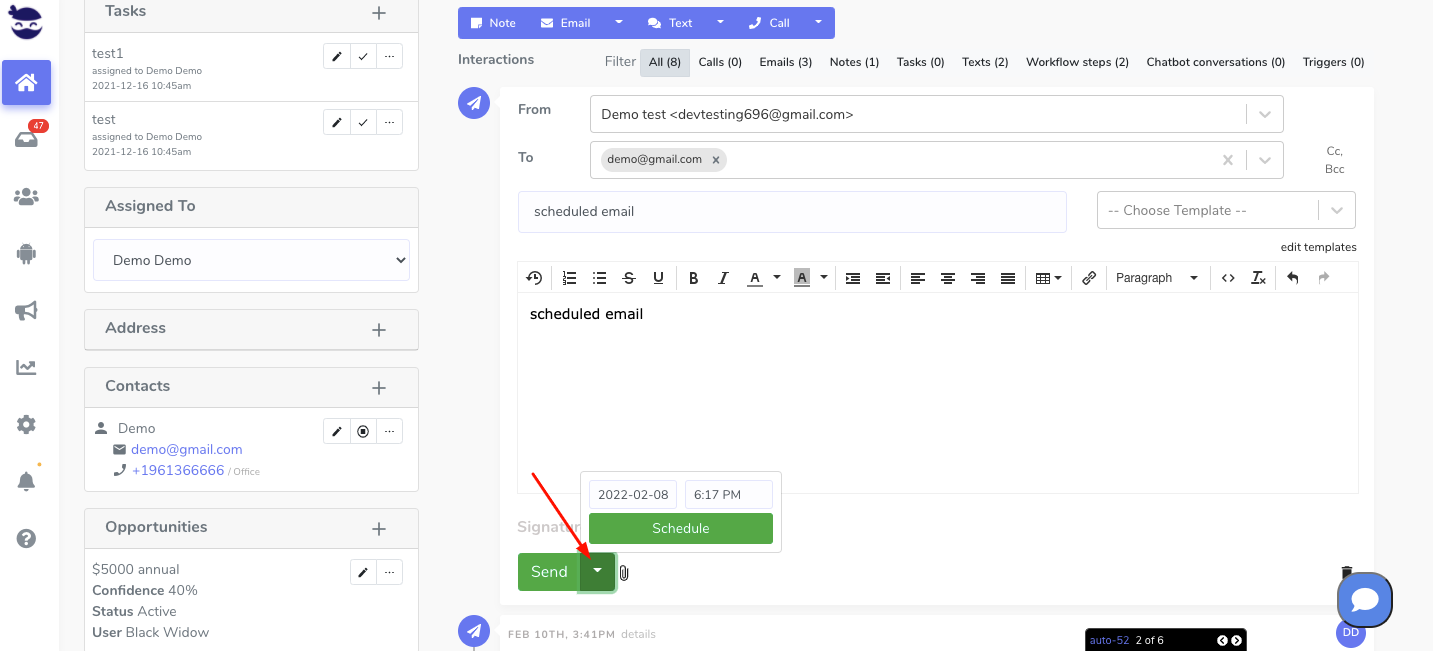
Scheduling an email to be sent later
- On the lead view, click on the Email from the toolbar.
- Compose the email you want to send.
- Your email is auto-saved every few seconds so you don’t lose your work.
- Next to the Send button, click the arrow to choose the date & time.

- Then, hit Schedule > Send.
- Therefore, on the set date & time, the system sends your email to your lead.

Rescheduling an email
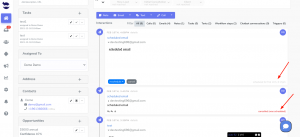
- On the lead view, locate the email in the history section and click Reschedule.
- Then, choose the new date & time and hit Schedule.

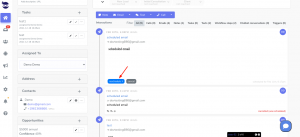
Cancelling a scheduled email
- On the lead view, locate the email in the history section and click on Cancel.
- As a result, your email will be cancelled.
-
You can cancel the scheduled emails only from the web app but we don’t have it on the mobile app yet.

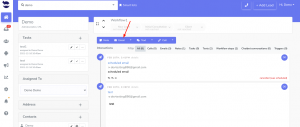
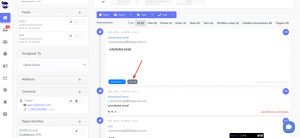
Checking the status of the scheduled email
You can see the scheduled emails only on the date they’ve been created. They don’t get rendered again when sent.
So, to check them, go to the lead view. In the history of interactions, go to the date when the scheduled email was created.
The status of the email is on the right bottom of the email.
- Scheduled for day & time: The email is still not sent until the day & time are due.
- Success: On the set date, the system sent the email successfully.
- Cancelled (was scheduled): This is an email that you cancelled.