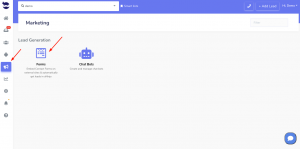
Adding aNinja Form to Squarespace Website

After creating your form in aNinja, adding it to your Squarespace Website becomes easy with the use of the aNinja Form Embed Code.

Find your aNinja Form Embed Code in your aNinja install before getting started.

Adding aNinja Form to Squarespace Website

You can do this yourself or give this code to your developer.

  • In the “Home Menu“, click “Pages
  • Locate the contact us page on the top toolbar.
  • Scroll down to the section where you want to add the contact form and click Edit
  • Then hit the + sign
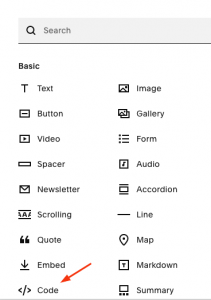
  • And choose Code

  • Replace “hello world” by your Form Embed code.
  • You might not be able to see the form in the edit mode – it says “Script disabled”.
  • Just go to your website to see and test the form.

Where does the imported data appear

After the integration, you can search your aNinja CRM for the imported leads. You can also search for any custom field, opportunities, and any other info that you have imported.

  • Lead contacts appear in the leads contact section in the lead view
  • Opportunities also appear in the opportunity section in the lead view
  • The company’s info appears on the top left of the lead view, in the Company section.
  • Custom fields appear in the custom field section of the lead view.
  • Lead Search is a field that also appears in the bottom left of the lead view. Specifically, these are info/links on the lead or the organization found in Google search.

Send us your request to support@aninja.com and we will happily assist.

Godaddy API Form integration

With the simple Javascript code, you can forward your web form leads into your aNinja account. In this article, we show you how the Godaddy API Form integration can be done.

Godaddy API Form integration

The following example is specific to GodDaddy websites.

  • First, log in to your GoDaddy account
  • Then, go to the Product page.
  • Scroll down to Websites + Marketing
  • And, select Manage next to your website to open your site.
  • Select Edit Website or Edit Site to open your website builder.
  • Then, select the form page.
  • Here, you want to search for the HTML section and select Add.
  • Click Embed custom code on the page.

User-added image

  • Click inside the new section to open up the HTML editor.

User-added image

  • Here, in the “Custom Code” box, paste the Javascript code in the following example.
    • You want to replace the fields names used in the example with your form fields names.
    • Also, check the fields mapping table section to map your form fields to aNinja’s.

Example:

<script src = “https://ajax.googleapis.com/ajax/libs/jquery/3.2.1/jquery.min.js”></script>
<script>
$(document).ready(function () {

window.parent.submitted = false;
$(window.parent.document).on(‘submit’, ‘[data-aid=”CONTACT_FORM_CONTAINER_REND“] form’, function (e) {
// Avoid mutliple submissions during 5 seconds period to avoid duplicates
if (window.parent.submitted) {
return;
}
window.parent.submitted = true;
setTimeout(() => {
window.parent.submitted = false;
}, ‘5000’);

let contact_name = ”;
if ($(‘input[data-aid=”CONTACT_FORM_NAME“]’, window.parent.document)) {
contact_name = $(‘input[data-aid=”CONTACT_FORM_NAME“]’, window.parent.document).val();
}
let contact_email1 = ”;
if ($(‘input[data-aid=”CONTACT_FORM_EMAIL“]’, window.parent.document)) {
contact_email1 = $(‘input[data-aid=”CONTACT_FORM_EMAIL“]’, window.parent.document).val();
}
let contact_phone1 = ”;
if ($(‘input[data-aid=”CONTACT_FORM_PHONE“]’, window.parent.document)) {
contact_phone1 = $(‘input[data-aid=”CONTACT_FORM_PHONE“]’, window.parent.document).val();
}
let address_street1 = ”;
if ($(‘input[data-aid=”Address (Street, City, Zip Code)”]’, window.parent.document)) {
address_street1 = $(‘input[data-aid=”Address (Street, City, Zip Code)”]’, window.parent.document).val();
}
let custom_message = ”;
if ($(‘textarea[data-aid=”CONTACT_FORM_MESSAGE“]’, window.parent.document)) {
custom_message = $(‘textarea[data-aid=”CONTACT_FORM_MESSAGE“]’, window.parent.document).val();
}

// Ajax call
$.ajax({
type: ‘POST’,
url: “https://aninja.com/api/v1/contactform/?apikey=<YOUR_APIKEY>“,
data: $.param({contact_name : contact_name}) + “&”+ $.param({contact_email1 : contact_email1}) + “&”+ $.param({contact_phone1 : contact_phone1}) + “&”+ $.param({address_street1 : address_street1})+ “&”+ $.param({custom_message : custom_message}),
success: function (data) {
alert(‘success’);
}
});
});
});
</script>

Fields mapping Table

The following are standard fields you can map to, in addition to any custom fields created in your application that you can see under Settings > Custom fields.
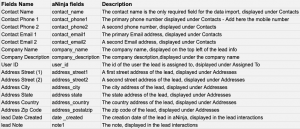
For the Custom fields:

Where does the imported data appear

After the integration, you can search your aNinja CRM for the imported leads. You can also search for any custom field, opportunities, and any other info that you have imported.

  • Lead’s contacts appear in the leads contact section in the lead view
  • Opportunities also appear in the opportunity section in the lead view
  • The company’s info appears on the top left of the lead view, in the Company section.
  • Custom fields appear in the custom field section of the lead view
  • Lead Search is a field that also appears in the bottom left of the lead view. Specifically, these are info/links on the lead or the organization found in Google search.

Need help with Godaddy API Form integration? Leave us an email at support@aninja.com. And we will happily assist you.
imatrix aNinja Form Integration

aNinja allows you to integrate your imatrix Website Forms into your aNinja account. In this article, we show you how the imatrix aNinja Form Integration can be done using a simple Javascript code.

imatrix aNinja Form Integration

You can integrate and augment the functionality of popular platforms with aNinja.

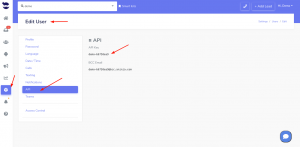
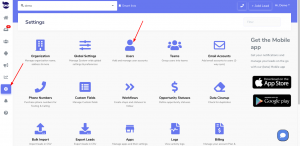
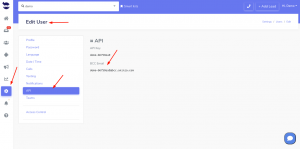
  • First, you need to find your API key
    • On the left sidebar, click on Settings > Users
    • Then, click the edit pen next to your name.
    • And, copy it to use it later in the integration
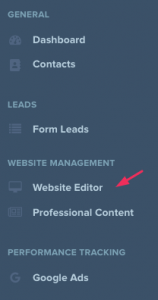
  • Now, login to your imatrix website editor
  • On the left side menu, click on Website Editor
  • Then, click on Edit Website in the middle of the page.
  • Type your email and password to login
  • On the left side menu, click on Pages 

  • Next to the form, on the right side, click on the little Settings gear
  • Scroll down to the Custom Info section
  • And insert your Javascript code under “Specify Custom Header”

imatrix aNinja Form Integration

  • Map the form fields to aNinja fields
  • Save and Publish
  • Go to your website, refresh and test submitting a form.
  • Then, check your aNinja account for the new lead automatically generated after the form submission.
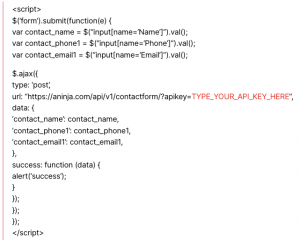
You can use the below Javascript code

Where does the imported data appear

After the integration, you can search your aNinja CRM for the imported leads. You can also search for any custom field, opportunities, and any other info that you have imported.

  • Lead contacts appear in the leads contact section in the lead view
  • Opportunities also appear in the opportunity section in the lead view
  • The company’s info appears on the top left of the lead view, in the Company section.
  • Custom fields appear in the custom field section of the lead view.
  • Lead Search is a field that also appears in the bottom left of the lead view. Specifically, these are info/links on the lead or the organization found in Google search.

Need help with imatrix aNinja Form Integration? Leave us an email at support@aninja.com. And we will happily assist you.

Getting started tips

In this article, we bring you tips that will help you getting started with aNinja quickly and efficiently.

Getting started tips

We recommend you follow this sequence of steps to make your use of aNinja easier and more efficient. Click on the links for the detailed articles.

We also recommend you check the aNinja Onboarding article to get an overview of the aNinja features.

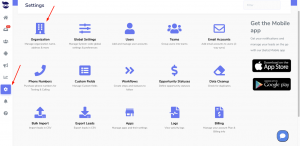
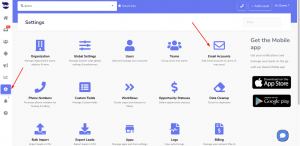
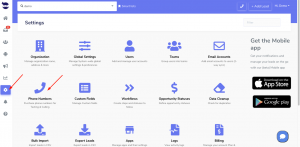
Connect your email and phone number
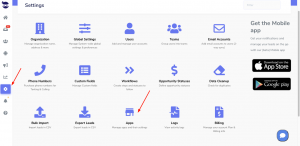
Additional Apps
  • If you want to use Zendesk for your ticketing
    • On the left sidebar, click on Settings > Apps
    • Install Zendesk in your aNinja account
  • If you want to use Calendly as your Calendar
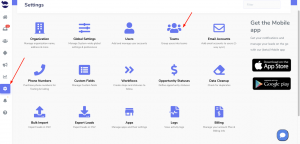
Add and manage Users & Teams
aNinja Keys
Settings
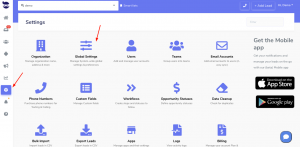
  • Set your rules in Global settings
    • On the left sidebar, click on Settings > Global Settings.
    • Choose what works better for you from these settings
    • Here, you can directly enable SendGrid which allows you to send a large number of email sequences with no limitations.
Leads
Create your automations
  • Create Templates (email / text / note templates)
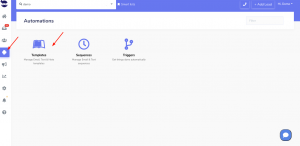
    • On the left sidebar, click on Automation > Templates
    • Templates are samples of emails and texts that you send to leads without re-typing the content every time.
  • Create Sequences
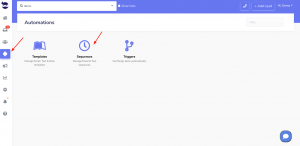
    • On the left sidebar, click on Automation > Sequences
    • Now that you’ve created your templates, you can use them to launch email sequences and text sequences to your leads. So Sequences allow you to use the email and text templates you’ve created, and send them to leads, in sequence, in a different interval of time.
  • Create Triggers
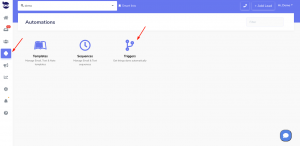
    • On the left sidebar, click on Automation > Triggers
    • After you’ve created the templates and sequences, you can set your triggers. Triggers are email and text templates delegated to be sent to the leads based on an event or condition.
  • Add an unsubscribe link to your outbounds for security.
  • Create a transactional email
Manage your Marketing Features

Search for more help articles in the aNinja Knowledge base

Have any specific questions about the getting started tips? Leave us an email at support@aninja.com. Our support team is more than happy to assist you!

Integrating Contact Form 7 with aNinja

In this article, we show you how integrating Contact Form 7 with aNinja can be easily done.

Integrating Contact Form 7 with aNinja

  • Go to Plugins
  • Install and then activate the following plugin “Forms: 3rd-Party Integration
    https://wordpress.org/plugins/forms-3rdparty-integration/
  • Under Contact go to 3rd party Services. And click on Add Another Service
  • Here, we need to get your aNinja API Key
  • Under Submission URL field put:
    • https://aninja.com/api/v1/contactform/?apikey=YOUR_API_KEY
      • Example: https://aninja.com/api/v1/contactform/?apikey=sample123-6yauyue5e
  • Fill in the Service Name and Submission URL as shown below
  • Then, select the Contact Form to integrate them
  • Here, map the form fields as shown
    • Check the Fields mapping section below to properly map your form fields with aNinja fields.
  • Lastly, click Save
  • Afterward, your integration between your selected contact form 7 forms and aNinja is complete. As a result, all form submissions will be injected into aNinja as new leads.

Fields mapping

Map the data on the aNinja fields and Form fields.

These are the default aNinja fields:

For the Custom Fields, just prefix the field name with “Custom.” e.g. Custom.Source

Where does the data appear

After the integration, you can search your aNinja CRM for the imported leads. You can also search for any custom field, opportunities, and any other info that you have imported.

  • Lead’s contacts appear in the leads contact section in the lead view
  • Opportunities also appear in the opportunity section in the lead view
  • The company’s info appears on the top left of the lead view, in the Company section.
  • Custom fields appear in the custom field section of the lead view
  • Lead Search is a field that also appears in the bottom left of the lead view. Specifically, these are info/links on the lead or the organization found in Google search.

Integrating Gravity Forms with aNinja

Gravity Forms is an easy to use form-building plugin. When integrating Gravity Forms with aNinja, the collected information will be pushed to your aNinja account creating a new lead with every form submission.

Integrating Gravity forms with aNinja

  • Go to Add-Ons under Forms
  • Click on Webhooks under the form Settings
  • Click on Add New under Webhooks Feeds
  •  Here, we need to get your aNinja API key
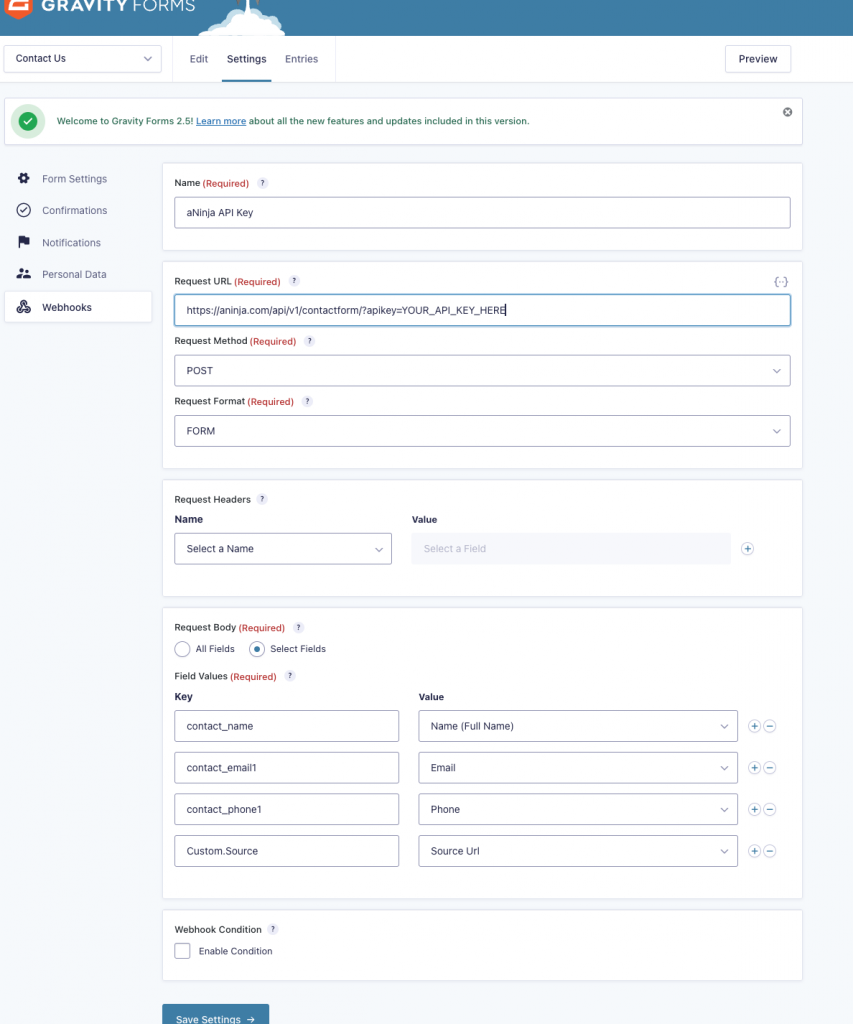
  • Fill in the field values as provided in the screenshot below. Check the Fields mapping section below to map your form fields to the appropriate aNinja fields

  • In Feed Settings, under Request URL field put:

https://aninja.com/api/v1/contactform/?apikey=YOUR_API_KEY

    • Example:  https://aninja.com/api/v1/contactform/?apikey=sample123-6yauyue5e
  • Click Update Settings
  • Your integration between Gravity forms and aNinja is now complete. And all form submissions will be injected into aNinja as new leads.

Fields mapping

Map the Data on the aNinja fields and Form fields

These are the default aNinja fields:

For the Custom Fields, just prefix the field name with “Custom.” e.g. Custom.Source

Where does the collected data appear

After the integration, you can search your aNinja CRM for the collected leads. You can also search for any custom field, opportunities, and any other info that you have collected from the form.

  • Lead’s contacts appear in the leads contact section in the lead view
  • Opportunities also appear in the opportunity section in the lead view
  • The company’s info appears on the top left of the lead view, in the Company section.
  • Custom fields appear in the custom field section of the lead view
  • Lead Search is a field that also appears in the bottom left of the lead view. Specifically, these are info/links on the lead or the organization found in Google search.

Lastly, have any specific questions? Please leave us an email at support@aninja.com. We will happily assist you!