Enabling SendGrid for your Transactional Emails allows you to send a large number of email sequences through aNinja without limitations and without worrying about spam filters marking your messages as spam.
Learn how to avoid your emails being marked as spam.
Email Services
By default, all emails go through the users’ email service (e.g. Gmail, Outlook…) using Nylas APIs. This is not recommended for bulk emails because the user is limited to the maximum number of emails allowed by his email service.
So, to be able to send bulk emails without limitations, we highly recommend using SendGrid.
Enabling SendGrid
1- Sign in to SendGrid
Or Signup to SendGrid if you don’t already have an account
- Make sure you sign-up for the Essentials plan in Sengrid for this to work.
2- Create a SendGrid API key
Make sure to save your SendGrid API key immediately, as it shows one time, and if you lost it, you can’t retrieve it.
3- Authenticate your domain in SendGrid
- This means that you are showing your email provider that SendGrid has your permission to send emails on your behalf.
- After that, your recipients will no longer see the “via sendgrid.net” message on your emails. Which shows that the emails are coming from you. So, it is less likely that your recipients mark your emails as spam.
- This increases your reputation with the Email Service Providers. And it’s less likely that they filter your emails and not allow them to be delivered to your recipients. Which increases your deliverability.
- Lastly, SendGrid automatically attaches an unsubscribe link to the emails sent through it.
Please follow this link to authenticate your domain => https://docs.sendgrid.com/ui/account-and-settings/how-to-set-up-domain-authentication
4- Enable the Event Webhook in SendGrid
You’ve reached a step where you need to enable the event webhook in SendGrid.
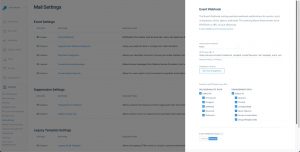
- Go to Settings > Mail Settings > Event Webhook
- Add https://aninja.com/api/v1/webhook_sendgrid_email/?dynamic_ant=sendgrid_event_webhook to Event Webhook “HTTP Post URL” field
- And check all the options under “DELIVERABILITY DATA” and “ENGAGEMENT DATA”

5- Enable SendGrid on aNinja web app
- Login to your aNinja account
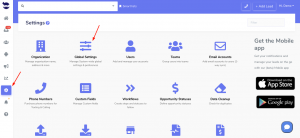
- Go to Settings > Global Settings
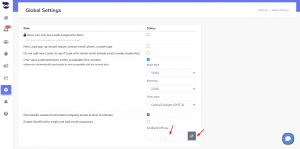
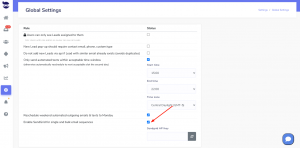
- And enable the rule: “Enable SendGrid for single and bulk email sequences”
- Lastly, enter the SendGrid API key (don’t forget to click on the refresh button next to the input)

- Once you’ve enabled SendGrid on your aNinja web app, all single and bulk email sequences will start being sent through the SendGrid service.
Our support team is happy to assist you with any questions you may have. Just leave us an email at support@aninja.com

