Enabling IMAP in AOL mail

Enabling IMAP in AOL mail allows you to use IMAP (Internet Message Access Protocol) to sync your AOL Mail into aNinja app.

Overview of IMAP protocol

IMAP allows us to sync aNinja and your account to keep the information in both places identical. This means that anything you do with messages or folders in your account at mail.aol.com will also occur in the app (and vice versa).

Below are the IMAP server settings you’ll need to use for AOL Mail and links to common email app setup instructions.

Incoming mail server (IMAP): imap.aol.com

Outgoing mail server (STMP): stmp.aol.com

Enabling IMAP in AOL mail

Please follow these steps to enable IMAP in AOL mail:

Check that IMAP is turned on
  1. Sign in to your AOL account information page.
  2. Click Account Security
  3. Turn on “Allow apps that use less secure sign in”
IMAP/SMTP password in AOL mail

Follow these steps only if you have 2-Step-Verification enabled.

  1. Go to the Account security page.
  2. If prompted, sign in to your account.
  3. Click Generate App Password
  4. Then, click Genetate
  5. Use the generated password which is being displayed both in IMAP and SMTP section, in your email account settings in Hotter.

Enabling SendGrid for your Transactional Emails

Enabling SendGrid for your Transactional Emails allows you to send a large number of email sequences through aNinja without limitations and without worrying about spam filters marking your messages as spam.

Learn how to avoid your emails being marked as spam.

Email Services

By default, all emails go through the users’ email service (e.g. Gmail, Outlook…) using Nylas APIs. This is not recommended for bulk emails because the user is limited to the maximum number of emails allowed by his email service.

So, to be able to send bulk emails without limitations, we highly recommend using SendGrid.

Enabling SendGrid

1- Sign in to SendGrid

Or Signup to SendGrid if you don’t already have an account

  • Make sure you sign-up for the Essentials plan in Sengrid for this to work.
2- Create a SendGrid API key

Make sure to save your SendGrid API key immediately, as it shows one time, and if you lost it, you can’t retrieve it.

3- Authenticate your domain in SendGrid
  • This means that you are showing your email provider that SendGrid has your permission to send emails on your behalf.
  • After that, your recipients will no longer see the “via sendgrid.net” message on your emails. Which shows that the emails are coming from you. So, it is less likely that your recipients mark your emails as spam.
  • This increases your reputation with the Email Service Providers. And it’s less likely that they filter your emails and not allow them to be delivered to your recipients. Which increases your deliverability.
  • Lastly, SendGrid automatically attaches an unsubscribe link to the emails sent through it.

Please follow this link to authenticate your domain => https://docs.sendgrid.com/ui/account-and-settings/how-to-set-up-domain-authentication

4- Enable the Event Webhook in SendGrid

You’ve reached a step where you need to enable the event webhook in SendGrid.

5- Enable SendGrid on aNinja web app

  • And enable the rule: “Enable SendGrid for single and bulk email sequences”

  • Lastly, enter the SendGrid API key (don’t forget to click on the refresh button next to the input)Enabling SendGrid for your Transactional Emails
  • Once you’ve enabled SendGrid on your aNinja web app, all single and bulk email sequences will start being sent through the SendGrid service.

Our support team is happy to assist you with any questions you may have. Just leave us an email at support@aninja.com

Email-sending limit

Every email server has an Email-sending limit and it predefines how many messages it allows you to send each day.

aNinja was designed to make sending and receiving Emails easy, using your Email server.

Through aNinja, you can send a bulk email sequence to all your leads, or a group of leads that you pull out using a Smartlist.

Bulk Email sequences stopped sending out

When you’ve reached the daily Email-sending limit allowed by your Email server, it stops sending Emails from your account.

The daily sending limits of the different Email service providers

Godaddy Workspace

500 SMTP relays per day

GSuite

10,000 sent Email messages per 24-hour period. However, this can be lower if your Google Workspace account is still in a trial-like period.

Gmail

2,000 sent Email messages per day

Office 365 / Outlook

Daily recipients: 5,000

Maximum recipients per message: 500

What to do to send a large bulk of Emails

The best recommendation would be to connect aNinja with a Transactional Email service provider (such as Sendgrid). You’ll then be able to send 10K to 1M+ eventually Emails without affecting your Email provider.

Moreover, Sendgrid adds Unsubscribe links to the Emails you send through it. It also tracks spam scores and notifies you.

SendGrid is usually used to send out bulk email sequences and it works well with aNinja.

Connecting Sendgrid with aNinja

To connect Sendgrid with aNinja:

  • Create a Sendgrid account (so you get an API key that we place in aNinja). You can start with a free tier or their basic tier.
  • Authenticate your outgoing domain DNS (we can assist with this).

Please let us know if you’d like to Integrate with Sendgrid. Leave us an email at support@aninja.com. We’re more than happy to assist you!

Configuring your email account

Configuring your email account allows you to work on both aNinja and your email account in total synchronization.

aNinja was designed to offer two-way email integration. This means, when you send emails from aNinja, the system automatically logs them in the sent folders of both aNinja and your email account (Gmail or your mobile phone).

Benefits of email configuration

  • By connecting your email account with aNinja, aNinja begins to automatically track the email actions with any contacts between aNinja and your email account.configuring your email account
  • You can work from either aNinja Inbox or your email account. And the changes transmit between the two. So you don’t waste time seeing emails again in one place that you’ve handled in another.
  • When sending emails through your email client (ex: Outlook, Gmail…) there’s no need to BCC aNinja. The emails automatically show up in your aNinja account in the history of the matching leads.
  • Received emails also show in the inbox of aNinja and your email account.
    • However, if you receive an email and the sender’s email is not saved in aNinja, this email appears only in the email client and does not show in aNinja.
    • Basically, we don’t automatically create a lead for the incoming email if the email address is not saved in your system.

  • aNinja automatically syncs all email communications that you initiate with any contact in aNinja.

Need help configuring your email account? Leave us an email at support@aninja.com. We will happily assist you!

Syncing your Godaddy email into aNinja

Syncing your Godaddy email into aNinja automatically syncs all email communication between you and any contact in aNinja.

Once your GoDaddy email is linked to your aNinja account, you can easily send, receive and check messages directly from your aNinja account.

You can also use aNinja features to automate your emails and target your leads with your best campaigns and sequences.

In this article, we’re going to show you the steps to syncing your Godaddy email into aNinja.

1- Enable and enforce MFA

First, please click this link to enable and enforce MFA

https://www.godaddy.com/help/enable-or-disable-multi-factor-authentication-32039

2- Create an App password

Now, the App Password option will show-up at the top of the page when you follow here these steps:
https://www.godaddy.com/help/create-app-passwords-40980

Syncing your Godaddy email into aNinja

3- Add the App password

Lastly, choose “Add method” to add the App password.

Note: After that, please wait 1-24 hours of the propagation time (this is a Godaddy constraint).

As a result, you are now able to send automations to your leads and target them with your email sequences.

Have any specific questions on the syncing process? Please leave us an email to the Support team at support@aninja.com. We’re always happy to assist you!

Generating an App password for Office365

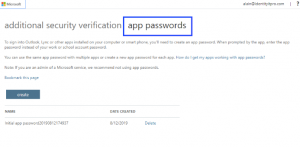
In this article, we show you how generating an App password for Office365 can be done.

You want to enable the two-step verification before you move forward and create an app password.

Create an App Password to secure your Office 365 email account, and for the integration with aNinja to work.

Overview of the app passwords

App passwords are created for each MFA-enabled account to allow signing in to non-browser applications.

In which case you are unable to use additional security verification methods, such as providing a code sent via a text message or approving a notification through the Microsoft Authenticator app.

Those passwords don’t expire, and you can use them in different programs at the same time.

Enabling Two-Step verification

To be able to generate an app password, you want to enable two-step verification first.

  • Login to https://login.live.com
  • Then, go to “Advanced Security Options
  • Here, make sure you enable “Two-Step verification” under Additional Security.
  • Once you’ve completed step 3, then, you’ll see an “App passwords section” on the Additional security page at the bottom. This allows you to create a new app password.

Creating the App Password in the Office 365 Admin Center

  • Sign in to your user account.
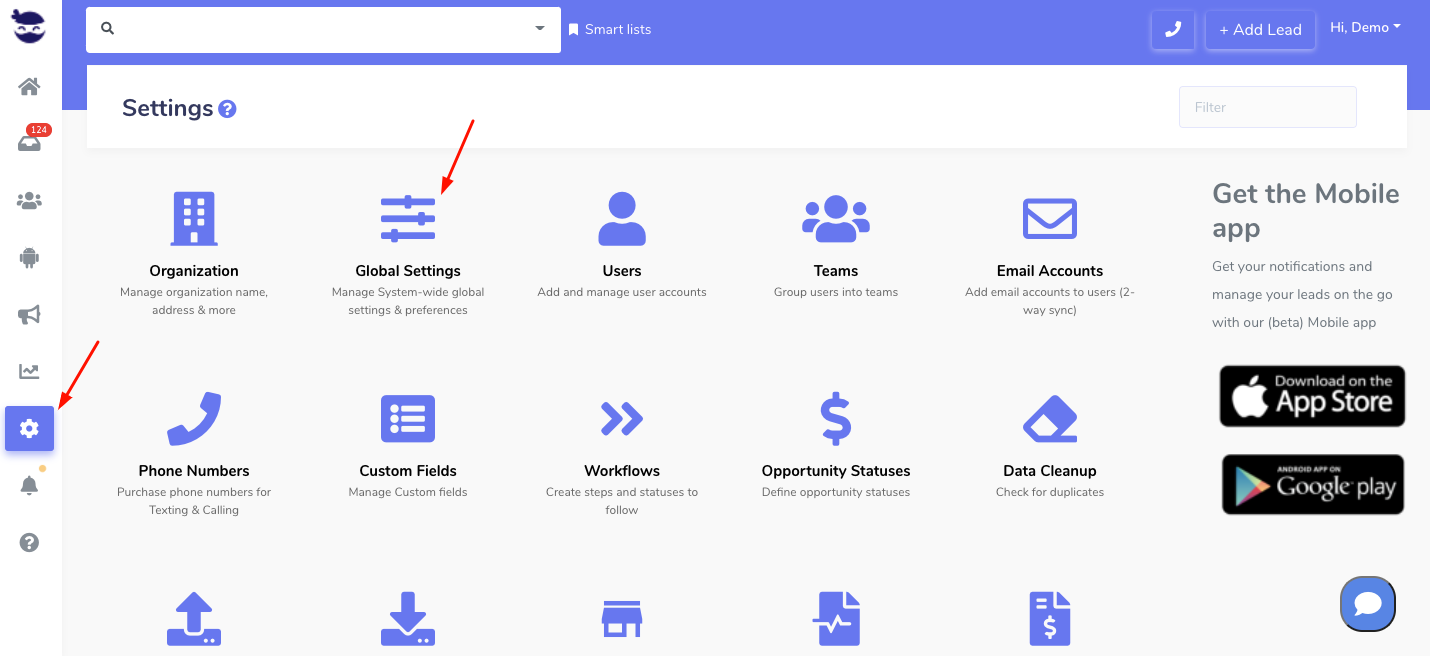
  • Go to Admin Center by clicking the Admin icon in the Apps launcher.
  • Then, go to your account and select ‘My Account.
  • And select ‘Security & privacy.’
  • Click ‘Additional security verification.’
    • Note: You’ll see this option only when your admin has set up multi-factor authentication for your account.
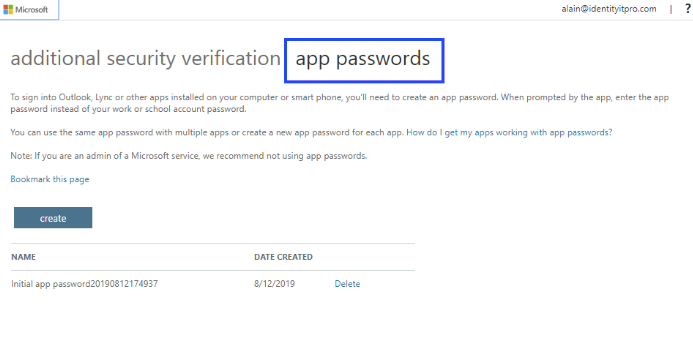
  • Hit App Passwords
  • And click Create.

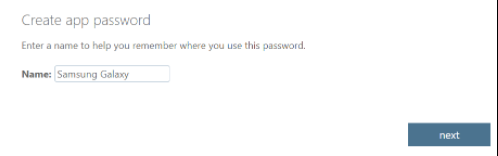
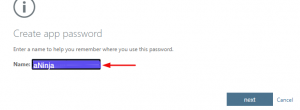
  • Here, type the name of the app that requires the app password (aNinja) and select Next.

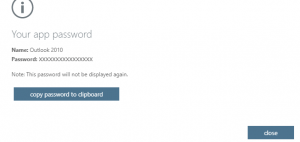
  • Now, an app password is created successfully. Hit ‘copy password to clipboard

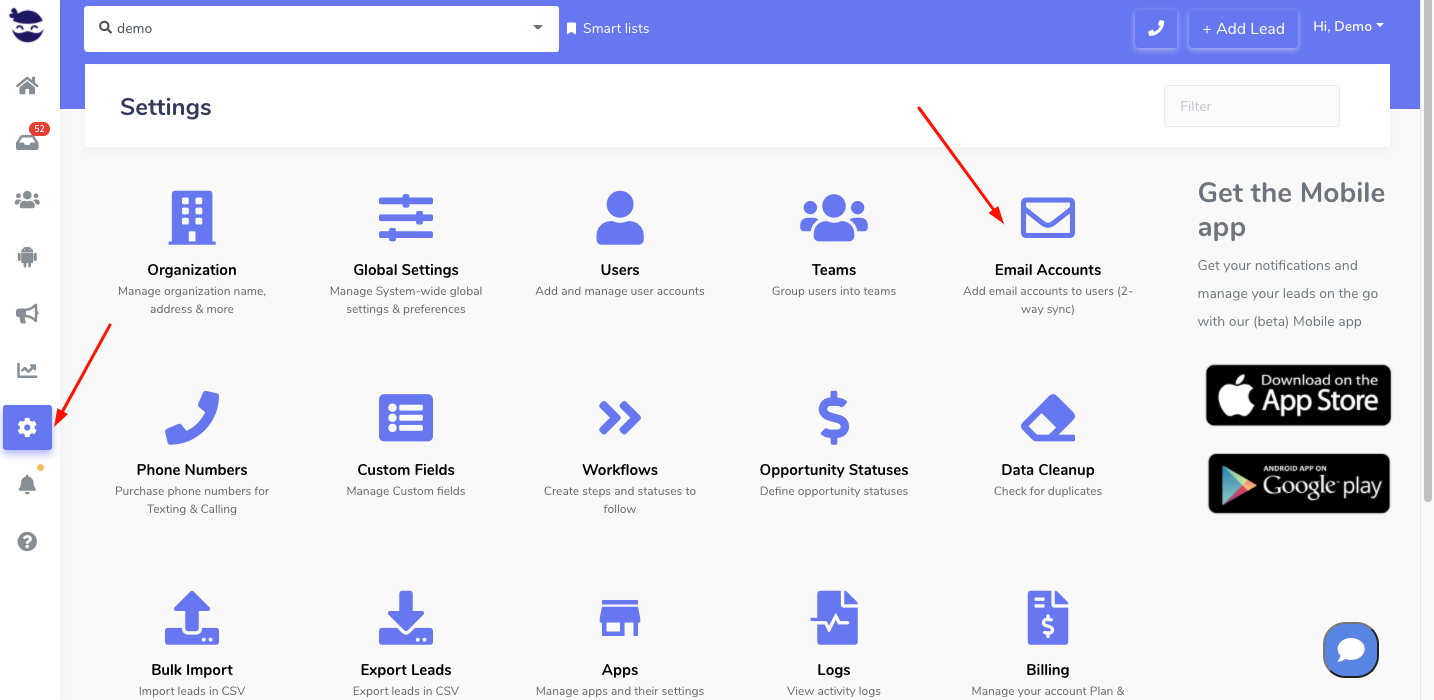
  • Lastly, go to the aNinja application and use this app password to login into your Office account and complete the integration.

Enabling App Passwords at your Office365 Organization level

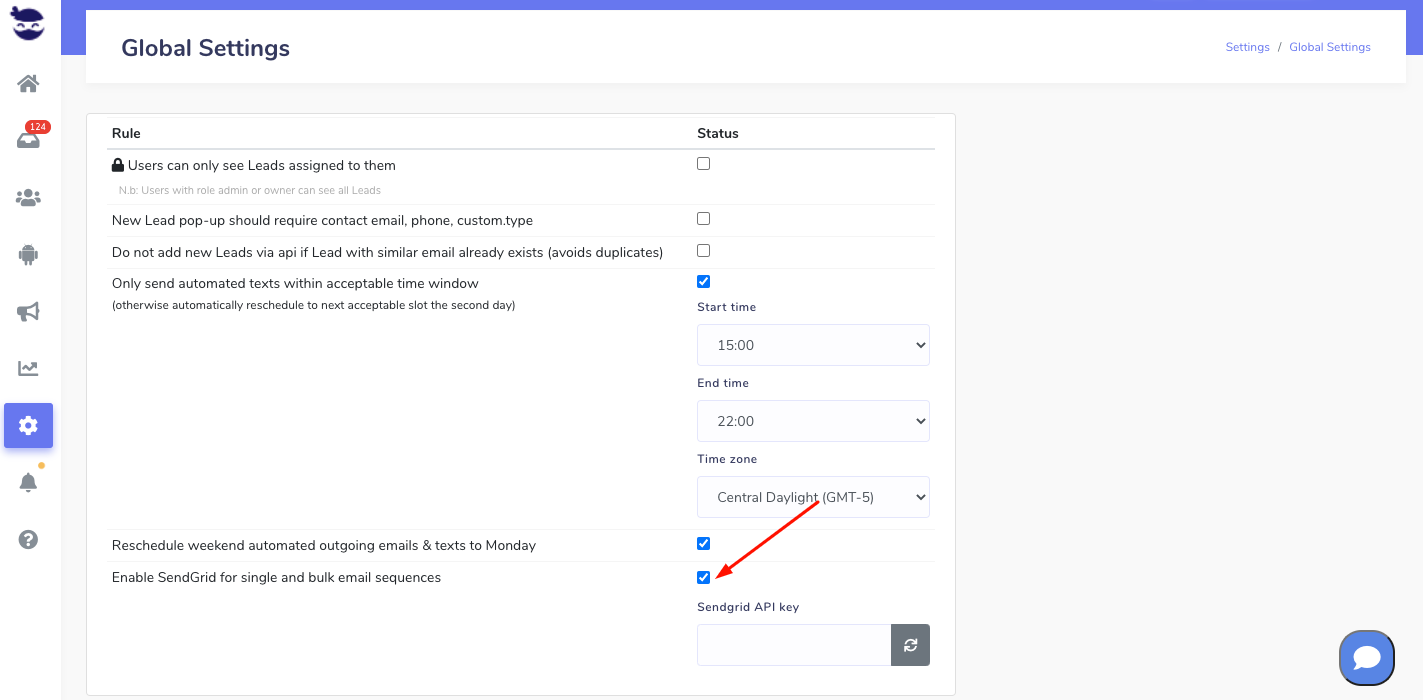
Enabling the App password for Office365 is giving permission to an app to access your Office365 account. After you generate an app password, enable it at your Office365 Organization level.

If you can’t see app passwords at your user level, so, they might be disabled at your office365 organization level.

However, your administrator can expose them following these steps:

  • Go to https://admin.microsoft.com/
  • Then, go to Users > Active Users
  • And, choose “Multi-factor Authentication” in the table options (above the table of users).
  • Lastly, choose “Service Settings” (in the top menu) and choose “Allow users to create app passwords“.

Changing your Office 365 app password

  • Click My Account.
  • Then, hit Security and Privacy menu to the left or the Manage Security and Privacy link on the main area of the page.
  • Choose Additional Security Verification.
  • And click Create and manage app passwords.
  • Lastly, create yourself an additional app password and give it a description.

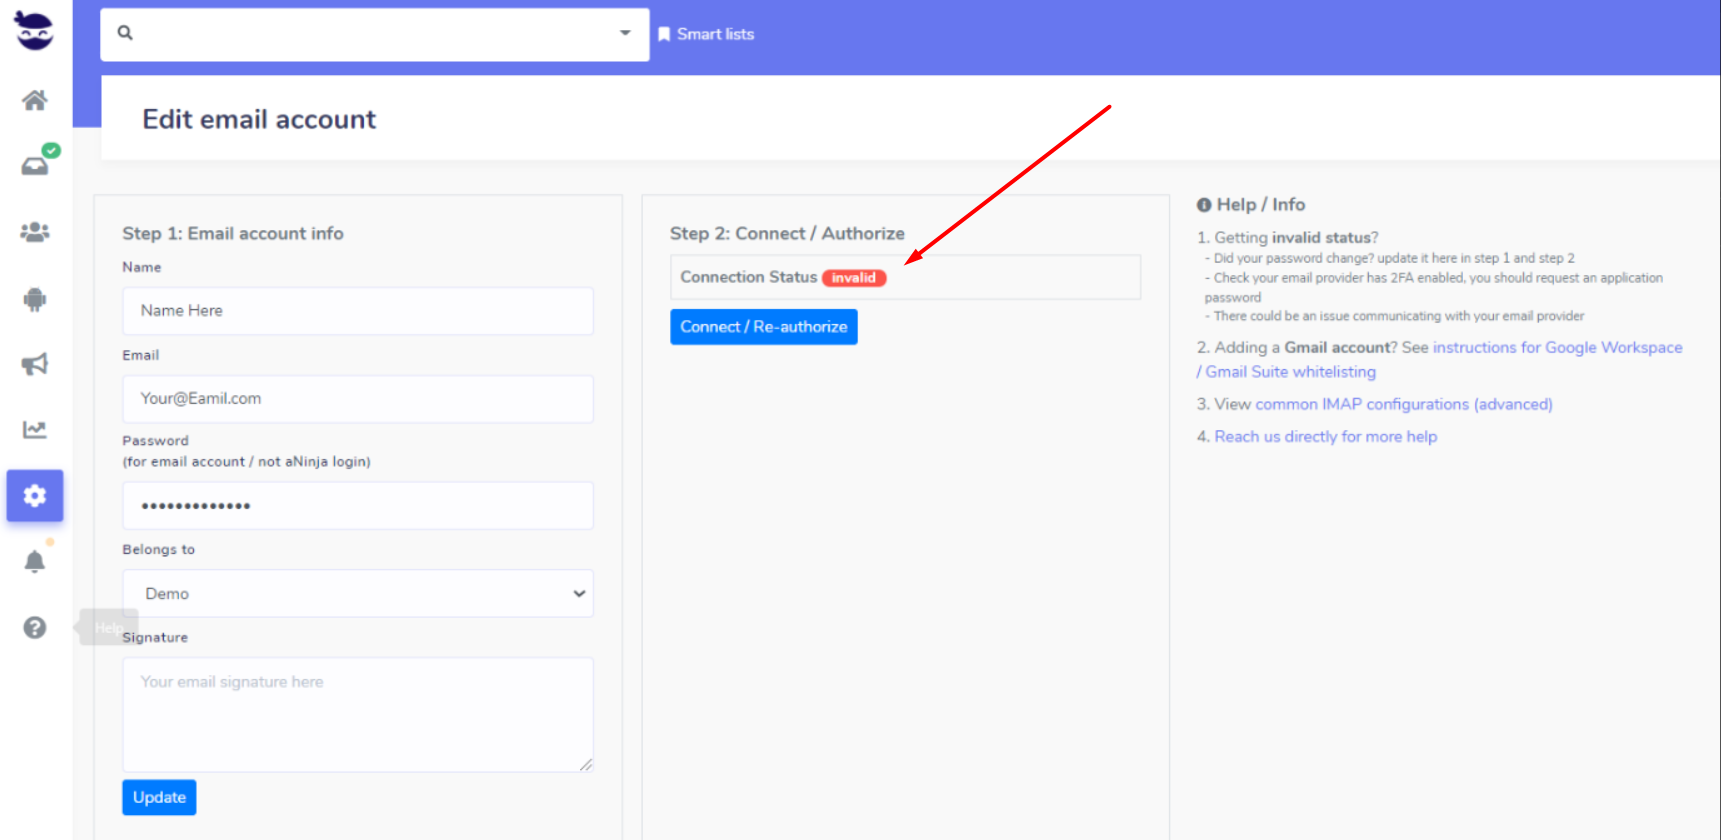
Unable to authorize the Microsoft Office 365 account

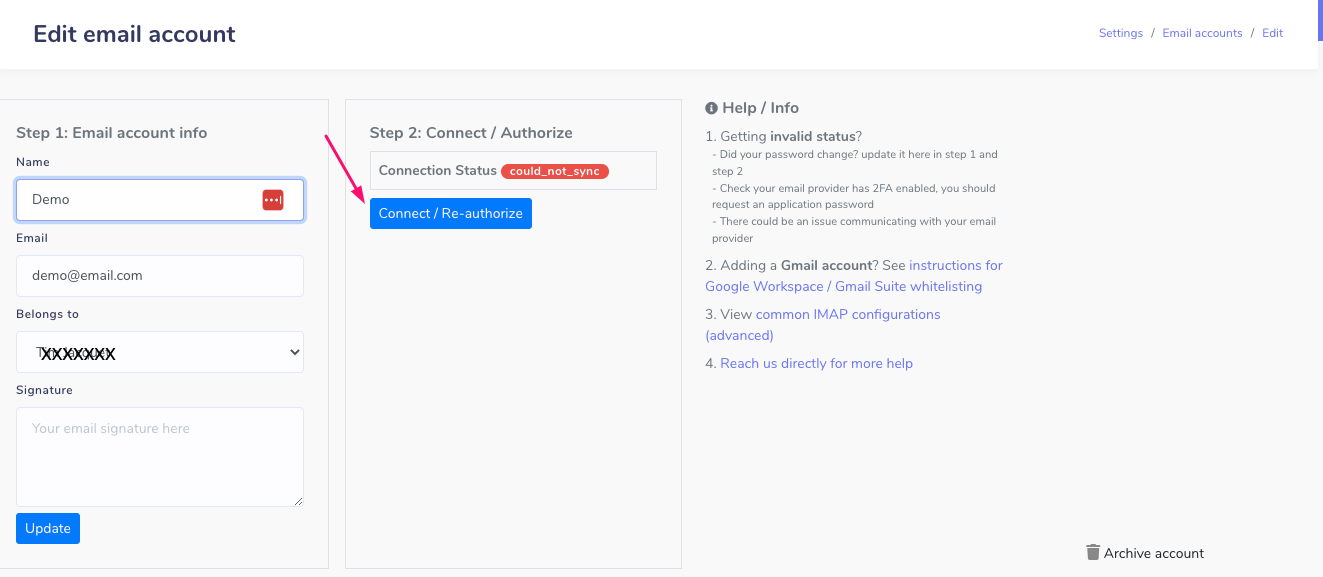
The error Unable to Authorize Microsoft/Office365 account may occur when an account has an issue with the connected mailbox.

Instructions on how to resolve this problem.

After which please restart your authentication flow in aNinja.

Need help with generating an App password for Office365? Please leave us an email at support@aninja.com. We will happily assist you!

Troubles in sending Bulk Email Sequences

If you overpass the daily limit of your email provider, you will face troubles in sending bulk email sequences

Ech email provider imposes a daily email sending limit.

Having troubles sending your email sequences

You might need to check the following:

Still unable to re-launch your email sequences

For a large number of daily emails, we highly recommend you process your run through our transactional email processor SendGrid. You can enable it directly from your aNinja account > Settings > Global Settings.

Or send us an email at support@aninja.com. We’re happy to assist you.

IMAP vs POP3

IMAP vs POP3: These are 2 different methods to access mail from a third-party email client or software.

When setting up a mail client such as Microsoft Outlook, Mac Mail, iPhone, or Android, you will need either enter POP or IMAP server settings.

POP3 (Post Office Protocol)

POP (Post Office Protocol) stores the emails on a single device and not on the server. POP doesn’t support public folder access. The folders are only accessed from the client’s device. This does not enforce aNinja’s vision for mobile data access.

If you want to keep messages on the server, make sure to enable the setting “Keep email on server”. Or all messages are deleted from the server once downloaded to the app or software.

IMAP (Internet Messaging Access Protocol)

IMAP is an internet protocol that lets you sync your email inbox across multiple devices. It also allows a two-way synchronization between the email clients and aNinja. So that if you communicate by email with your lead/customer (whether from aNinja, your email client, or anywhere), you will have all the relevant emails for that lead centralized in the aNinja lead view, as well as available in your email clients.

Why does aNinja only support IMAP

  • We only support IMAP because the main difference is that IMAP allows us to read the messages on the server and keep them there.
  • POP (an older protocol, that gets the messages off the server)
  • aNinja synchronizes the email messages view. So if you communicate by email with your lead/customer (whether from aNinja, your email client, or anywhere) you will have all the relevant emails for that lead centralized in the aNinja lead view (as well as available in your email clients).

Need help understanding the difference between IMAP vs POP3? Leave us a message at support@aninja.com. We will happily assist you!

Reconnect / Re-authorize your email account with aNinja

Reconnect your email account with aNinja if it’s disconnected to be able to send and receive email through the app.

Disconnected email alert

If your email stopped running correctly, you need to reconnect your email account with aNinja to be able to send and receive emails through the app.

When an email is no longer synced, an alert pops up in red on the top middle of the page as a warning to reconnect the email.

When the email gets disconnected, any attempt for sending emails fails and it shows an error in the lead view.

Failed emails don’t show up on the reports page, however, they show up on the logs page with an error status.

But what are the reasons for a synced email to disconnect from aNinja?

The reasons that lead to reconnecting your email account

Several reasons may lead to reconnecting / re-authorizing your email account. Of which we mention:

  • If you have changed your password and did not update it here.
  •  Or, if you’ve enabled two-factor authentication and did not generate an aNinja app password.
  •  It could also be an issue communicating with your email provider.
  • Lastly, to help identify the problem, check for any error messages at your end.

Reconnect / Re-authorize the email account

On the left sidebar, click on Settings > Email accounts

  • Then, click the edit pen next to your name.

  • Lastly, hit the “Connect / Re-auth” button and follow the on-screen instructions to re-authorize your email.

Still unable to connect / re-authorize

Need help reconnecting your email account with aNinja? Just leave us an email at support@aninja.com. And we will happily assist you!


Relevant links:

Connect your Gmail account

Connect. your Microsoft Outlook account

Connect your email account using Custom IMAP

Connect your Email with aNinja

Connect your email with aNinja to start sending email sequences to your leads.

It’s important to complete the 2 steps of the authorization for your email to sync properly.

Connect your email with aNinja

  • On the left sidebar, click on Settings > Email Accounts
  • If you already have an email account saved and want to complete the authorization, click on the edit pen next to the email. Then, go to step 2 —> Connect/Re-auth.
  • Otherwise, go ahead and create an email account. Click Add Email Account
Step 1
  • Fill in the following fields: Name and Email
  • And hit Update
Step 2
  • Click Connect / Re-auth

Connect your email with aNinja

Note! It is important to complete the 2 steps for the email to sync properly.