Segmenting leads in the bulk import using Custom fields

Segmenting the leads you are importing means separating them into different lists that can be more manageable. One way to do it is using custom fields.

aNinja was designed to allow sending a large number of texts and emails. However, before sending your outbound, you might want to check the daily email sending limits allowed by your email provider.

You might also want to check the text sending limits that you registered for in your billing plan with aNinja.

That’s why aNinja recommends you segment your contacts before importing them to avoid any issues.

Segmenting leads before the import

One way to do it is using Custom fields.

Inside your CSV editor / Excel / Google sheets, etc.. and before uploading:

  • Add a column to your bulk import, and name it Custom.batch
  • Fill the cells of this column with e.g. 1 for the first 1000, 2 for the second batch of 1000, etc…

Importing the segmented CSV file

  • Import that CSV to aNinja and map the Custom.batch column to an aNinja Custom.batch field.
  • Now, all the contacts in the CSV file are saved in your aNinja account, with the number of the batch as a custom field.

Identifying the leads by batch number

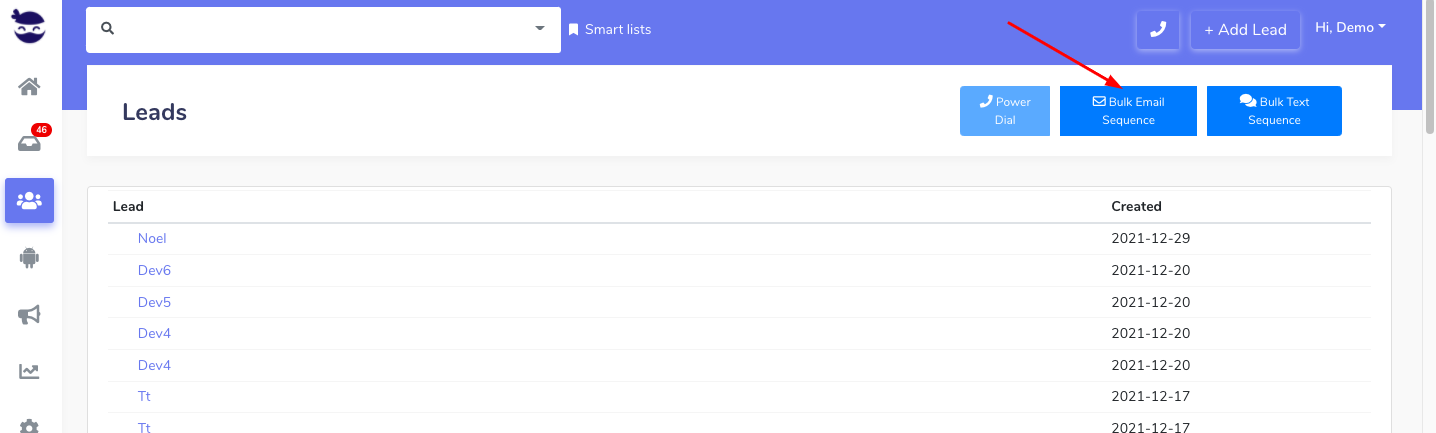
  • In the top navigation bar, search for e.g. Custom.batch=2
  • You will get the leads that have 2 in the custom field,  shortlisted in the leads view.

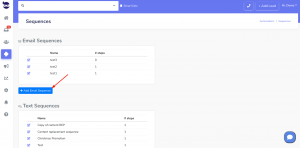
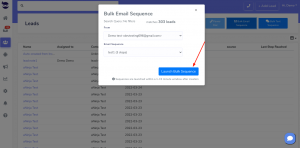
Now you can send them Bulk texts sequences, Bulk email sequences, and even powerdial them.

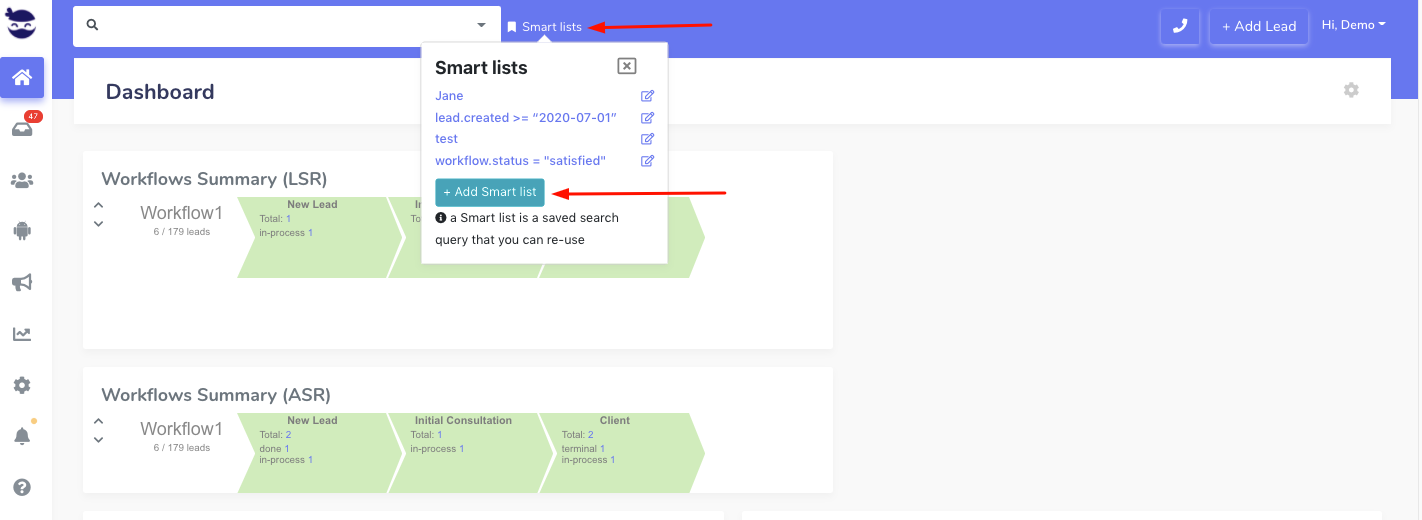
Lastly, save that query as a Smartlist for a faster access in the future.

Where does the imported data appear

After the import, you can search your aNinja CRM for the imported leads. You can also search for any custom field, opportunities, and any other info that you have imported.

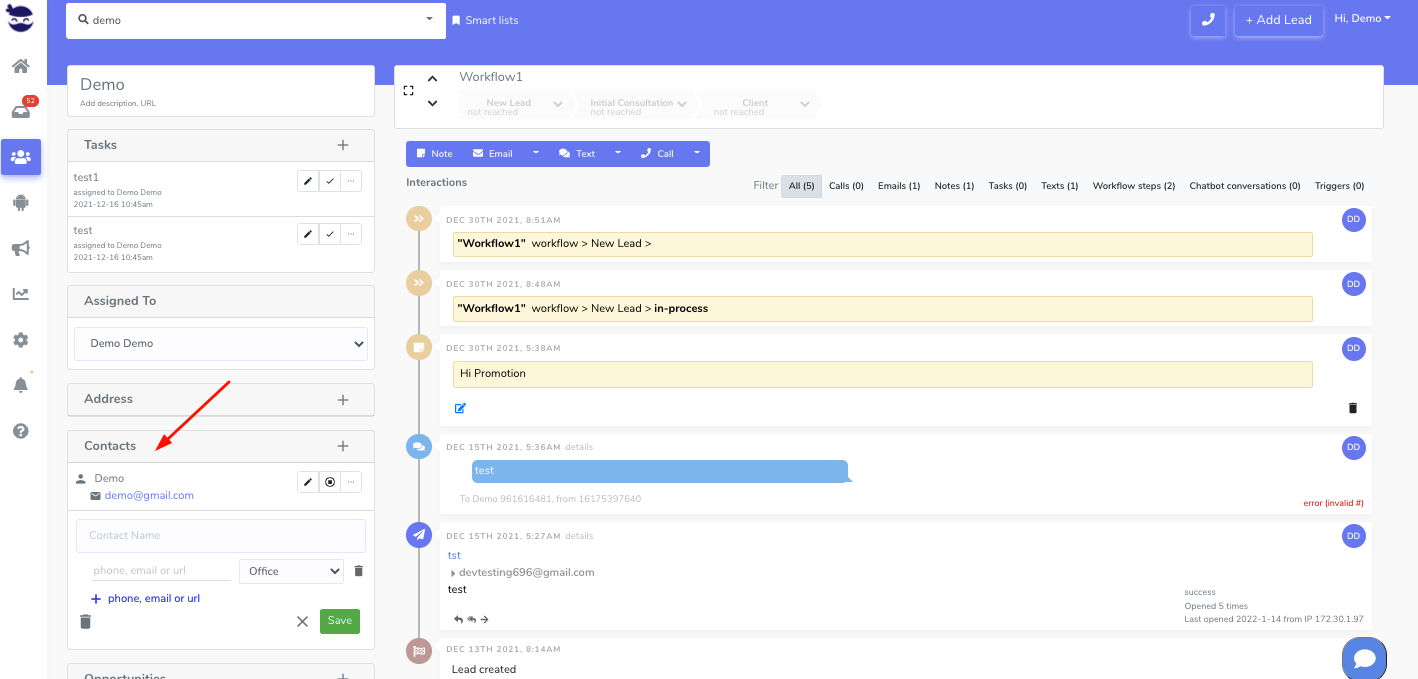
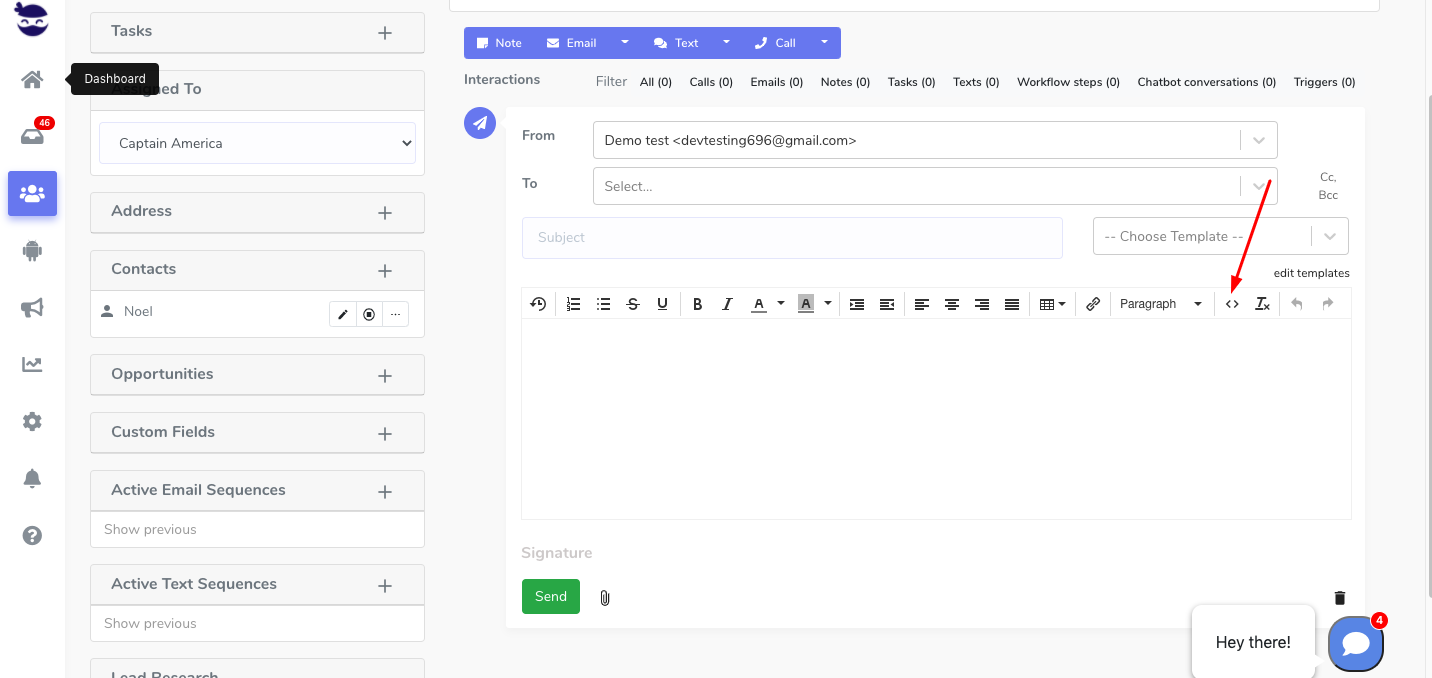
  • Lead’s contacts appear in the leads contact section in the lead view
  • Opportunities also appear in the opportunity section in the lead view
  • The company’s info appears on the top left of the lead view, in the Company section.
  • Custom fields appear in the custom field section of the lead view
  • Lead Search is a field that also appears in the bottom left of the lead view. Specifically, these are info/links on the lead or the organization found in Google search.

Creating Text & Email Sequences


By creating Text & Email Sequences, you can automate scheduled sequences of texts or emails.

Creating Text Sequences

    • Go ahead and click on the help (?) icon next to Sequences. It redirects to a short youtube video to get an overview of Sequences.

Creating Text & Email Sequences

    • You can also watch a guide video that explains specifically on Text sequences.

  • Here, click on Add Text Sequence

  • Give a name to your text sequence.
  • And add each step to your text sequence:
    • Select when you want the sequence step to be sent out:
      • If you want to send out the step as soon as you launch the sequence, choose “Immediate”. This fires the step within the acceptable text time window that’s set in Global Settings.
      • If you want to send out the step with disregard to the acceptable text time window, choose “Immediate (skip global settings validations). This fires the step immediately after the sequence is launched.
      • Otherwise, define the number of days after which you want the step to be sent out.
    • And choose which text template you want to use in this step.

  • Lastly, you can change the text template. Just click on the link View template.

Creating Email Sequences

    • Go ahead and click on the help (?) icon next to Sequences. It redirects to a short youtube video to get an overview of Sequences.

Creating Text & Email Sequences

  • Give a name to your email sequence.
  • And add each step to your email sequence:
    • Select when you want the sequence step to be sent out:
      • If you want to send out the step as soon as you launch the sequence, choose to send after a delay of “0”-zero days from launch.
      • Otherwise, define the number of days after which you want the step to be sent out.
    • And choose which email template you want to use.

  • Lastly, you can change the email template. Just click on the link View template.

In conclusion, creating text & email sequences allows you to use them in your triggers and target your leads in order to turn them to customers!

Leads view

The leads view is where you can view all your leads or the result of a search or Smartlist, and perform bulk activities like power dialing, and bulk text/email sequence.

You can perform operations on those results such as Power dialing, launching a Bulk Text Sequence, or a Bulk Email Sequence.

Accessing the Leads View

  • On the left sidebar, click on Leads icon. You can browse through all your leads here.Leads view

Operations on the leads

The operations that you can perform for all your leads or a group of leads are:

Lead’s Contacts

The lead’s contact section in the Lead View, shows all the contacts saved under your lead (employees of the same company, relatives, etc…). It’s a good component for filtering based on contact info. The lead’s contacts are email, phone number, and URL.

You can mark a contact as “do not contact“. They will stop receiving your bulk sequences. You can still send them emails / texts from the lead view.

Relocate the contact in the lead’s contacts if you have multiple ones. Drag it to the top. The first one in order will be considered the primary contact.

Lead's contacts

Incorrect email address or phone number

It is important that the lead contact are correct so your outbound emails and texts reach your leads successfully.

Moreover, if you’re intending to use the phone number for texting, save the mobile number as the primary number (first number in the contact). Otherwise, your text will not reach the lead.

However, you will be notified that your outbound was not sent due to the incorrect email address or phone number.

Using the contact info for leads search

Just type the contact info on the top navigation bar, and aNinja will search all your CRM to find the lead(s) related to your search.

The results will show in the Leads View. For future use, go ahead and save the results as Smartlist. You can share your Smartlist with other users too.

Bulk Activities

Now, you can perform the below activities on the results in the Leads View:

Launching Bulk Email sequences

Launching bulk email sequences typically refers to the process of sending a large number of emails to a one or a group of recipients all at once, using an automated messaging system.

You can also launch an email sequence to a bulk import list.

The emails are typically pre-written (email templates) and scheduled in sequences in advance. aNinja takes care of sending the messages at the designated time or interval.

Launching bulk email sequences to all leads

Launching bulk email sequence

  • You’ve just started an email sequence for all your leads.

Launching email sequences to a group of leads

  • Choose a saved Smartlist or create a new one.

Launching bulk email sequence

An alert pops up to show the number of leads included in this sequence and that have no email addresses. Click on the number to see those leads.

Checking the status of email sequences

After launching your email sequence, you can check for its status in the Dashboard Widget “Bulk Sequences”.

Stopping an email sequence

From the Dashboard Widget “Bulk Sequences” you can also stop the email sequence if the sequence delay setup is of 1 or more days.

You can stop a sequence for a single lead from the “Active Email Sequence” in their lead view.


Customizing the design of email templates

Email templates can be in plain text or in HTML. Customizing the design of email templates allows you to create a new template entirely from scratch using whatever HTML or design you like.

You can customize HTML templates and include inline CSS and images.

Customizing the design of email templates

  • Any standalone CSS can be added to the source code view of the HTML template.
  • Inject this source code in the body of your email template by clicking on the source code icon (the 2 brackets icon < >) in the email template editor.

  • From the lead view, create an email and either use the customized template, or insert the source code by using the (the 2 brackets icon < >).

  • Choose the customized template to send a Bulk email.
  • Make sure to add any changes to the email before sending it.

Iframe content in Email

Most Email Service Providers (e.g. Gmail, Yahoo, etc…) won’t allow iframe content in emails and they automatically block it.

We recommend you add an image in the email template body and link it to the video URL: Click on the image and then hit the link button on the toolbar to add the URL.