Configuring your email account

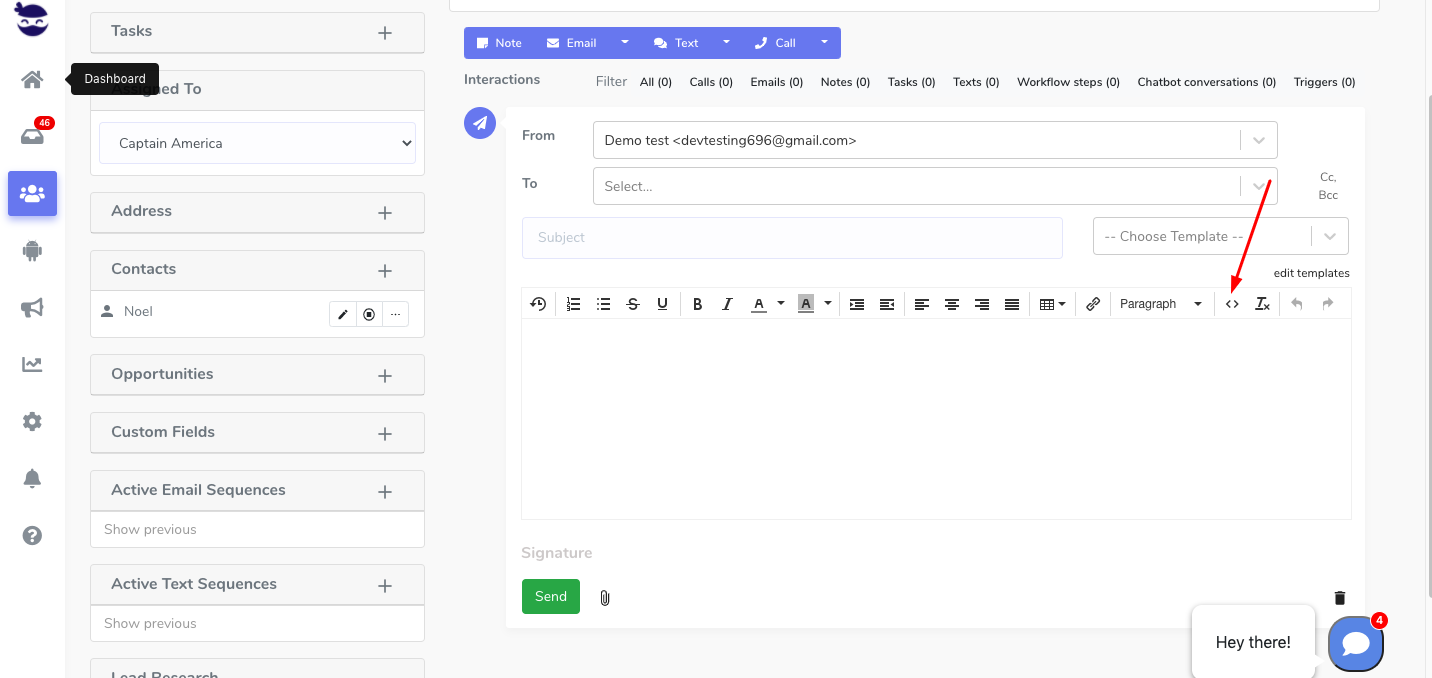
Configuring your email account allows you to work on both aNinja and your email account in total synchronization.

aNinja was designed to offer two-way email integration. This means, when you send emails from aNinja, the system automatically logs them in the sent folders of both aNinja and your email account (Gmail or your mobile phone).

Benefits of email configuration

  • By connecting your email account with aNinja, aNinja begins to automatically track the email actions with any contacts between aNinja and your email account.configuring your email account
  • You can work from either aNinja Inbox or your email account. And the changes transmit between the two. So you don’t waste time seeing emails again in one place that you’ve handled in another.
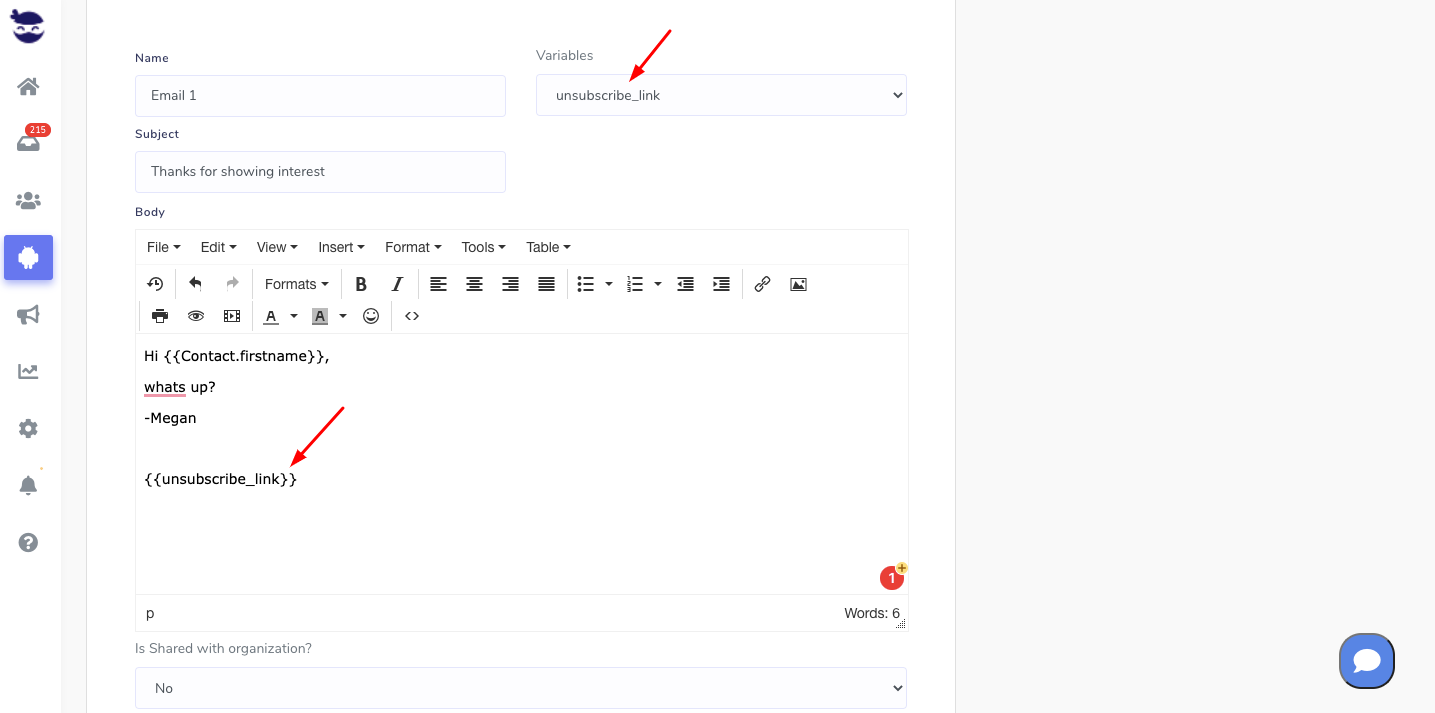
  • When sending emails through your email client (ex: Outlook, Gmail…) there’s no need to BCC aNinja. The emails automatically show up in your aNinja account in the history of the matching leads.
  • Received emails also show in the inbox of aNinja and your email account.
    • However, if you receive an email and the sender’s email is not saved in aNinja, this email appears only in the email client and does not show in aNinja.
    • Basically, we don’t automatically create a lead for the incoming email if the email address is not saved in your system.

  • aNinja automatically syncs all email communications that you initiate with any contact in aNinja.

Need help configuring your email account? Leave us an email at support@aninja.com. We will happily assist you!

Lead Activities

All your lead activities are saved in the Lead View in the History section to give you a deep view of the tasks performed for this lead.

What are the lead activities?

They are the tasks that you can perform on a lead in all stages:

Go ahead and hover over the links to get more details on each activity.

Where can I see the lead activities?

They are part of the lead view. You can access the lead view from 2 places:

  • In the top navigation bar, type the name of the lead or any info related to them (email, phone, URL, or custom field). Then, aNinja will find them for you. After that, click on the name and it opens the lead view.

  • From the left sidebar, click on Leads icon. It shows you the list of all the leads you have in aNinja. Find your lead among them and click on the name. That opens the lead view.

All your activities are saved in the Lead View in the History section to give you a deep view of the tasks performed for this lead.

Search for more help articles in the aNinja Knowledge base

Lead Interactions

Lead interactions refer to the various touchpoints between a business and a potential customer, or lead, throughout the sales and marketing process.

You can track and manage those interactions in aNinja. Which allows you to monitor and analyze them with leads and track their progress through the sales pipeline.

In aNinja, they can take many forms, including notes, emails, texts, and phone calls.

Types of lead interactions

  • Note 
    • Leave any important note for you or other team members to pick up on, including minutes notes.
  • Email
    • Send personalized emails to leads to introduce your product or service, provide value, and encourage them to take action.
  • Text
    • Using SMS or other messaging apps to communicate with leads in a more immediate and personal way.
  • Call 
    • Speaking with leads over the phone to build rapport, answer questions, and provide more information about your product or service.

Where can I see the lead interactions

They exist in the lead view, in “All Interactions” dropdown.

Lead Interactions

You can access the lead view from 2 places:

  • On the top navigation bar, type the name of the lead or any info related to this lead (email, phone, URL, or custom field). Then, aNinja finds them for you. Just click on the name and the system redirects you to the lead view where you can start the lead interactions.
  • From the left sidebar, click on Leads icon. It shows you the list of all the leads you have in aNinja. Locate the lead, click on their name, and you will be guided to their lead view.

All your interactions are saved in the Lead View in the History section to give you a deep view of the tasks performed for this lead.

Search for more help articles in the aNinja Knowledge base

Customizing the design of email templates

Email templates can be in plain text or in HTML. Customizing the design of email templates allows you to create a new template entirely from scratch using whatever HTML or design you like.

You can customize HTML templates and include inline CSS and images.

Customizing the design of email templates

  • Any standalone CSS can be added to the source code view of the HTML template.
  • Inject this source code in the body of your email template by clicking on the source code icon (the 2 brackets icon < >) in the email template editor.

  • From the lead view, create an email and either use the customized template, or insert the source code by using the (the 2 brackets icon < >).

  • Choose the customized template to send a Bulk email.
  • Make sure to add any changes to the email before sending it.

Iframe content in Email

Most Email Service Providers (e.g. Gmail, Yahoo, etc…) won’t allow iframe content in emails and they automatically block it.

We recommend you add an image in the email template body and link it to the video URL: Click on the image and then hit the link button on the toolbar to add the URL.

Unsubscribe Link

Adding an unsubscribe link in your templates allows the recipients to cancel their subscription when they don’t want to receive any more emails from you.

What’s an Unsubscribe Link?

It’s a link within your email campaign/templates, often placed in the email footer. It allows recipients to opt-out / cancel their subscription when they don’t want to receive any more emails from you.

Why use an Unsubscribe Link in your templates

The law enforced by the Federal Trade Commission, clearly states that you must include an obvious way for subscribers to opt-out of your commercial messages: Tell recipients how to opt-out of receiving future emails from you. Whether you’re sending a commercial or a transactional email, it’s safer to include a link that shows the recipient how to stop receiving your emails.

Unsubscribes are also necessary to:

  1. Keep a clean mailing list.
  2. Good sender reputation.
  3. High engagement rates, so spam filter doesn’t block your emails.

Learn how to avoid your emails being marked as spam.

Adding an Unsubscribe link to your templates

When a lead hits the unsubscribe link, the “do not contact” button in their lead view will be automatically toggled as ON; so that this lead does not receive your bulk sequences anymore. Additionally, the system automatically adds the leads contacts to the “do not contact” list.

If the lead has multiple email accounts saved in their contacts in aNinja, all the email accounts and phone numbers will be toggled as do not contact.

Changing your aNinja login email

aNinja login credentials

The login email is the email you use when you want to access your aNinja account. (whether on the web or the mobile app).

With your login password, these make up your aNinja login credentials.

Changing your login email

You presently can’t change your login email from within aNinja.

Instead, send a request to change your login email to support@aninja.com.

We’ll verify your request and complete it as soon as possible.