Forbidden Message Categories for SMS and MMS
The following messaging use cases are not allowed on SMS or MMS in the US or Canada. And we have also provided some suggested alternatives for conducting certain forbidden use cases.
| Category | Examples | Notes |
|---|---|---|
| High-risk financial services |
|
“Third-party” means originating from any party other than the one which will service the loan. |
| Third-party lead generation services |
|
|
| Debt collection or forgiveness |
|
“Third-party” means originating from any party other than the one who is owed the debt. For example, a hospital could send messages regarding bills for its own patients, assuming they provided opt-in to receive that messaging. Third-party debt collectors may send transactional messages that consumers have directly opted in to; however, they cannot use SMS as a channel to collect a debt. |
| “Get rich quick” schemes |
|
This is different from outreach about employment as a result of compliant opt-in practices, messages from brokerages to their members, investment news alerts, or other investment-related messages. |
| Illegal substances/articles |
|
Cannabis is federally illegal in the United States. Cannabis businesses will not be permitted to use SMS/MMS messaging in the US, regardless of message content. CBD is federally legal, but is subject to varying legal restrictions across US states, so US carriers do not permit messaging related to CBD. Fireworks are a regulated product and US and CA carriers do not permit messaging related to fireworks. |
| Prescription drugs |
|
Offers for drugs that cannot be sold over-the-counter in the US/Canada are forbidden. |
| Gambling |
|
Gambling traffic is prohibited in the US and Canada on all number types (Toll Free, Short Code, Long Code). |
| “S.H.A.F.T.” use cases |
|
While tobacco and alcohol traffic is prohibited on Toll Free, it is allowed on Short Code, or Long Code, as long as proper age gating procedures are in place. Firearms and vaping-related traffic is prohibited. |
What to do if your use case is listed as forbidden
If your use case is listed above as forbidden for SMS and MMS messaging, you may be able to reach out to your leads by Email. It’s also an option for many of the above use cases.
For example, cannabis- or CBD-related messaging may be conducted via email, as long as you have proper age gating in place and are sending toward recipients in a locale where the substance is legal.
In addition, calling is not subject to the same carrier restrictions as SMS.
Sending forbidden SMS content through aNinja
If you send SMS or MMS messages with forbidden content through aNinja, our upstream telephony carrier automatically filters your SMS content and suspends your account.
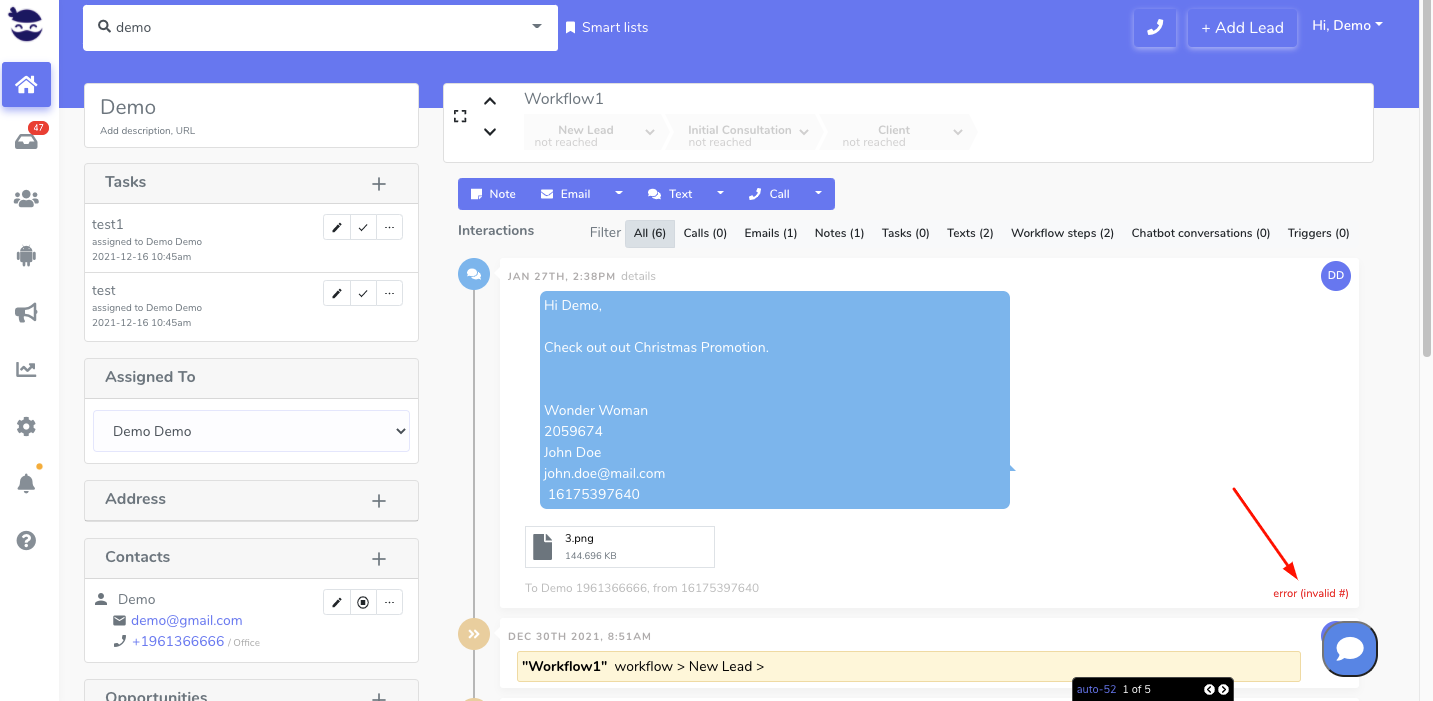
Which means that your texts will not go through. And subsequently, you receive an error code 30002 on outgoing SMS attempts: account suspended.
Sending Cannabis or CBD-related messaging
Messaging Policy forbids sending messages about anything that is illegal in the jurisdiction where the message recipient lives. This policy affects messaging related to cannabis (marijuana) and cannabidiol (CBD) in the United States, as well as many other countries.
SMS and MMS
- The United States
SMS or MMS messages related to cannabis are not allowed in the United States. As federal laws prohibit its sale, even though some states have legalized it. Similarly, messages related to CBD products are not permissible in the United States, as certain states prohibit its sale. The Messaging Policy is reflective of the US carrier rules in this area, and there are no exceptions to this policy.
Our upstream telephony provider defines a cannabis-related message as any message which relates to the marketing or sale of a cannabis product, regardless of whether or not those messages explicitly contain cannabis terms, images, or links to cannabis websites.
- Canada
Cannabis is not an illicit substance in Canada, nor is CBD. Messaging that deals with age-restricted content (such as cannabis, but also including alcohol, gambling, etc.) is generally allowed in Canada, but may be subject to scrutiny by Canada telecom authorities. If you intend to send cannabis-related traffic in Canada, it is crucial that you have proper age gating in place for your messages, to avoid compliance risks. Please note: Cannabis and CBD-related traffic is prohibited on Toll-Free Numbers.
- Other countries
Cannabis and/or CBD products are illegal in many countries around the world. Per our upstream telephony provider’s Messaging Policy, sending messages about cannabis in these countries is a violation of their policy. In countries where cannabis is fully legal, message traffic is permissible unless forbidden by local carrier rules. If the our upstream telephony provider is aware of relevant restrictions, these will be published on the SMS Guidelines page for the country in question. If you are unsure whether your use case is legal or compliant in a given country, we recommend you seek qualified legal counsel.
Cannabis-related messaging is not allowed over WhatsApp, as WhatsApp’s rules prohibit drug-related use cases.
What to do to unblock the account
You want to email support@aninja.com and we’ll communicate with the carrier to see if it is recoverable.
And definitely, you want to change your text templates to align with the AUP (Acceptable Use Policy) and TOS (Terms of Service). Refrain completely from any reference to terms like gummies, puff, vape, delta, and any other terms that could be scanned by the telephony carrier.
Please check this link for recommendations to increase the deliverability of your text messages