In this article, we show you how the Automate.io aNinja Integration can be easily done.
Getting Started
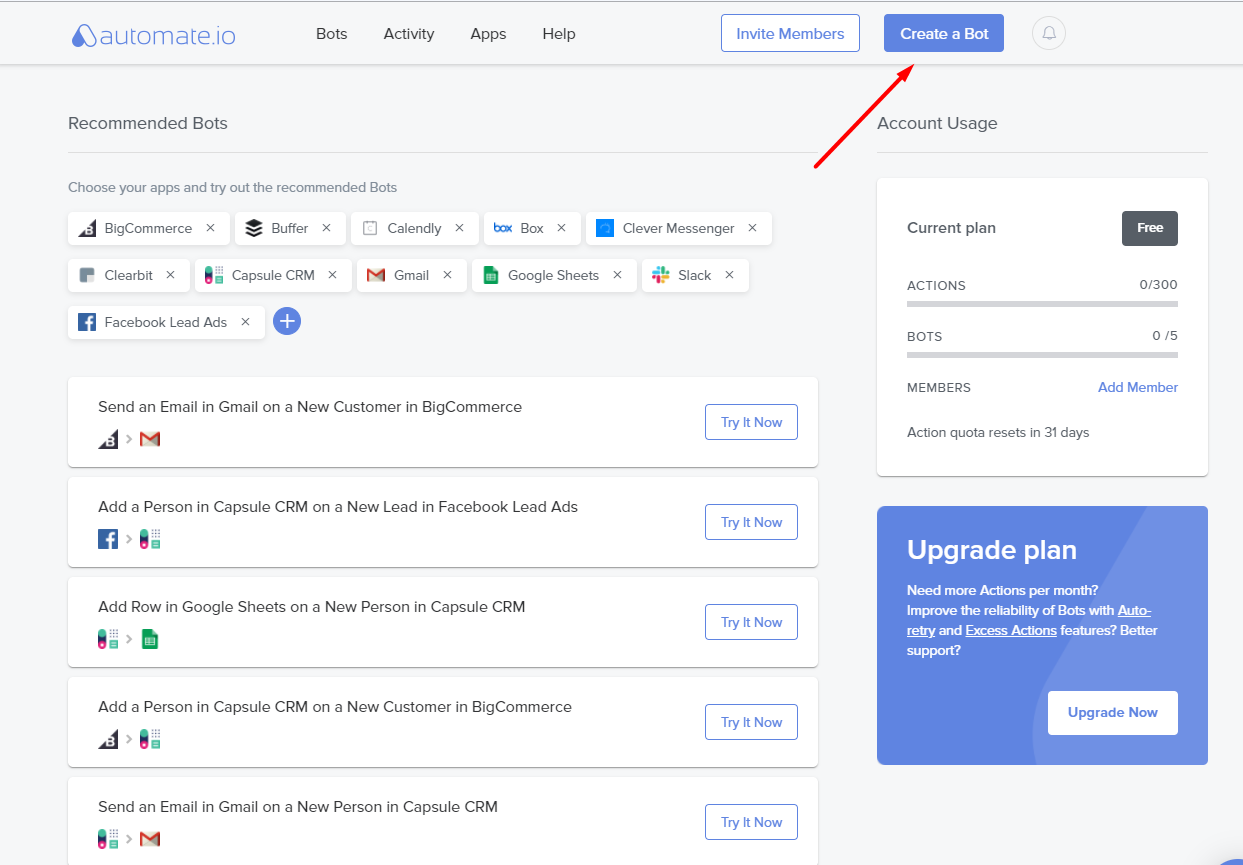
- Log in to automate.io
- Click on Create a Bot at the top of your dashboard.
- Give a name for your Bot. Let’s say ‘Facebook leads to aNinja‘, as we are using these two apps in this Bot.
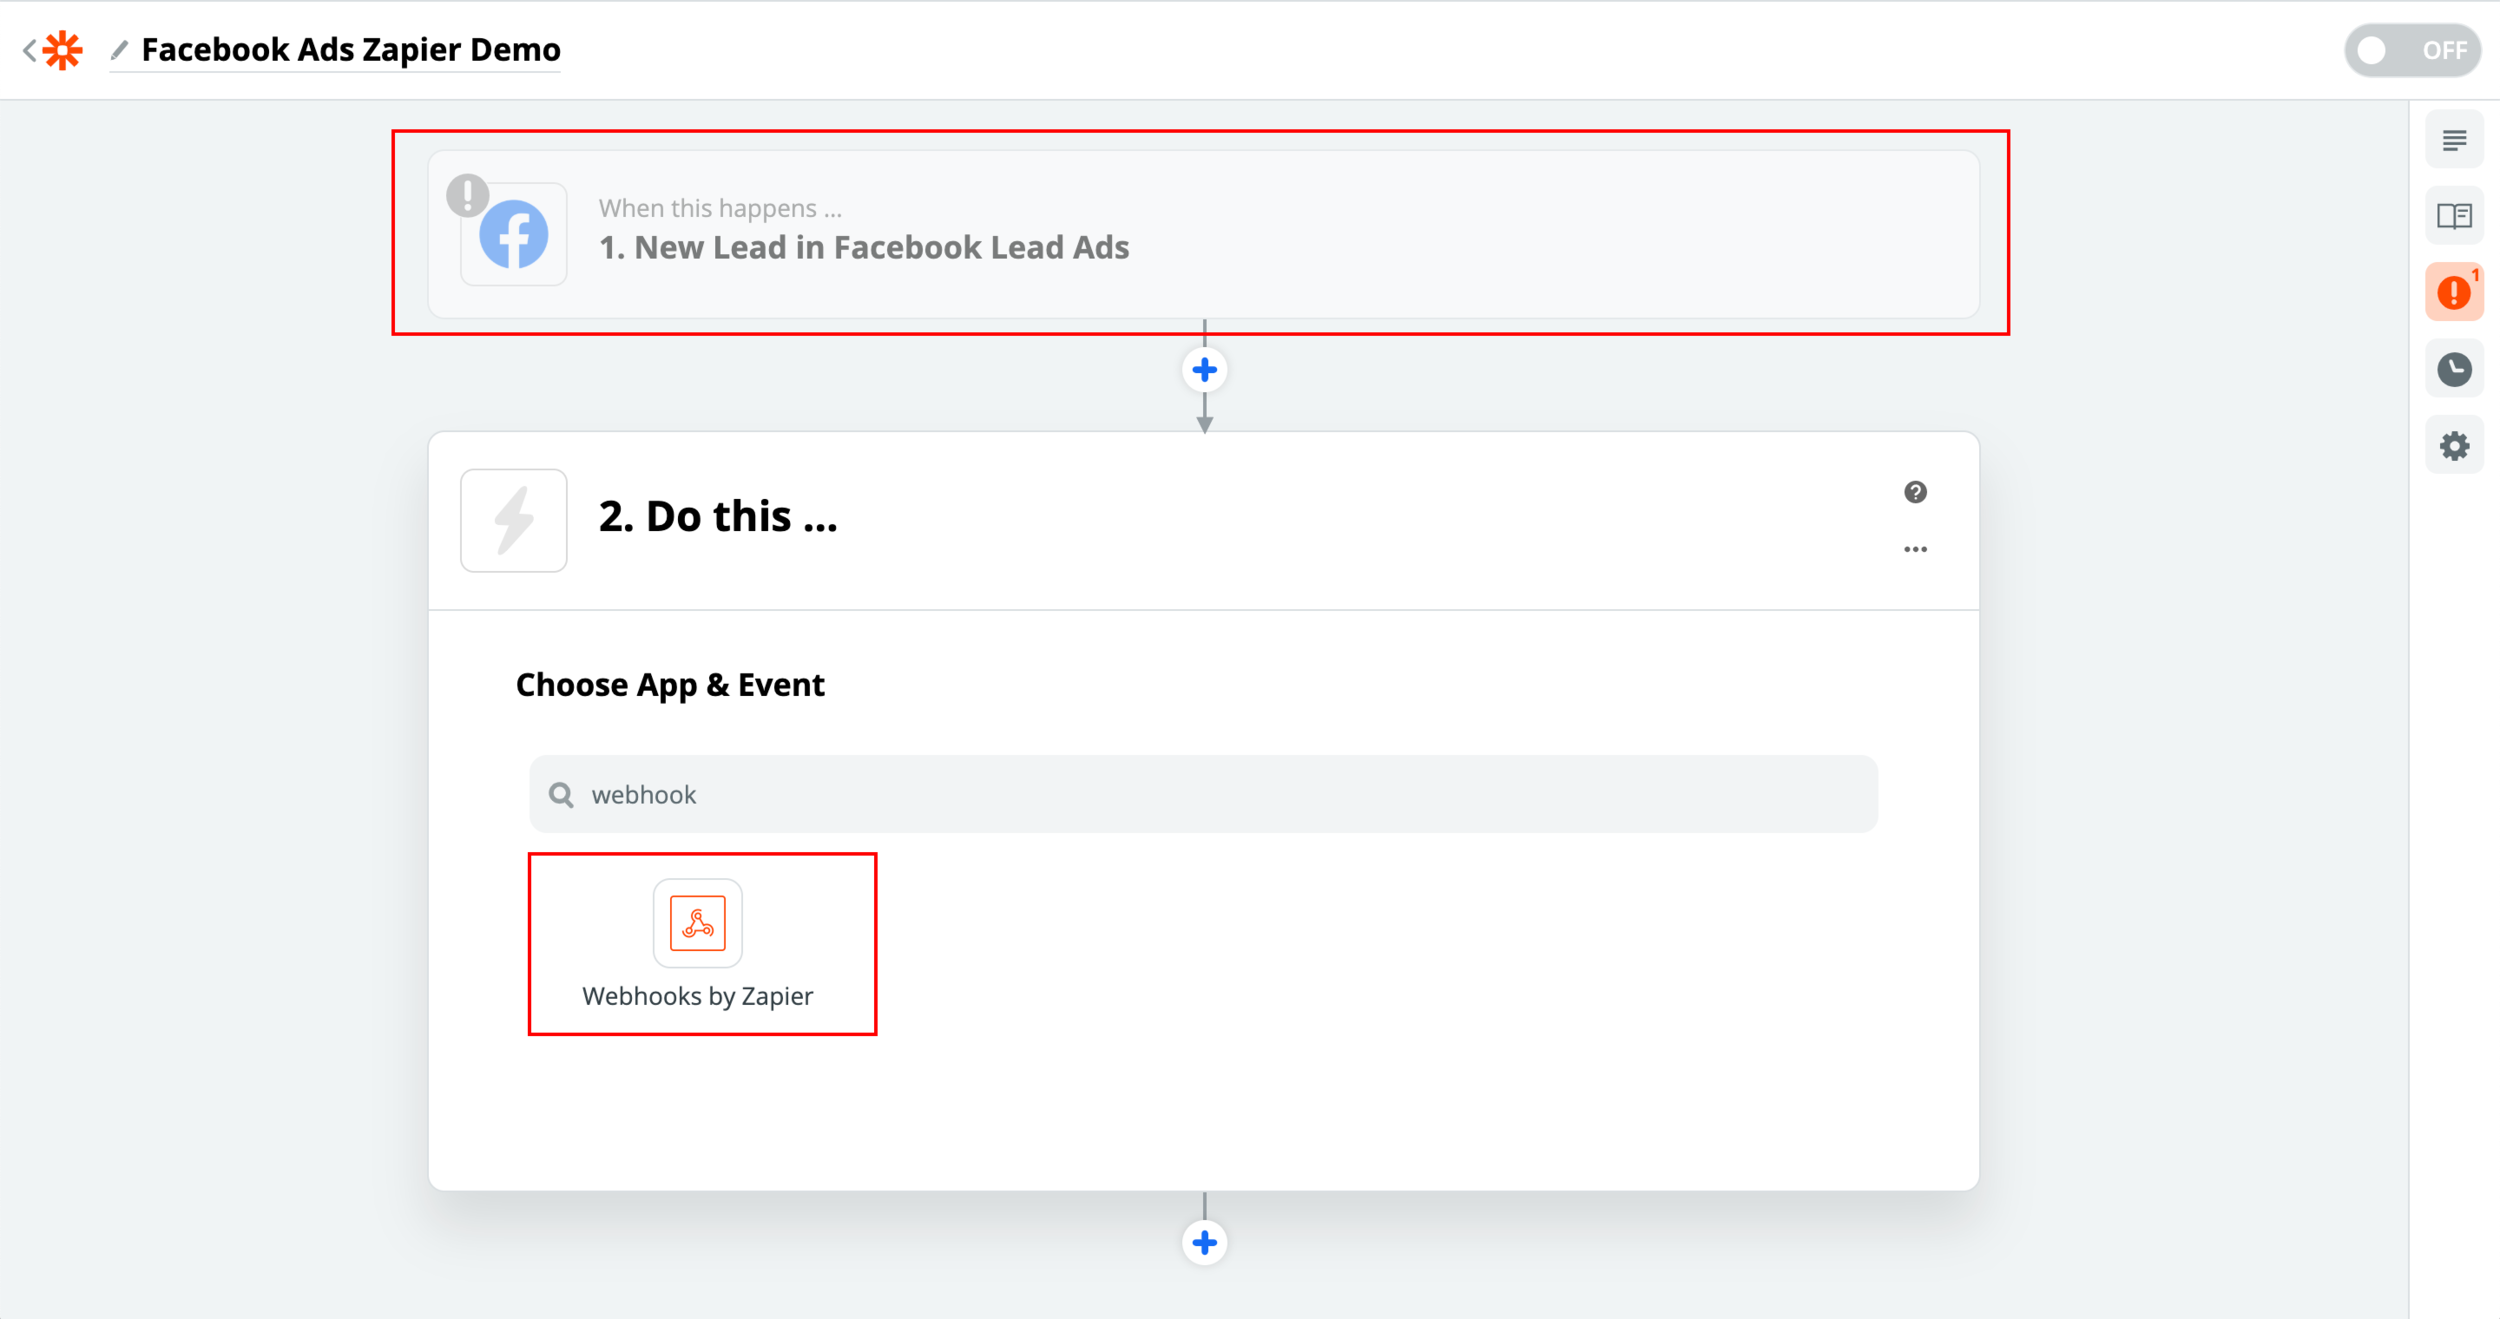
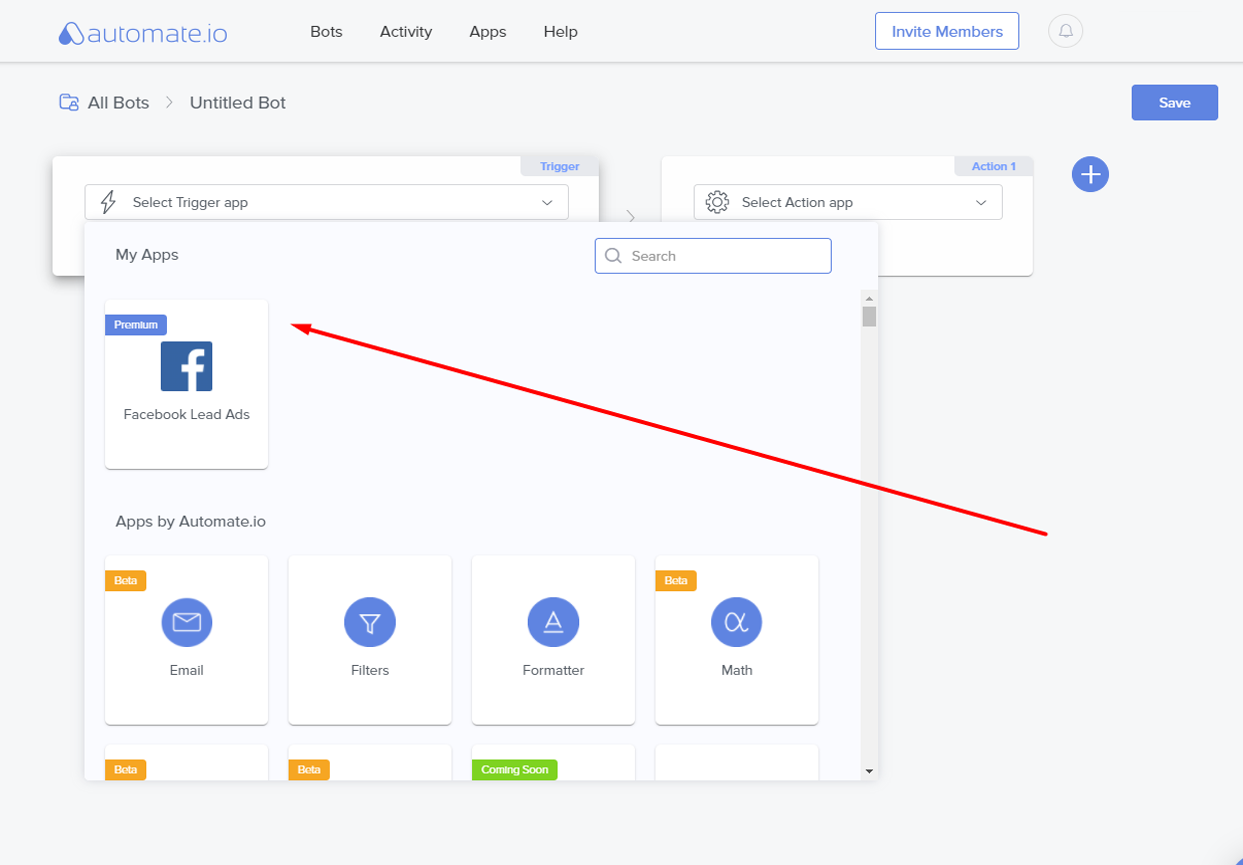
Connecting the Trigger app
- Select Facebook Lead Ads from the selection.
- Under the Input Fields select the Page and Form.
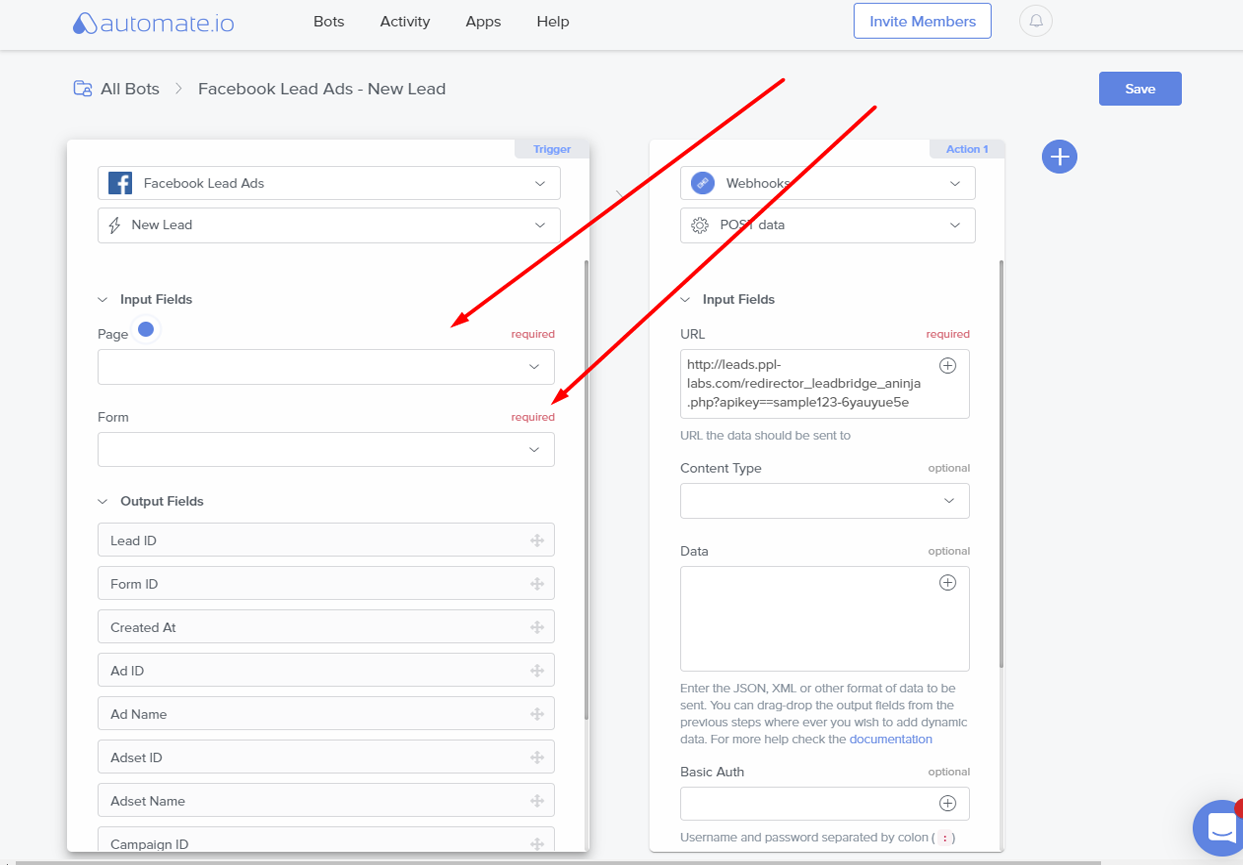
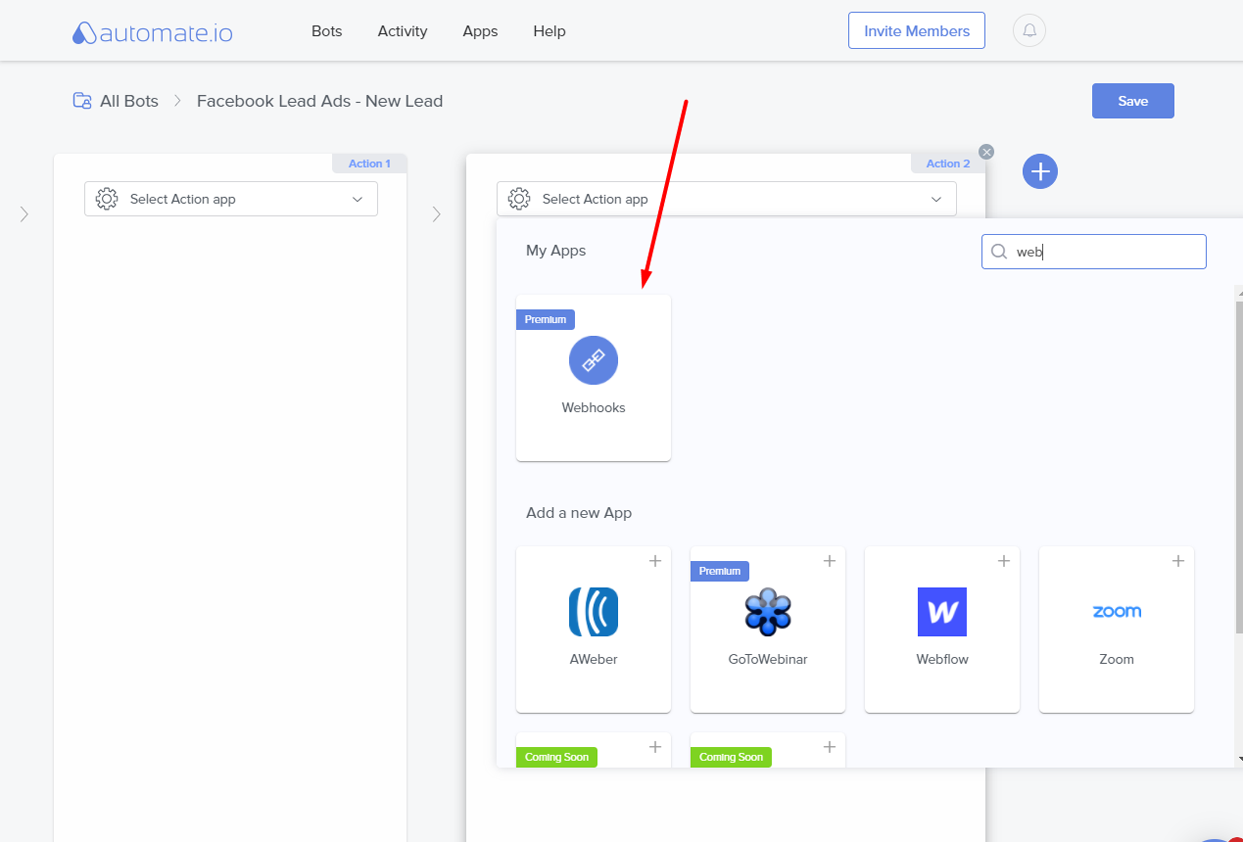
Connecting the Action app
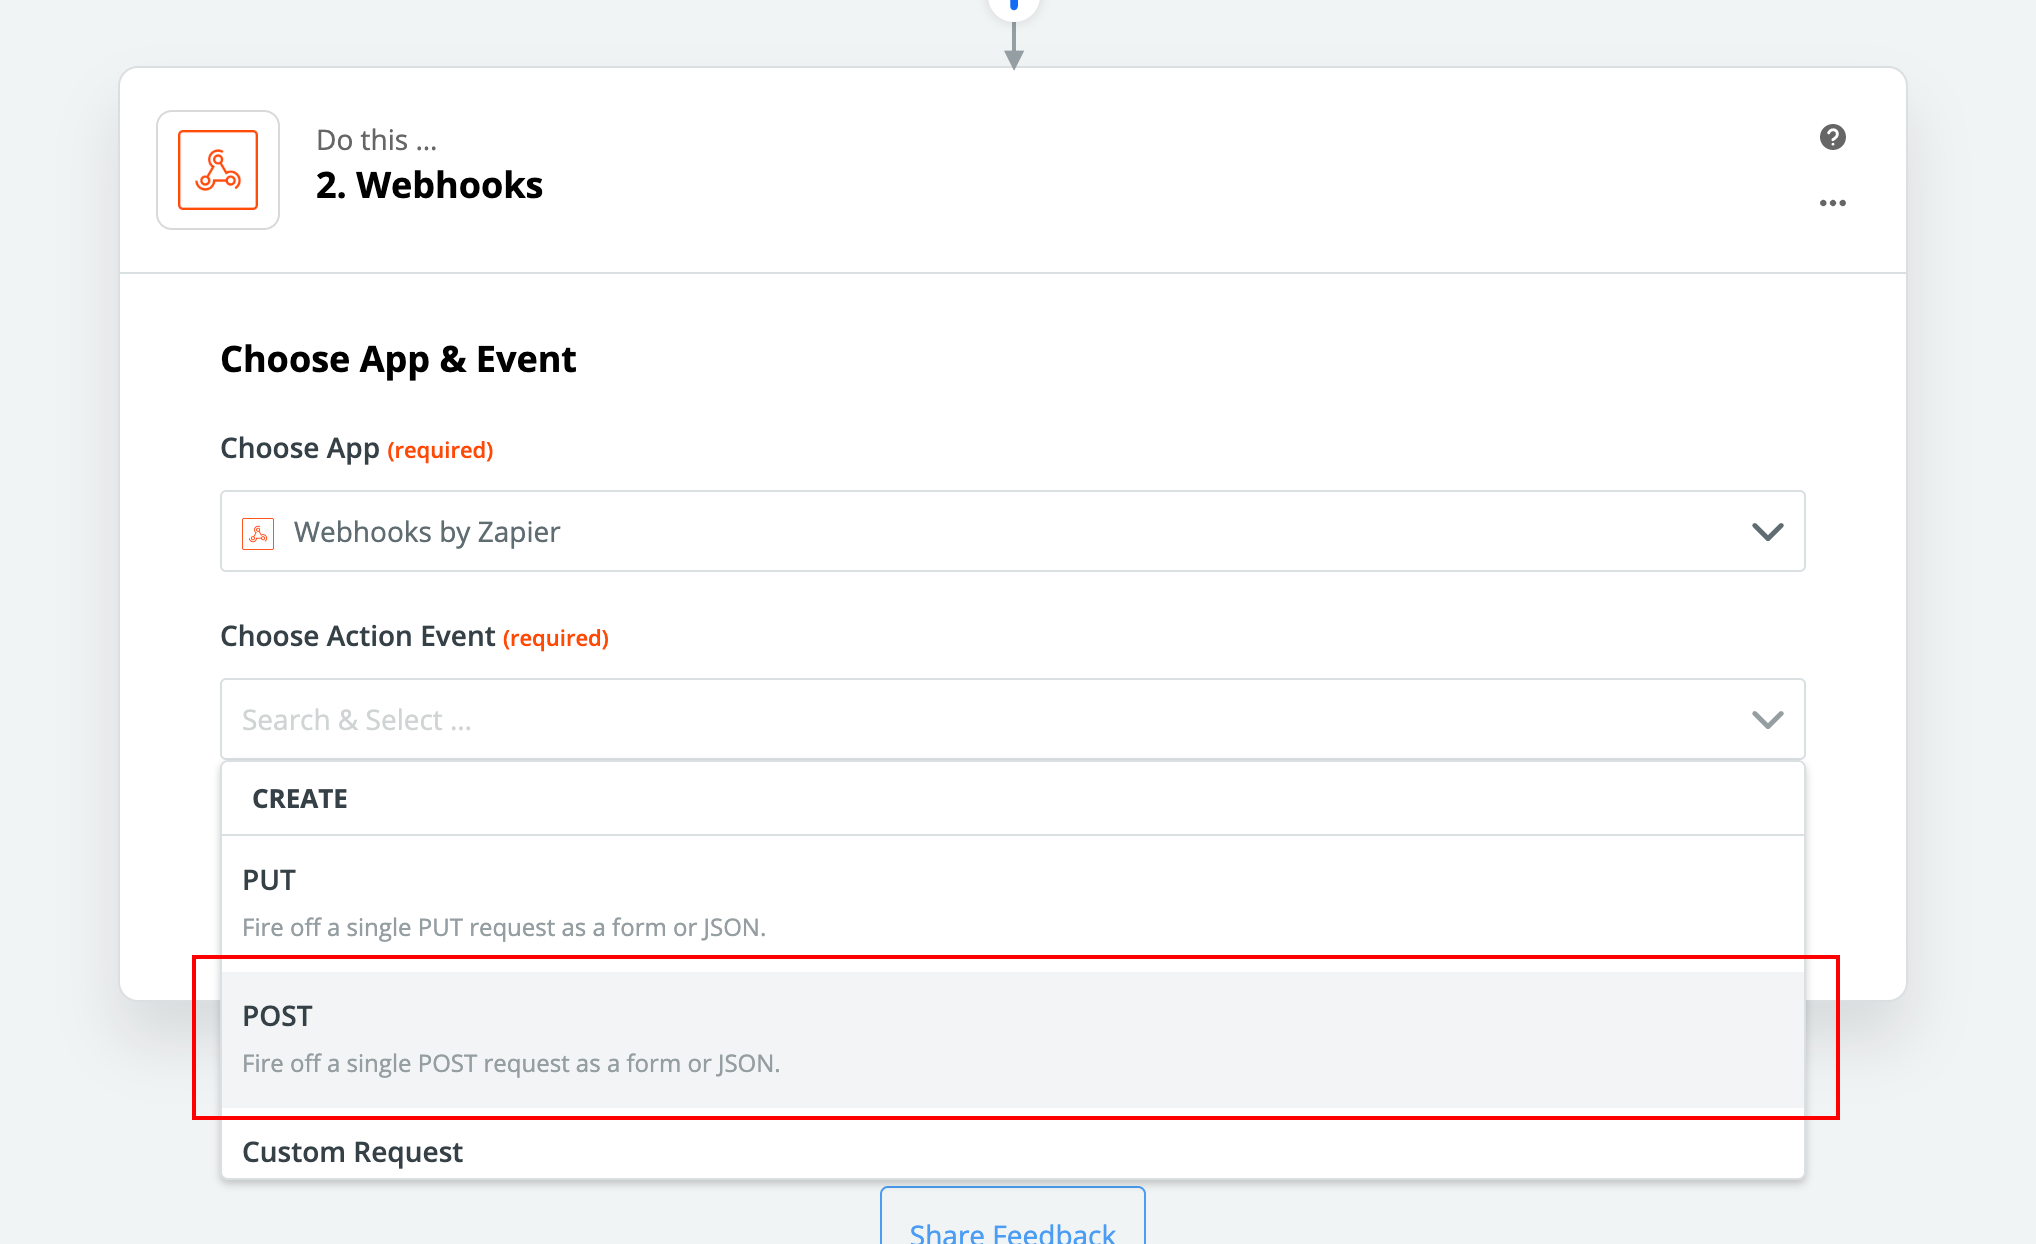
- Select Webhooks under the action app.
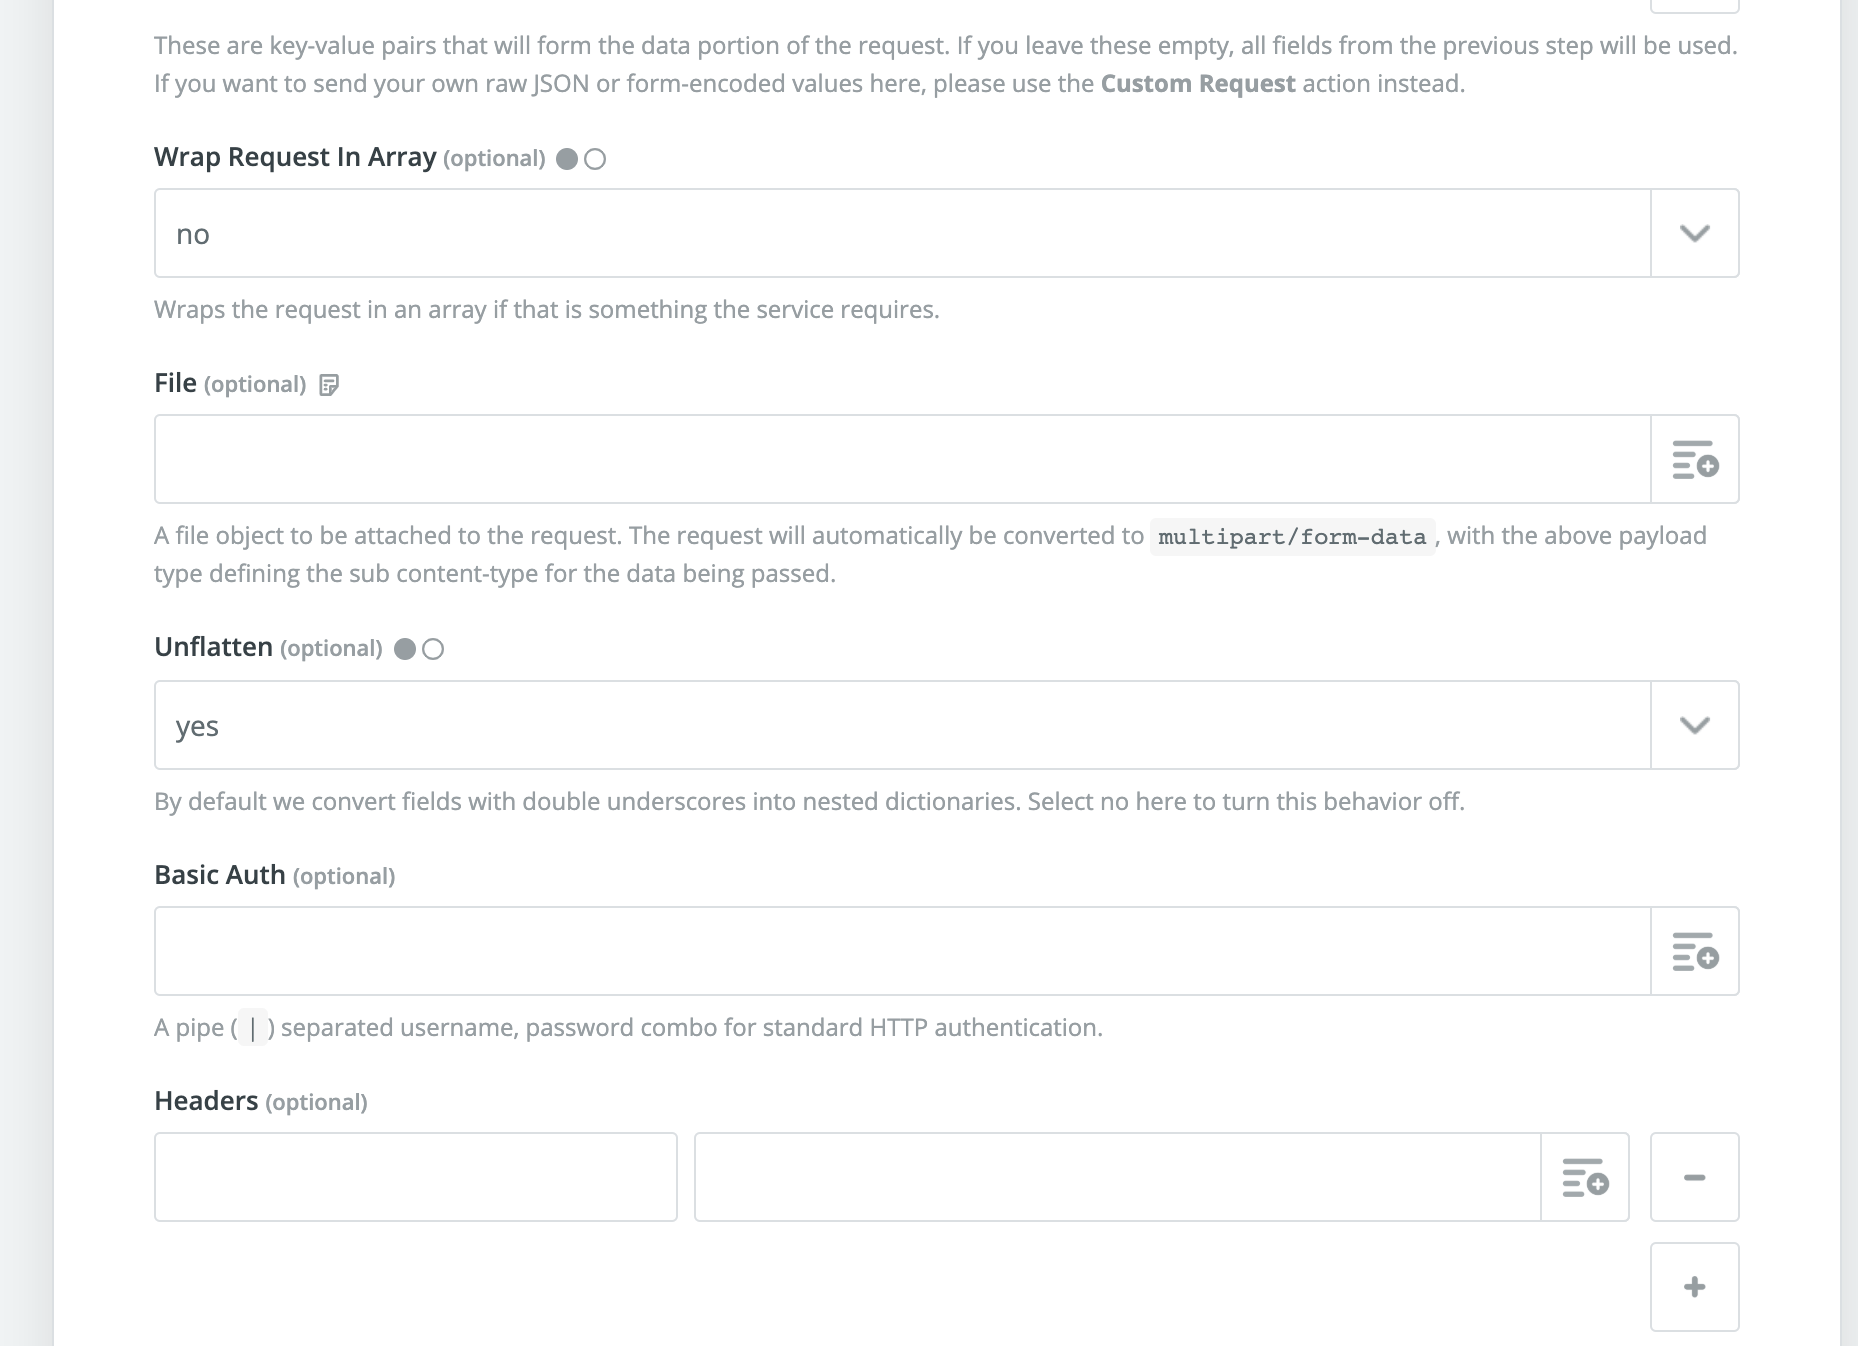
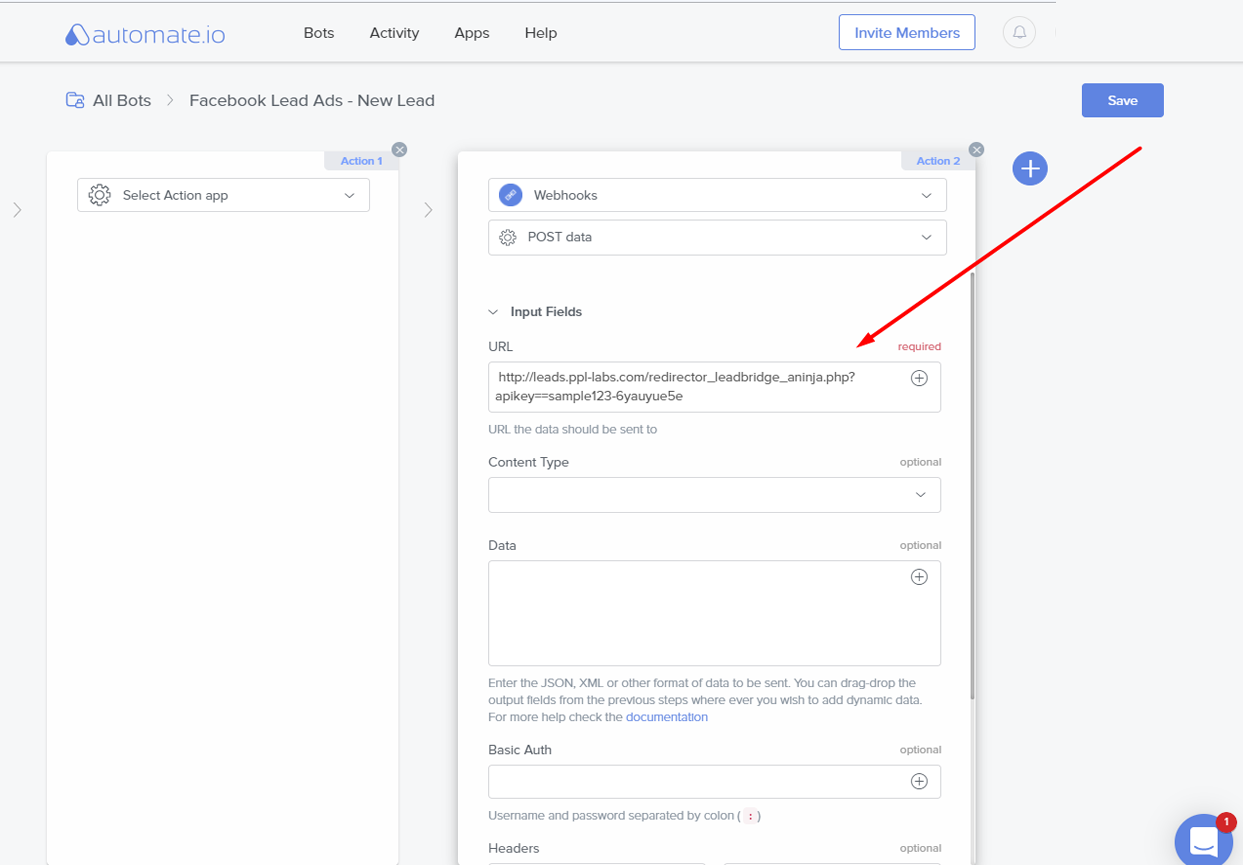
Configuring the Action app
- Select POST data under Webhooks.

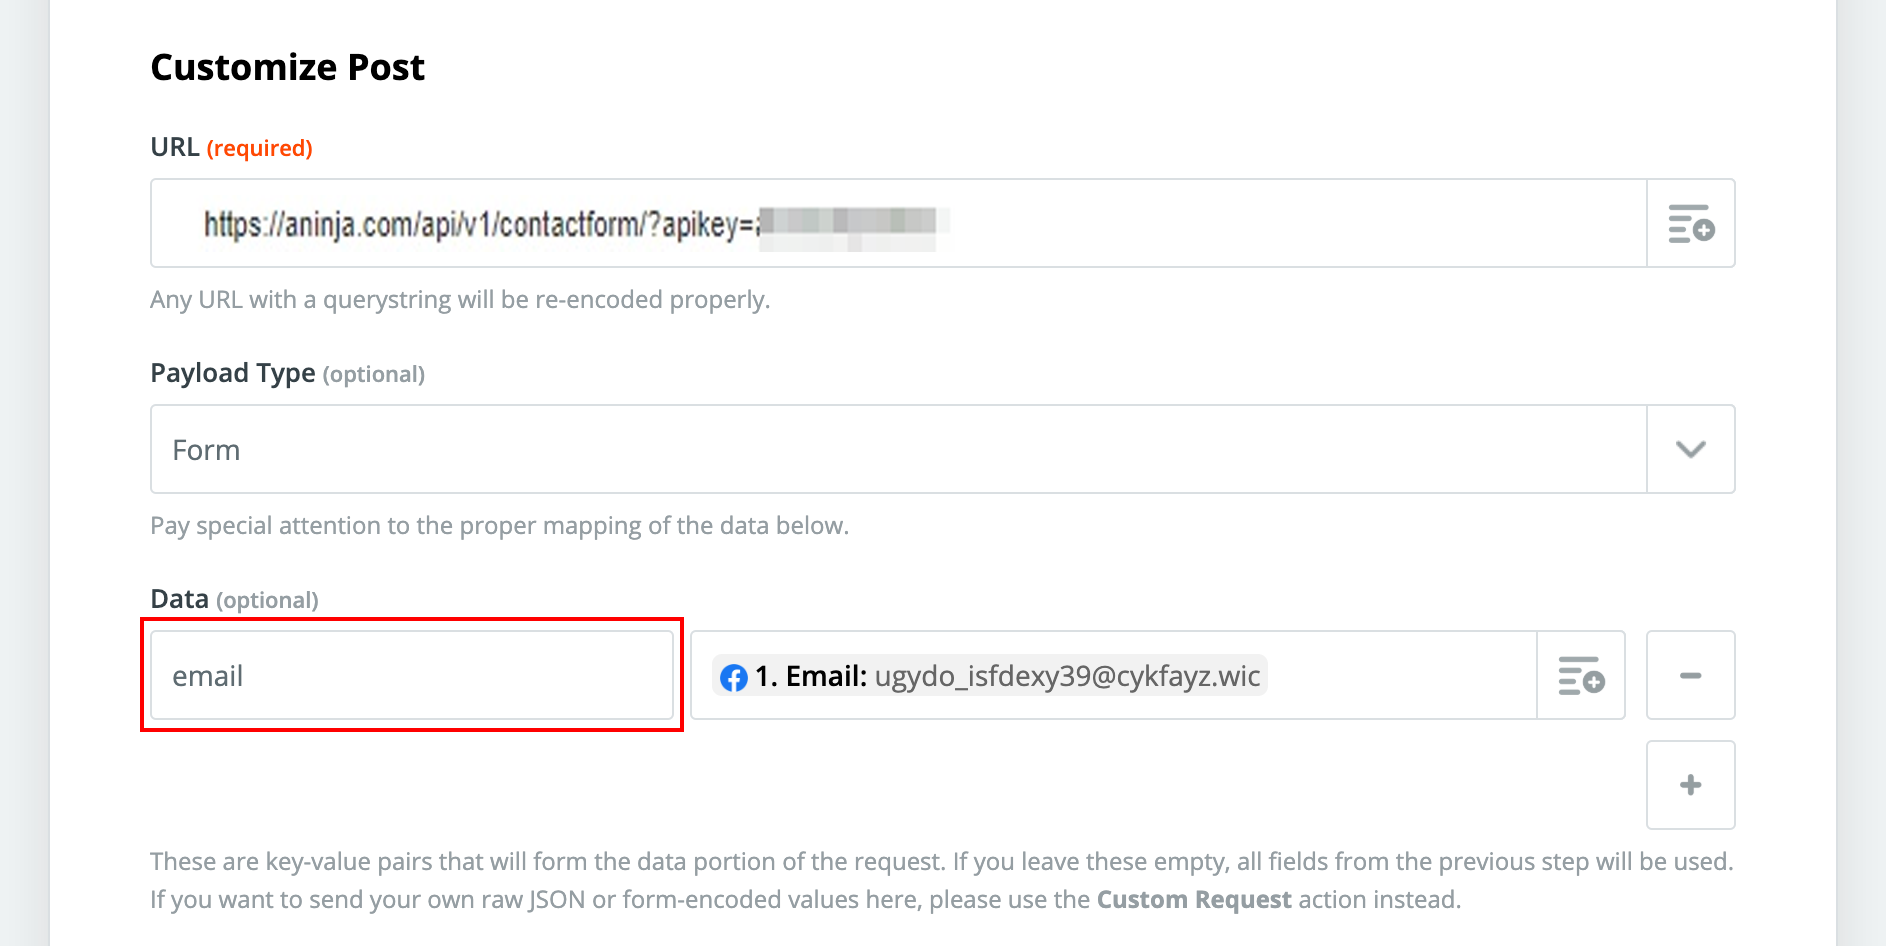
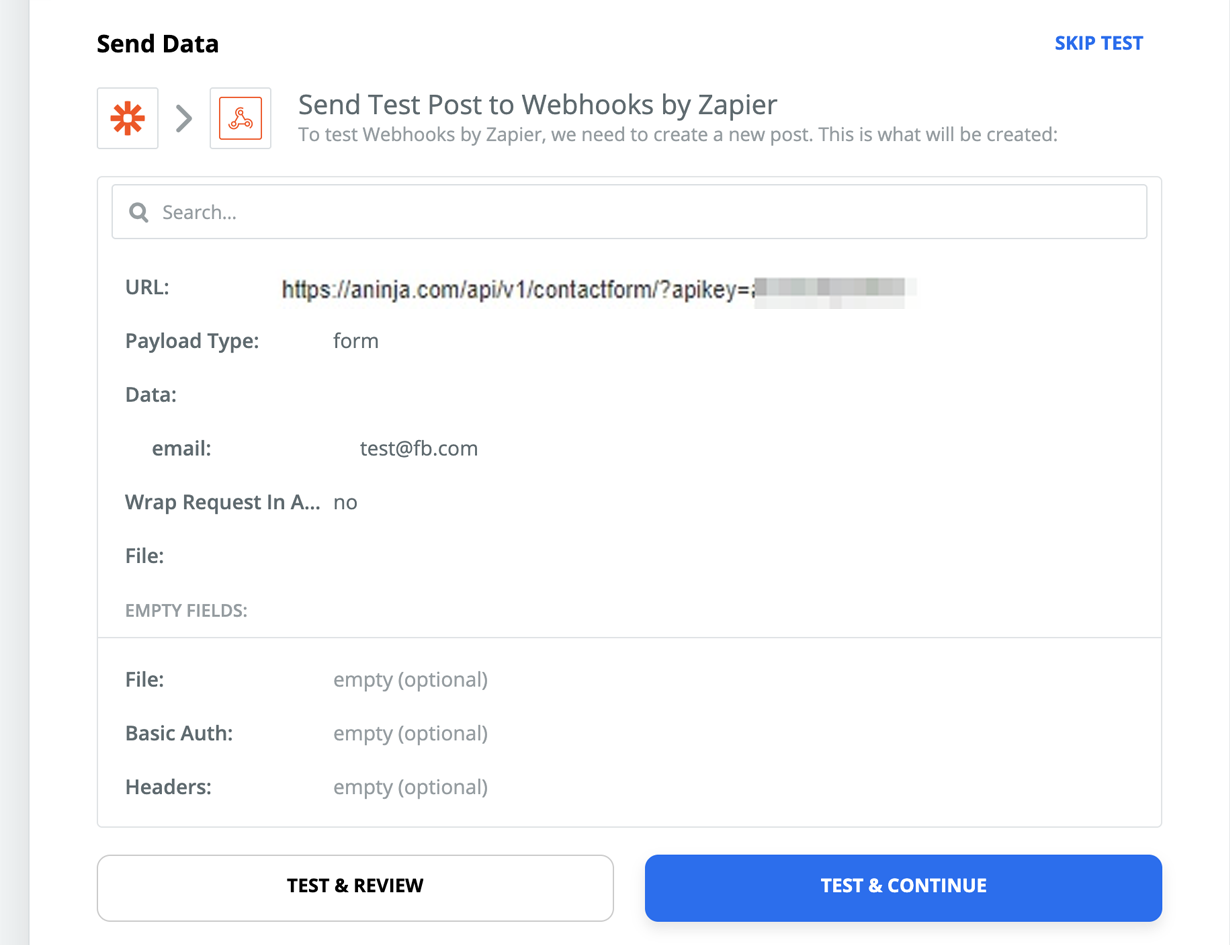
- Here, we need to find your aNinja API Key
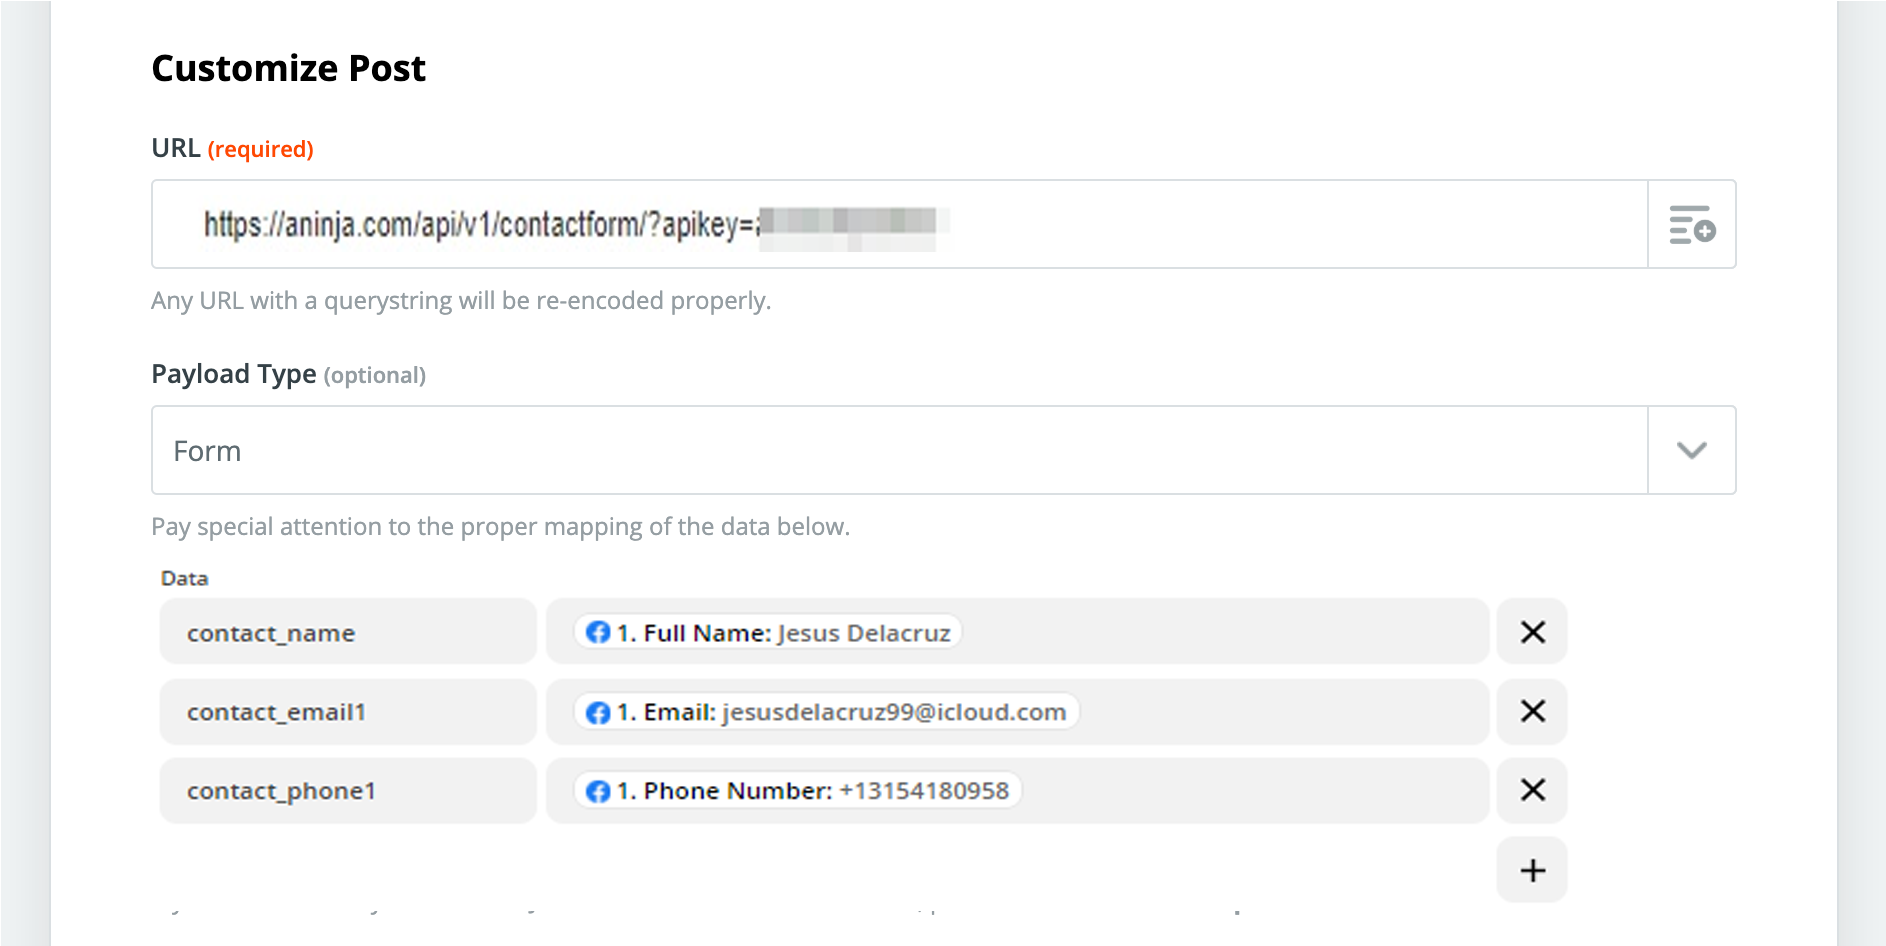
- Under Submission URL field put:
- https://aninja.com/api/v1/contactform/?apikey=YOUR_API_KEY
- Example: https://aninja.com/api/v1/contactform/?apikey=sample123-6yauyue5e
- https://aninja.com/api/v1/contactform/?apikey=YOUR_API_KEY
Enter the Posting URL
- Copy & Paste in the Posting URL from above.
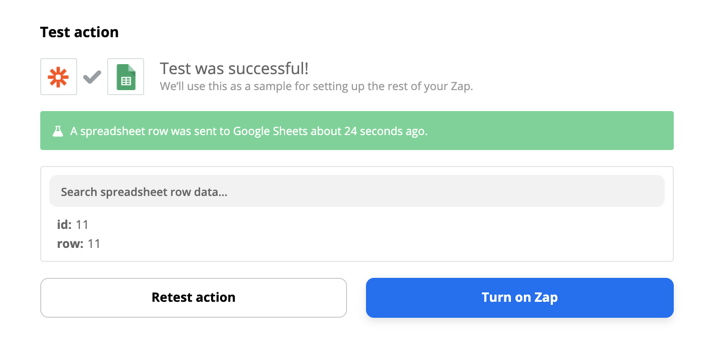
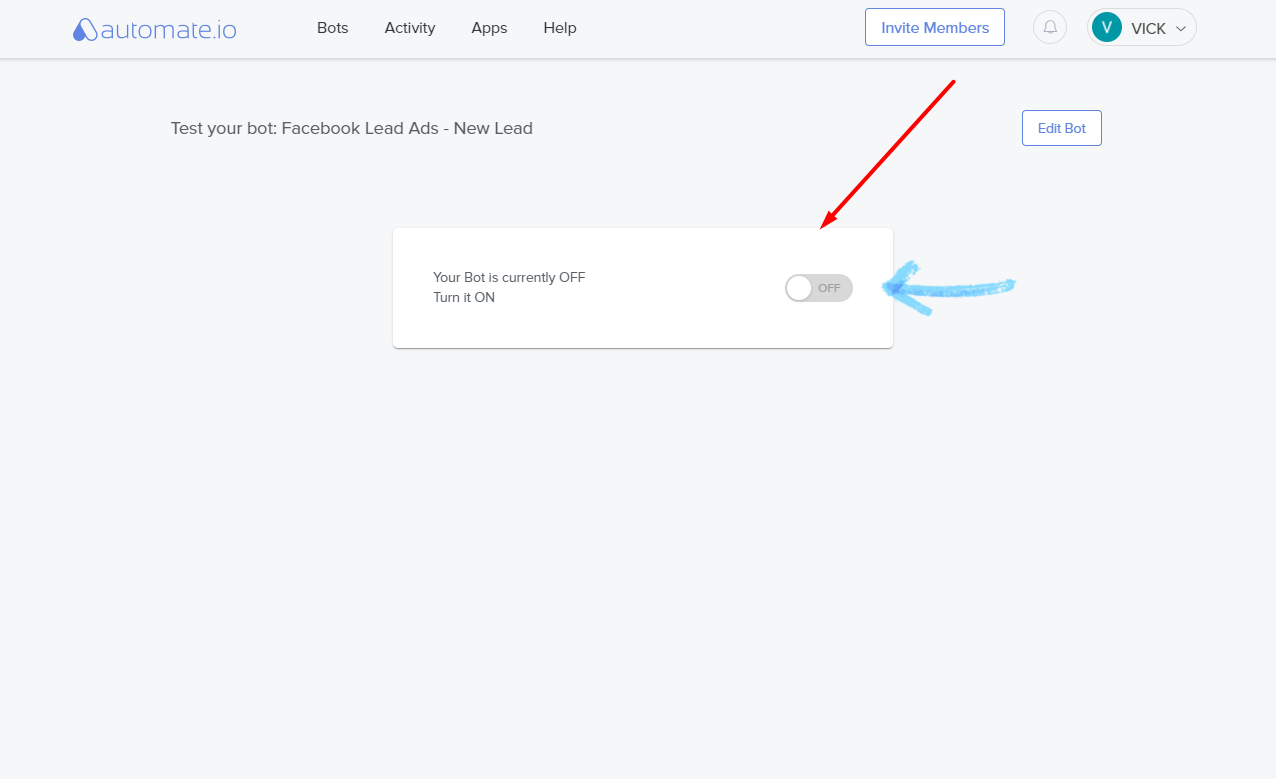
Saving and Turning ON the Bot
- Lastly, after you are done with creating your Bot, save it by clicking on the Save button on the top-right.
- You see that your Bot is in an OFF state. You can turn it ON using the toggle button.
Where does the imported data appear
After the integration, you can search your aNinja CRM for the imported leads. You can also search for any custom field, opportunities, and any other info that you have imported.
- Lead contacts appear in the leads contact section in the lead view
- Opportunities also appear in the opportunity section in the lead view
- The company’s info appears on the top left of the lead view, in the Company section.
- Custom fields appear in the custom field section of the lead view
- Lead Search is a field that also appears in the bottom left of the lead view. Specifically, these are info/links on the lead or the organization found in Google search.
Need help with Automate.io aNinja Integration? Leave us an email at support@aninja.com. We will happily assist you.