Integrating “Forminator pro” forms with aNinja allows you to push leads data to aNinja with every form submission.
In this article we’re using a Javascript code for the integration.
Integrating Forminator pro with aNinja
To add a custom JavaScript field to your Forminator pro form, follow these steps:
- Log in to your WordPress site
- And navigate to the Forminator Pro plugin.
- In the Forminator Pro dashboard, select the form that you want to integrate with aNinja.
- Then, in the form builder, click on the “Custom HTML/JS” field to add it to your form.
- Once the field is added, click on the “Edit HTML” button to open the HTML editor.
- And add your JavaScript code in the editor.
Here’s an example – you want to map the form fields to aNinja fileds (see fields mapping section below)
<script>
$ = jQuery;
$(document).ready(function() {
$(‘body’).on(‘submit’, ‘#forminator-module-5704‘, function (e) {
var contact_name = $(“input[name=’name-1′]”).val();
var contact_email1 = $(“input[name=’email-1′]”).val();
var contact_phone1 = $(“input[name=’phone-1′]”).val();
var time_to_contact = $(“select[name=’select-1′]”).val();
var method_to_contact = $(“select[name=’select-2′]”).val();
var comments = $(“input[name=’textarea-1′], textarea”).val();
$.ajax({
type: ‘post’,
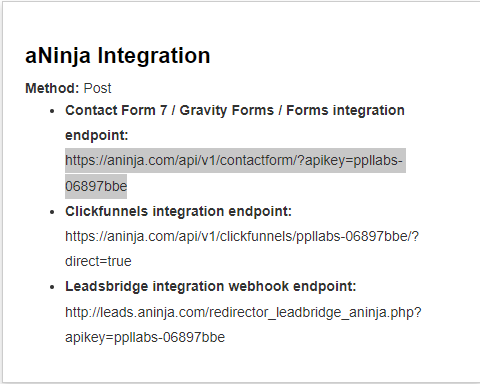
url: “https://aninja.com/api/v1/contactform/?apikey=YOURAPIKEY“,
data: {
‘contact_name’: contact_name,
‘contact_phone1’: contact_phone1,
‘contact_email1’: contact_email1,
‘custom_comments’: comments,
‘custom_best_method_to_contact’: method_to_contact,
‘custom_best_time_to_contact’: time_to_contact,
},
success: function (data) {
//alert(‘success’);
console.log(‘Lead succesfully injected to aninja’);
}
});
});
});
</script>
- Lastly, click “Save” to save your changes.
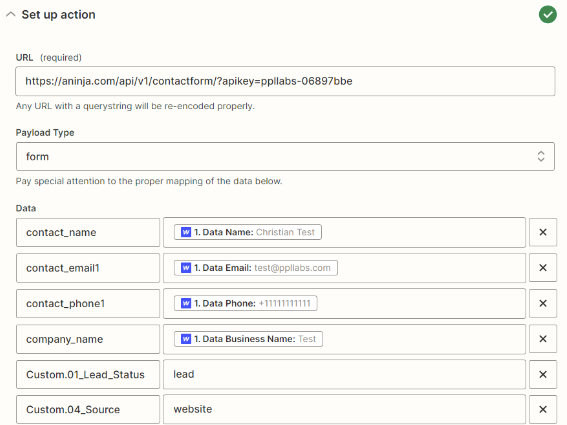
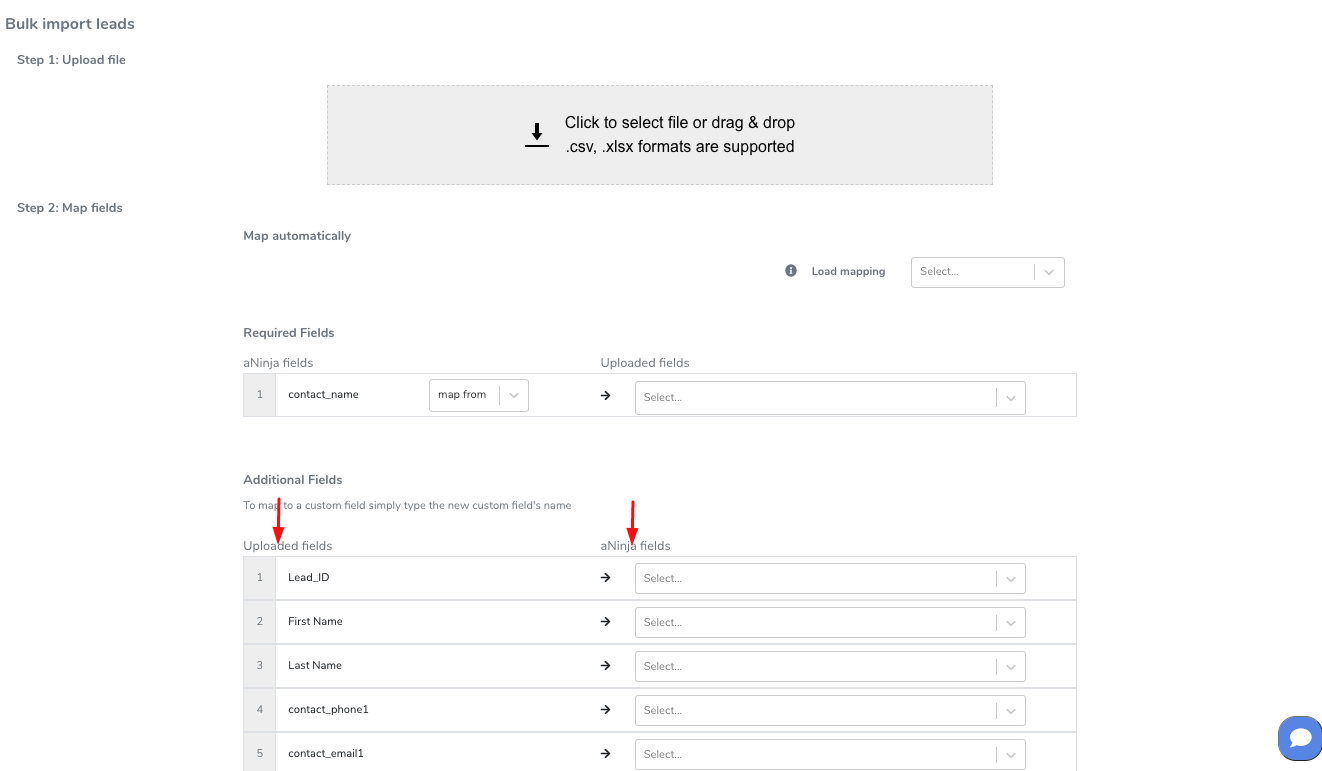
Fields mapping
Map the data on the aNinja fields and Form fields.
These are the default aNinja fields:

For the Custom Fields, just prefix the field name with “Custom.” e.g. Custom.Source

Where does the data appear
After the integration, you can search your aNinja CRM for the imported leads. You can also search for any custom field, opportunities, and any other info that was pushed from the form.
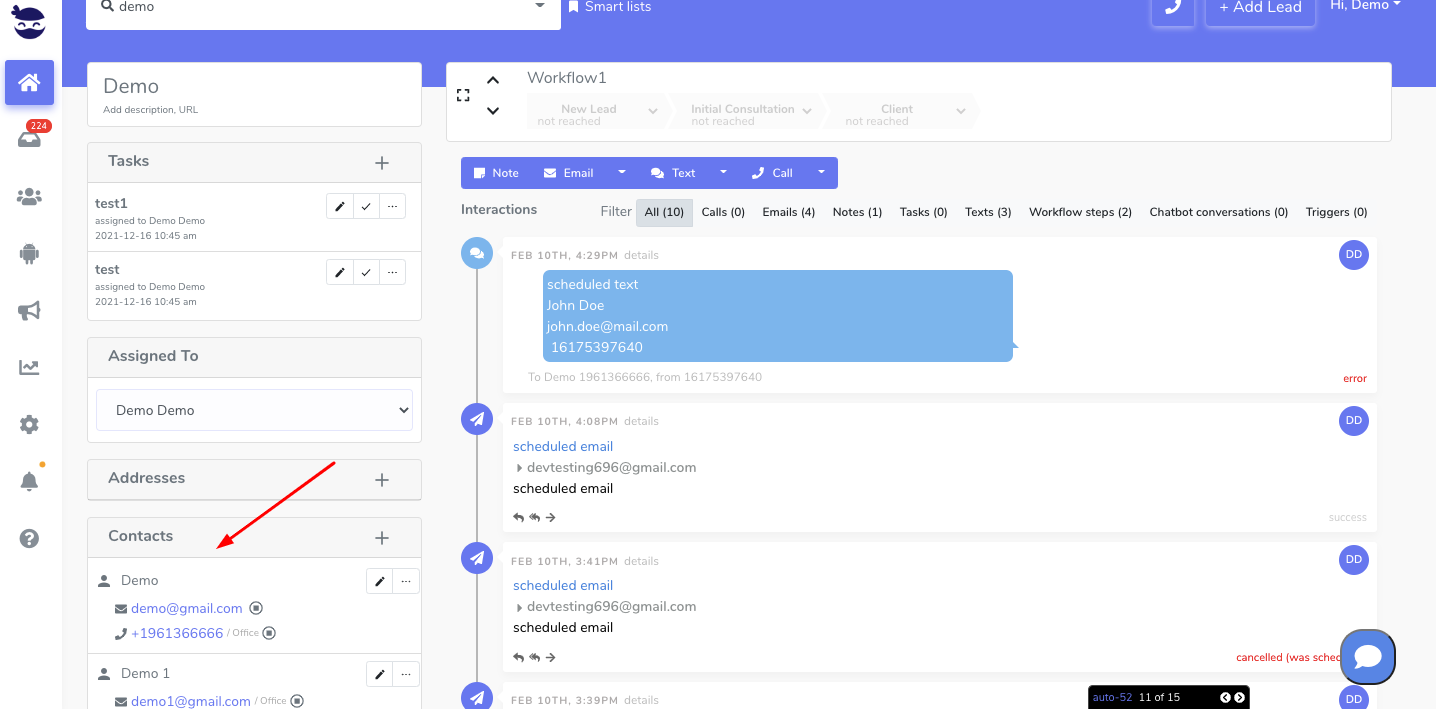
- Lead’s contacts appear in the leads contact section in the lead view
- Opportunities also appear in the opportunity section in the lead view
- The company’s info appears on the top left of the lead view, in the Company section.
- Custom fields appear in the custom field section of the lead view
- Lead Search is a field that also appears in the bottom left of the lead view. Specifically, these are info/links on the lead or the organization found in Google search.