Before adding aNinja Chatbot to your Website, you want to create the playbook steps in your install and find the embed code.
Adding aNinja Chatbot embed code to your Website
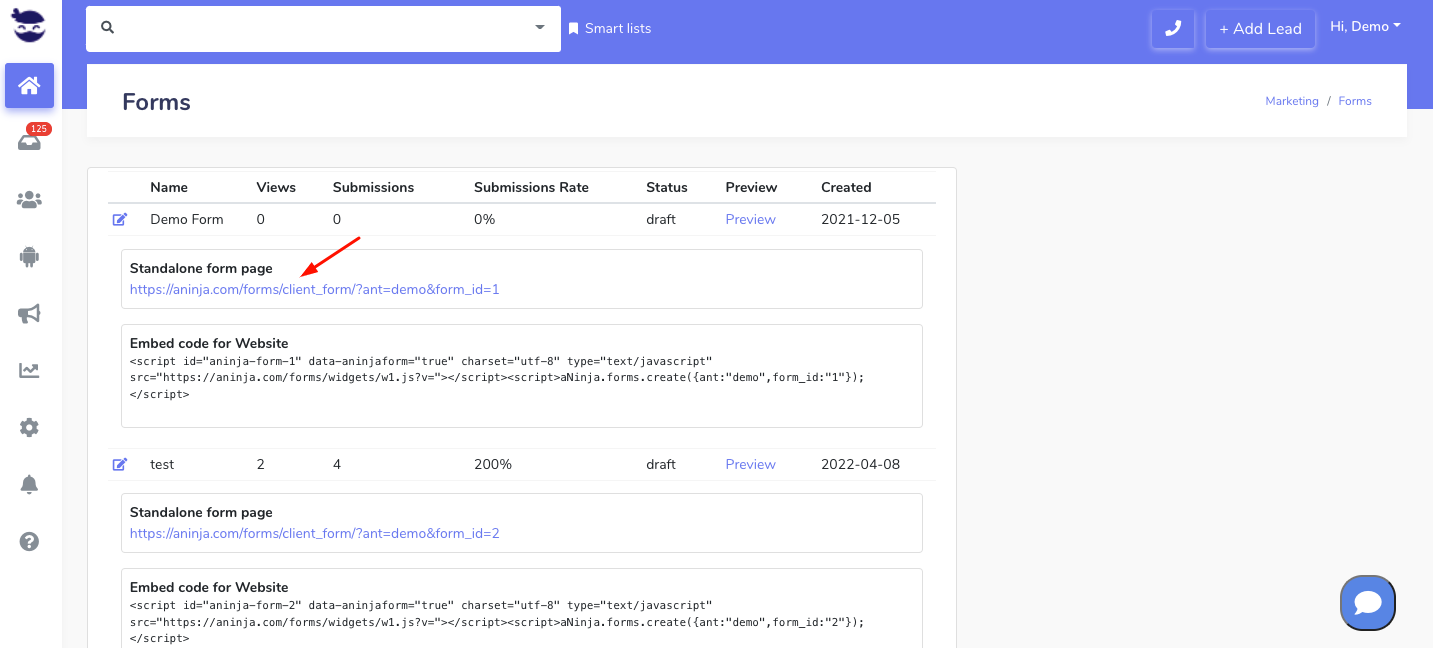
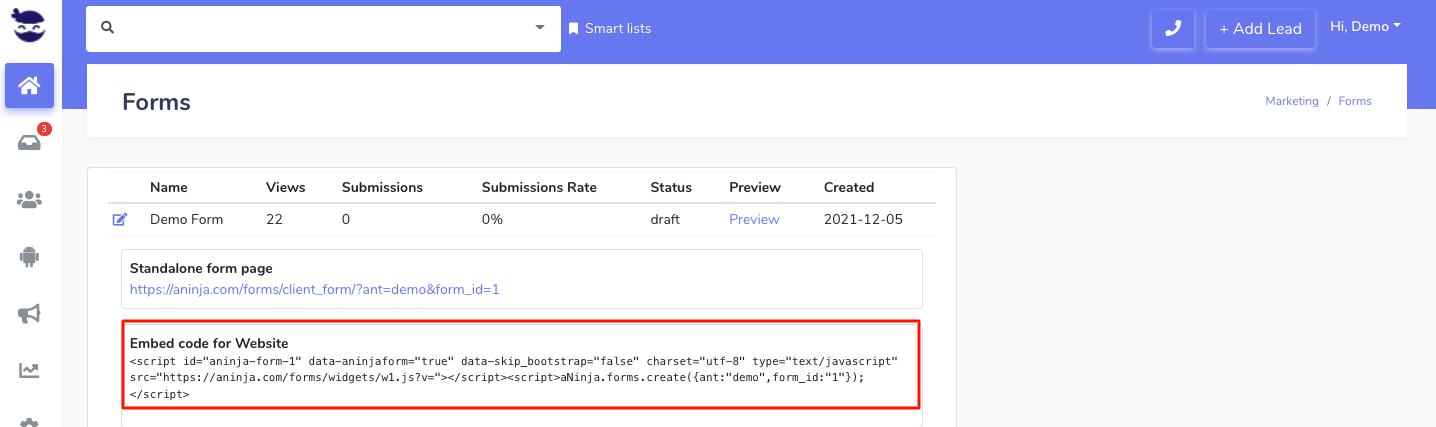
- Find your aNinja Chatbot embed code
- Add the Javascript embed code to your website for the aNinja chatbot to start loading on the page.
- This Javascript snippet will automatically load the chatbot widget onto your site when your website pages load.

Where to add the Chatbot embed code
- Typically you want to add this code in the HTML section before the closing body tag of your HTML code or layout.
- If you’re not familiar with basic HTML at all, feel free to contact us for additional support at support@aninja.com.
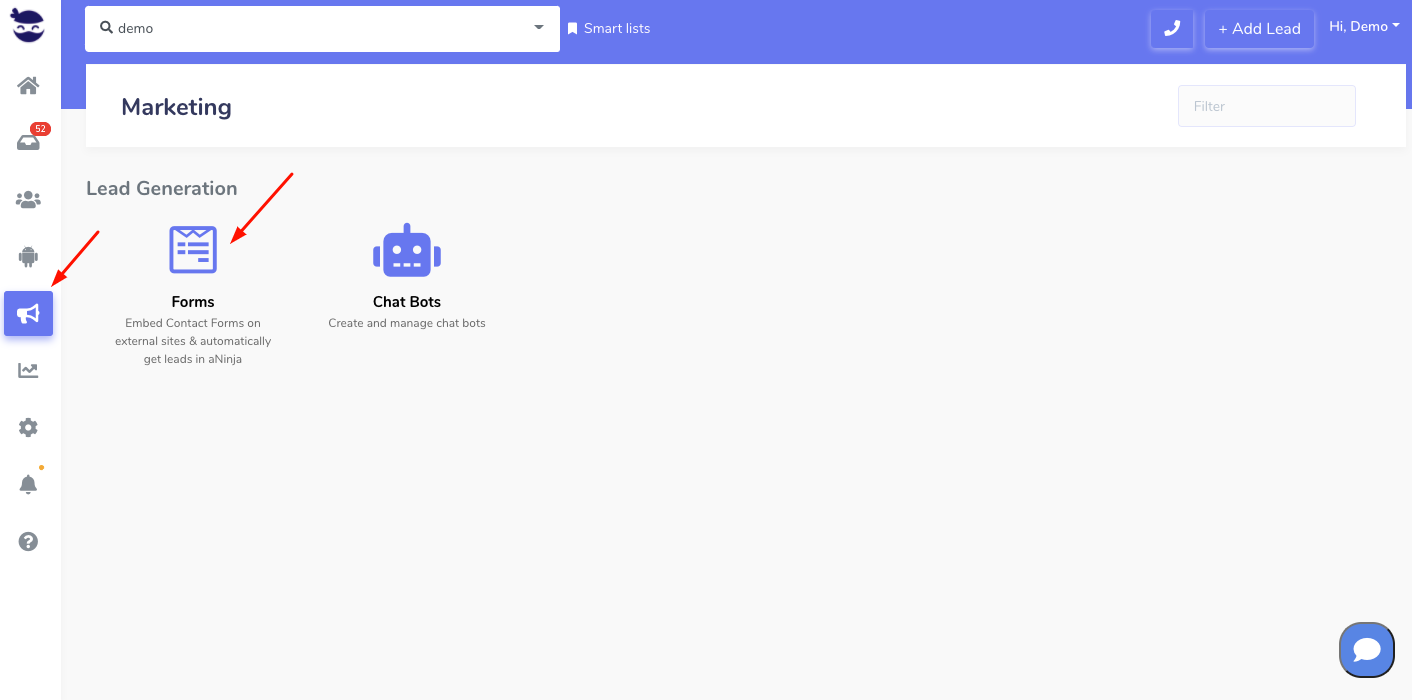
Chatbot embed on websites
Additionally, you can also look at the Websites-specific information:
What’s next
- Once you’ve successfully added the chatbot embed code script to your website, your defined chatbot playbook should start loading on page visits!
- You’ll also be able to see stats on how the chatbot is performing in your aNinja install.
Where do the Chatbot Conversations appear in aNinja
Now that you’ve added your Chatbot to your website, as a result, after every chatbot conversation, a new lead is created into your aNinja account with the lead data captured in the conversation.
If the lead closed the chatbot conversation before your reply, your message will appear in a bubble next to the chatbot on the website:

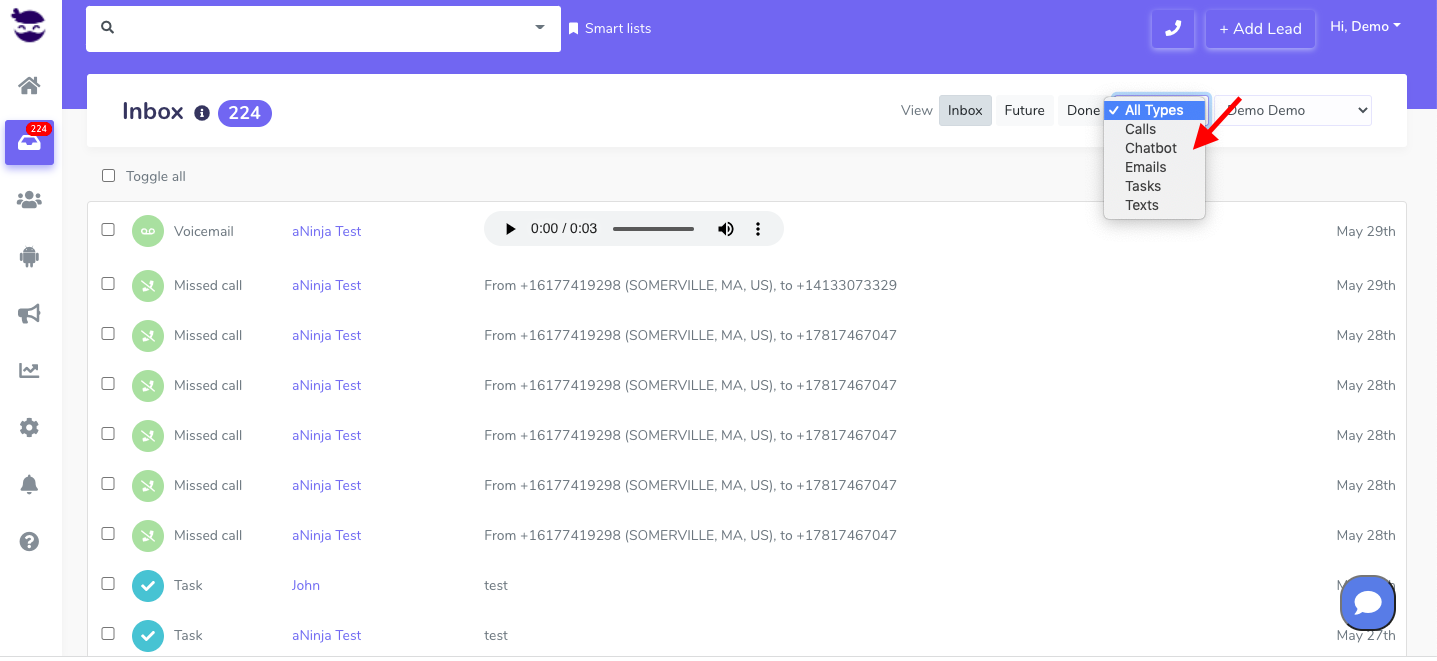
You can see these conversations:
- In your inbox. Just select “Chatbot” from the All types drop down.

- And in your Dashboard widget “Chatbot Conversations”. If you can’t see this widget, just enable it from the little gear on the top right of the dashboard.
Chatbot behavior
The chatbot pop-up gets triggered only for the first user visit to your site. It doesn’t automatically re-pop up on their subsequent visits, mainly because it gets annoying for repeat users. However, they can see that it’s in the bottom right section.
We can customize the below Chatbot behaviors:
- Exposing the Chatbot initial greeting on every visit
- Hiding the initial greeting message on page load
- Delay showing the Chatbot widget for a number of seconds
- Customizing widget container style to fit on the load page
Send us your request to support@aninja.com and we will implement the changes for you.