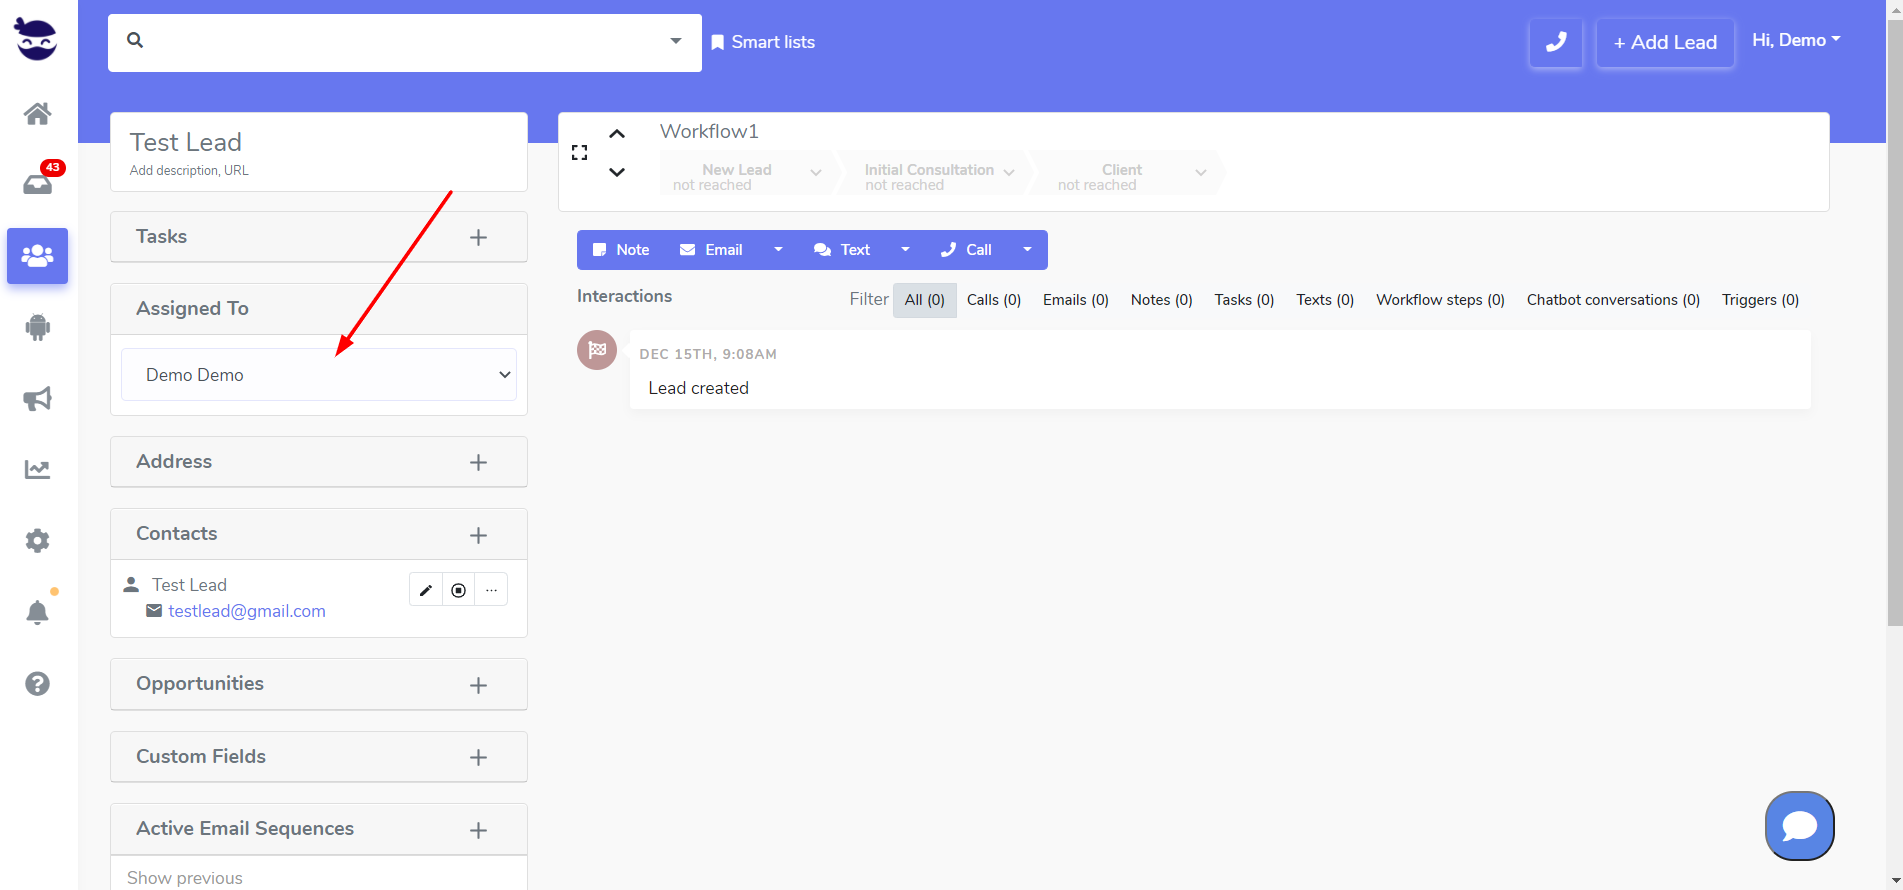
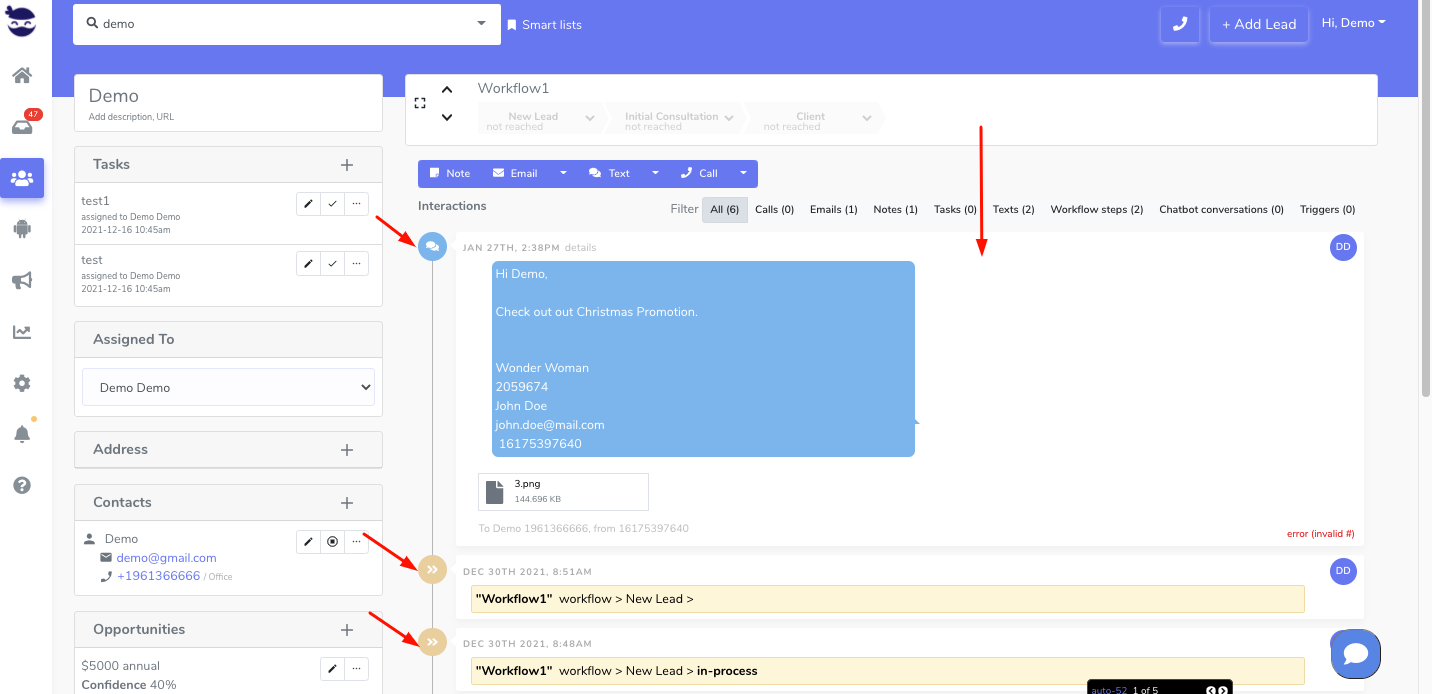
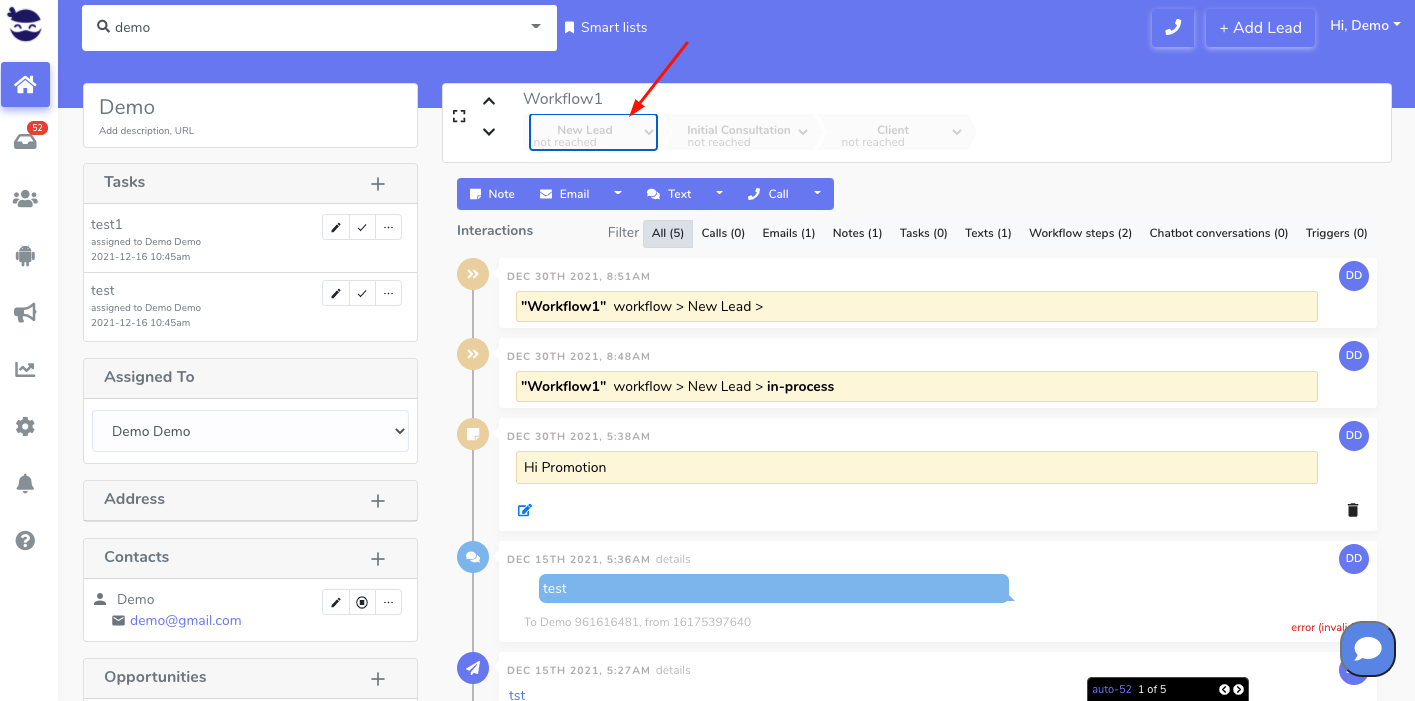
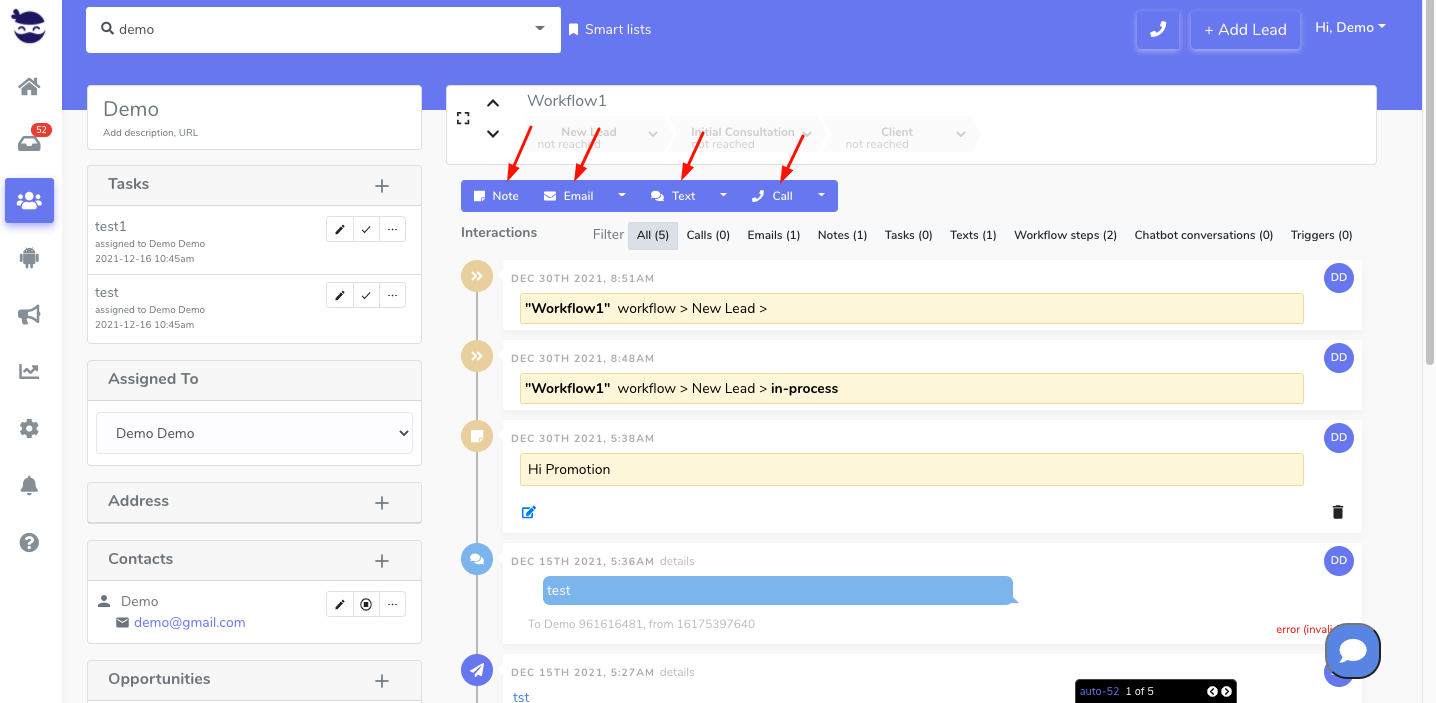
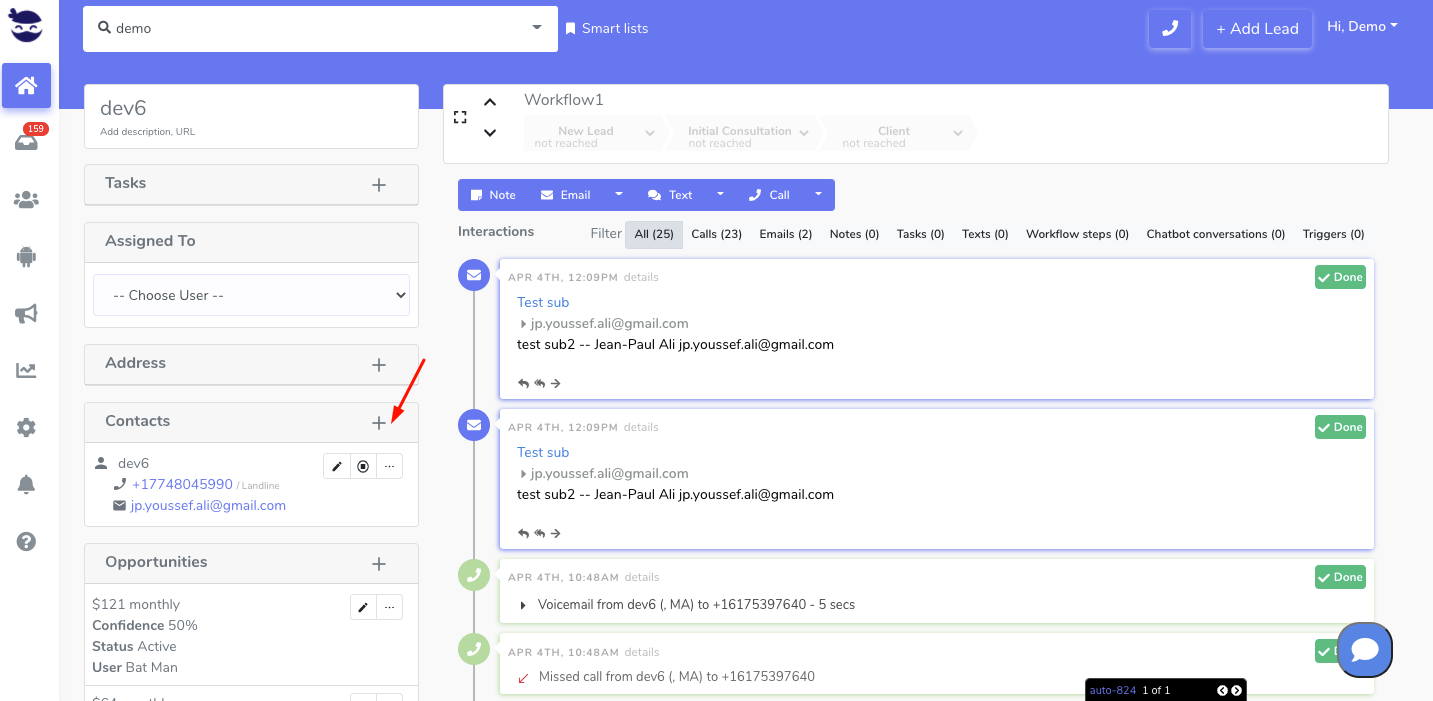
All your lead activities are saved in the Lead View in the History section to give you a deep view of the tasks performed for this lead.
What are the lead activities?
They are the tasks that you can perform on a lead in all stages:
- Tasks
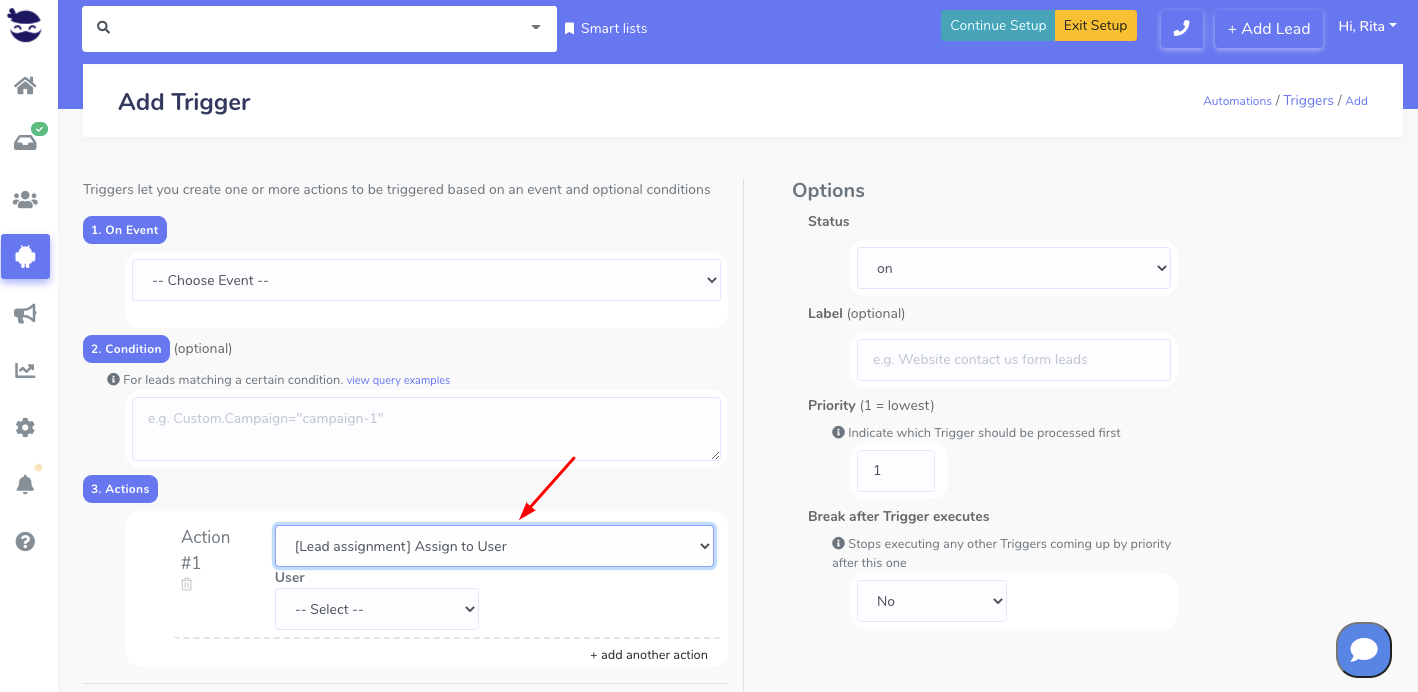
- Assigning Users
- Opportunities
- Custom Fields
- Active email Sequences
- Active text Sequences
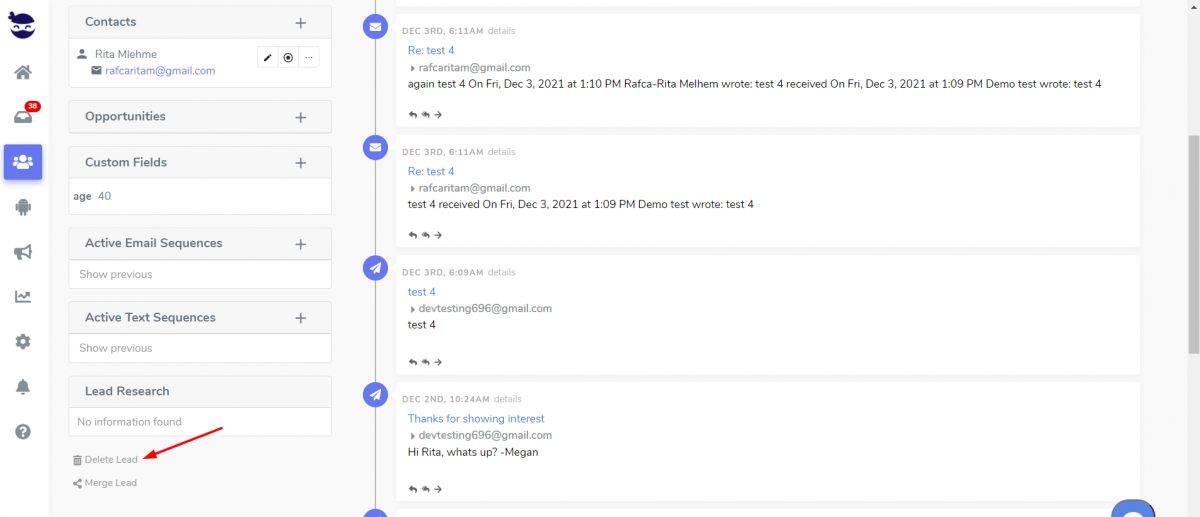
- Delete
- Merge
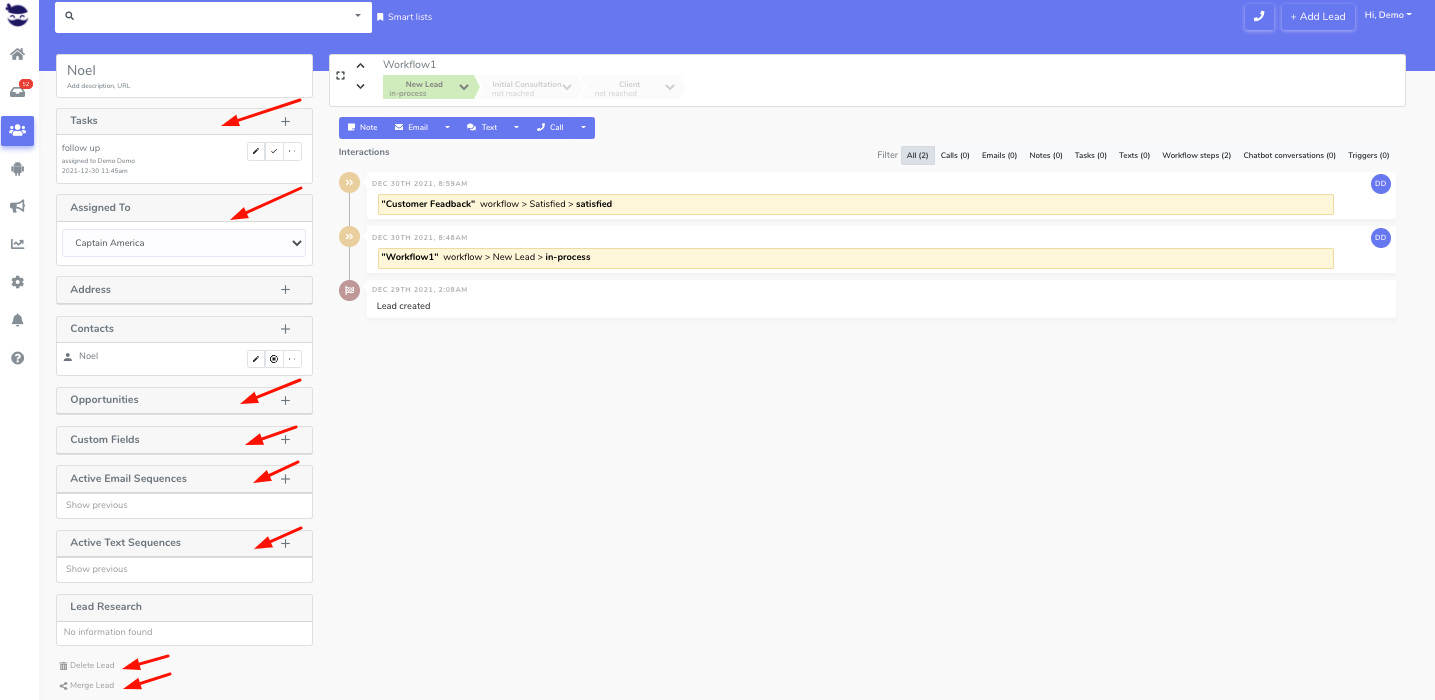 Go ahead and hover over the links to get more details on each activity.
Where can I see the lead activities?
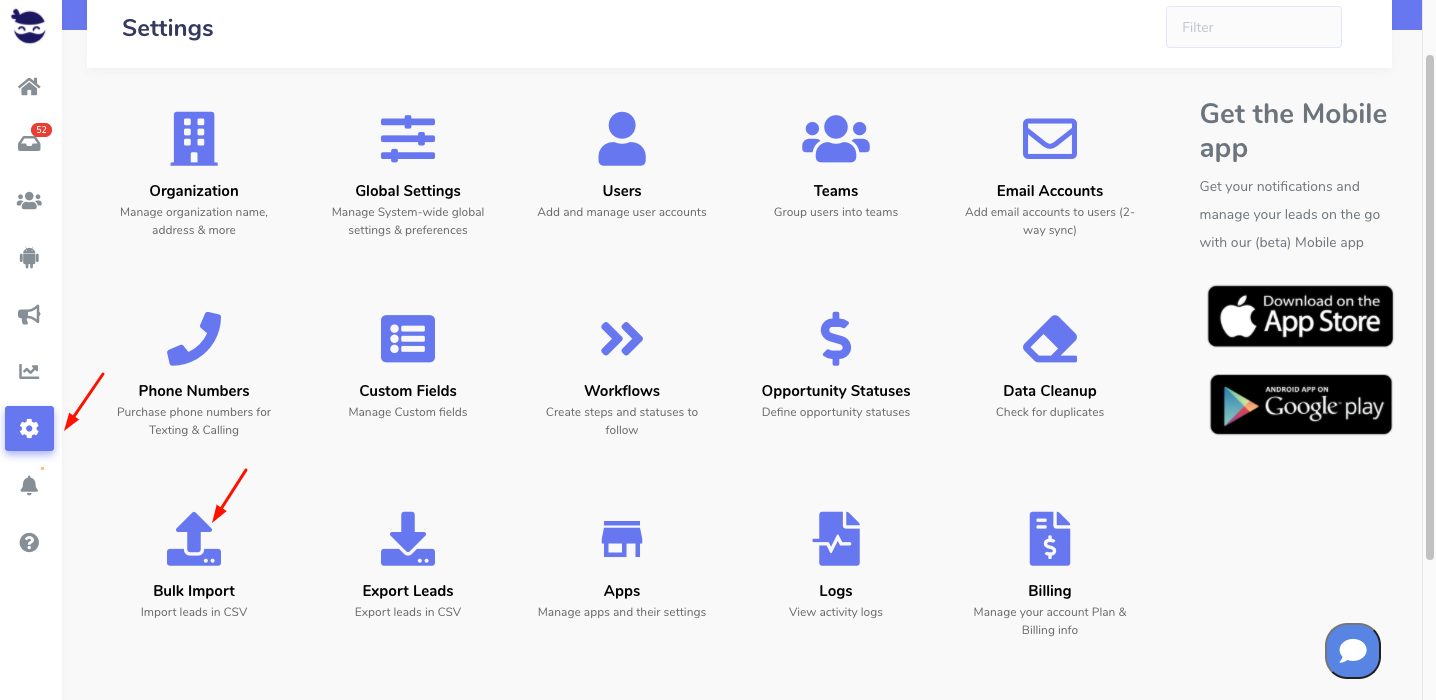
They are part of the lead view. You can access the lead view from 2 places:
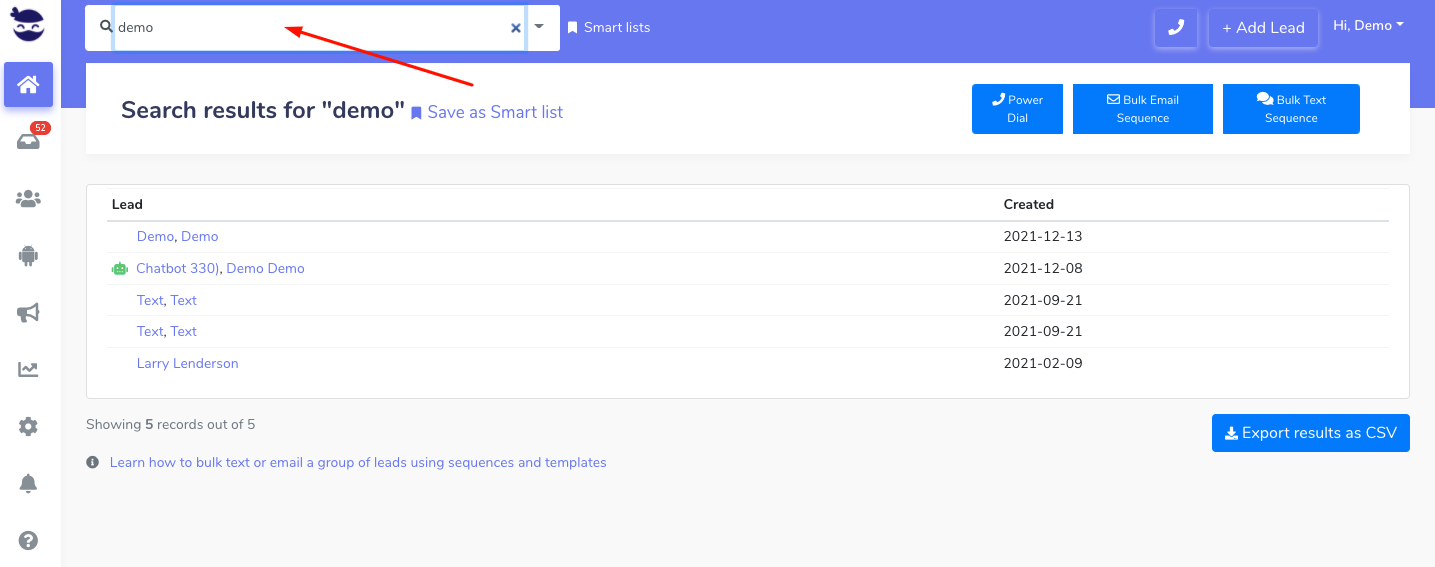
- In the top navigation bar, type the name of the lead or any info related to them (email, phone, URL, or custom field). Then, aNinja will find them for you. After that, click on the name and it opens the lead view.
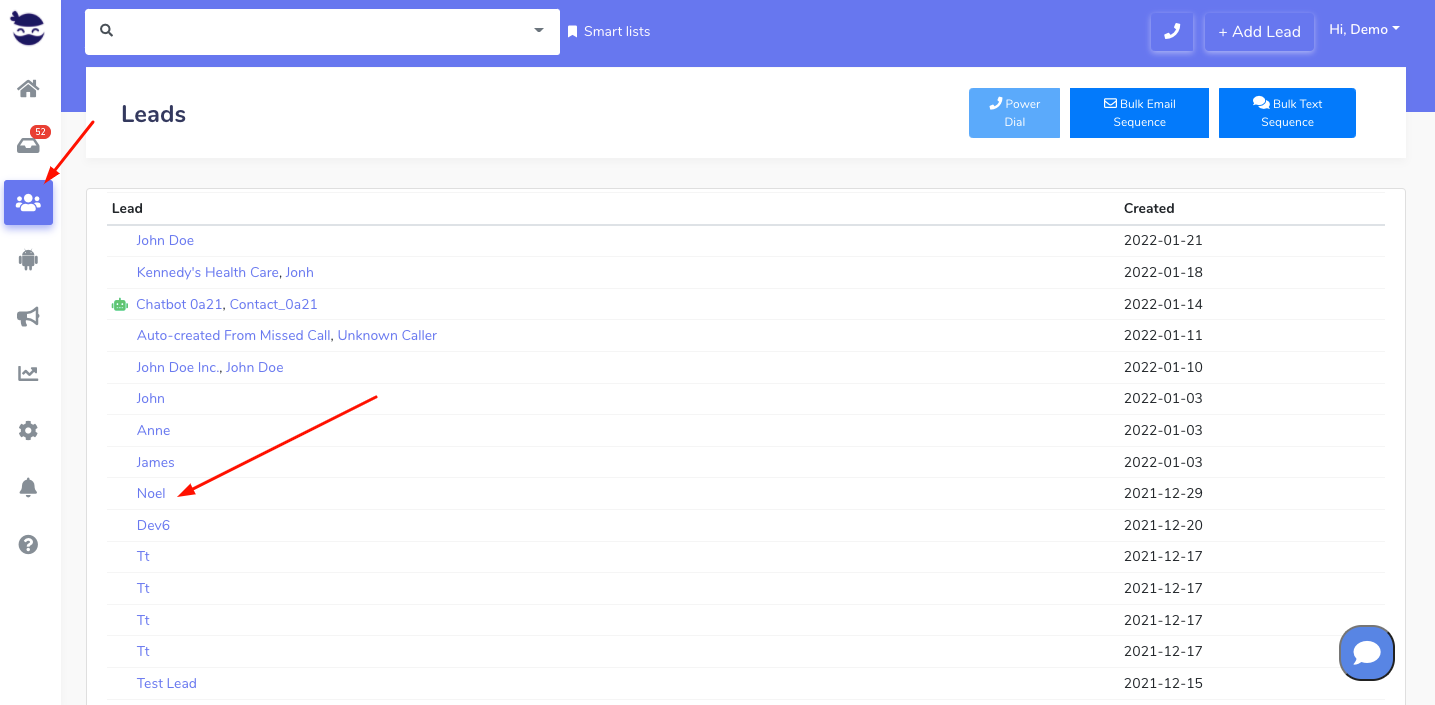
- From the left sidebar, click on Leads icon. It shows you the list of all the leads you have in aNinja. Find your lead among them and click on the name. That opens the lead view.
All your activities are saved in the Lead View in the History section to give you a deep view of the tasks performed for this lead.
Search for more help articles in the aNinja Knowledge base