Know when leads read your emails

Sending emails to your leads allows you to reach out to them with your campaigns, nurture them and trigger their interest in your products. It is also important for you to know when the leads read your emails.

Email tracking

Tracking your emails allow you to know when leads read your emails and identify how often they view them.

This way, you can always know when it’s time to follow up or feel how interested they are in your proposals!

Accessing the email tracking

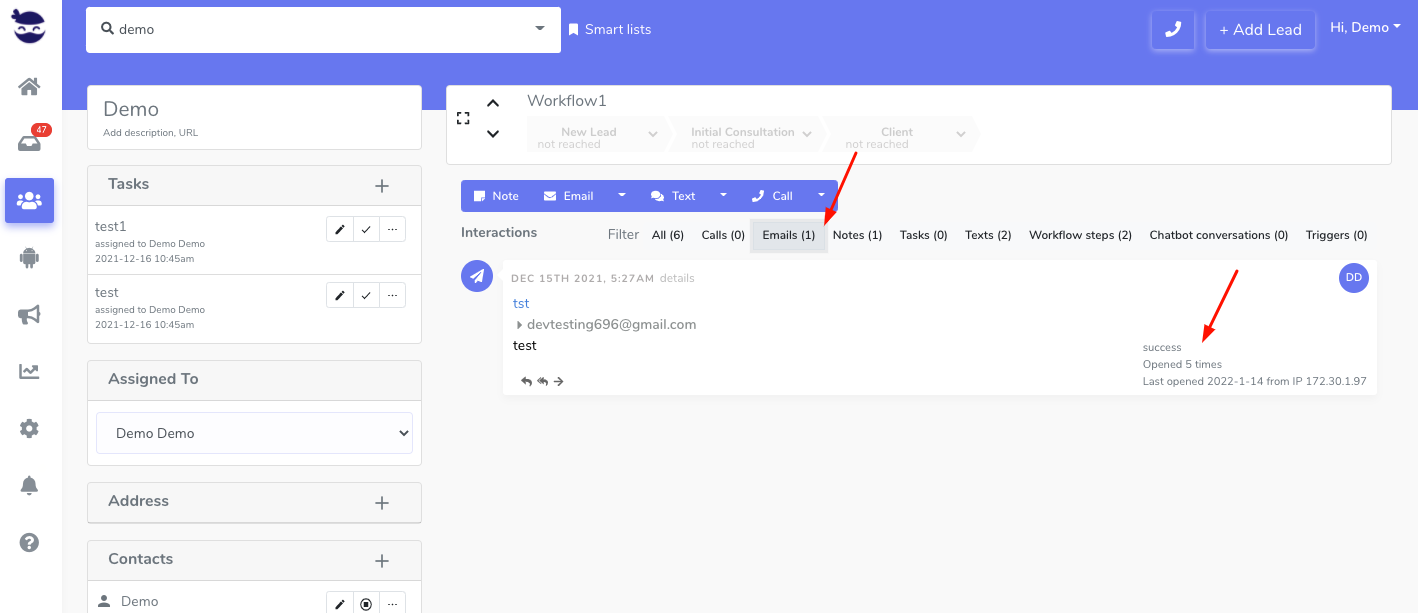
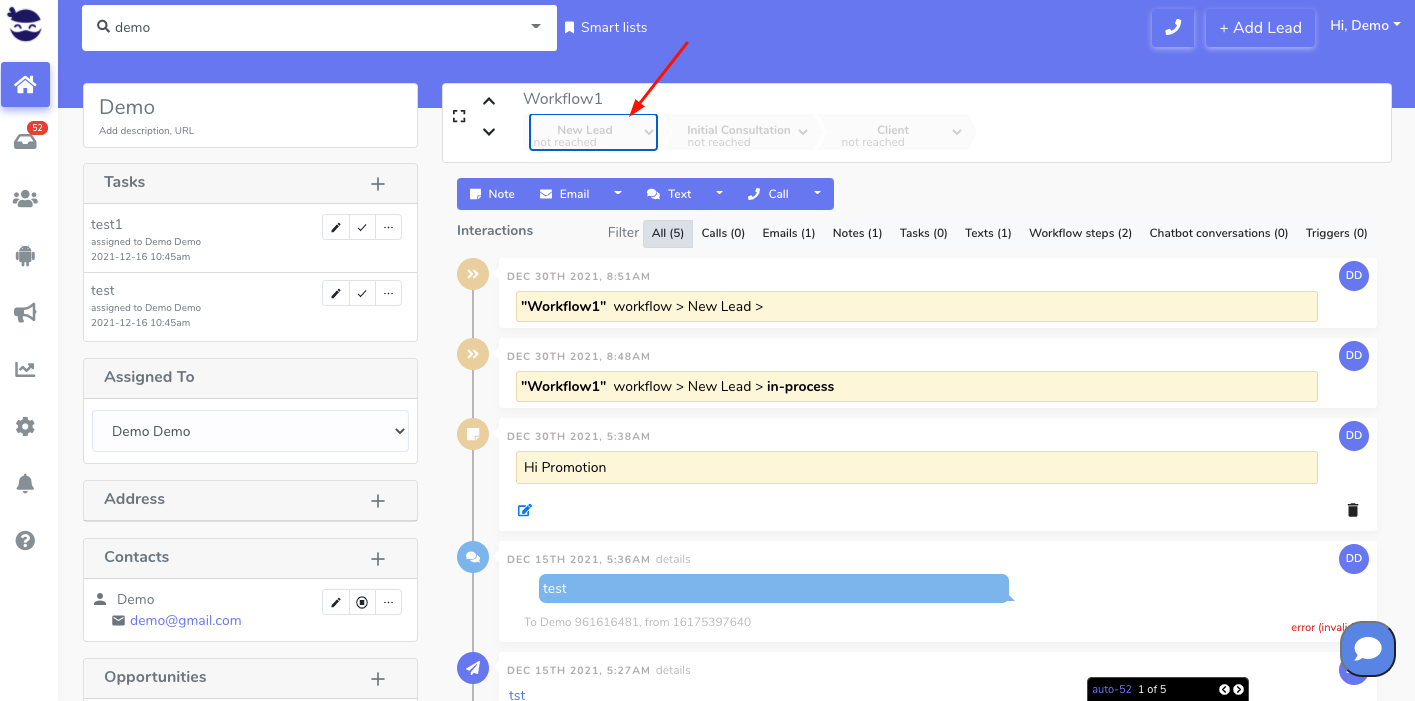
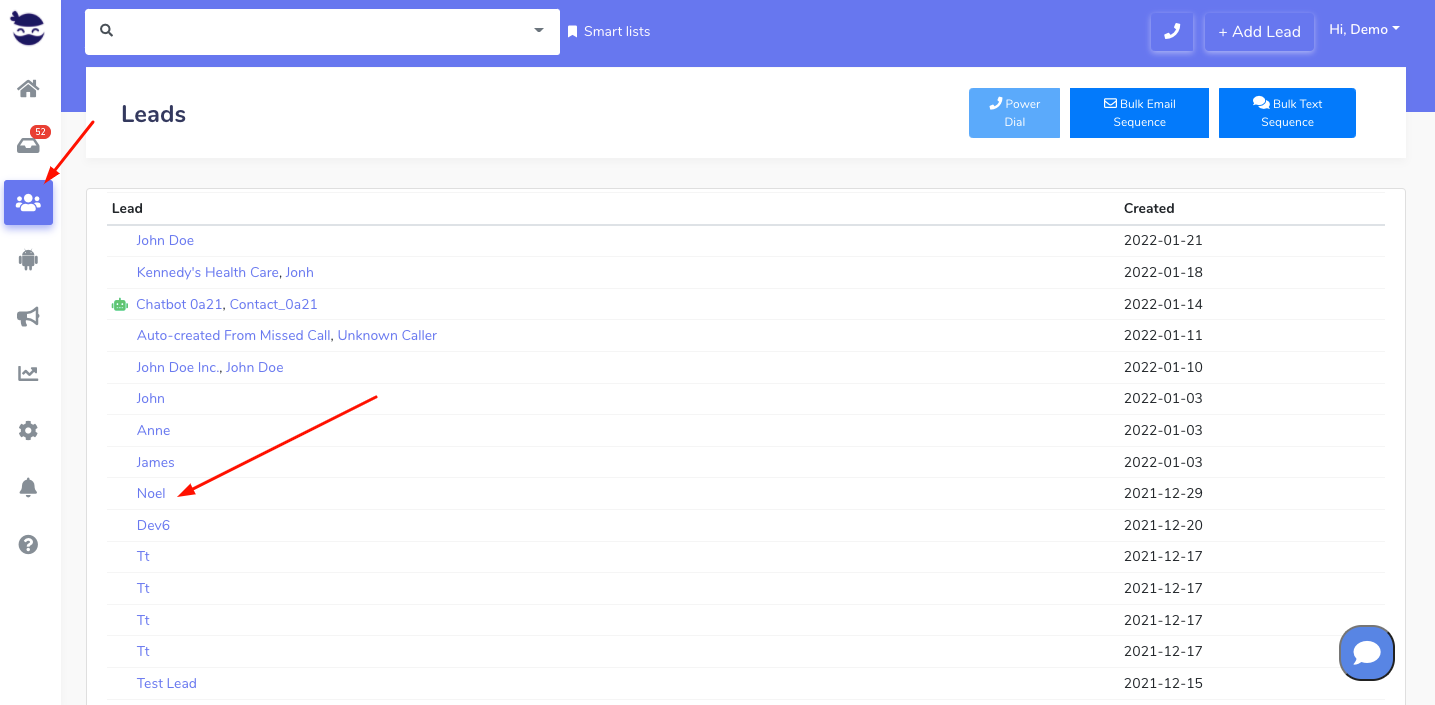
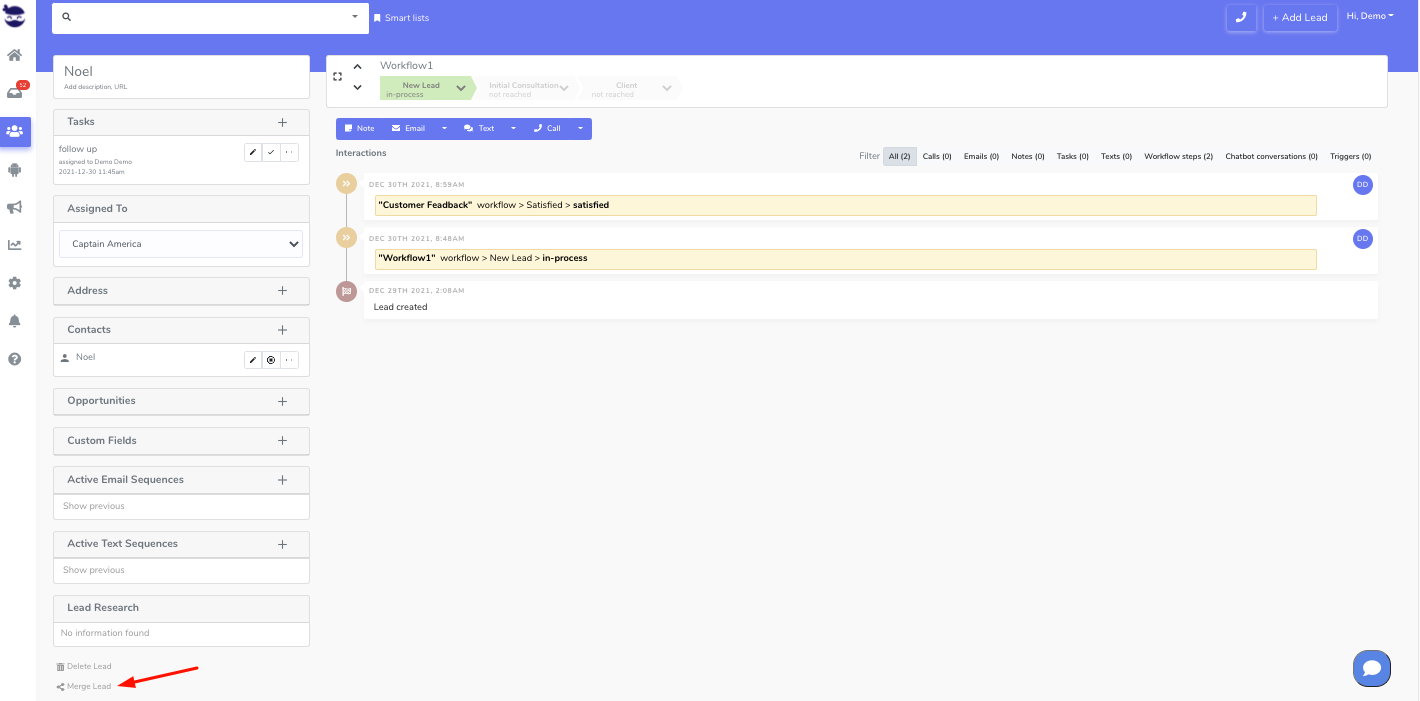
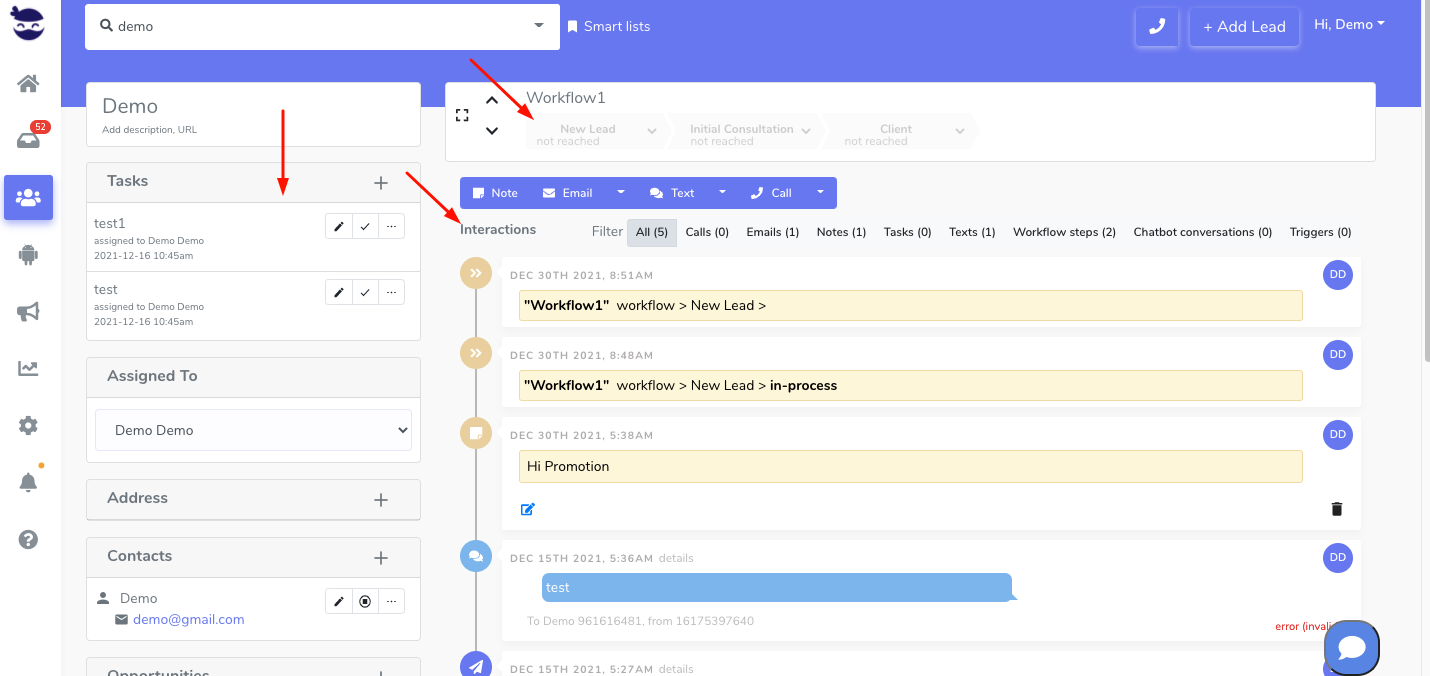
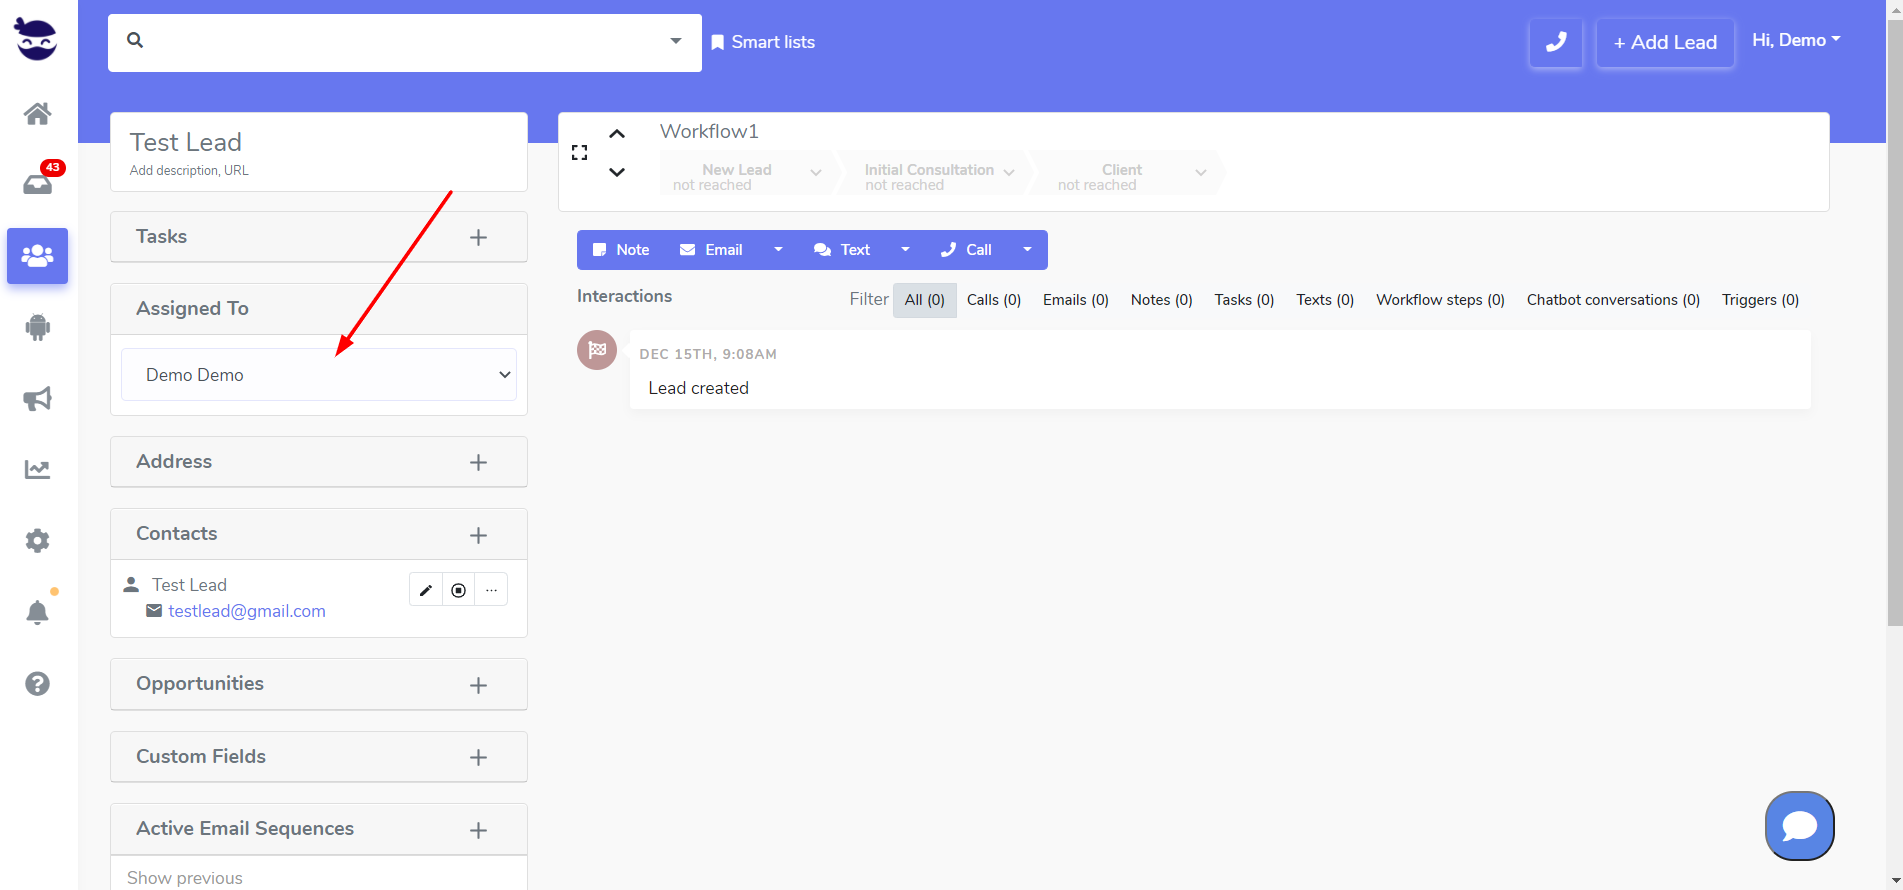
  • When on the lead view, click on Emails from the interactions toolbar.
  • On the right side under the email that you want to track, check the status of the email. Also, the time that it was opened and how many times, and the machine IP address that was used.

Know when leads read your emails


Changing the Lead’s Status in the Workflow

Changing the Lead’s status in the workflow represents the lead’s position in the Sales/Marketing pipeline until you turn them into a customer.

Changing the Lead’s Status in the Workflow

  • Search for your lead in the top navigation bar
  • Type any info you have on your lead (name, company, phone number, email, custom fields, etc…) and aNinja will bring the results to the leads view. Click on the lead and you will be redirected to their lead view.
  • Then, when in the Lead View, on the top of the page, you can manipulate the status of the lead in the workflow. This allows you to keep a close follow-up on the lead’s progress from prospect to closing.Changing the Lead's Status in the Workflow

Activities using the workflow steps

Lead Activities

All your lead activities are saved in the Lead View in the History section to give you a deep view of the tasks performed for this lead.

What are the lead activities?

They are the tasks that you can perform on a lead in all stages:

Go ahead and hover over the links to get more details on each activity.

Where can I see the lead activities?

They are part of the lead view. You can access the lead view from 2 places:

  • In the top navigation bar, type the name of the lead or any info related to them (email, phone, URL, or custom field). Then, aNinja will find them for you. After that, click on the name and it opens the lead view.

  • From the left sidebar, click on Leads icon. It shows you the list of all the leads you have in aNinja. Find your lead among them and click on the name. That opens the lead view.

All your activities are saved in the Lead View in the History section to give you a deep view of the tasks performed for this lead.

Search for more help articles in the aNinja Knowledge base

Merging leads

When you create or import new leads into your aNinja account, if they already exist in the system based on the email or phone number, they will be detected as duplicates by our duplicate search.

However, you may want to merge those duplicates into one lead file to avoid bloating your system. Merging leads could be also a good solution to avoid contacting the same lead several times.

Please note that when you merge leads, you can no longer retrieve the merged lead.

Merging Leads

You can access the merging feature from 2 different places in aNinja: From the lead view, and from Settings.

  • Lead view:
    • When on the lead view, scroll down to the end of the page and click on merge.
    • Then, choose a destination lead to merge this lead into. Immediately, this lead will be deleted after the system merged into the destination lead.
  • On the left sidebar > Settings > Data clean-up
    • Then, choose the method you want to use for your search to merge through (by email / by phone).Merging leads
    • Locate the leads you want to merge.
    • Lastly, click on the ID of the lead you want to merge. The system deletes this lead after it merged it into the lead you want to keep.

What are the fields that get merged?

What’s merged and appended into the lead file you’re keeping includes:
– Contacts
– Opportunities
– Emails
– Tasks
– Address
– Texts
– Calls
– Notes
– Triggers
– Chat conversations
– Workflows
– Custom fields

Note! All the email or text sequences of leads that are being merged are stopped. Therefore, only the sequences for the remaining lead stay active.

Lead Interactions

Lead interactions refer to the various touchpoints between a business and a potential customer, or lead, throughout the sales and marketing process.

You can track and manage those interactions in aNinja. Which allows you to monitor and analyze them with leads and track their progress through the sales pipeline.

In aNinja, they can take many forms, including notes, emails, texts, and phone calls.

Types of lead interactions

  • Note 
    • Leave any important note for you or other team members to pick up on, including minutes notes.
  • Email
    • Send personalized emails to leads to introduce your product or service, provide value, and encourage them to take action.
  • Text
    • Using SMS or other messaging apps to communicate with leads in a more immediate and personal way.
  • Call 
    • Speaking with leads over the phone to build rapport, answer questions, and provide more information about your product or service.

Where can I see the lead interactions

They exist in the lead view, in “All Interactions” dropdown.

Lead Interactions

You can access the lead view from 2 places:

  • On the top navigation bar, type the name of the lead or any info related to this lead (email, phone, URL, or custom field). Then, aNinja finds them for you. Just click on the name and the system redirects you to the lead view where you can start the lead interactions.
  • From the left sidebar, click on Leads icon. It shows you the list of all the leads you have in aNinja. Locate the lead, click on their name, and you will be guided to their lead view.

All your interactions are saved in the Lead View in the History section to give you a deep view of the tasks performed for this lead.

Search for more help articles in the aNinja Knowledge base

Creating a lead manually

Creating leads manually in the lead form sounds like a good way to add a lead whenever you meet someone that might be interested in your products.

Creating a lead manually

  • Login to your aNinja account
  • On the top right, click +Add Lead

creating leads manually

  • Here, add the info you have on the lead and click on Add lead
  • The system redirects you to the lead view. You can start immediately communicating with your lead by sending them emails, texts, and sequences.


Leads View v/s the Lead View

Leads View v/s the Lead View

In the leads view, you can see all or a group of leads that you have in your CRM. The lead view shows the info you have on a specific lead.

The Leads View

The Lead View

In the Lead View you will see the personal info of a specific lead with the history of interactions and activities you have made with this lead since his creation in your aNinja account and his status in the workflow.

Search for a lead to see his lead view info.

Power Dialing leads

Power dialing leads is a very useful feature for salespersons. When they want to call all or a group of leads sequentially. The system automatically brings the phone number of the next lead in line.

Power Dialing

The Power Dial feature is used to call a group of leads automatically, one after the other, without the worry of going to each profile and hit the dial manually.

Note! Before you start power dial session, you want to clean duplicate leads in your calling list. Otherwise, you will end up calling the same lead multiple times. Which is not really pleasant for the leads and it adds additional charges to your phone bill.

To start power dialing leads,

  • Type your search in the top navigation bar
    • e.g. lead.created >= “2023-04-20”
  • Or, select a Smartlist
In the Leads View
  • On the top right of the leads view page, hit the Power Dial Button. 

  • By using this option, you can sequentially call leads on the page without the need to manually enter each lead’s profile and make the call.
  • As soon as you hit the Power Dial button, the system queues the leads in the order they show in the leads view, and starts calling the first one in line.
  • Then, the system opens the Lead View of the lead that you’re currently calling. This enables you to use the note, email, and text features from the blue toolbar.
Power dial pop-up
  • The Power dial pop-up appears and you can see:
    • The number of the lead you’re calling now / out of the total of leads in the queue: (Power dialing 1/6). (1)*
    • The name of your search (e.g. Smartlist: Dev Phone) (2)*
    • The primary phone number saved in the contacts and that’s currently being dialed (3)*
    • Your phone number that’s being used. (4)* If you’re a user with Admin role, you can choose a number from the dropdown (5)*
    • A stop icon: which ends the Power dial session (6)*
    • A pause icon: which ends the current call and pauses the power dial session (7)*
    • An arrow icon: which allows you to step to the next lead in queue and it’ll automatically start calling them (8)*


  • The red blinking light next to the phone icon on the top of the page indicates that the power dial session is ON.
How does the power dial behaves
  • The system automatically calls the primary phone number of the lead.
    • If you need to call a different number for the same lead, you can pause the current call and click on the other phone number in the lead’s contact. The system starts dialing it immediately.
    • This does not end the power dial session.
    • And to move on to the next lead, just click on the arrow.
    • If the primary phone number is marked as Do No Contact, the system uses the first valid number in the lead’s contacts, otherwise it steps to the next lead in line
  • The system automatically skips leads with empty phone numbers.
  • There’s no option to skip calling a lead manually.
  • When the current call is ended (either by the lead or by you clicking on the pause or the arrow), the system starts calling the lead next in line immediately and opens their lead view.
During the call, and without ending the power dial session, you can
  • Minimize the dial pop-up by clicking on the phone icon. This does not end the power dial session. Then click on the phone icon again to show the pop-up.
  • Navigate through the leads:
    • Go back to the lead view of the lead you just ended the call with, leave notes or send an email or text.
    • Check the lead view of the lead next in line, read any notes related to them, check their current status in the workflow, and review any previous interactions you may have had with them. This will help you remember who this lead is before making the call.
      • Just click on the arrows on the bottom right of the page.
  • Open other aNinja features, go check your inbox for example. When the current call ends, you will be redirected to the lead view of the lead next in line.
  • Navigate through the browser, open tabs to search for more info about this lead or their company, check their website, open your calendar, and so on.

Troubleshooting

During the call, if you’re having problems hearing or be heard, this is what you can do to identify the issue:

  • If you directly place a single call (not via power dial), does that work?
    • Yes? Then the issue could be with the power dial feature. Contact support@aninja.com  and let them know that.

If nothing of the above succeeded, contact support@aninja.com they’ll check logs and consult the telephone provider if need be to resolve this issue.

Assigning a lead to a user

Assigning a lead to a user is the first task that you can do when a lead pops up into aNinja to turn them into a customer faster.

And in the sales/marketing process, multiple users may take charge of a lead, depending on their role.

Moreover, users with admin roles can manage the delegation of leads to different users.

When a lead is assigned to a user, if another user is sending them an email, it will pull out with the name of the user whom the lead is assigned to.

Assigning a lead to a user

Lead assignment can be done through:

  • The lead view
    • This requires admin access if the option “Users can only see Leads assigned to them” is enabled in Settings > Global SettingsAssigning a lead to a user
  • Triggers using [Lead assignment] actions

User ID

Each user is granted a private user-id as soon as they are invited to join aNinja, regardless of their role.

You can find the user-id in Settings > Users.

Using a Smartlist, you can utilize this user-id to filter leads assigned to specific users. You can also enable this Smartlist as a Dashboard Widget.

Similarly, you can narrow down your Opportunity report to see a snapshot of the users’ sales activities over a certain timeframe.


aNinja Centralized Inbox

The aNinja Inbox is a centralized view of all your incoming communication emails, textsvoicemails, missed calls, open tasks, and the chatbot conversations too.

Accessing the Inbox

On the left sidebar, click on Inbox icon.New Centralized Inbox

Inbox activities

You should be able to work exclusively from your aNinja Inbox.

From your Inbox items, you can:

Dynamic Inbox

The Inbox badge in the sidebar dynamically updates to show you how many Inbox items are available.

Concluded Tasks

  • Ultimately, all items of the aNinja centralized inbox should be completed on daily basis. However, if that was not possible, you can report them to the next day. Just toggle all the remaining items of the inbox and click on future in the toolbar.
  • The Inbox badge in the sidebar will show a green checkmark when all your Inbox items are done!

Task Management

  • You can also bulk mark inbox items as done / not done.

  • Answering a Lead from the Lead view (send/reply to an email, or send/reply to text) will automatically mark previous inbox items of the same type (e.g. email/text) as done.
  • Admin users can view inbox items for other team users, as well as filter them by type.