Assigning a lead to a user is the first task that you can do when a lead pops up into aNinja to turn them into a customer faster.
And in the sales/marketing process, multiple users may take charge of a lead, depending on their role.
Moreover, users with admin roles can manage the delegation of leads to different users.
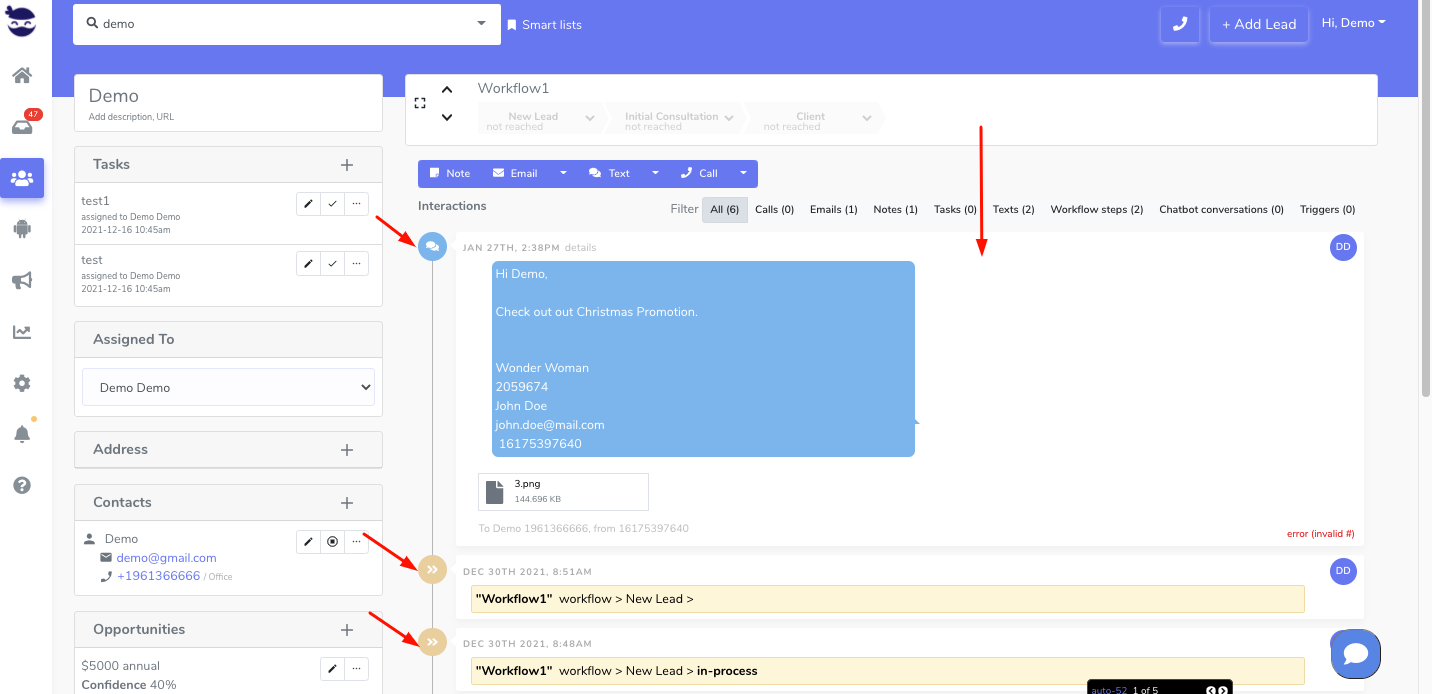
When a lead is assigned to a user, if another user is sending them an email, it will pull out with the name of the user whom the lead is assigned to.
Assigning a lead to a user
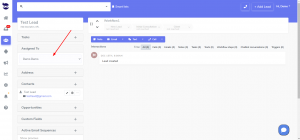
Lead assignment can be done through:
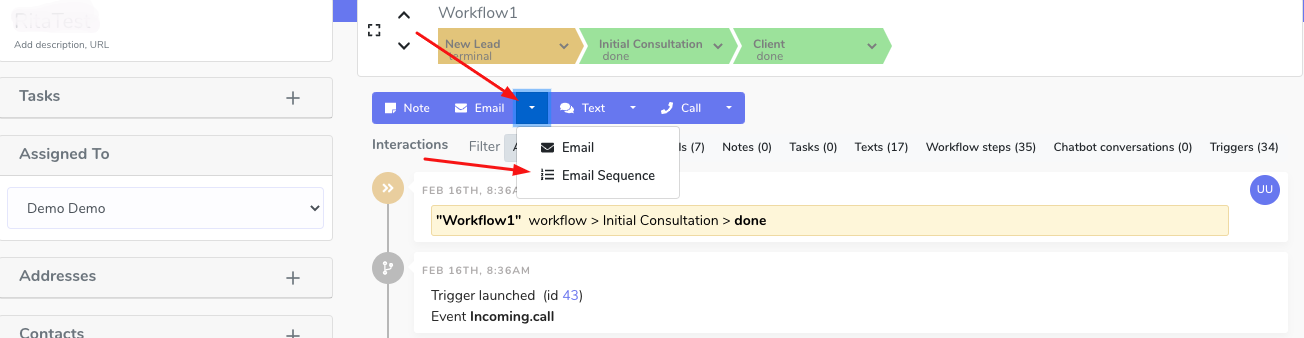
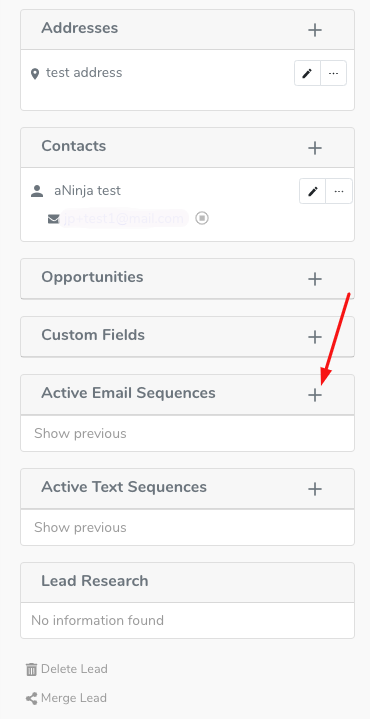
- The lead view
- This requires admin access if the option “Users can only see Leads assigned to them” is enabled in Settings > Global Settings
- This requires admin access if the option “Users can only see Leads assigned to them” is enabled in Settings > Global Settings
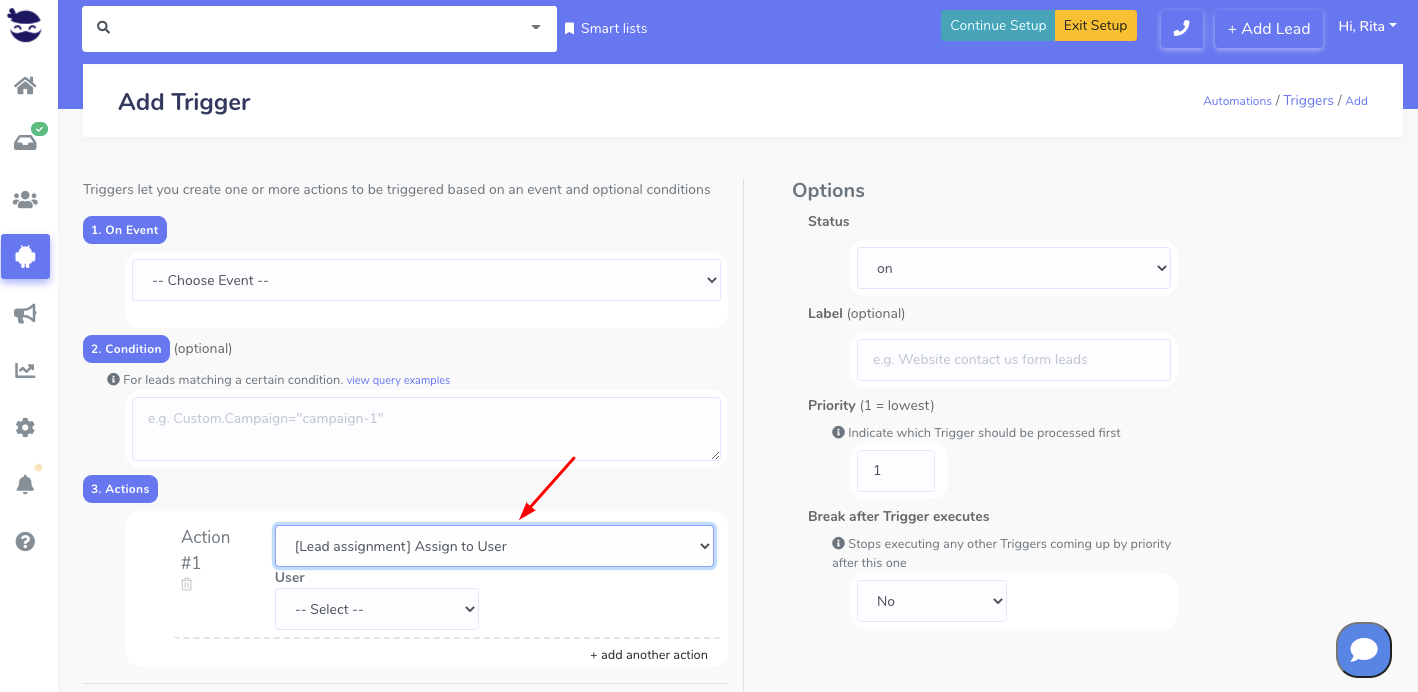
- Triggers using [Lead assignment] actions

- Bulk import by mapping to the user_id field
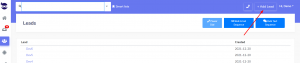
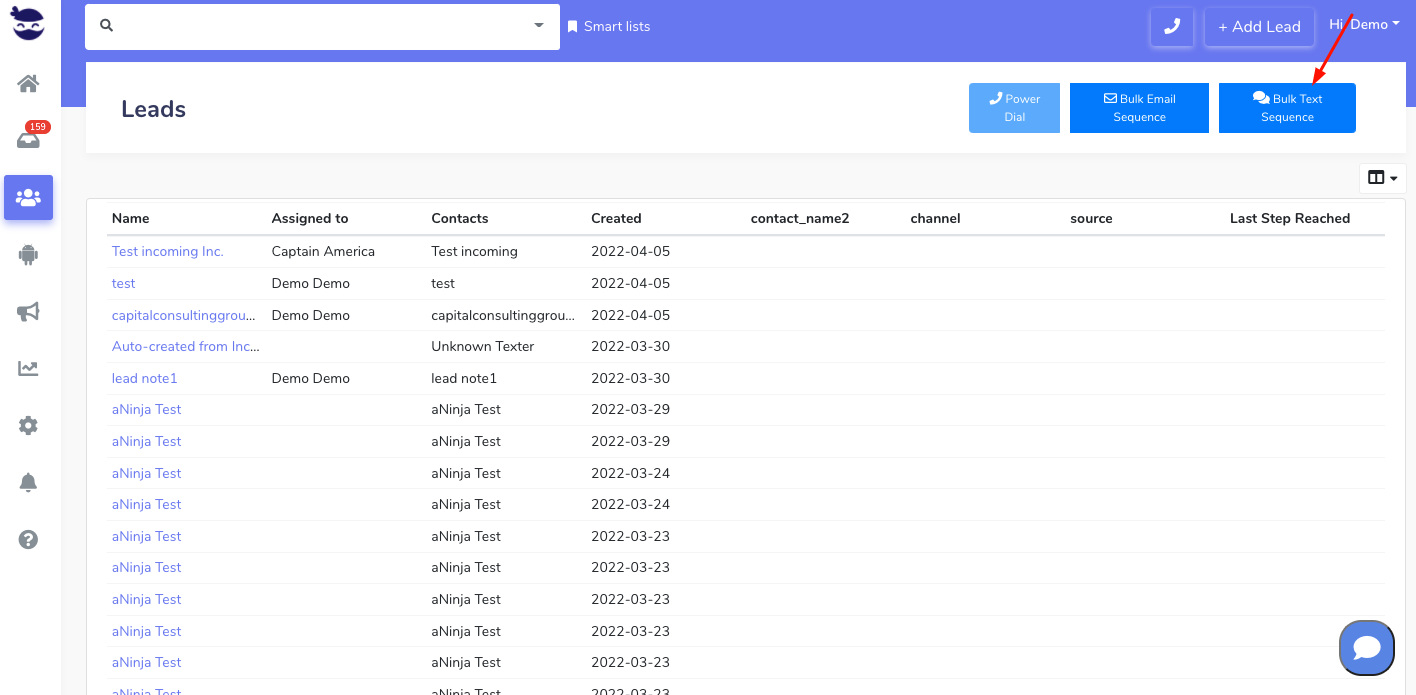
- + Add Lead modal in the top navigation bar
- APIs by using user_id field.

User ID
Each user is granted a private user-id as soon as they are invited to join aNinja, regardless of their role.
You can find the user-id in Settings > Users.
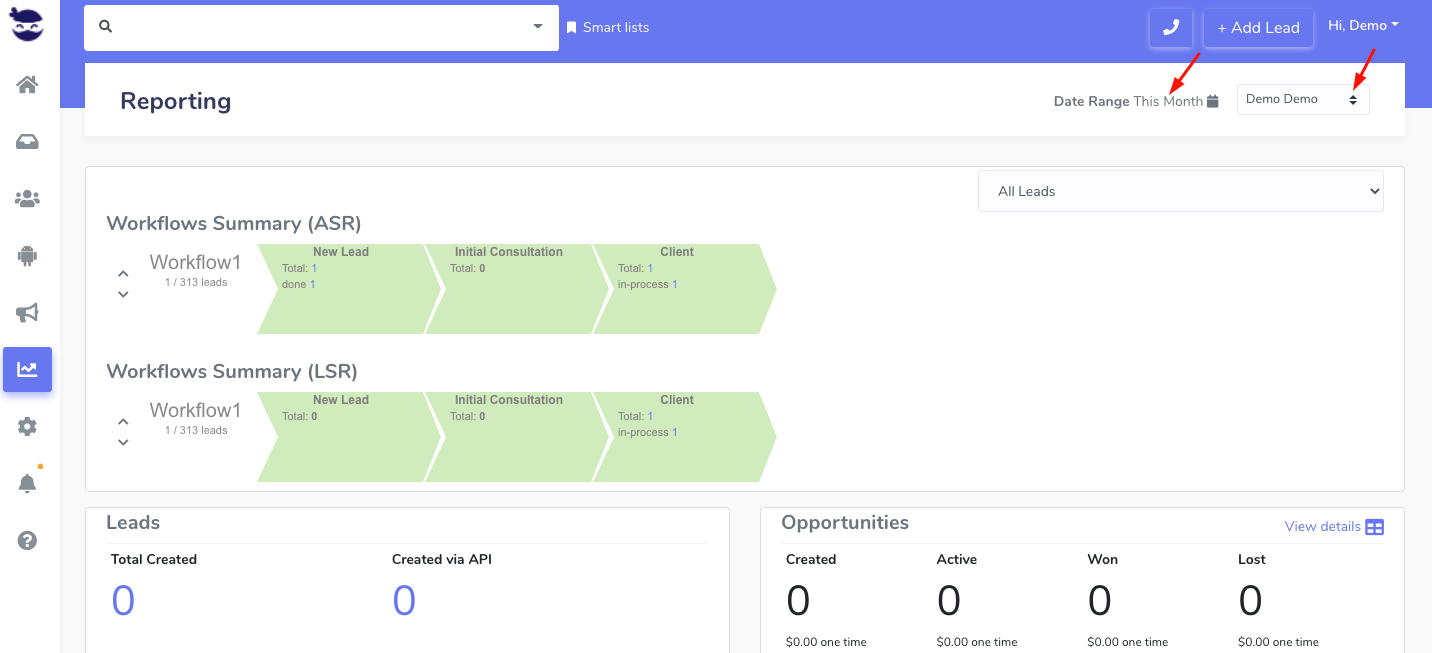
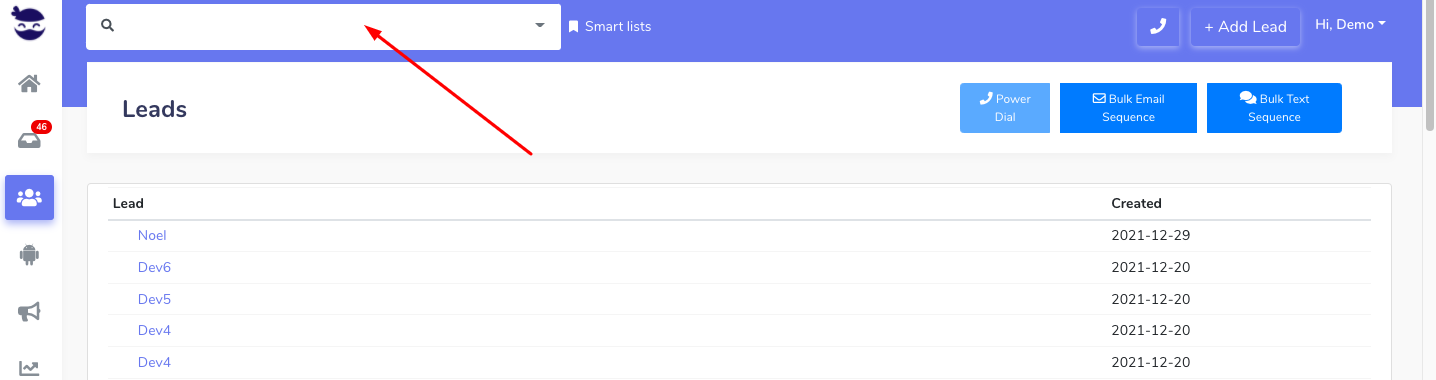
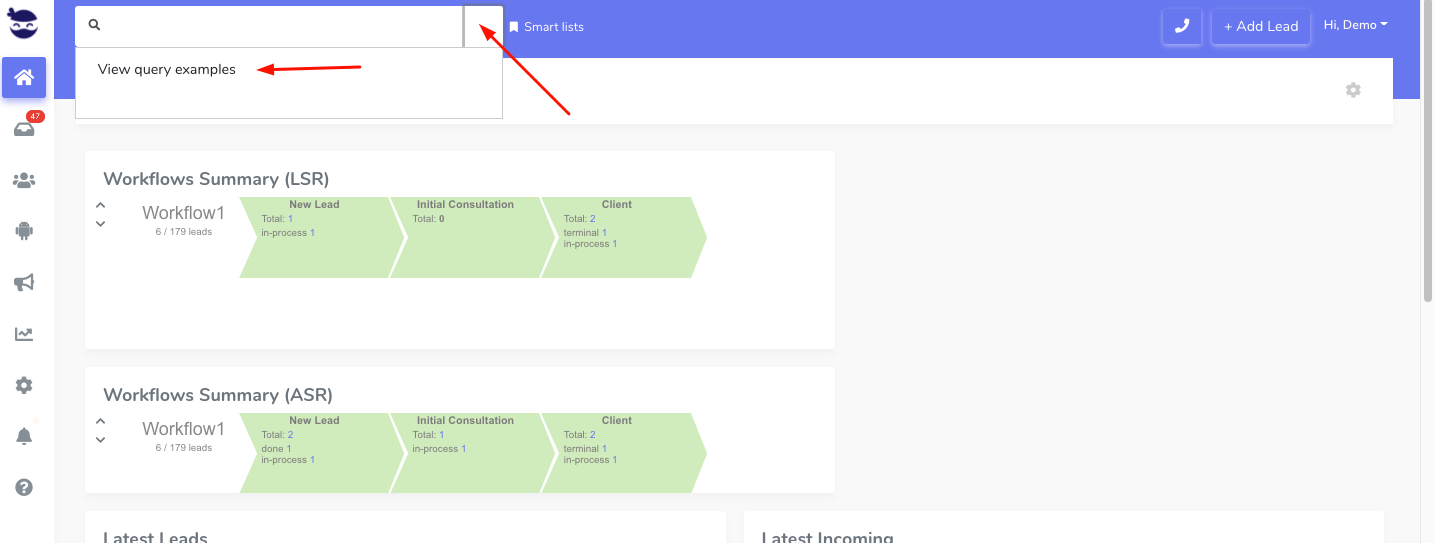
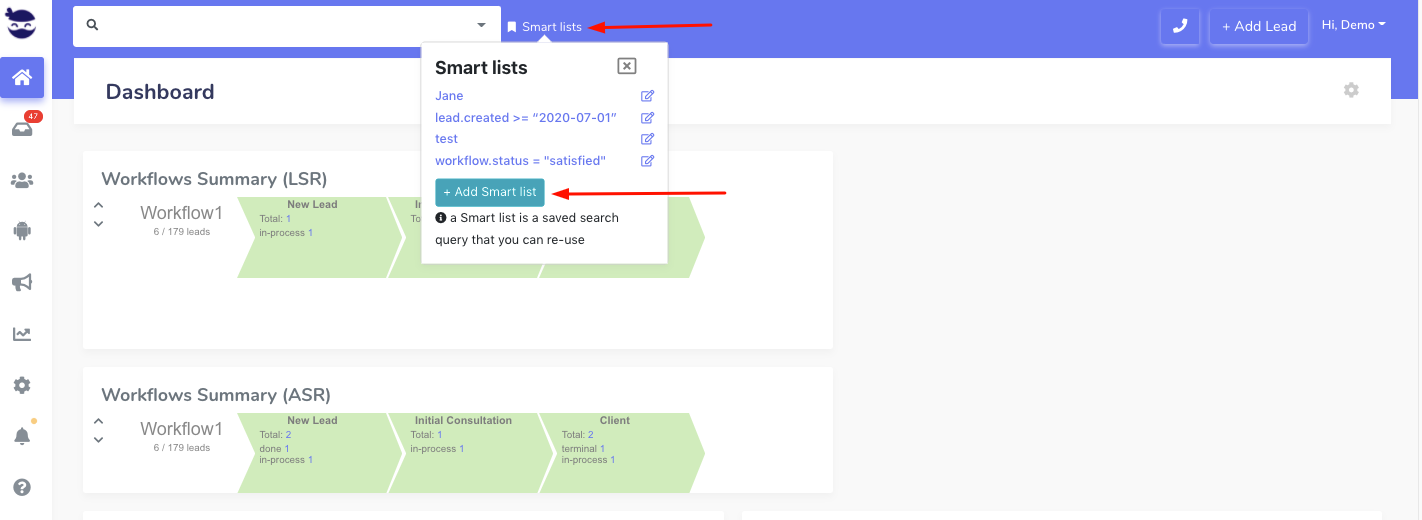
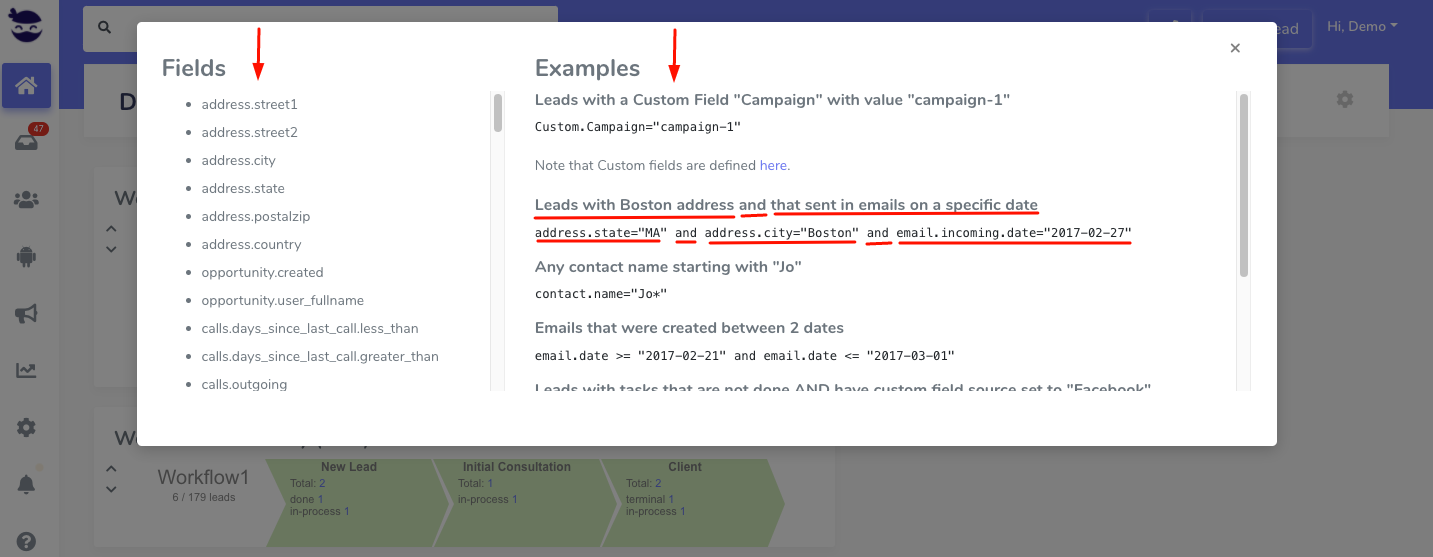
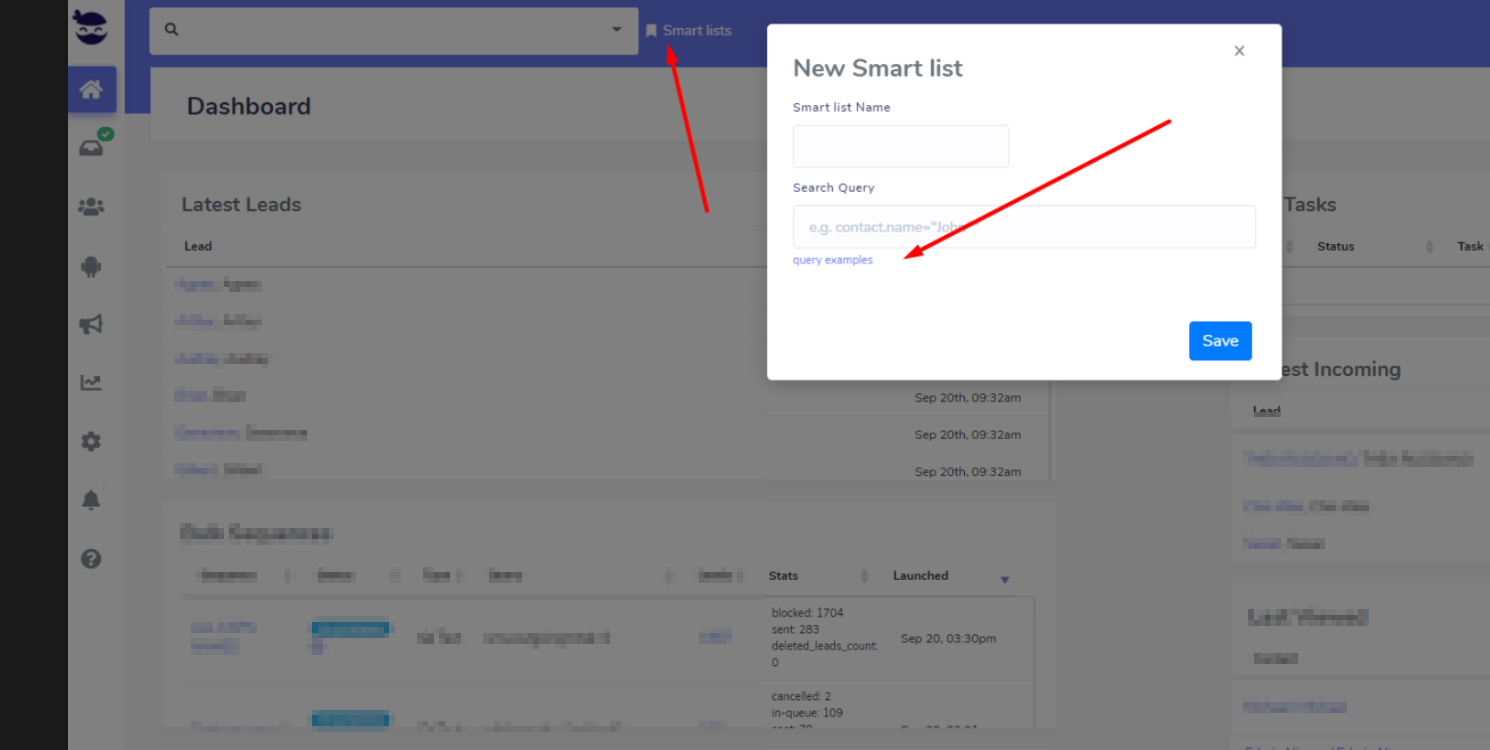
 Using a Smartlist, you can utilize this user-id to filter leads assigned to specific users. You can also enable this Smartlist as a Dashboard Widget.
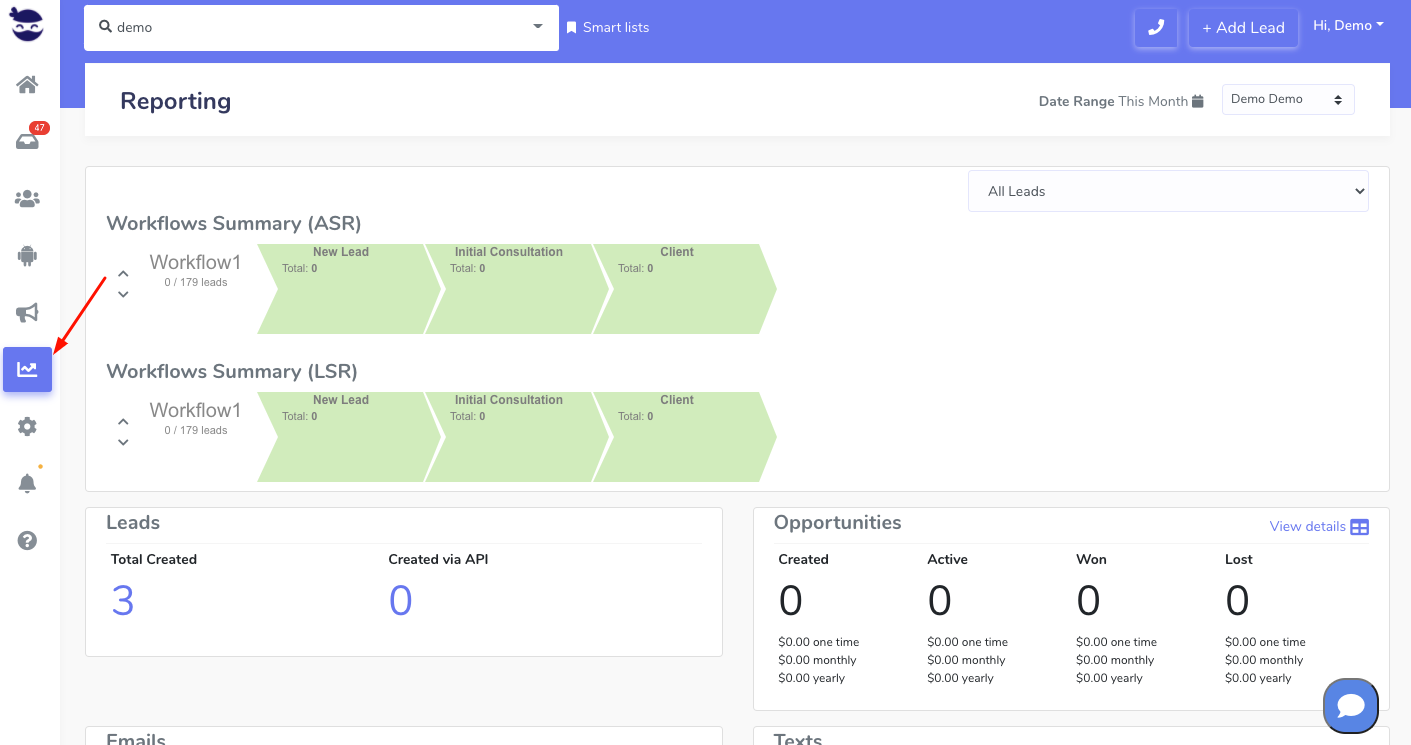
Similarly, you can narrow down your Opportunity report to see a snapshot of the users’ sales activities over a certain timeframe.


 Note!
Note!