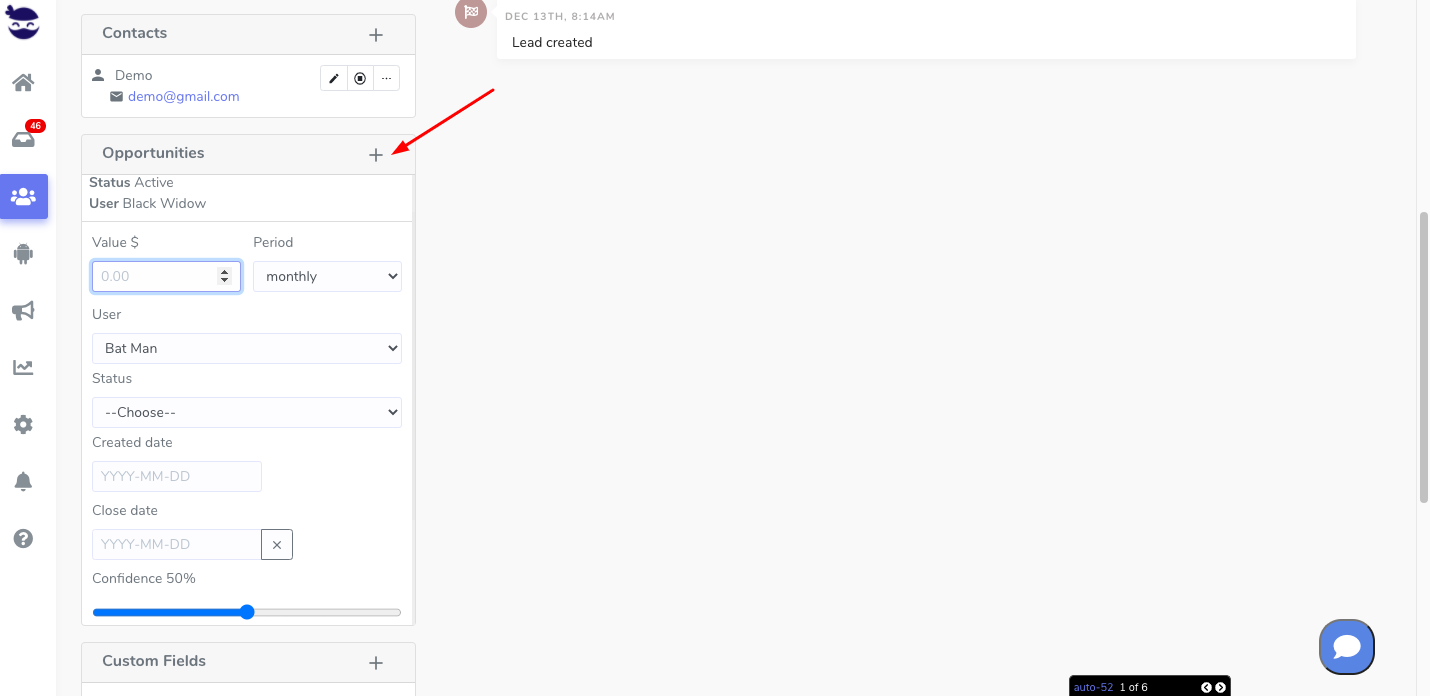
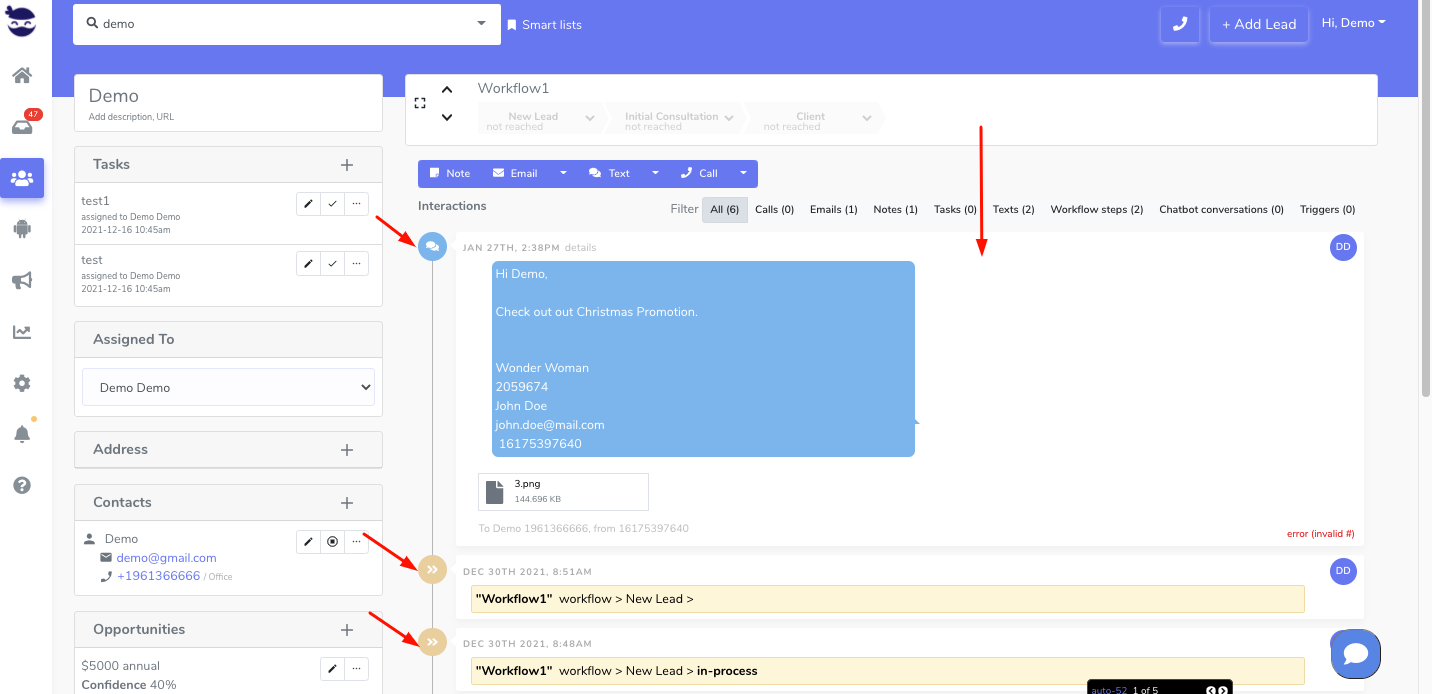
Opportunities let you track what kind of financial reward you are expecting to make from a lead, in a certain interval of time, including an optional confidence interval. Set your filters in the toolbar and manipulate the data you want to view in your report including the aNinja opportunity status report.
In this article, we show you how you can filter your opportunity statuses.
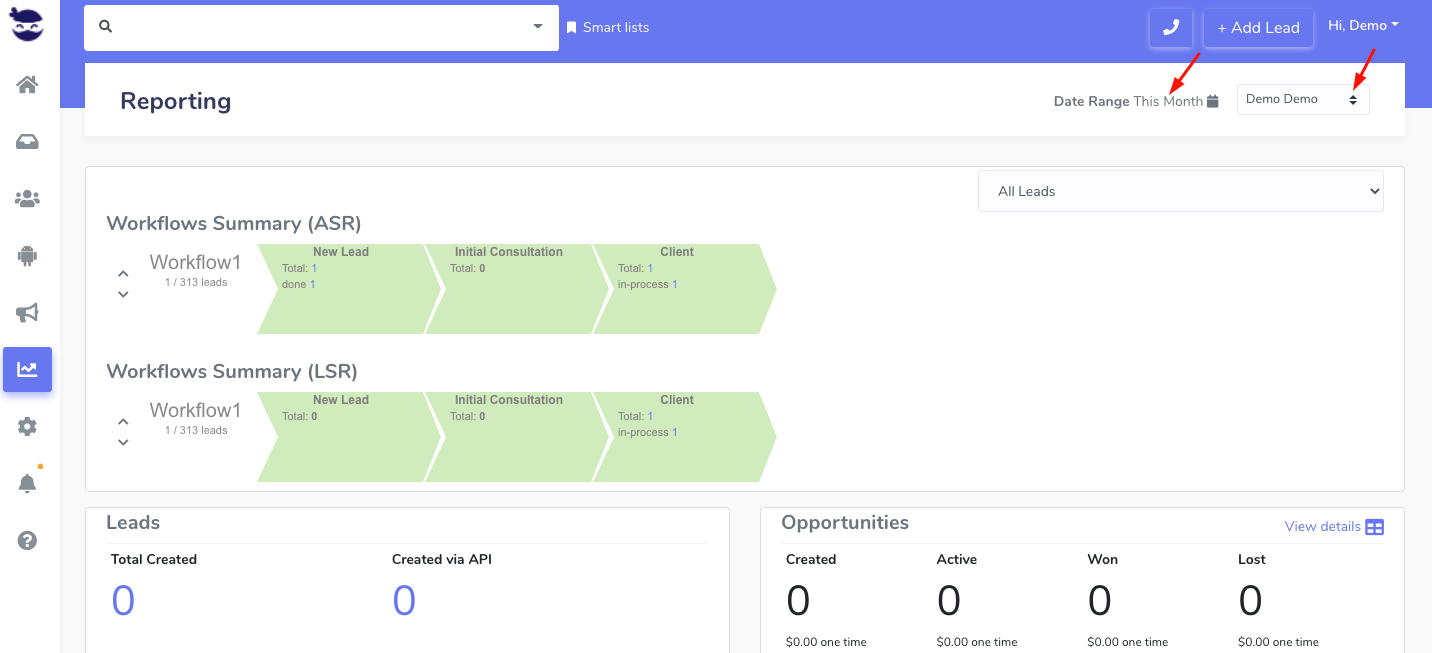
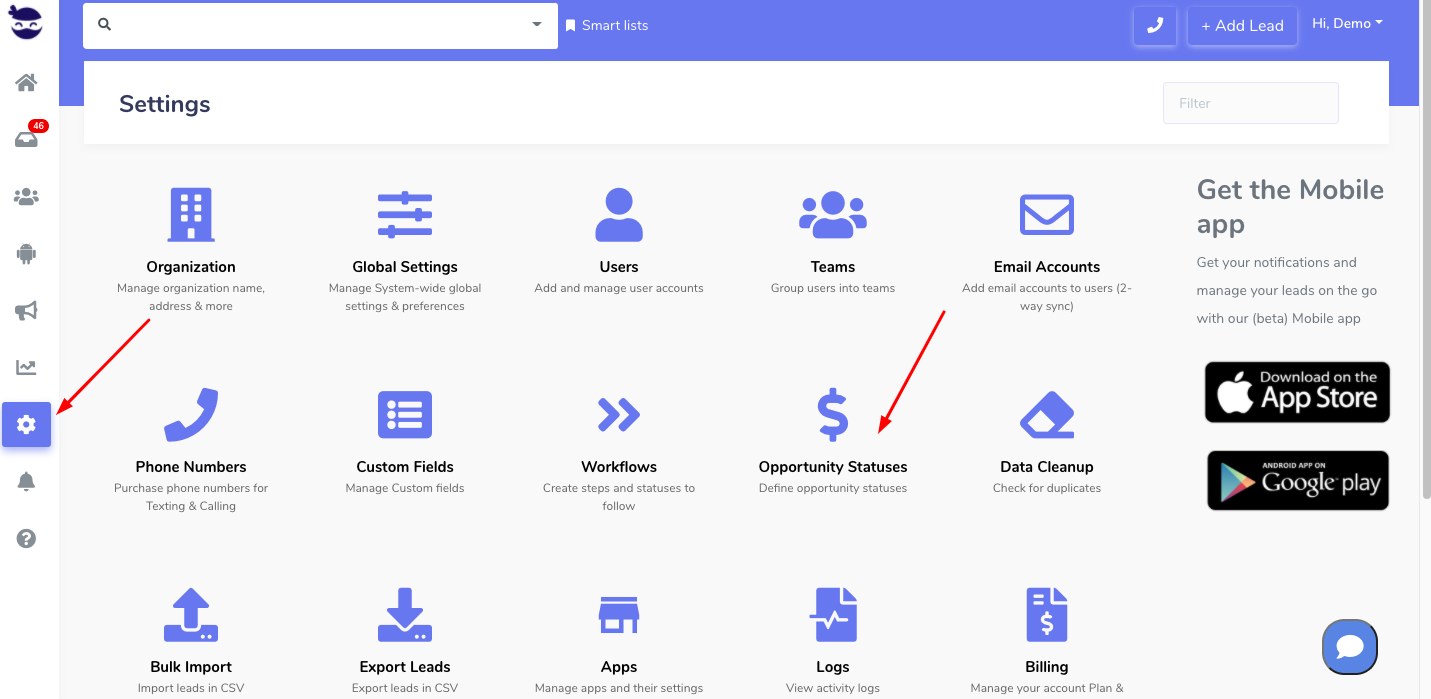
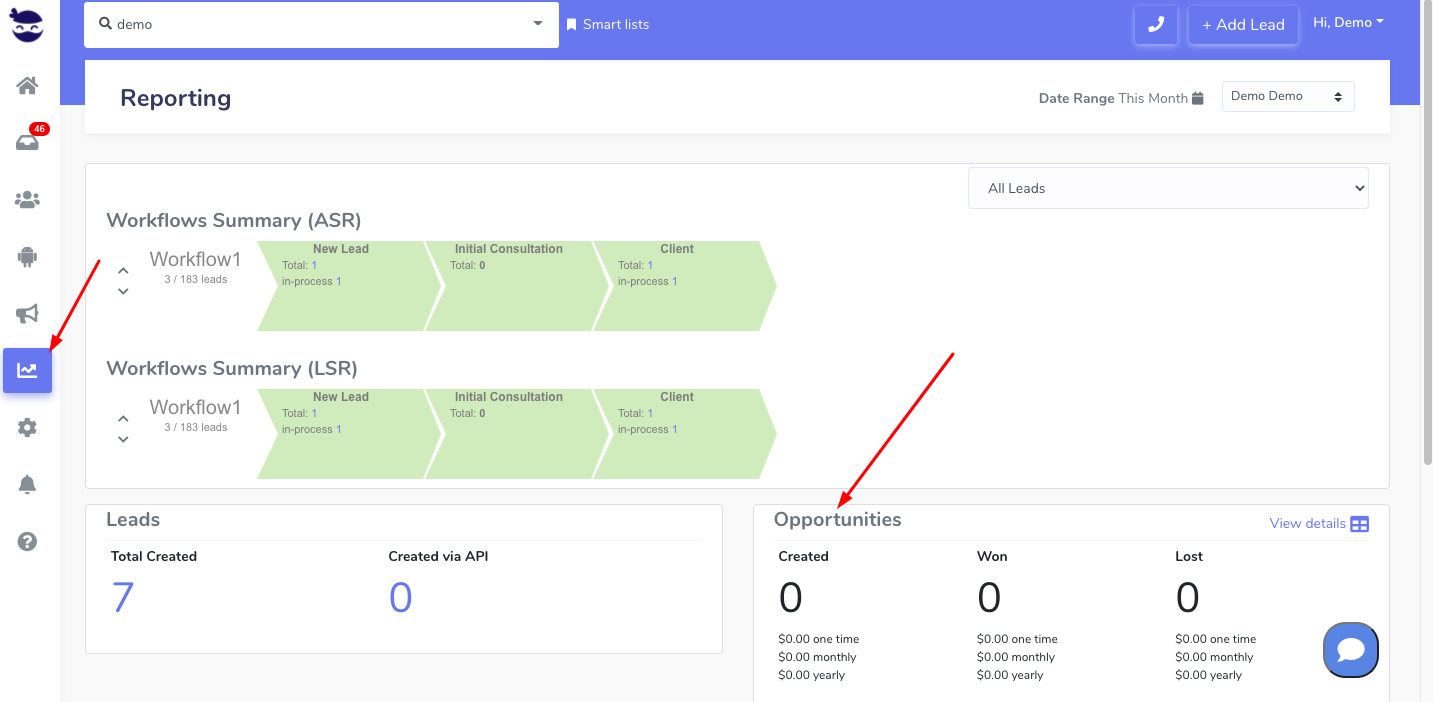
Accessing aNinja Opportunity Status Report
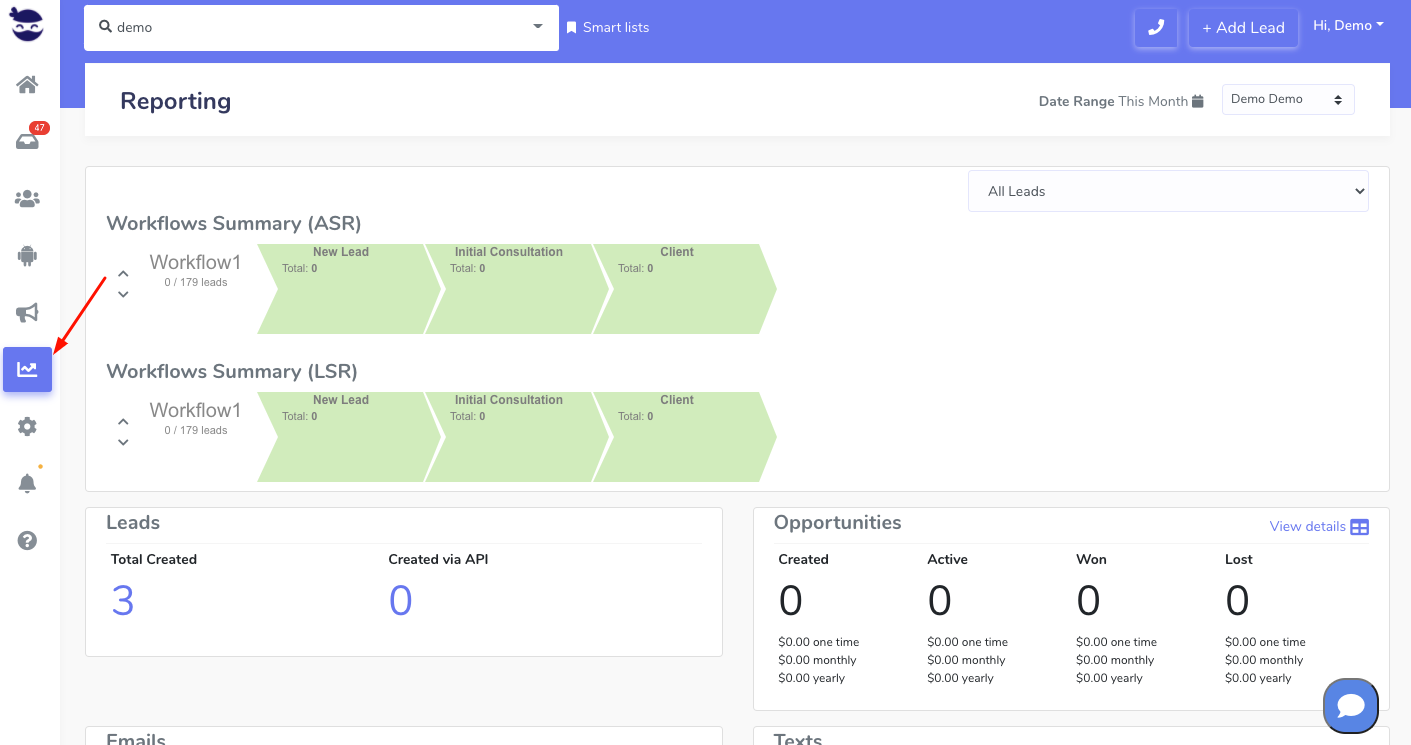
- On the left sidebar, click Reports
- On the Opportunity Widget, click view details

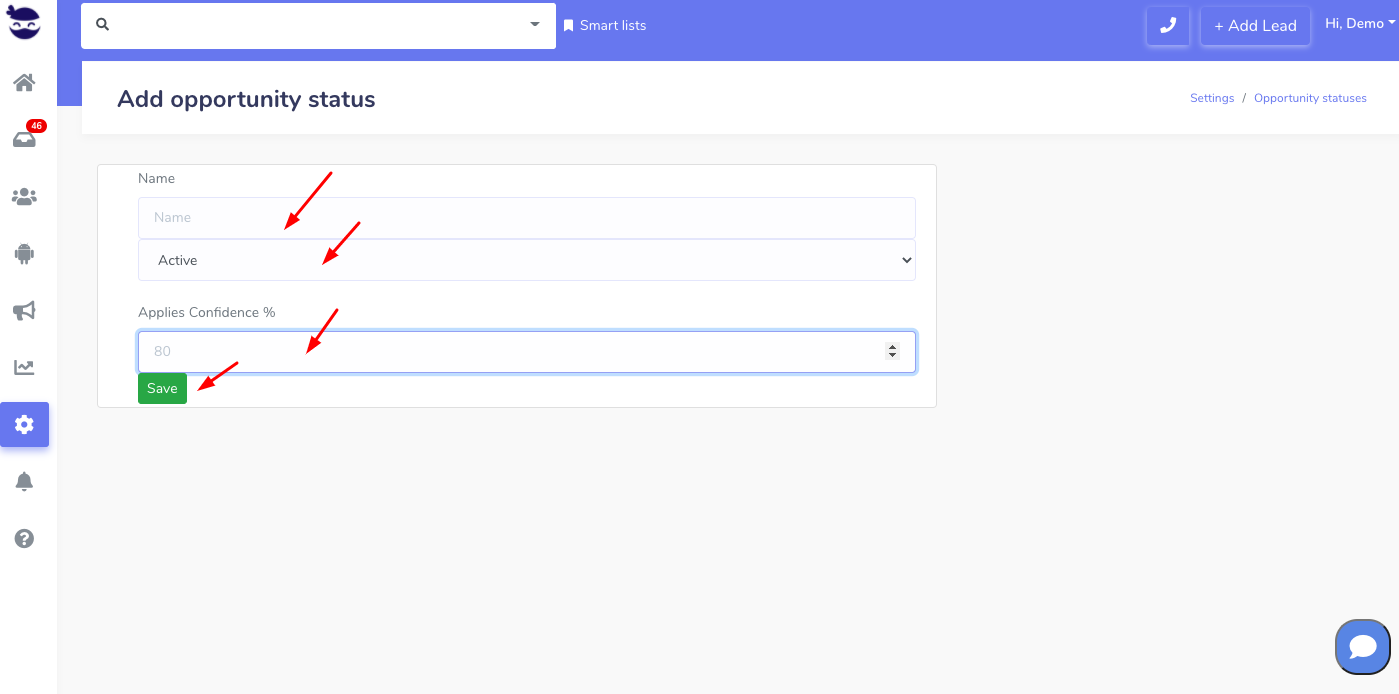
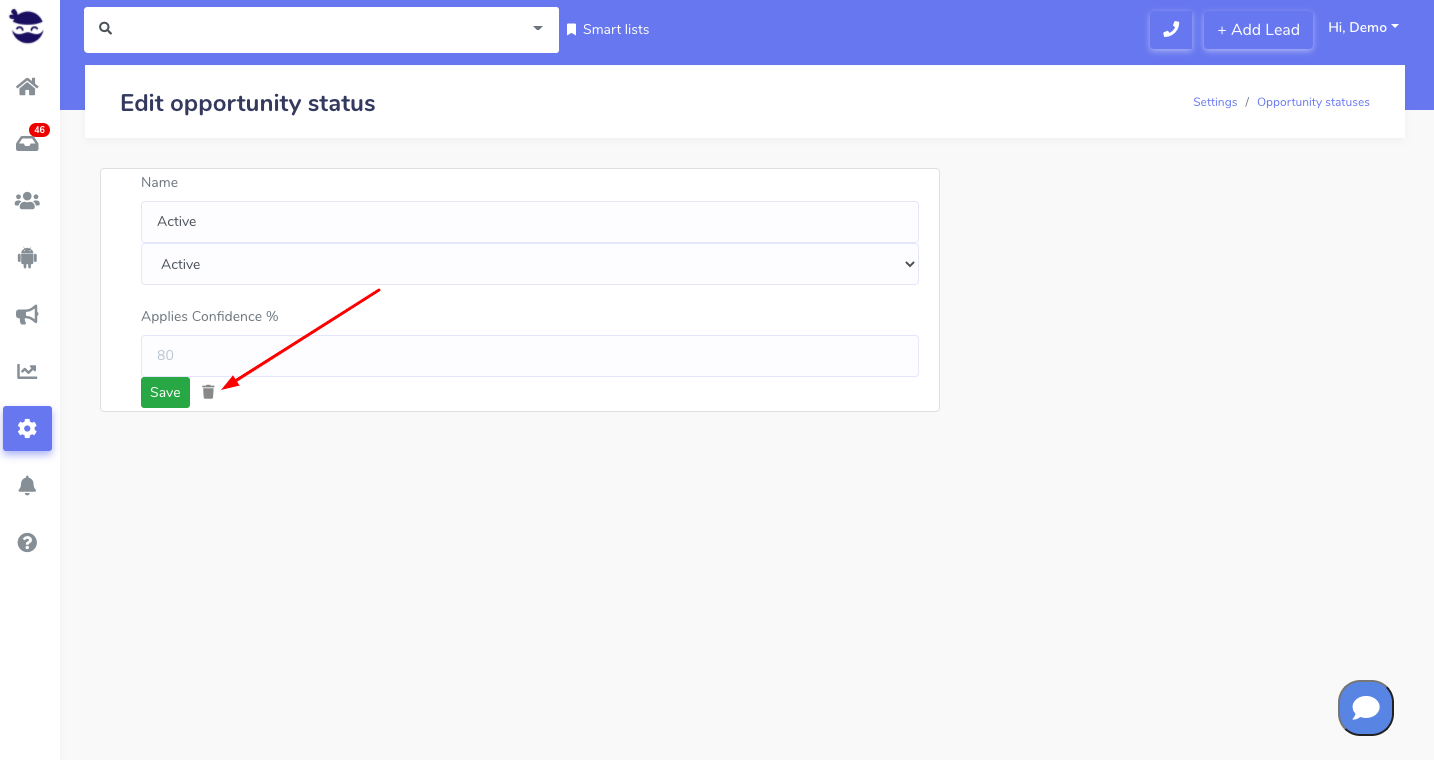
Setting the Opportunity filters
From the toolbar, you can manipulate the data you want to view in your report.
- The toolbar options:
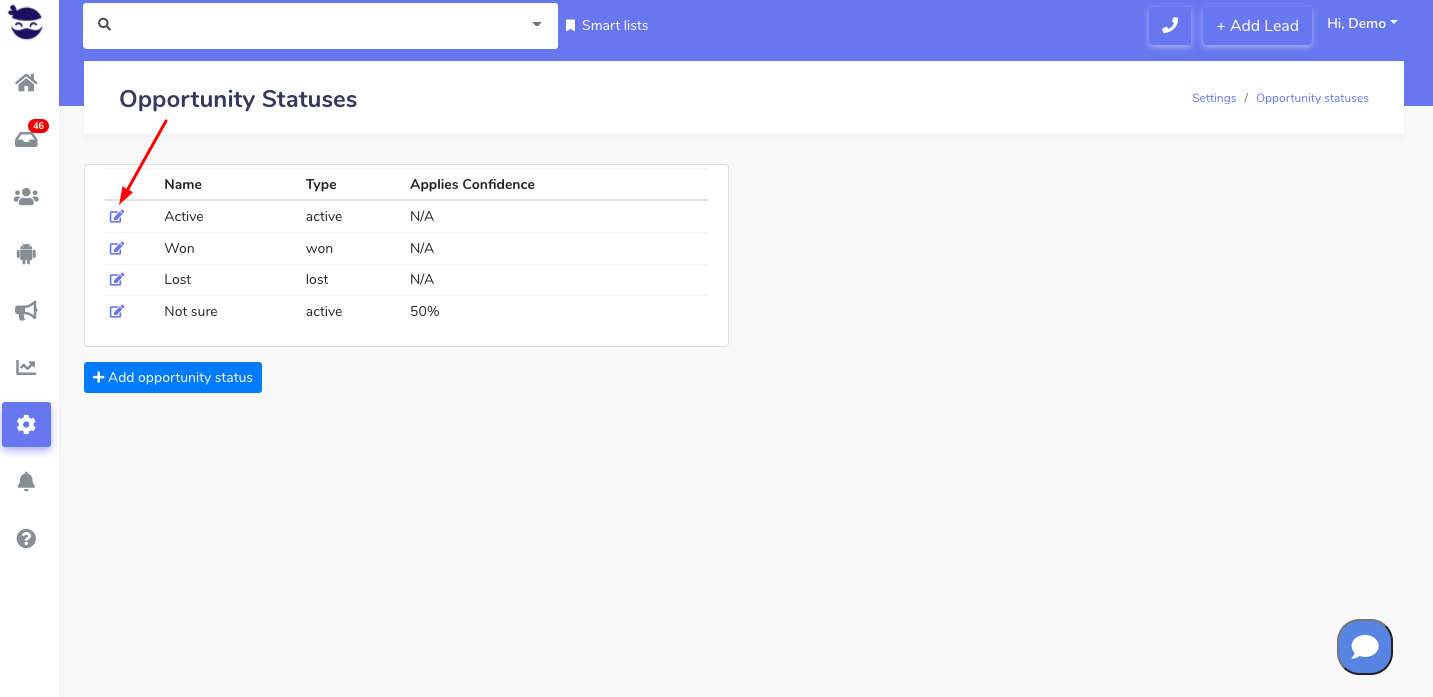
- Status:
- You can choose to view the opportunities sorted by status.
- Sales Rep:
- If you have an admin role, you can choose to view the opportunity status of a specific user, or all the users.
- If you have a user role, you can only view your own statuses.
- Date Range:
- Set the date range you want, between today and the last 12 months, or even customize the range.
- If the status is set to all (view all the statuses), then the date range filter will be applied on the “Date created field“.
- If the status is specified, then the date range filter will be applied on the “Date status updated field“.
- Set the date range you want, between today and the last 12 months, or even customize the range.
- Status:
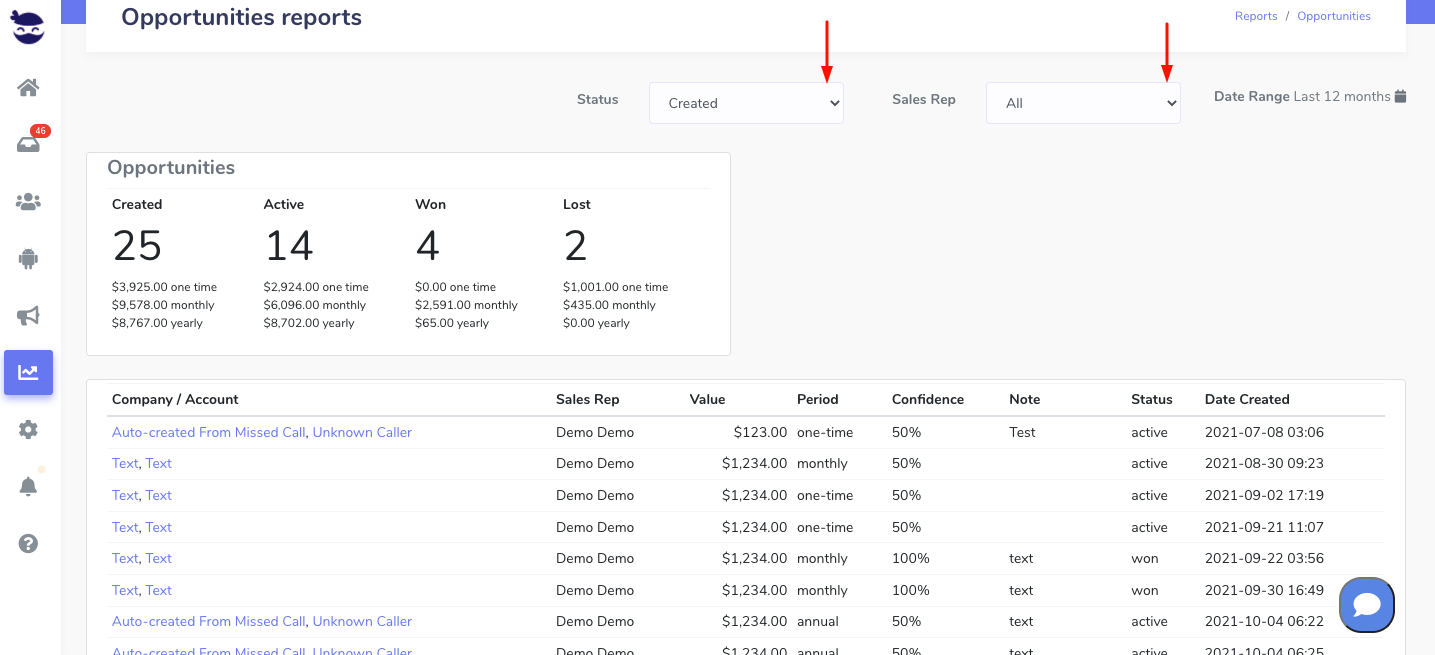

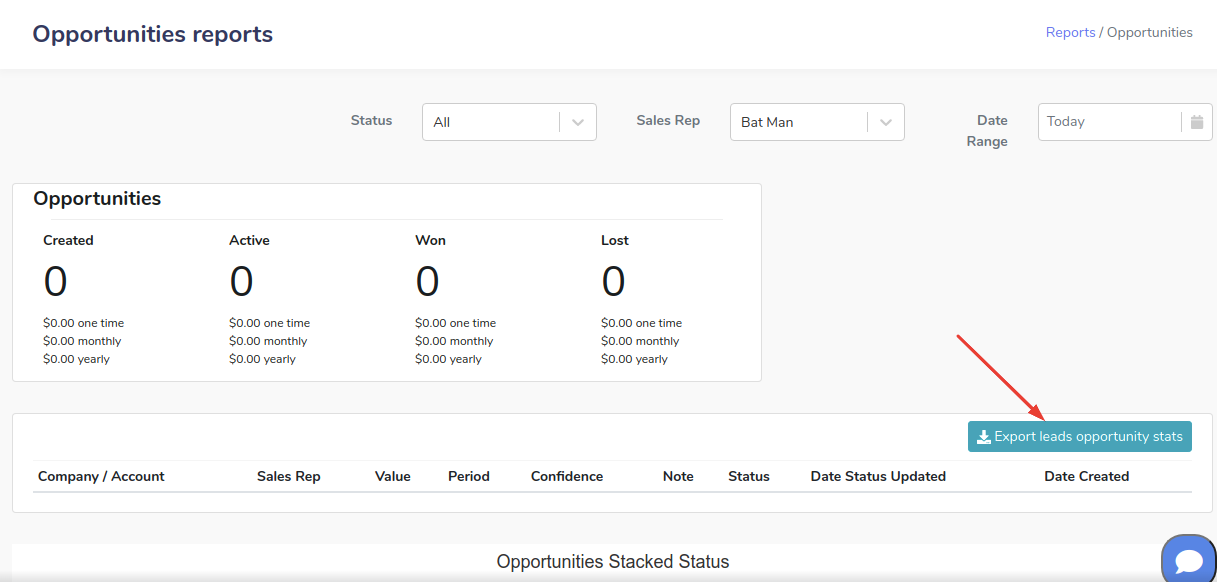
The Opportunity Report
After you set your filters, the system brings you the reports that are relevant to your search.
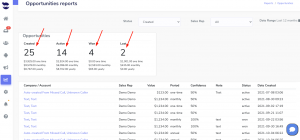
- You can see the total number of each opportunity status in the first widget.
- In the report’s list, the date Status Update is the date when the opportunity was set to active.
- The Date Created is the date when the opportunity status was created.
- Lastly, export your Opportunities data report into a CSV file