With aNinja, you can start launching Email sequences, which refers to the process of sending a certain number of emails (one or more) to one or a group of recipients all at once, using aNinja’s automated messaging system.
Email sequences can be used for various purposes, such as sending marketing messages to a list of subscribers, providing updates to customers or team members, or sending reminders or notifications for appointments or events.
Those messages are typically pre-written (email templates) and scheduled in sequences in advance. And, ultimately, aNinja takes care of launching those email sequences at the designated time or interval.
However, it is important to ensure that the messages comply with applicable laws and regulations, to avoid your messages being marked as SPAM.
Email sequences can be created to be sent individually to a single lead, in Bulk to a group of leads, to a Bulk Import list, or to all the leads at once.
Creating email sequences
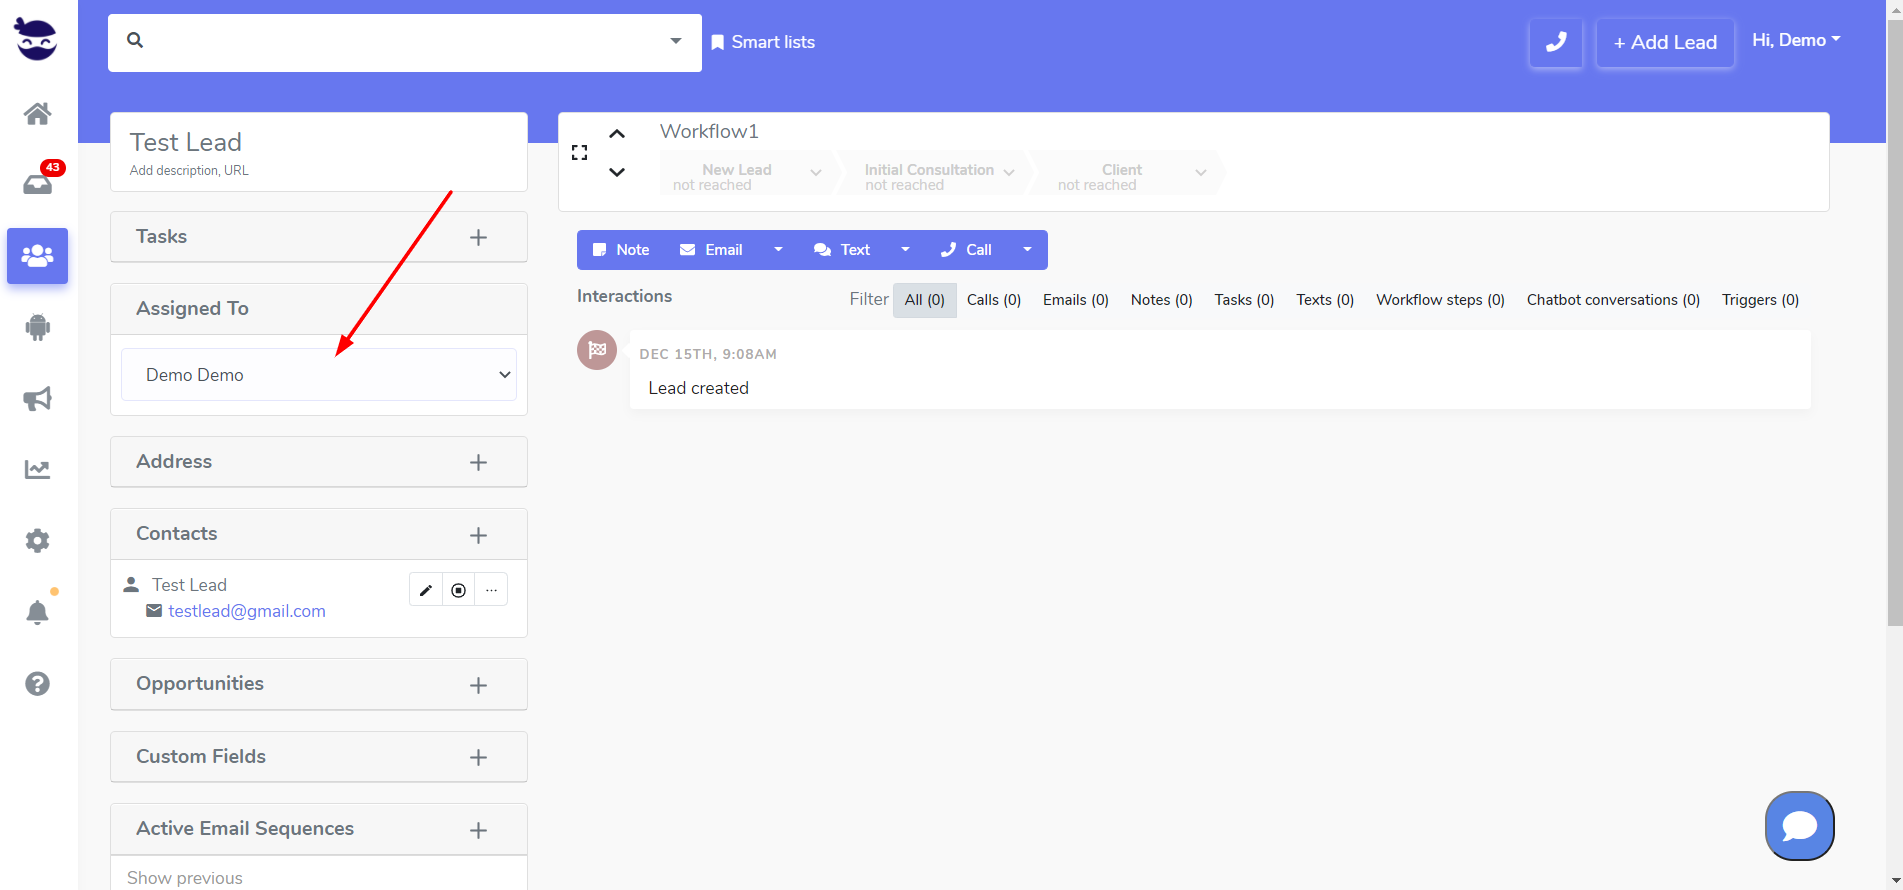
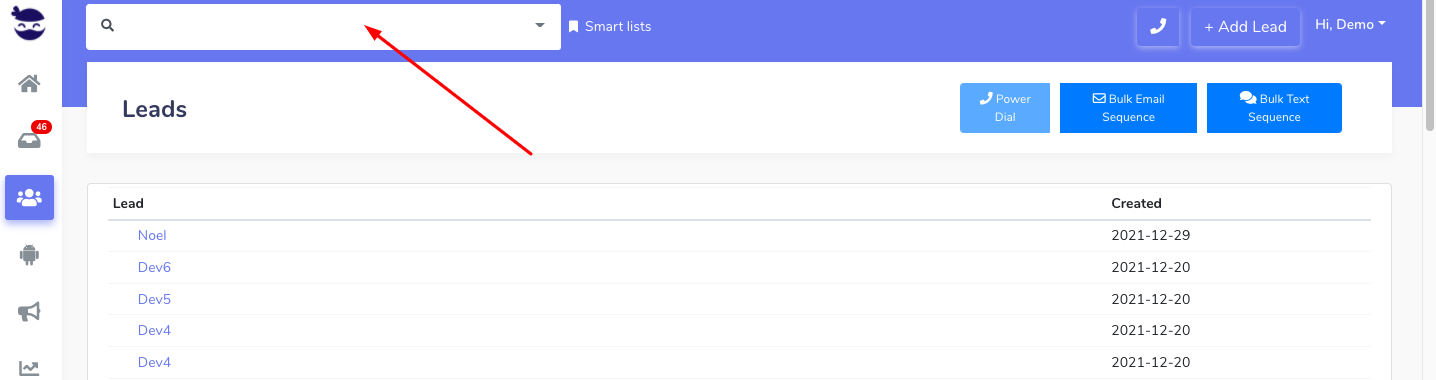
Launching an Email Sequence to a single lead
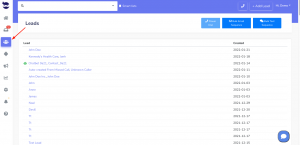
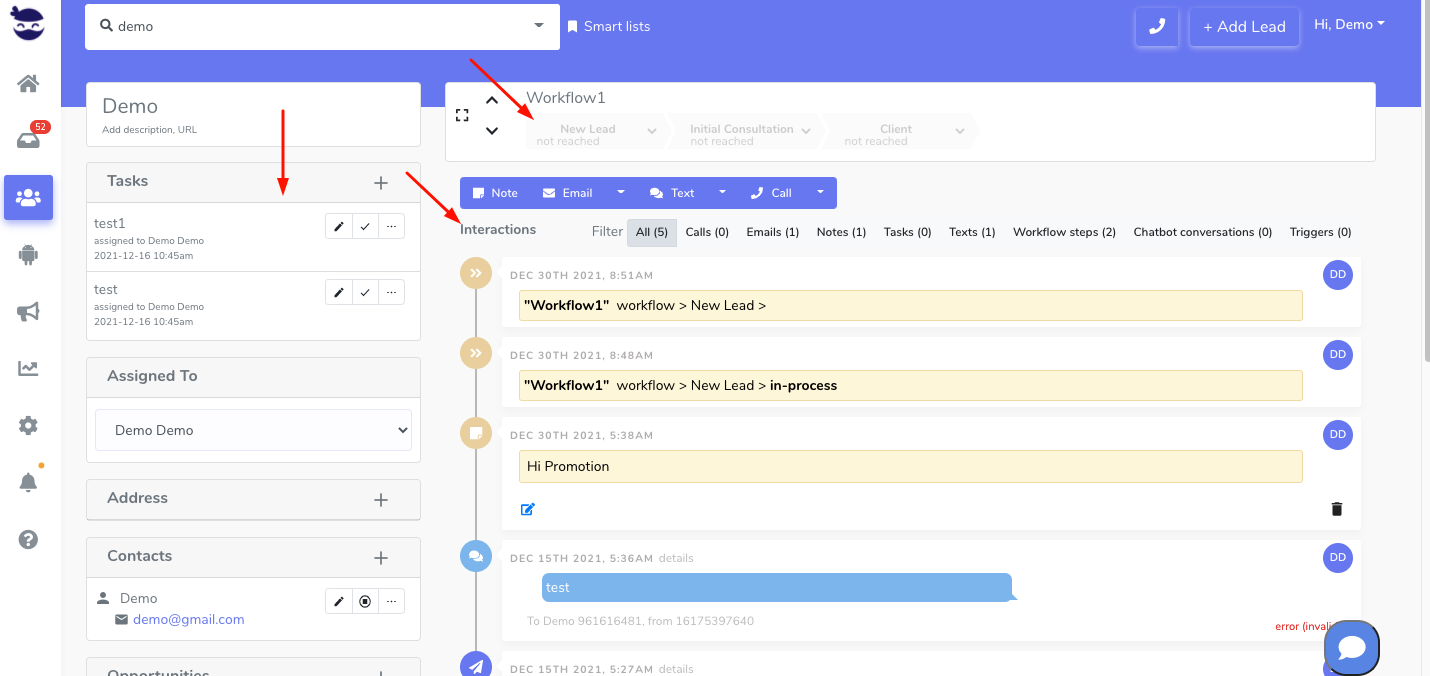
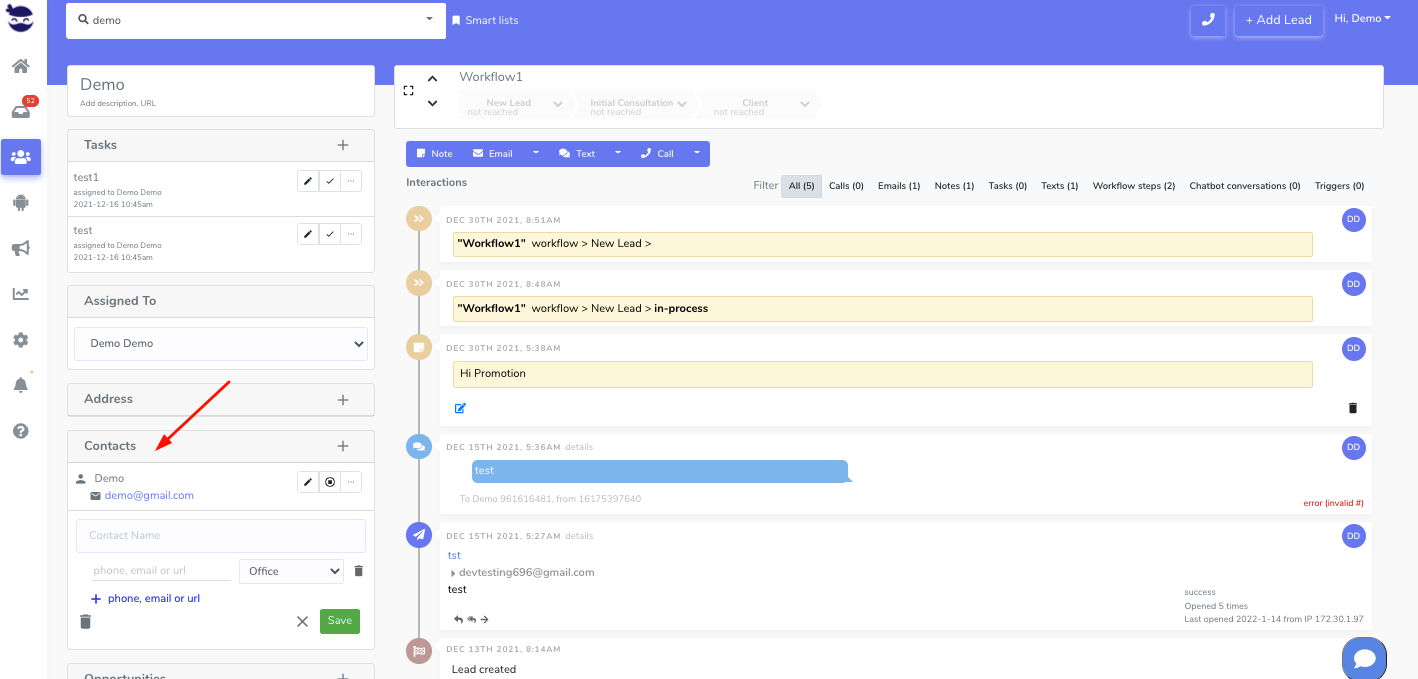
Launching an email sequence to a single lead is done from the lead view
- ( + ) Active Email Sequence,
- Or from the Toolbar > Email dropdown > Email Sequences
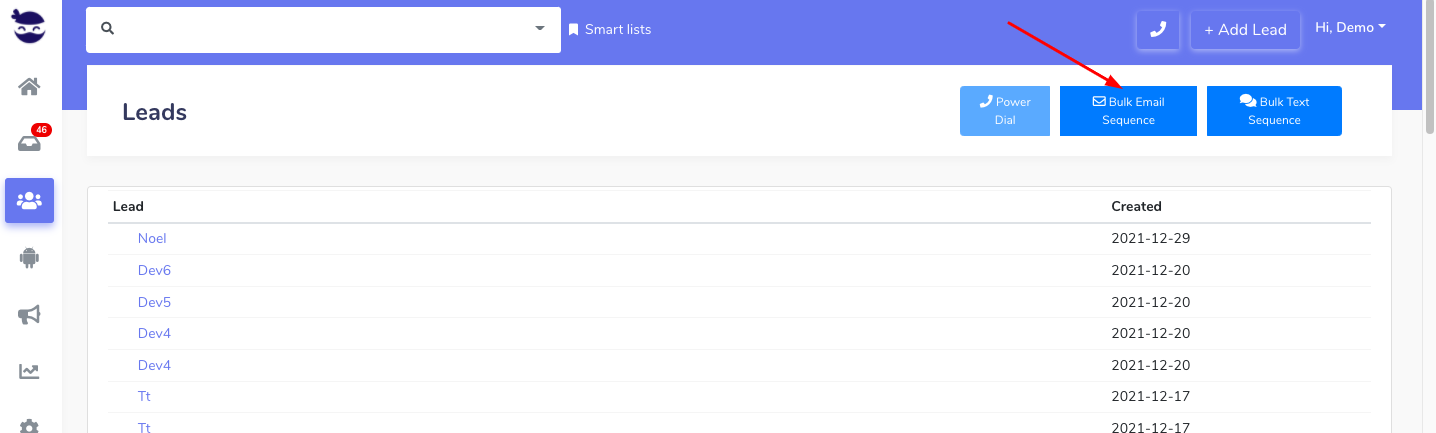
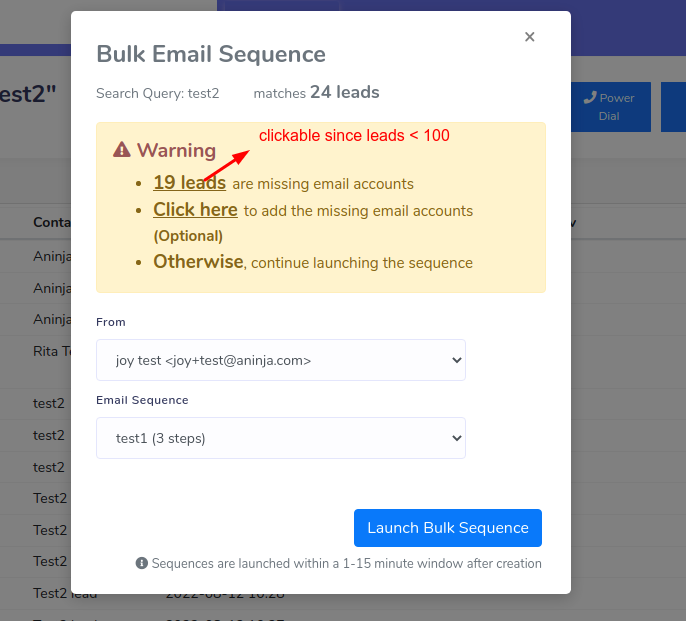
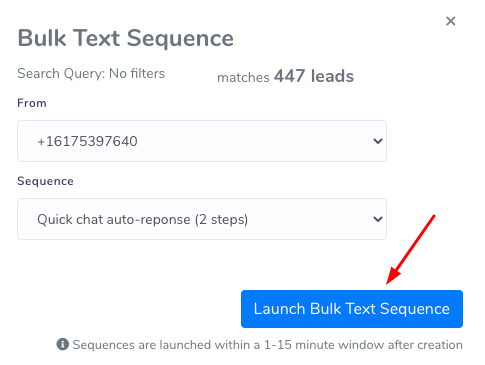
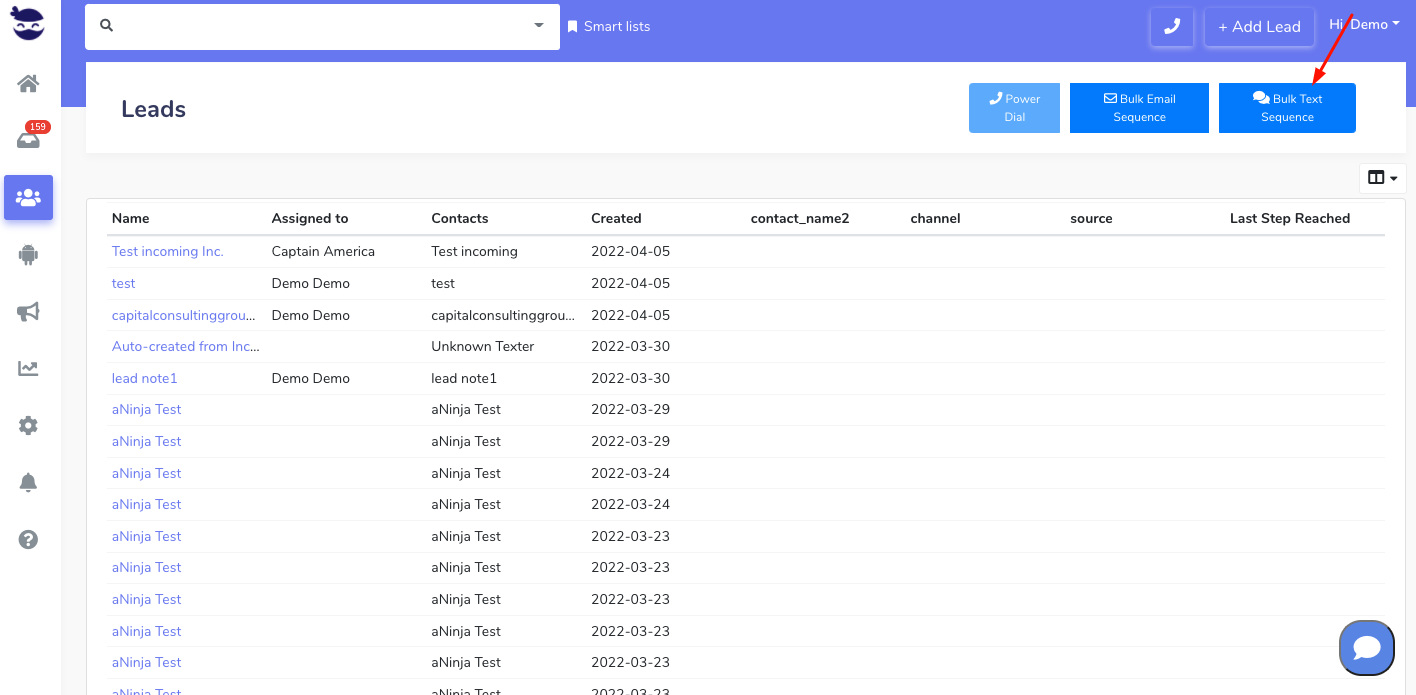
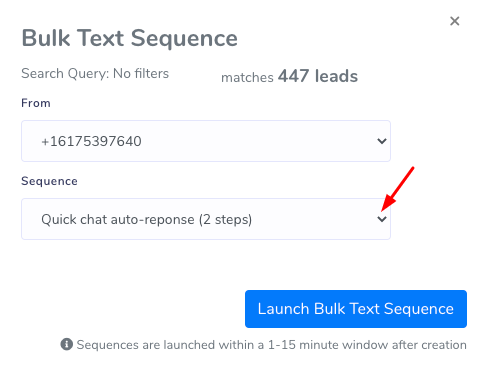
Launching a bulk email sequence
After creating templates and sequences, you can launch bulk sequences to your leads.
Launching email sequences to all leads
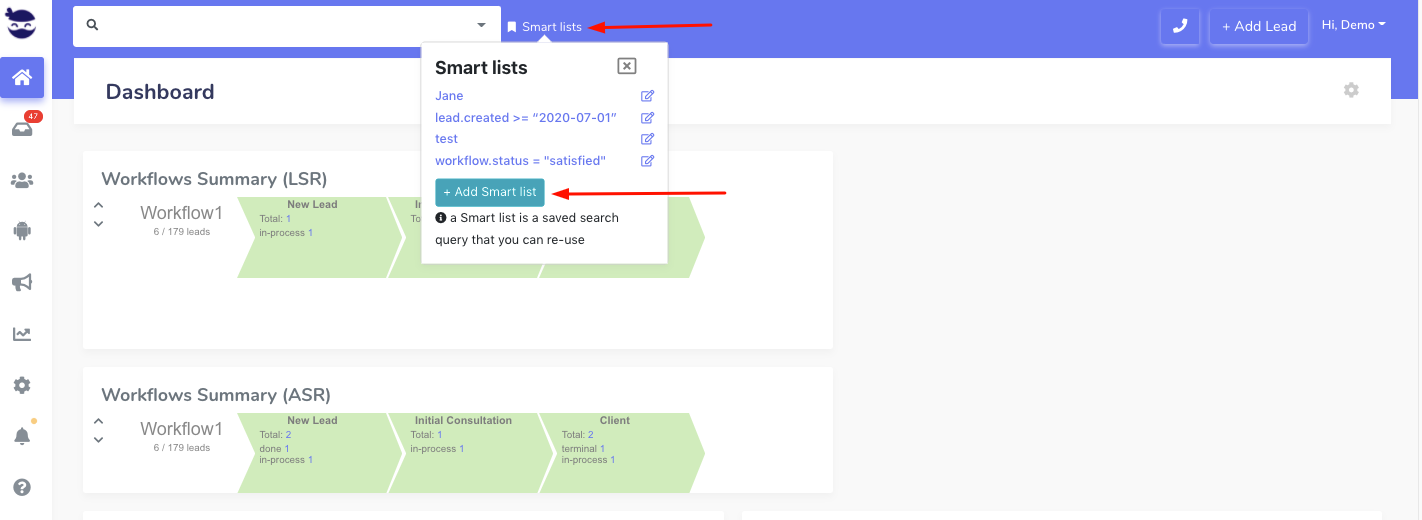
Launching email sequences to a group of leads
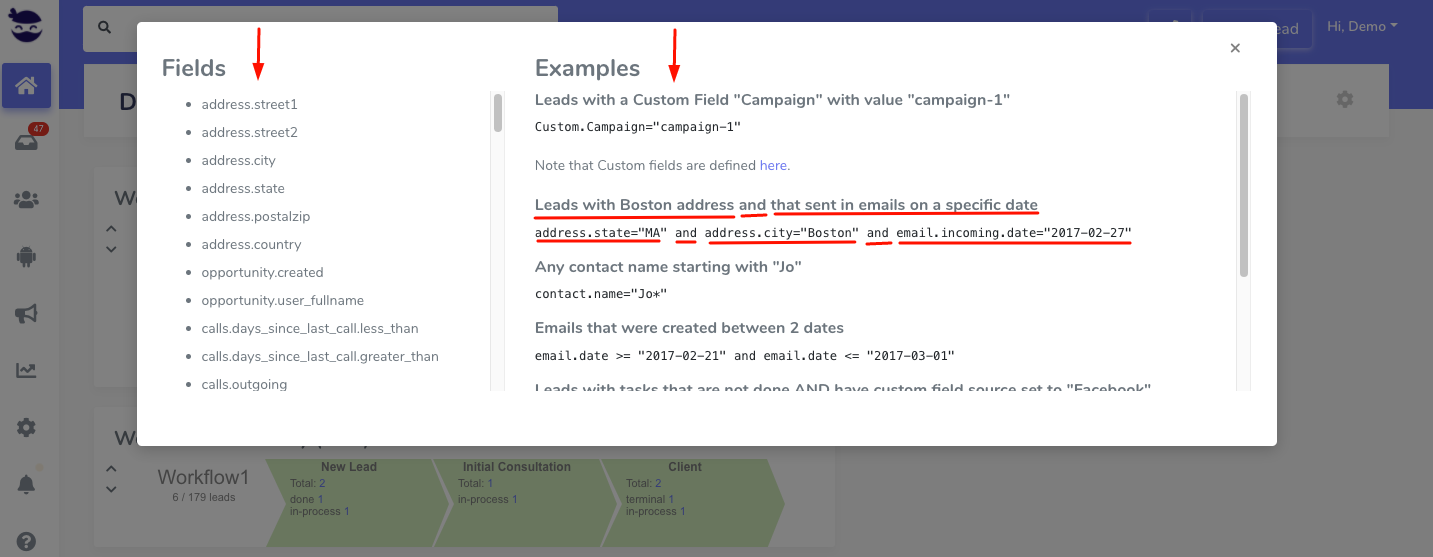
- You want to create a custom field that identifies a group of leads (e.g. Source). Then create a Smartlist that retrieves leads having this custom field saved in their lead view.
- Then launch your special campaign to this group of leads.
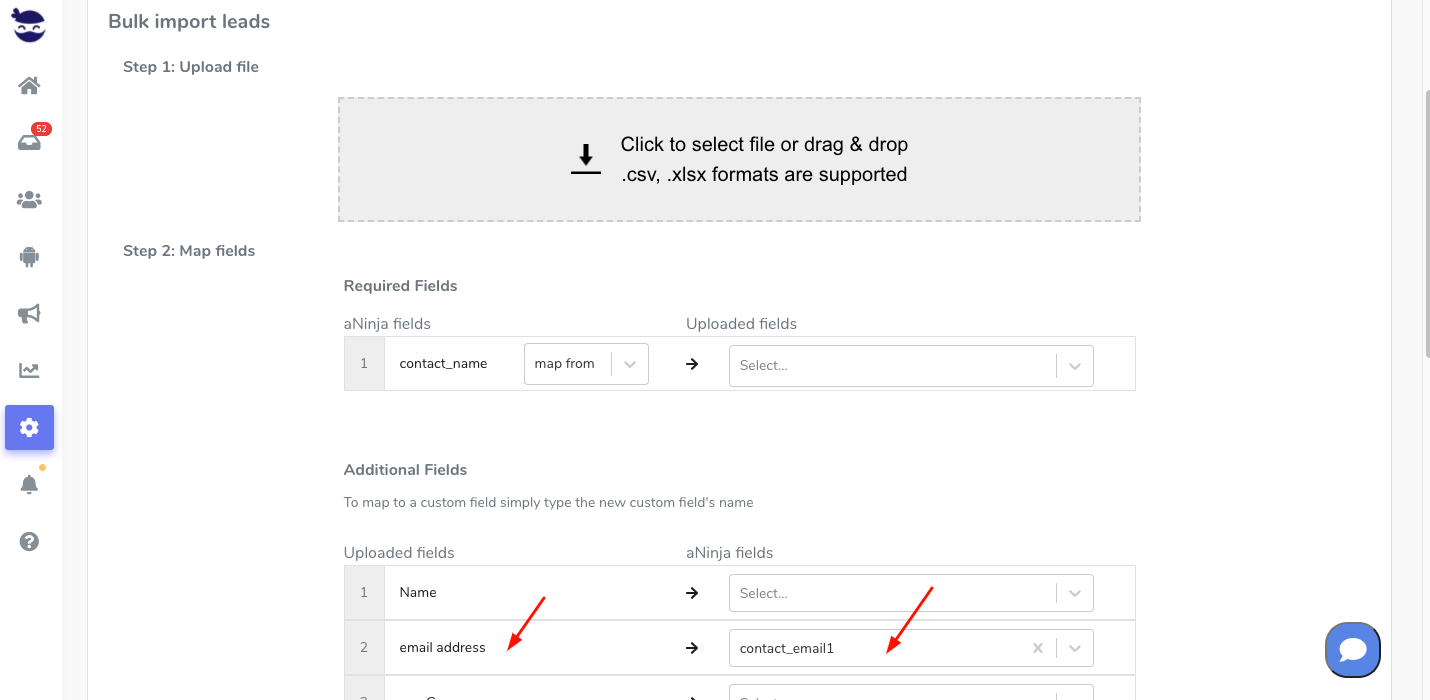
Launching email sequences to a bulk import list
To access detailed articles and obtain full instructions and images, please click on the links in red.
Or, browse aNinja Knowledge Base. You can always contact support@aninja.com for help!