Adding Users to aNinja

Adding users to aNinja is very easy.  However, the number of users in aNinja is set according to your Billing plan.

The role assigned to a user controls his access to areas and features within the aNinja app. Each user account requires a role. And changing the role of a user can be done at any time.

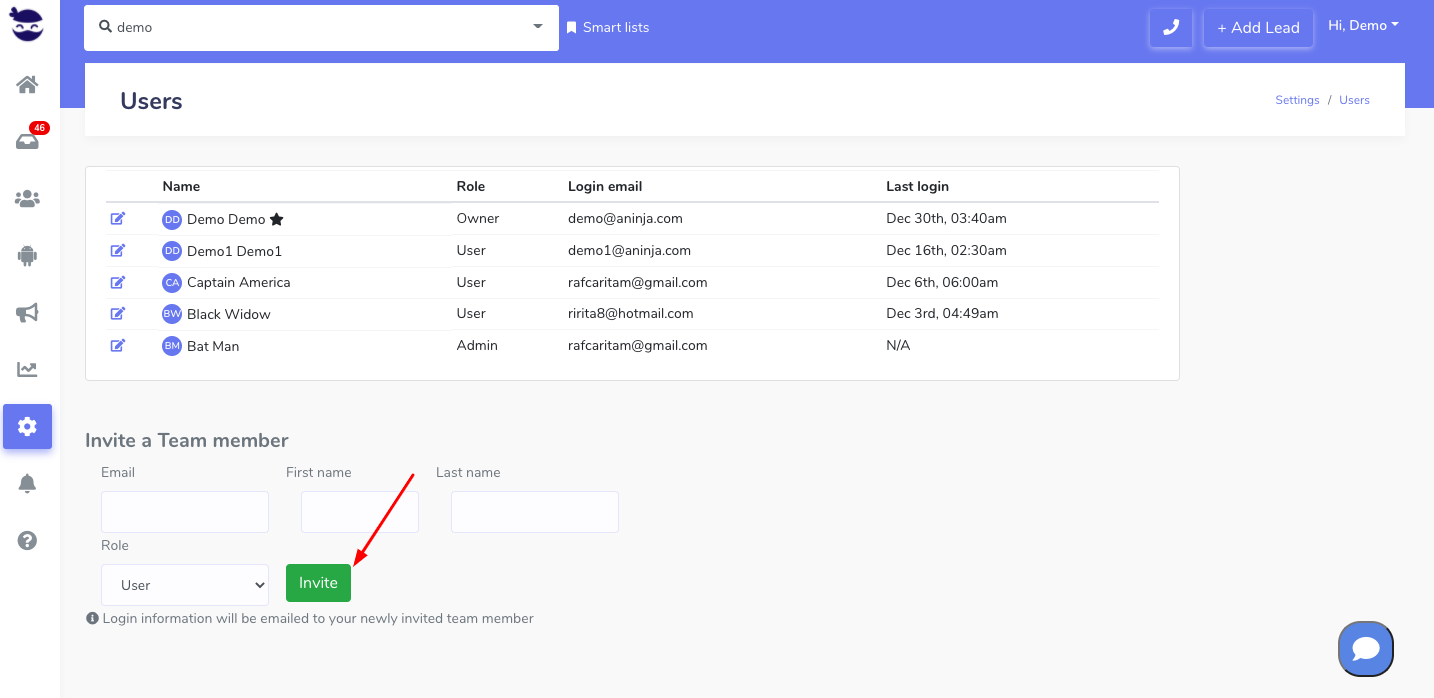
Adding / inviting users

Users with admin or owner roles can invite other users to join their aNinja installation.
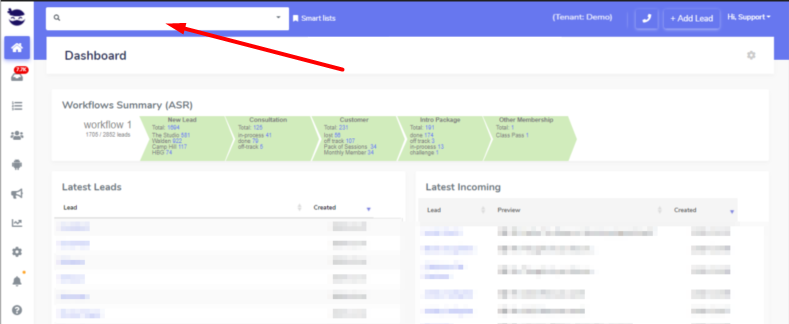
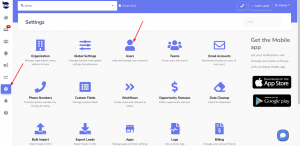
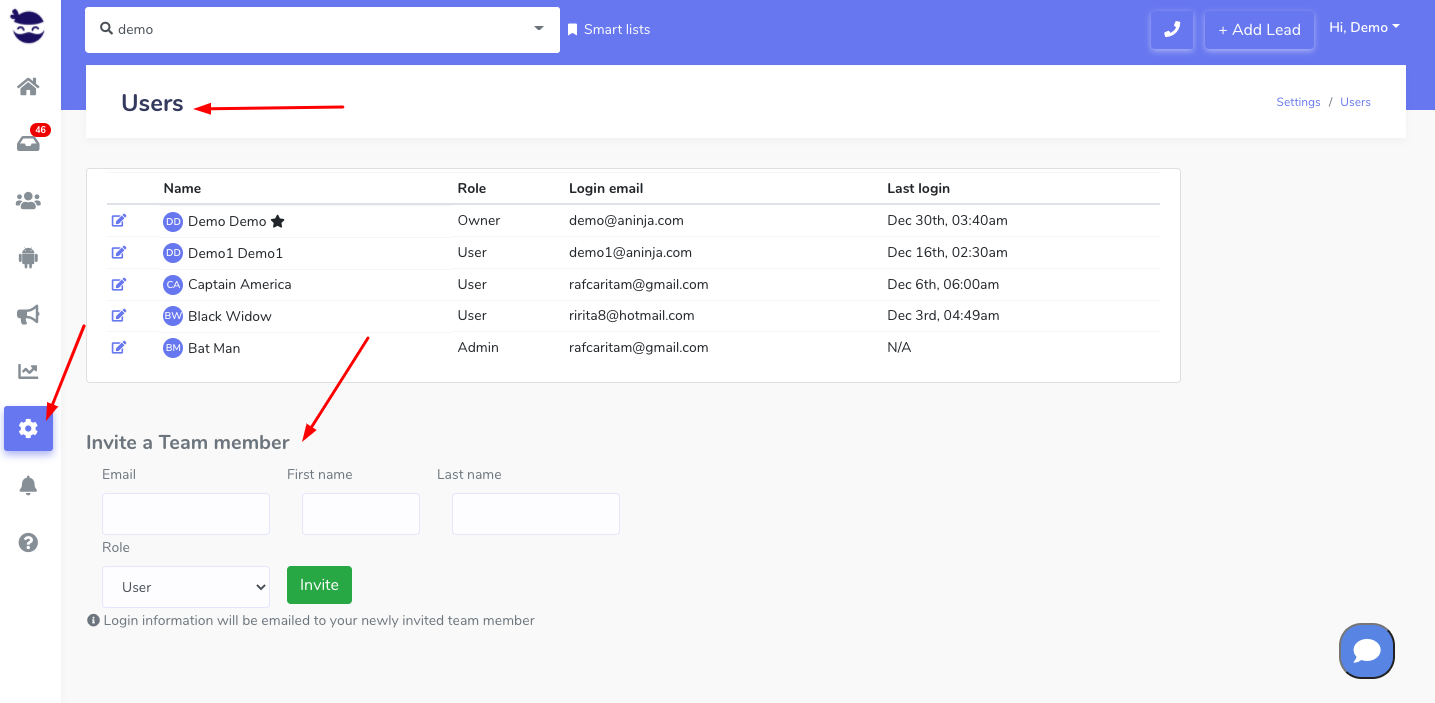
  • Fill in the following info:
    • Email: email address of the user to invite. This will be the login username.
    • First Name: of the user
    • Last Name: of the user
    • Role: Role to assign to the new user (user/admin)
  • After reviewing the data added, just click invite.
  • Lastly, your newly invited team member will receive the login information by email.

Adding users to aNinja

Note: the new user will be on the same billing plan as the current one the owner user is on.

User ID

Each user is granted a private user-id as soon as he is invited to join aNinja, regardless of his role.

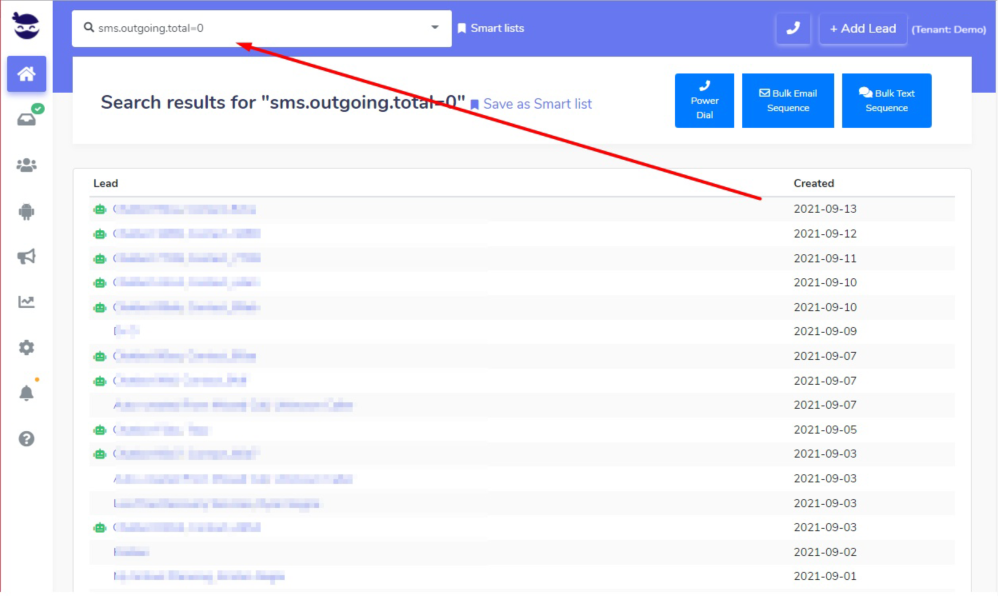
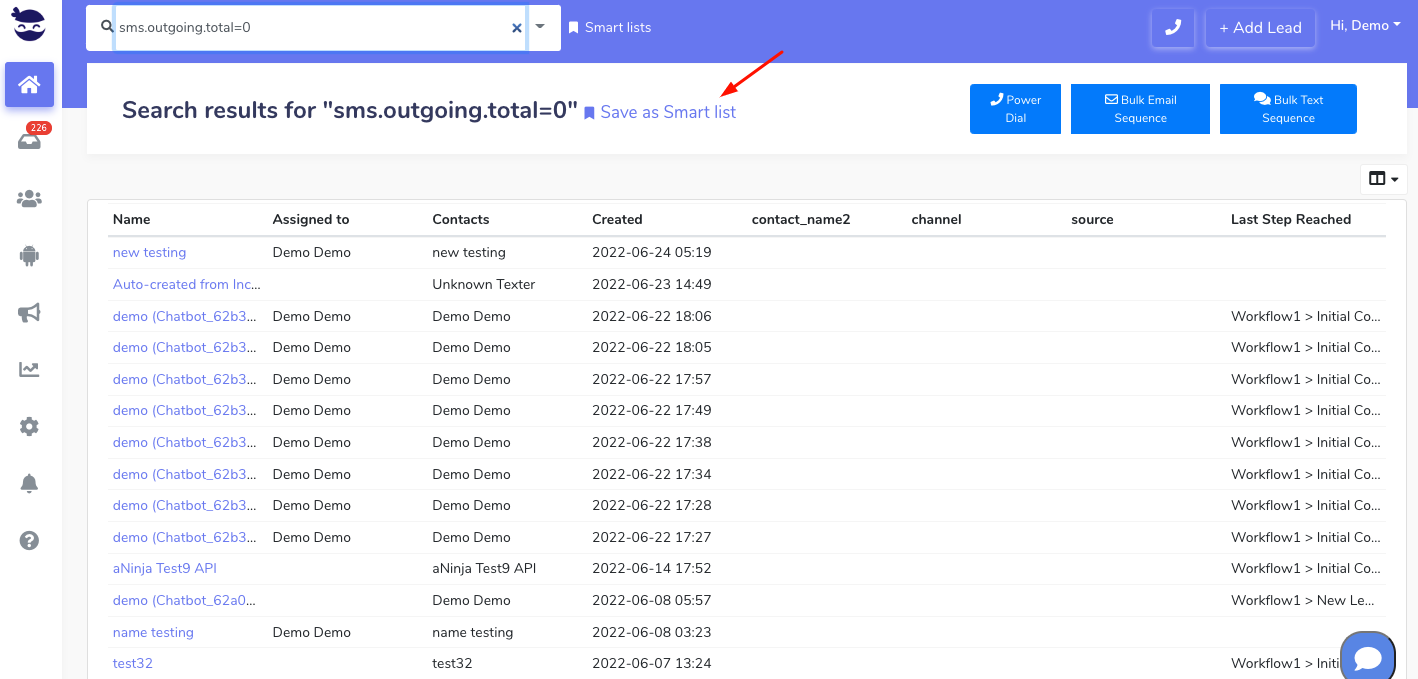
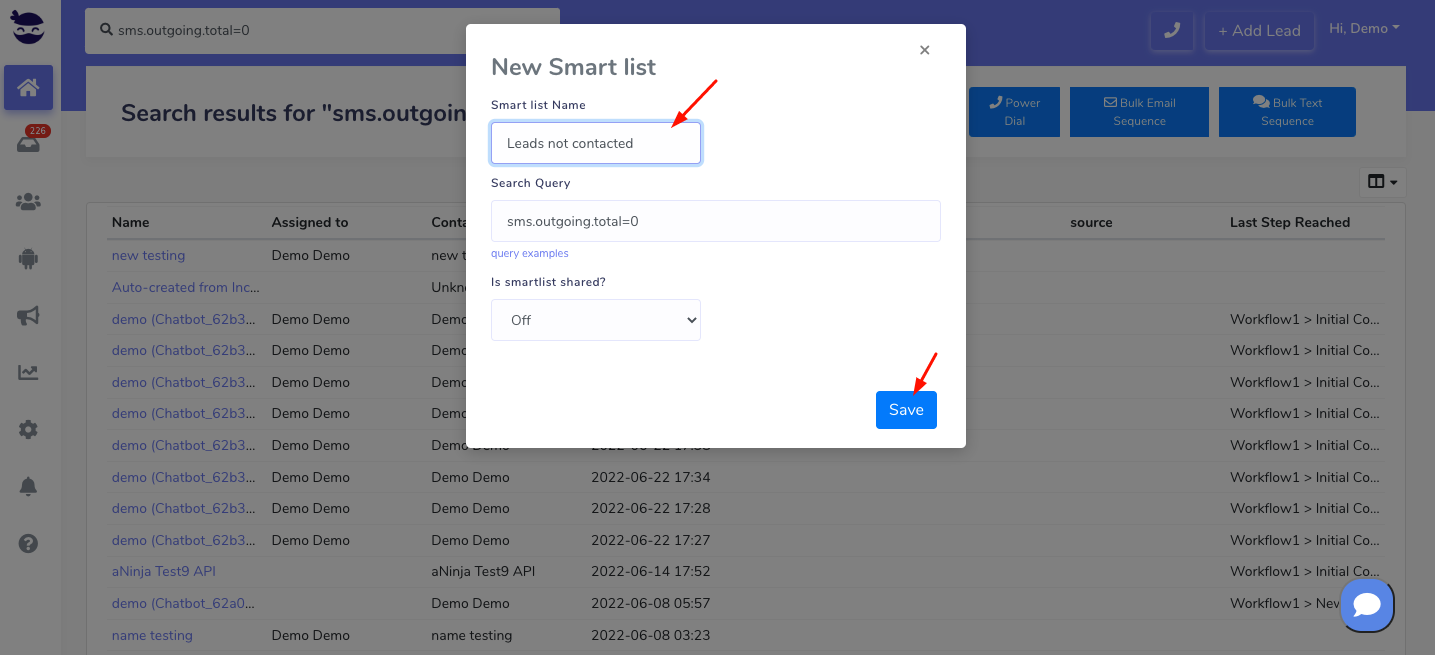
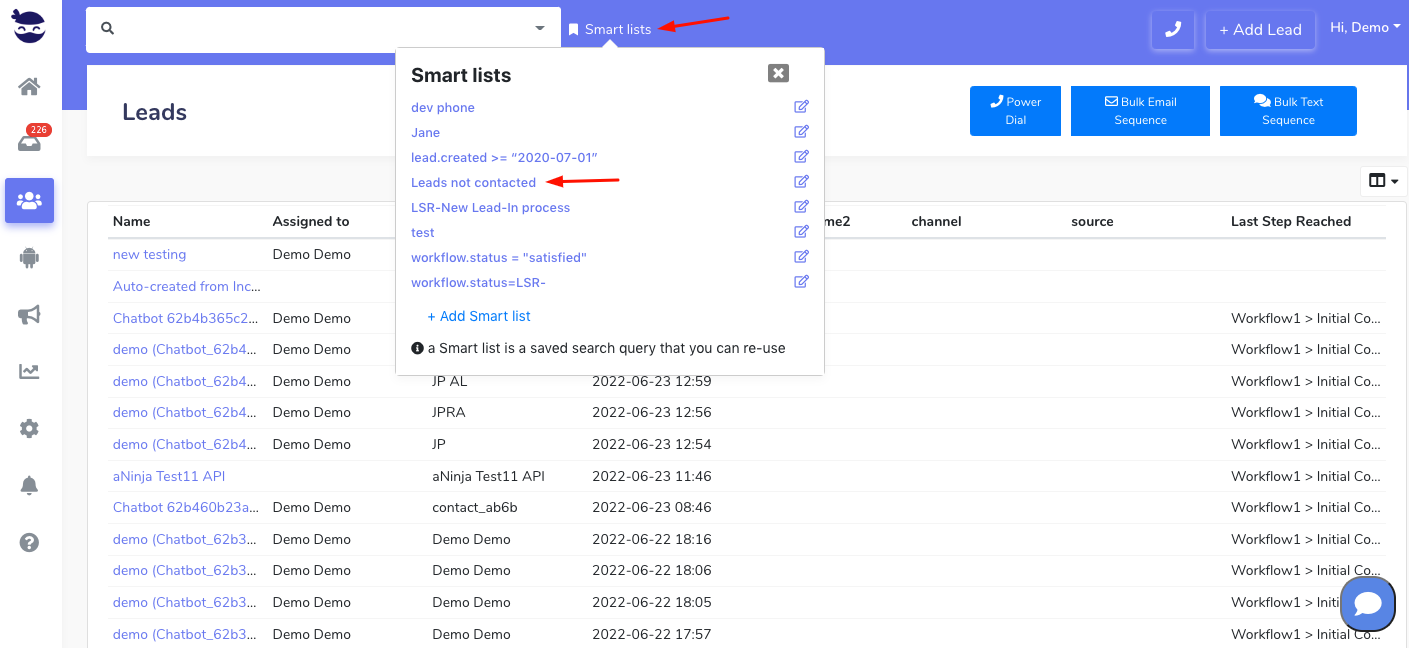
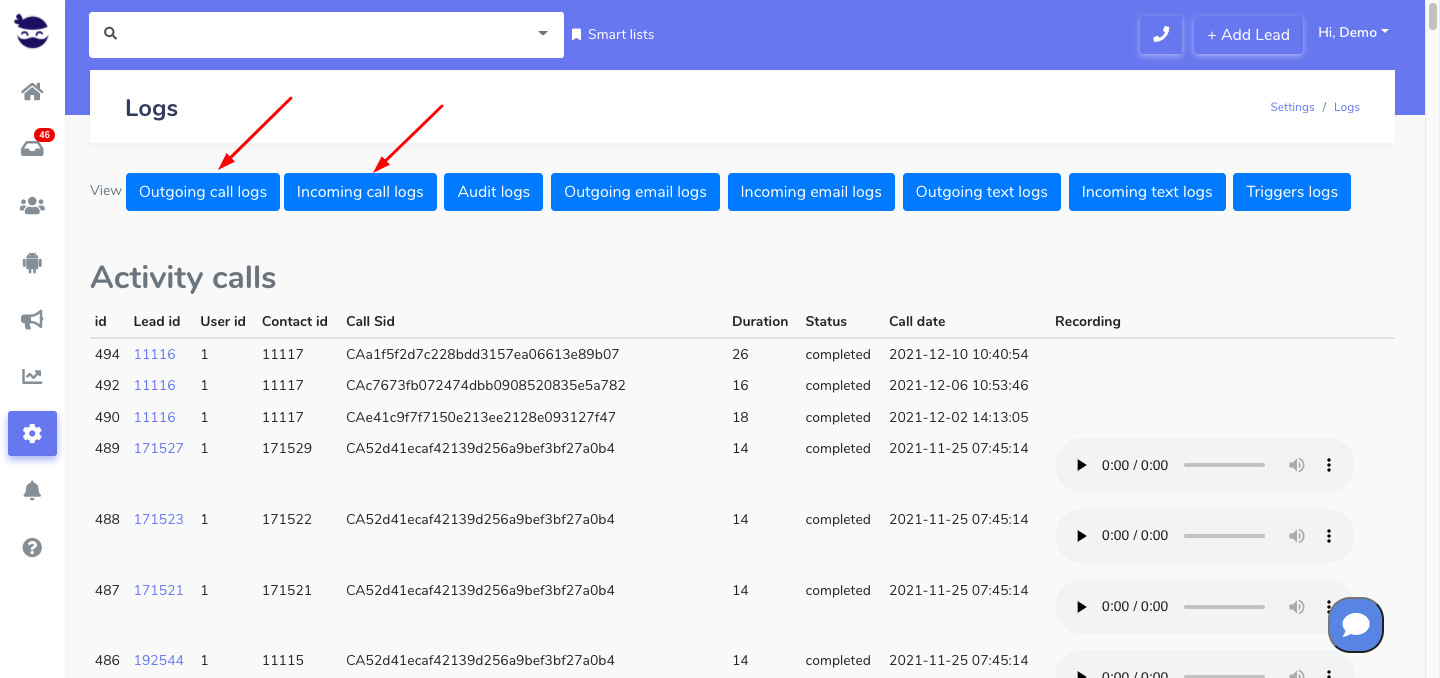
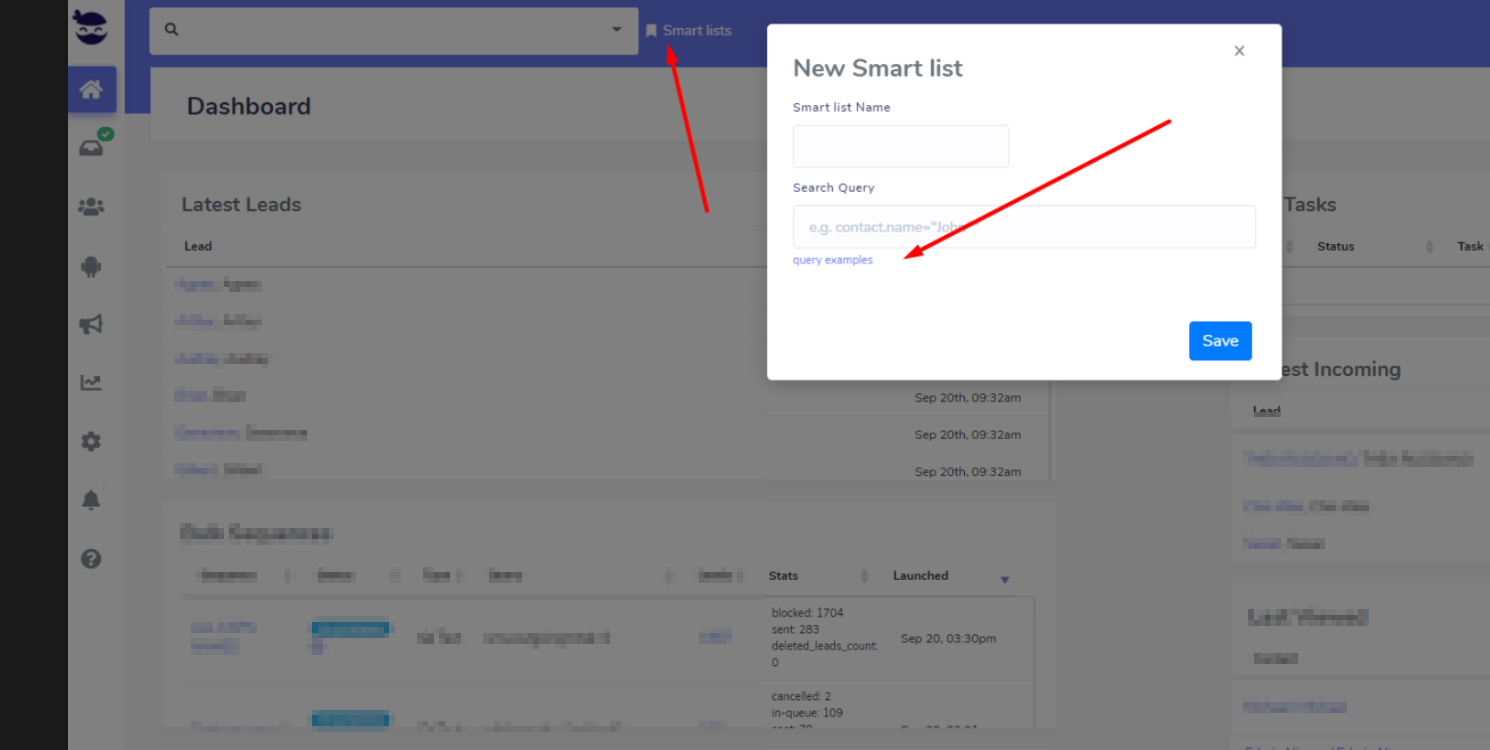
Using a Smartlist, you can utilize this user-id to filter leads assigned to a certain user.

You can also assign a bulk import to a user or multiple users using this user-id in the CSV file.

Making a Call in aNinja

Making a Call in aNinja

In aNinja, you can dial a phone number, call a lead’s phone number from the lead view, and power call multiple leads, using the phone number you have saved in your aNinja profile.

Dialing a phone number from aNinja Web app

  • On aNinja Dashboard, on the top right, click on the phone icon.
    • The call is made through the phone number saved in your user profile.
      • If you’re a user with Owner or Admin role you can choose to make the call using other users phone numbers.
    • When you finish the call, tap on the red button.
    • To close the calling window, just click on the phone icon once again.

making a call in aNinja

Calling a lead from aNinja Web app

  • When on the Lead View, from the toolbar, choose the call feature. It opens a dialing window and automatically shows the primary phone number in the lead’s contacts.
    • Click on the green button to call.
      • If you’re a user with Owner or Admin role you can choose to make the call using other users phone numbers.
    • When you finish the call, tap on the red button.
    • To close the calling window, just click on the phone icon once again.

Calling multiple leads from aNinja Web app

  • On the Leads View, whether you choose to call all the leads in your CRM, or a group of leads that you have grouped using a Smartlist; on the top right of the page, hit the Power Dial Button.
  • This option allows you to call all the leads sequentially without bothering to go to each lead’s profile to call manually. When the current call is ended, the system starts calling the next lead in queue.

Accessing the calls log

  • If you are a user with a User role, you can view your own calls in Settings / Logs and listen to the conversations.

  • Users with Admin role can view calls and listen to call recordings of all users.

Note: For saved leads, you can keep notes of the calls. In the Lead View, click on Notes to enter relevant information that you picked up from the call.

aNinja Smartlist multiple queries

With aNinja Smartlist multiple queries, you can group leads from your CRM the way that fits your daily routine. This is a task that you do once and that executes when needed.

For example, how helpful is it for salespersons to know, on daily basis, the new leads that they have not yet contacted!

So, a Smartlist brings this data, and salesman can kick off the day with no additional tasks.

Basically, you can create a Smartlist with one or multiple queries.

As a matter of fact, multiple queries behave the same, as if you executed each query separately.

Samples aNinja Smartlist multiple queries

  • Leads with Boston city AND that sent in emails on a specific date:
    • address.city=”Boston” AND email.incoming.date=”2021-02-27″

  • Leads with Boston Address and Leads with LA address
    • address.city=”Boston” OR address.city=”LA”

  • Any contact name starting with “Jo”:
    • contact.name=”Jo*”

  • Emails that were created between 2 dates:
    • email.date >= “2021-02-21” AND email.date <= “2021-03-01”

  • Leads with tasks that are not done AND have custom field source set to “Facebook”:
    • task.count.not_done >= 1 AND Custom.Source=”Facebook”

  • Leads created after April 2nd 2021:
    • lead.created >= “2021-04-02”

  • All Leads that are not in a workflow:
    • search.leads.not_in_workflow=true

  • Not in workflow AND not a customer (custom field)
    • search.leads.not_in_workflow=true AND Custom.isCustomer!=yes

Accessing more query examples

To see more query examples, just click the button pointing arrow in the search field.

Note!

Don’t forget to save the results of your query(ies) as a Smartlist before leaving the page to avoid losing them.

Bulk texting a smartlist of leads for the first time

Bulk text helps you send customized SMS for your marketing / service campaigns. It helps provide actionable alerting, on-call management, and much more. With aNinja, you can create a smartlist with the leads that you’ve not yet contacted: Bulk texting a smartlist of leads for the first time.

Bulk texting a smartlist of leads for the first time

  • If you’d like to create a Smartlist of leads that have never received a text from your aNinja account before, you can use the following query:

sms.outgoing.total=0

Bulk texting a smartlist of leads for the first time

The results of the Smartlist will show in the Leads view. Go ahead and click on Bulk Text Sequence to start launching your text sequences to this list.

Saving your Smartlist

You can save that query into a Smartlist for future use.

  • Click on Save as Smart list
  • Name your Smartlist (e.g. Leads not contacted)
  • And Click on Save

Find your saved Smartlist

Next to the top navigation bar, Click on Smart lists and locate your smartlist

It brings you the results in the Leads view. You can choose to send Bulk Email Sequences or Bulk Text Sequences, or even power dial this list of leads.

Leads Search

The lead search is one of the most common actions performed in regular business applications. aNinja searches among all your CRM records – Name, contact, email, phone, and any other custom fields, and brings you the results in the Leads View.

aNinja searches among all your CRM records – Name, contact, email, phone, and any other  and brings you the results in the

Leads Search in aNinja

Searching for a specific lead

Simply type your search in the top navigation bar here (name/contact/email/phone):

Searching for leads falling under certain criteria

Filtering your leads into any wished criteria, allows you to group them under these criteria, and target them with your specific campaigns call to action.

  • Create the criteria in the status of the lead(s) in the workflows.
  • Call a Smartlist with these criteria when it’s time to launch the campaign.

Categorizing your Leads before importing them

Search for leads using custom fields

You can also search for leads using custom fields.

Bulk Activities

The results of your search will show in the Leads View. You can save your search as smartlist for future use. You can also share it with other users.

After filtering your leads, you can start your activities:

More articles on Leads management

aNinja Custom Fields

aNinja Custom Fields allow you to add extra information to your lead’s contact. They can be created manually, or dynamically created via API-injected leads.

What is a Custom Field

A custom field is a personalized data field that you can create and define to store specific information in your aNinja account. It allows for customization and flexibility in capturing and organizing data according to unique requirements.

aNinja Custom fields allow you to augment your lead data with additional custom fields of different types.

Moreover, custom fields are searchable within the system and can be used to build smartlists and search for leads and execute a trigger action based on a custom field value changed event.

Types of Custom Fields

  • Text – For text input
    • e.g. Campaign, category, form name, etc…
  • Link – For fields with any link/URL
    • If you designate the type as “Link” here, it will render the URL value as a clickable link in the lead view.

  • Date – Date in different formats
    • Select “Date” or “Datetime” as the type, and indicate the desired date format for displaying the value in the lead view.
  • Dropdown – Fields with multiple options dropdown
    • Select “Dropdown” as the type, and indicate the desired values for displaying in the lead view. Type one value on each like and hit enter to enter the second value.
    • e.g. “Source” with the values “Facebook”, “LinkedIn”, “Twitter”, etc…

Manually adding a custom field

  • On the left sidebar, click on Settings
  • Go to Custom Fields
  • Here, click on Add Custom Field
  • Label the Custom Field,
  • And, select the Type as described above (Text, Link, Date, or Dropdown).
  • Lastly, hit Save

Editing a Custom Field

  • On the left sidebar, click on Settings
  • Go to Custom Fields
  • Click the edit pen next to the field name
  • Make the changes and hit Save

Deleting a Custom Field

  • On the left sidebar, click on Settings
  • Go to Custom Fields
  • Click the edit pen next to the field name
  • Click the recycle bin icon
  • And hit OK to delete.

Adding a custom field to the contacts file / CSV file

When you’re preparing the contacts file, and before you import it to your aNinja account; save any additional information that you have on the leads as custom fields. Like “created date”, “source”, “platform”… Then map them to the aNinja custom fields.

Name the header and prefix it with “Custom.” e.g. Custom.Platform.

Using Custom fields in Triggers

You can use the Custom field value changed as a Trigger event to execute a trigger action.

Related articles:

Segmenting leads using Custom fields

Searching for leads using custom fields

Trigger Custom Field value changed event


aNinja Smartlist

aNinja Smartlist is a saved query that you can reuse as a list in your Dashboard while navigating through leads. As well, you can target this list of leads in email or text sequences.

Basically, this allows you to easily bulk email / bulk text in sequence. Or simply create Smart Views for the actions required and run through them as your daily to-do list.

Moreover, if you add new leads to your account and they match the query filtering parameters, they will automatically show up on the Smartlist results.

But, if a bulk sequence is already triggered or launched, it will not add new leads to it. Neither changing lead info after creating a sequence does affect the bulk sequence.

Creating aNinja Smartlist

  • From the top navigation bar, click on SmartList
  • Then on + Smartlist
  • Here, you can view the query examples
    • For example, to search for leads added after July 20, use this search query:
      lead.created >= “2020-07-01”
  • Search queries can be saved for future use “Save as Smartlist

Note!

Don’t forget to save the results of your query(ies) as a Smartlist before leaving the page to avoid losing them.

Smartlist of multiple queries

Smartlists can be built with one or multiple queries. This way, you can narrow your search for specific leads.

Accessing saved Smartlists

  • From the top navigation bar, click on Smartlists.
  • You can see a list of all the saved Smartlists.
  • Click on a Smartlist and the system brings up the data for you in the leads view.
What can you do with a Smartlist:

Save the Do Not Contact list as Smartlist

Creating a Smartlist from Bulk Import list

aNinja Smartlist multiple queries

Bulk texting a smartlist of leads for the first time


aNinja Workflows

aNinja WorkflowsWith aNinja workflows, you can organize your work and the steps you want the salespersons to carry out to reach the highest productivity of your team. It’s all that it takes to turn a lead into a customer.

aNinja is designed to make your sales communication quick, easy and effective. You can easily build out unique sales workflows using our dynamic Smartlists and email sequences.

What is a Workflow

A Workflow consists of a series of sequential steps. You need to carry them out one after another with proper approvals at each stage from the beginning to the end.

That includes everything from prospecting to closing the sale. Sales cycles vary between companies and industries, but they usually have a similar sequence of steps.

And while most business owners can intellectually understand why workflow is important, it’s hard to truly wrap your brain around it until you have actually seen it in action.

Benefits of workflows

  • Monitor the lead/client progress in the sales/customer pipeline.
  • Better align leads/clients with the most appropriate staff members.
  • Since the workflow keeps a record of what occurs in the system, an audit trail shows who, what, when, and what actions were performed.
  • Excellent communication with leads/clients makes day-to-day operations smoother overall.

Adding a workflow

These are the steps to add aNinja Workflows:

  • On the left sidebar, click on Settings > Workflows
  • Click Add Workflow
  • Name the Workflow
  • Keep/Rename the Step Status and hit Save

You can add multiple steps to the workflow.

aNinja Dashboard

The aNinja dashboard gives you a quick overview and deep view of your aNinja system using Widgets.


Overview of your aNinja Dashboard

  • Your dashboard is composed of Widgets. These give you various views into saved results or Smartlists
  • Go ahead and click on the help (?) icon next to Dashboard. It redirects you to a short youtube video to get an overview of the dashboard.

Configure Dashboard

  • Click on the gear on the top right side of the dashboard page.
  • Choose to display on the dashboard the widgets that are the most useful for you.aNinja Dashboard