One of the biggest challenges in using text messaging for business purposes is to increase the deliverability of messages.
Here are some tips to ensure the deliverability of your text messages, all in complying by the Acceptable Use Policy rules.
Increase the deliverability of your text messages
Here are some common things you can do that your messages are delivered and read:
- Get permission from your recipients. You can include an opt-in message on your website, social media channels, or even in-store.
- Keep your message short and to the point. Avoid using jargon or complicated language.
- Personalize your messages using aNinja’s template variables. Use the recipient’s name or other relevant information to make your message more personal.
- Use recognizable sender name: Ensure that your messages clearly identify who is sending the message. Avoid using shortcodes or numbers as your sender name, as this can appear spammy.
- Send your messages at an appropriate time, taking into account the recipient’s time zone and daily schedule. Define the sending time in aNinja’ settings.
- Inform your recipients how they can opt-out of receiving any future emails.
- Ultimately, add an unsubscribe link to your tests. Basically, the initial message needs to include the following language: Reply STOP, STOPALL, UNSUBSCRIBE, CANCEL, END, or QUIT.
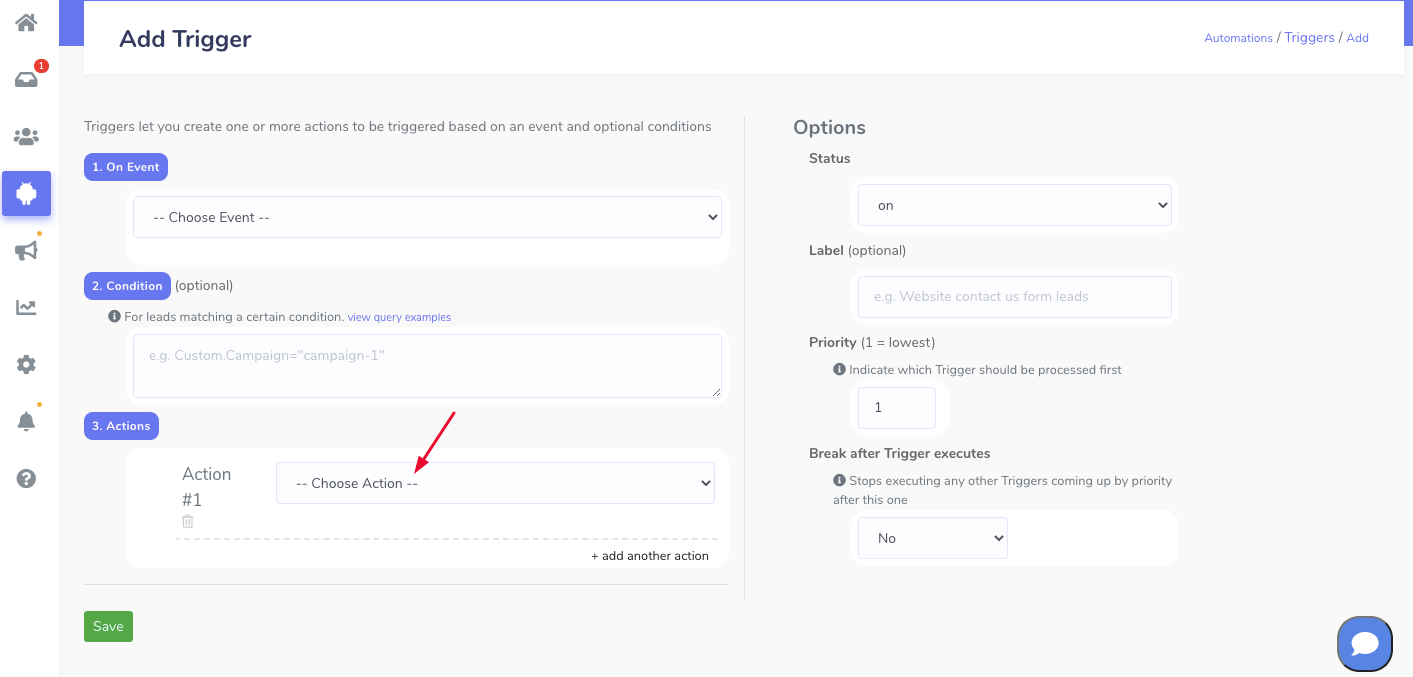
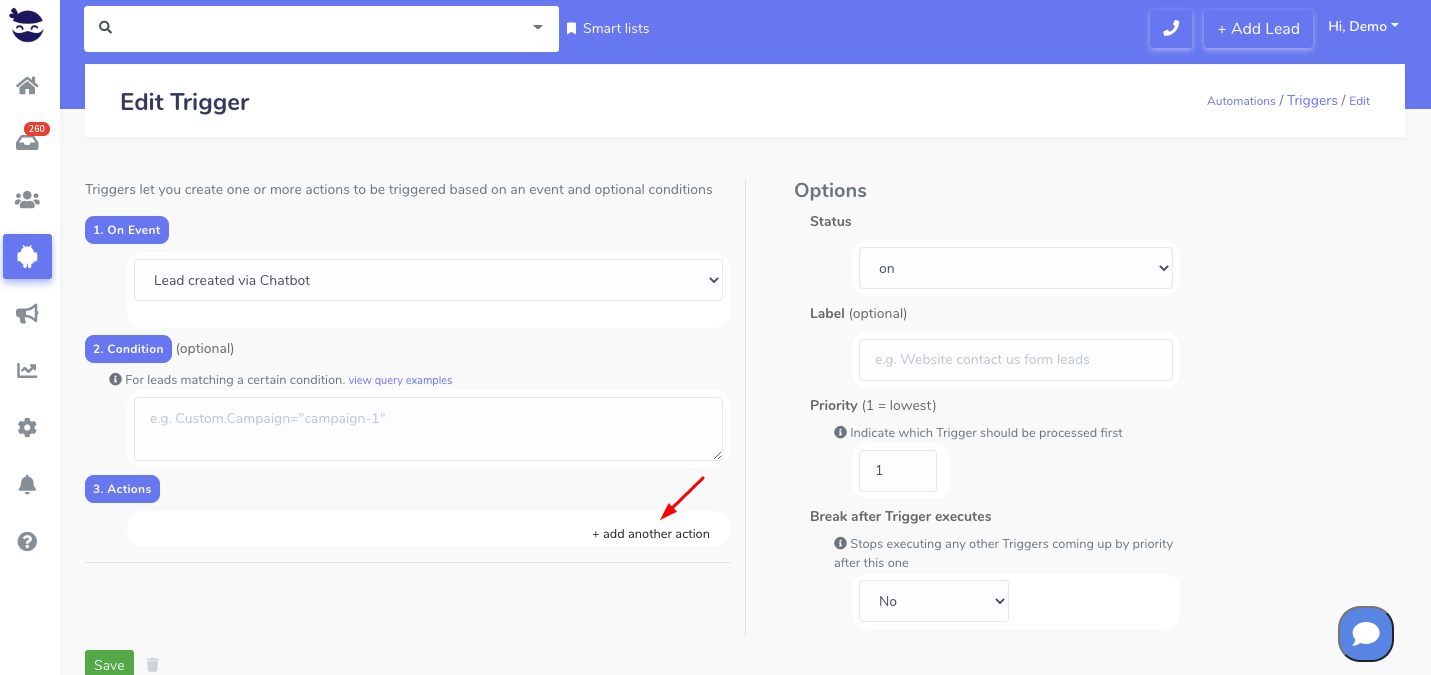
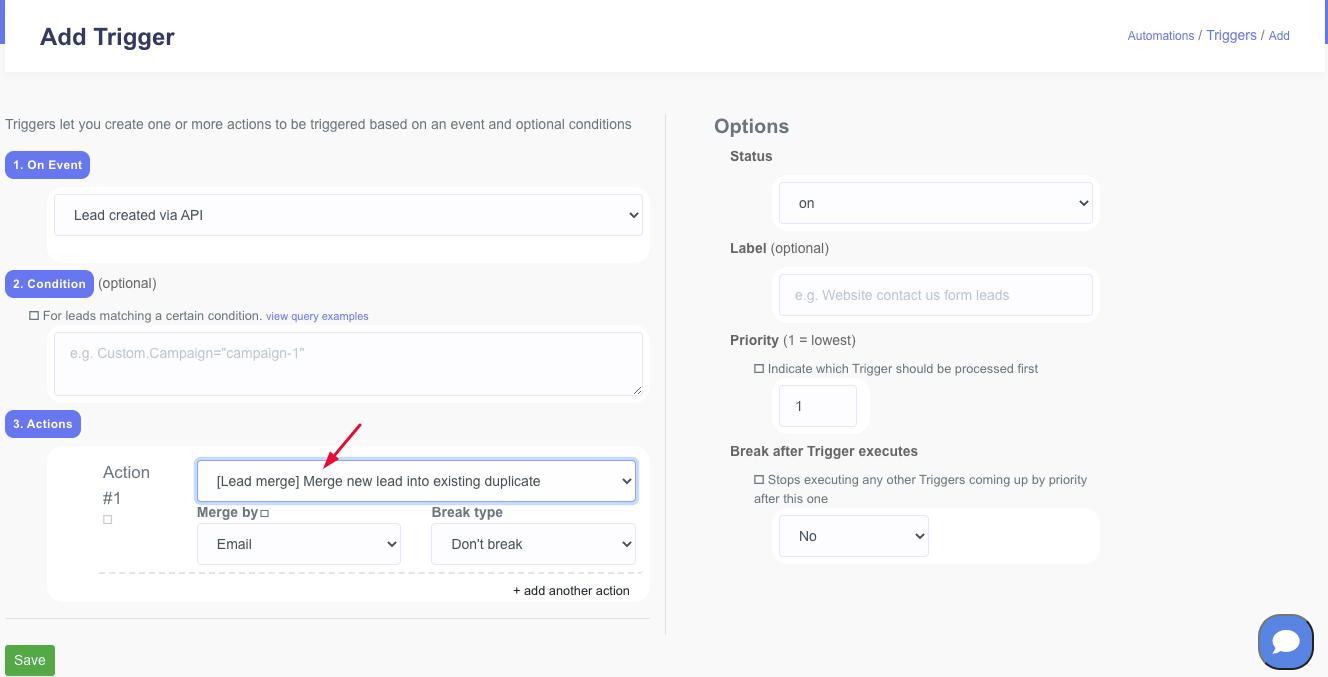
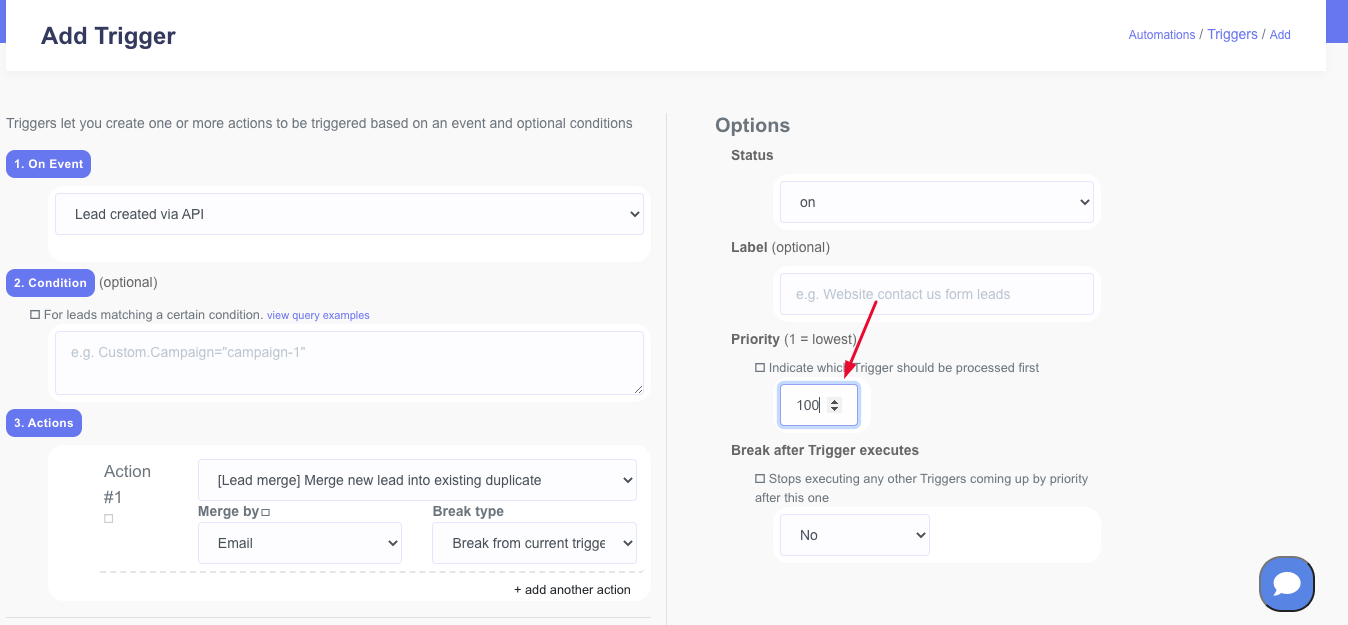
- Also, honor opt-out requests: send an automated reply through aNinja triggers.
- Additionally, you can segment your recipient list to improve the relevance of your messages. Send targeted messages to specific groups of recipients based on their interests or behaviors.
- High key messaging metrics: A high delivery error rate. It indicates you may be attempting to contact numbers that are no longer in service, or are unreachable such as landlines; and/or external carrier filters are refusing to deliver your messages.
- Also, you can provide us with your business address; there is an additional verification process (A2P) that we can set up that helps reduce the chances of the carrier systems flagging your text as spam; as long as you follow the above. Reach us at support@aninja.com.
Text Content
Review your text template content to adhere to the messaging policy:
-
- Include Sender identification
- And an opt-out language
- Also, try and use multi-step sequences to engage customers.
- Avoid using spam trigger words such as “free”, “guarantee”, “limited time offer”, and “act now”. Instead, use clear and concise language that accurately conveys your message.
- And, don’t overuse abbreviations and emojis. They can be a red flag for spam filters.
- Lastly, avoid anything that is illegal or Forbidden:
- Prescription Medication. Offers for prescription medication that cannot legally be sold over-the-counter are prohibited in the United States.
- Illegal substances such as Cannabis, CBD, Puff
- Sex, Hate, Alcohol, Firearms, Tobaco, and Vaping-related.
- Gambling.
- Fraudulent messages.
- Malicious content, such as malware or viruses.
- Any content that is designed to intentionally evade filters.
aNinja is forced to comply and temporarily block your text sending capability if it is being flagged as spammy by upstream carriers. Make sure to comply with all the above practices to avoid the carriers filters flagging your texts as spam.
Text template examples
These templates should serve as a starting point, and you should customize them to fit your business needs and communication style and increase deliverability of your messages.
Promotional message:
“Hello {{Contact.name}}, we’re offering a limited-time discount of 20% on all our products. Use code XXXX at checkout. Offer ends [date]. Reply STOP to opt-out.”
New product launch:
“Hey {{Contact.name}}, we’re excited to announce the launch of our new [product]. Get yours now and receive a 10% discount using code NEW10 at checkout. Reply STOP to opt-out.”
Limited-time offer:
“Hello {{Contact.name}}, our [product/service] is now available at a discounted price of [price]. This offer ends [date]. Don’t miss out! Reply STOP to opt-out.”
Flash sale
“Hi {{Contact.name}}, for the next 24 hours only, we’re offering a 15% discount on all our products. Use code FLASH15 at checkout. Hurry, this sale ends soon! Reply STOP to opt-out.”
Referral program
“Hey {{Contact.name}}, refer a friend and receive a $20 credit towards your next purchase. Your friend will receive a 10% discount on their first order. Share the love! Reply STOP to opt-out.”
Seasonal promotion
“Hello {{Contact.name}}, get into the holiday spirit with our festive [product/service]. Enjoy a 20% discount using code HOLIDAY20 at checkout. Happy holidays! Reply STOP to opt-out.”