Integrating Wild Apricot forms with aNinja involves capturing lead data from the Wild Apricot form immediately after form submission and forwarding it to aNinja.
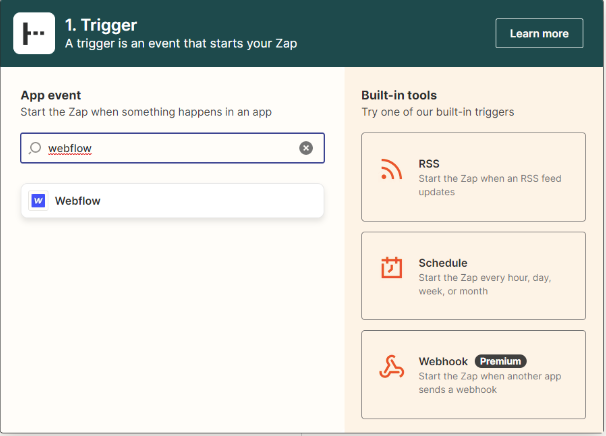
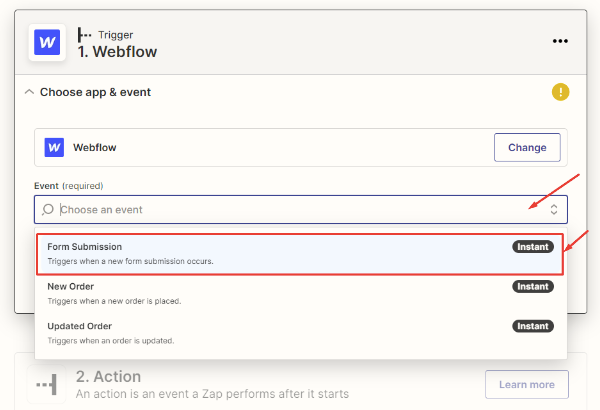
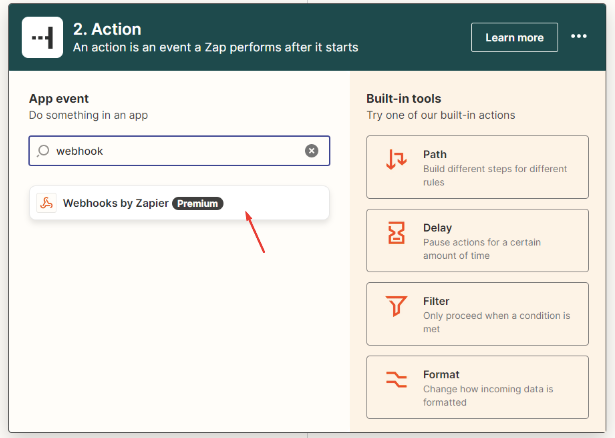
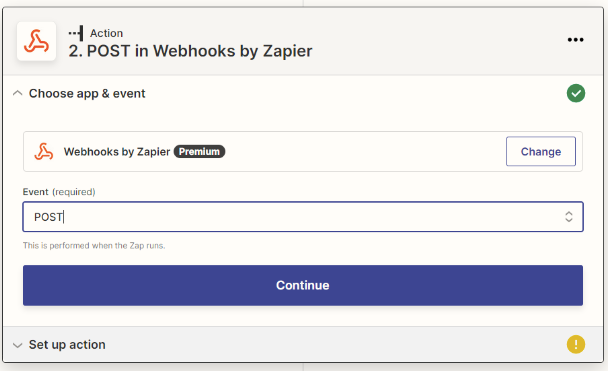
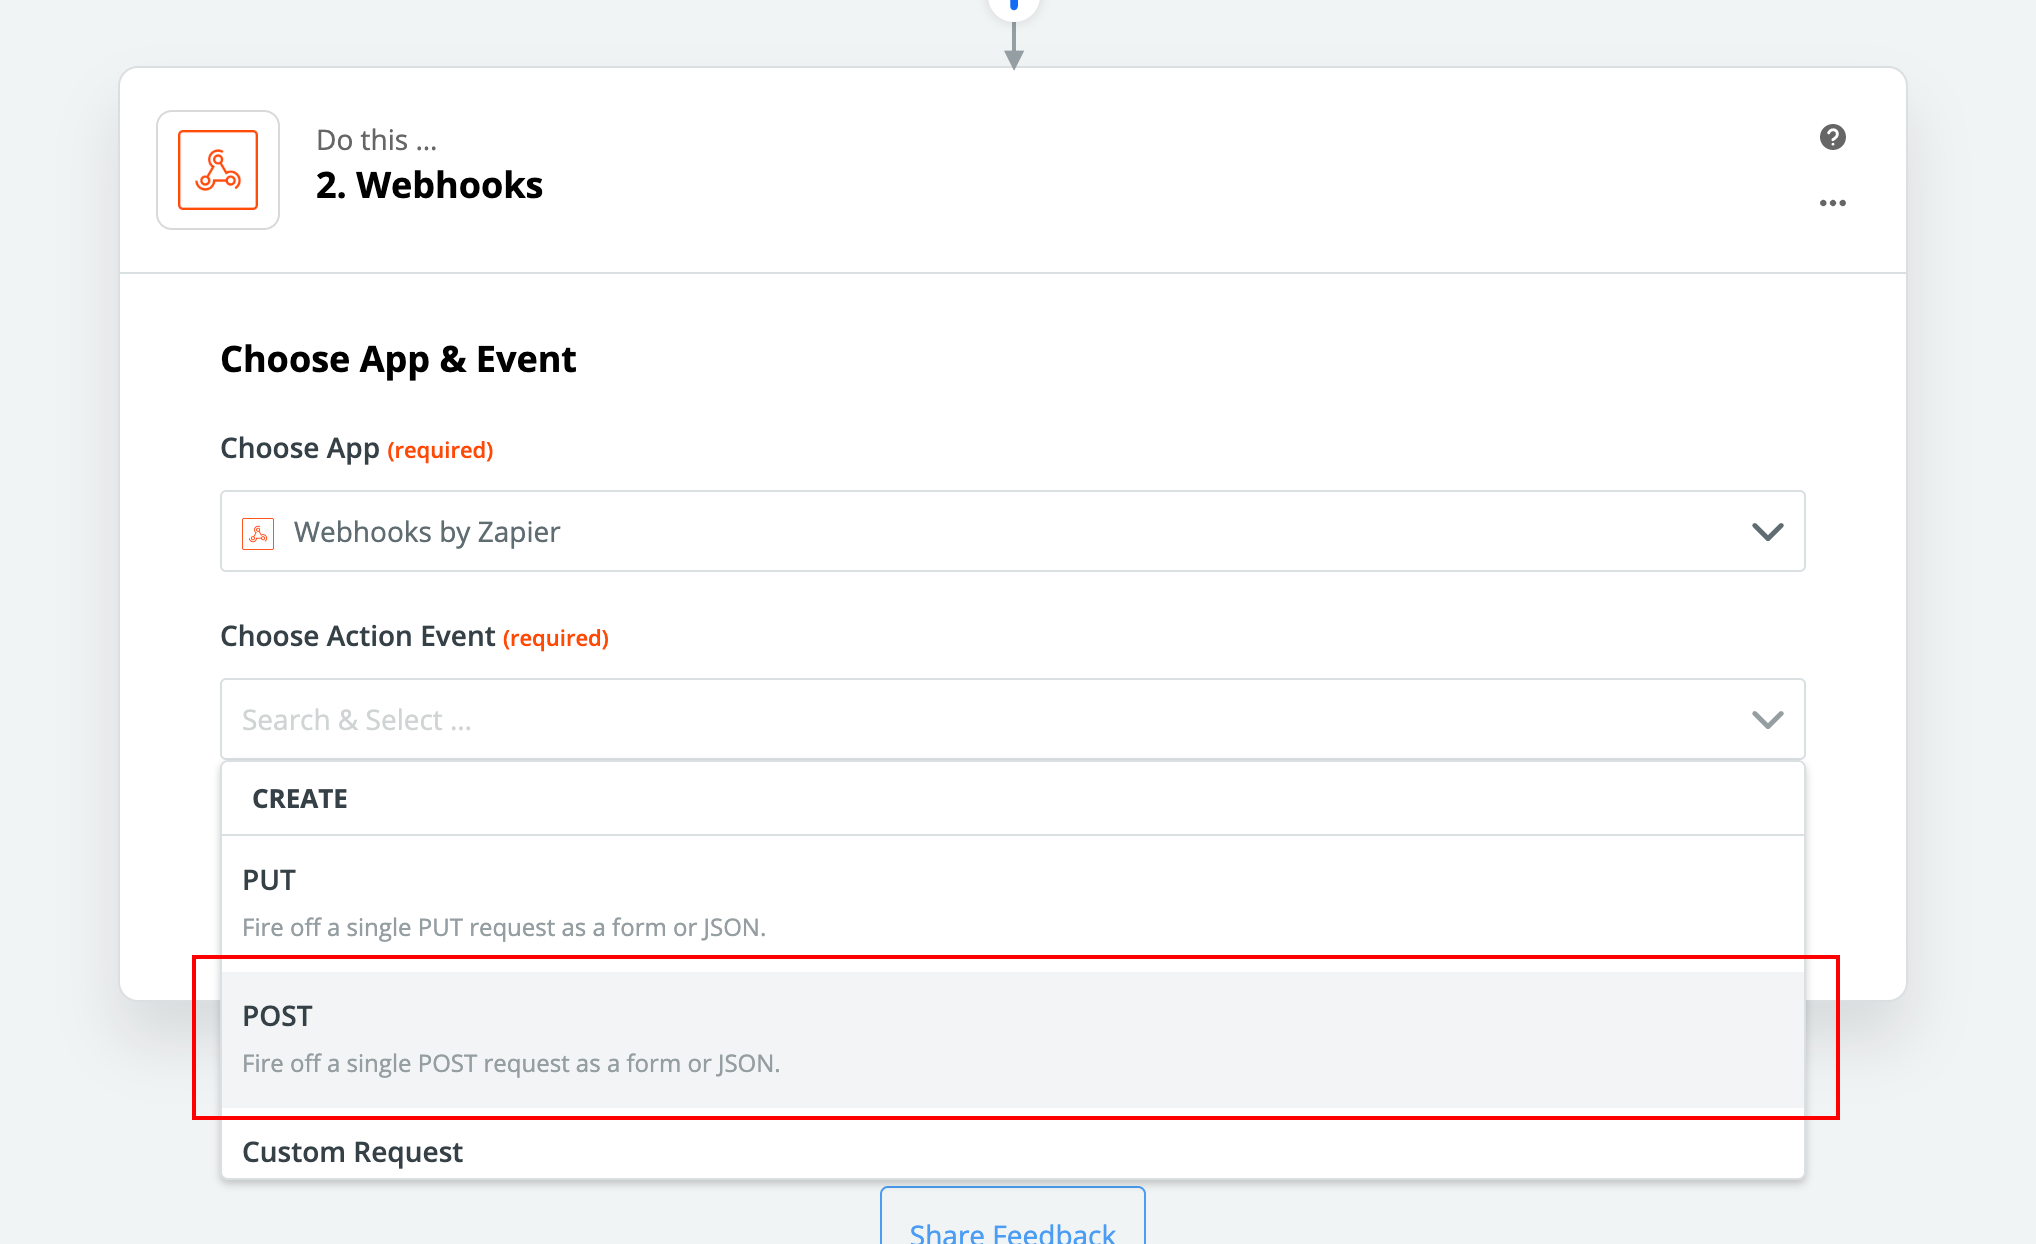
This can be done using Webhooks, which are automated messages sent from one application to another.
Here is a step-by-step guide to integrating Wild Apricot forms with aNinja using Webhooks:
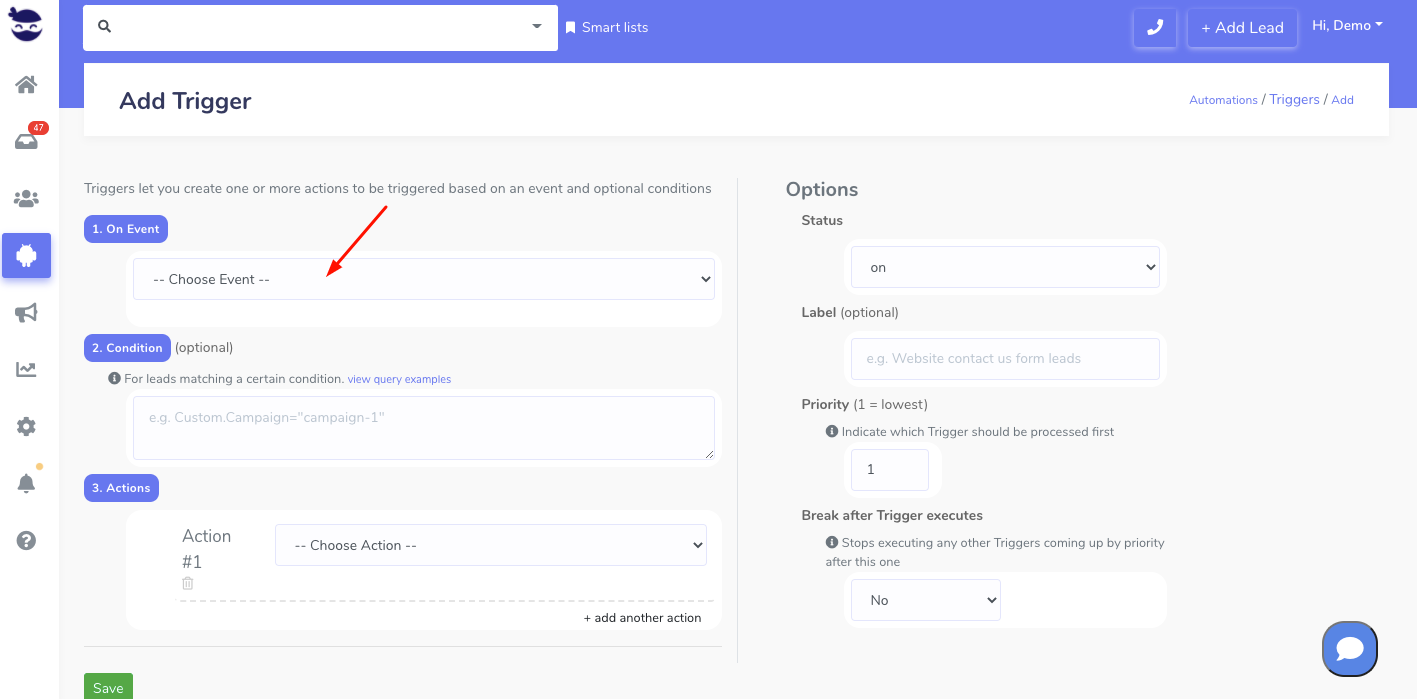
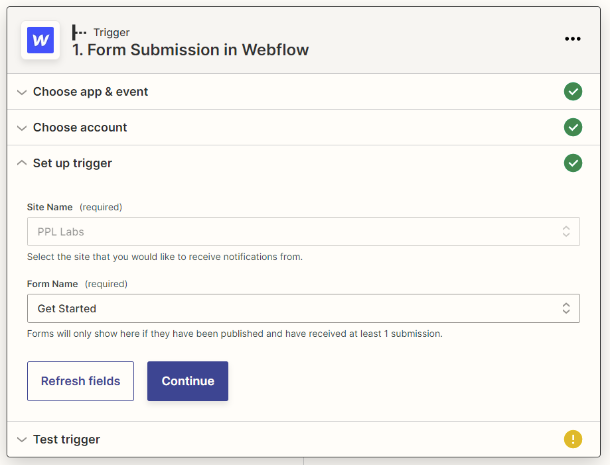
Set up a Webhook in Wild Apricot
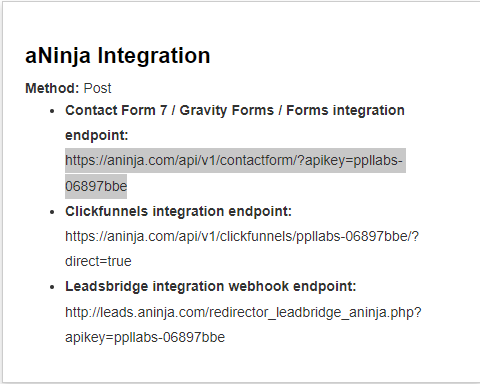
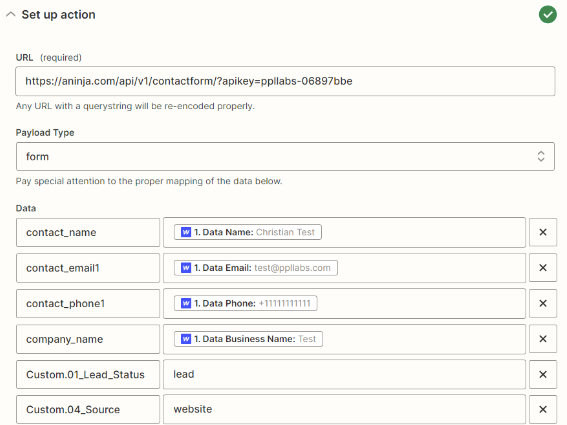
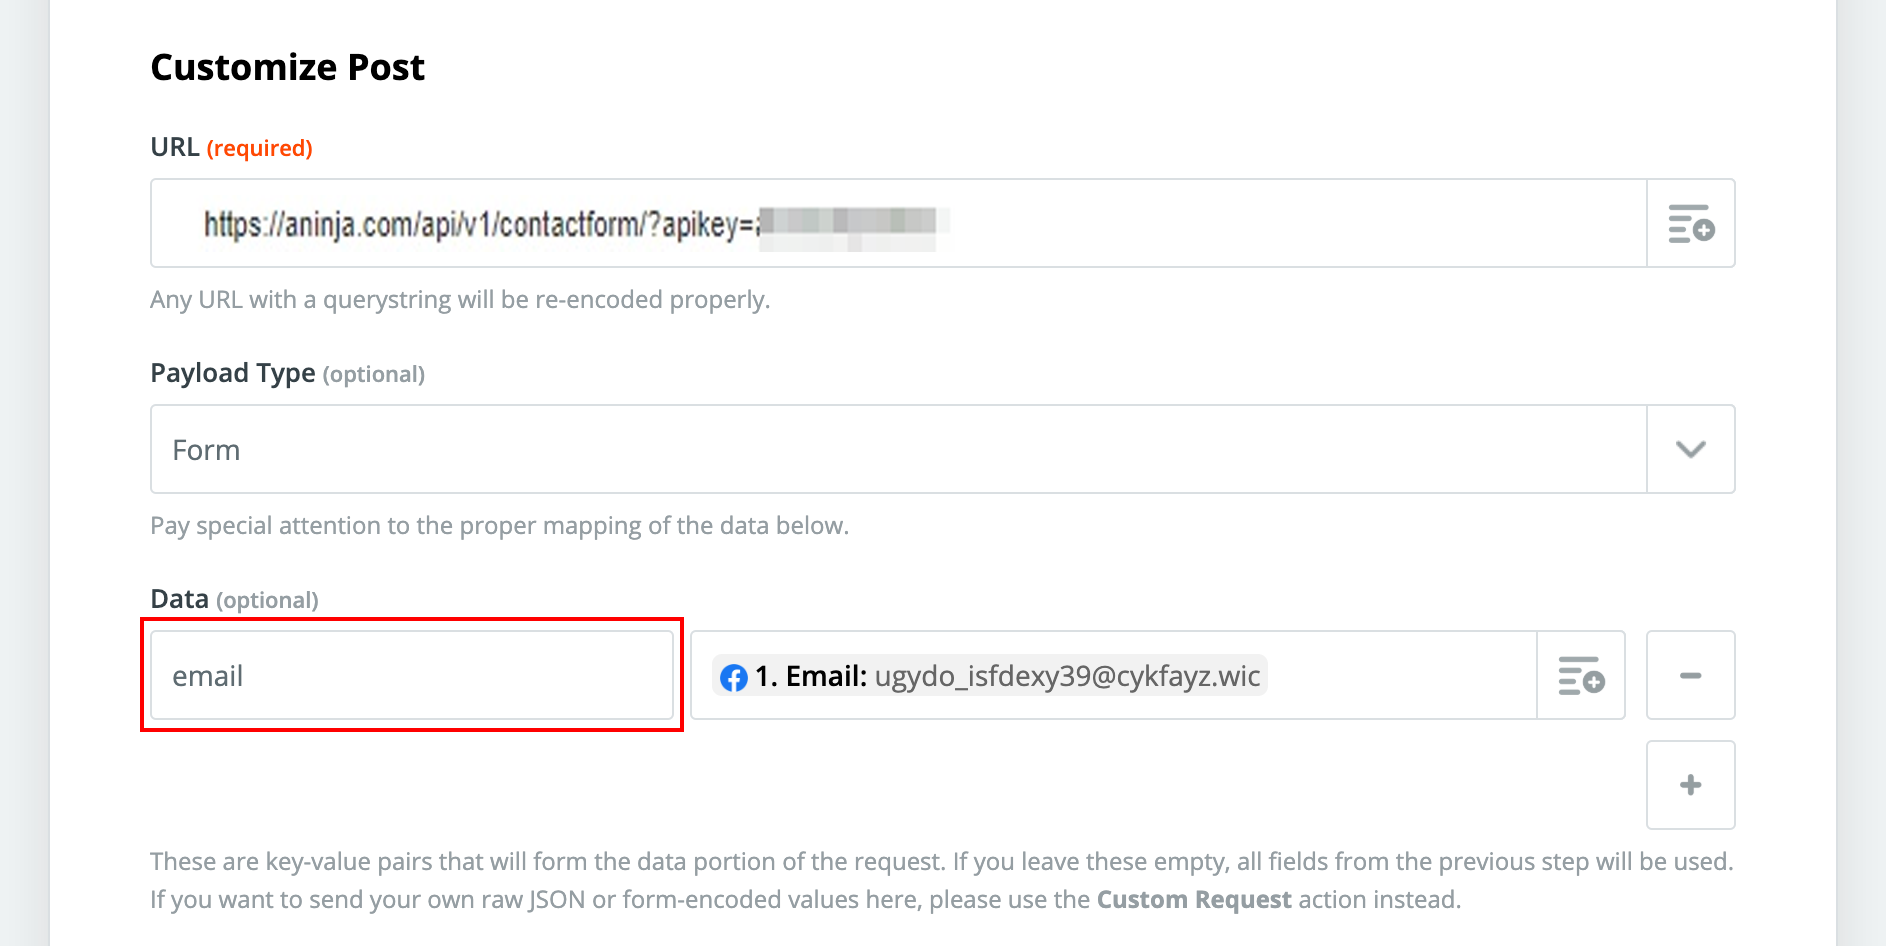
This involves creating a custom Webhook that sends the lead data to the custom endpoint URL in aNinja.
To add a webhook to your Wild Apricot account, follow these steps:
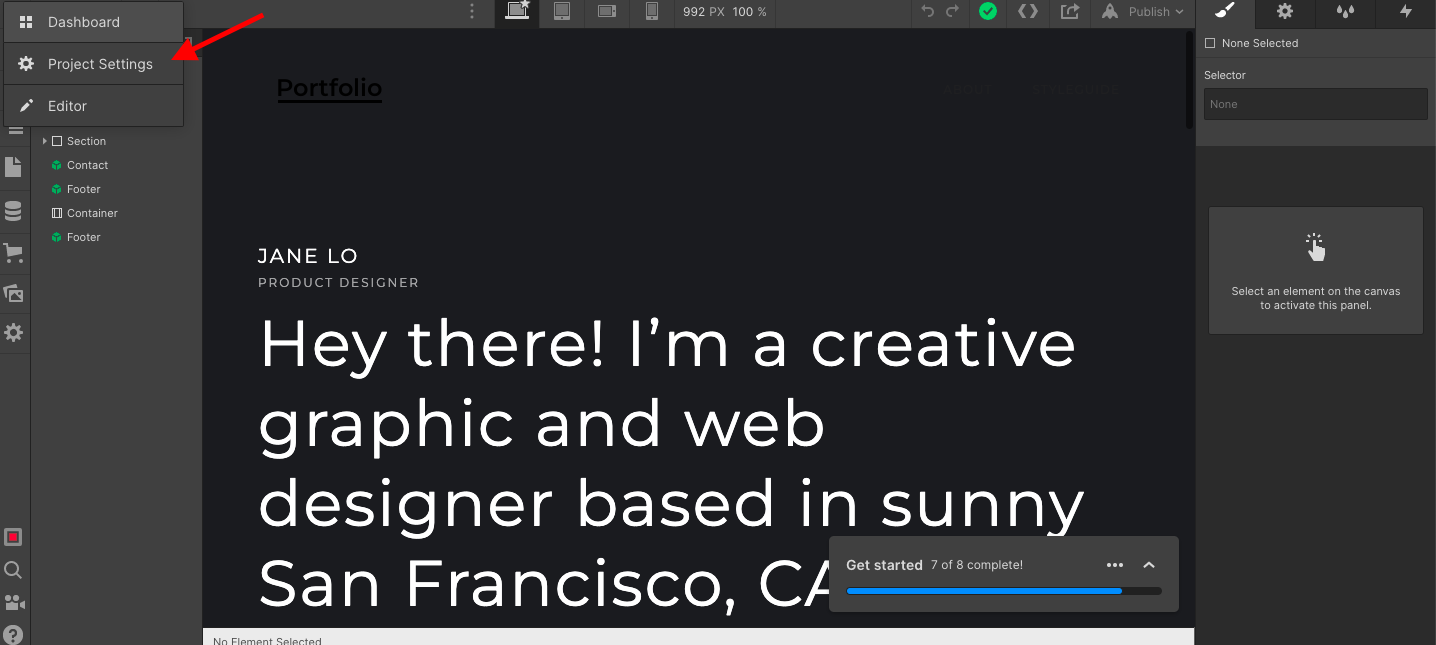
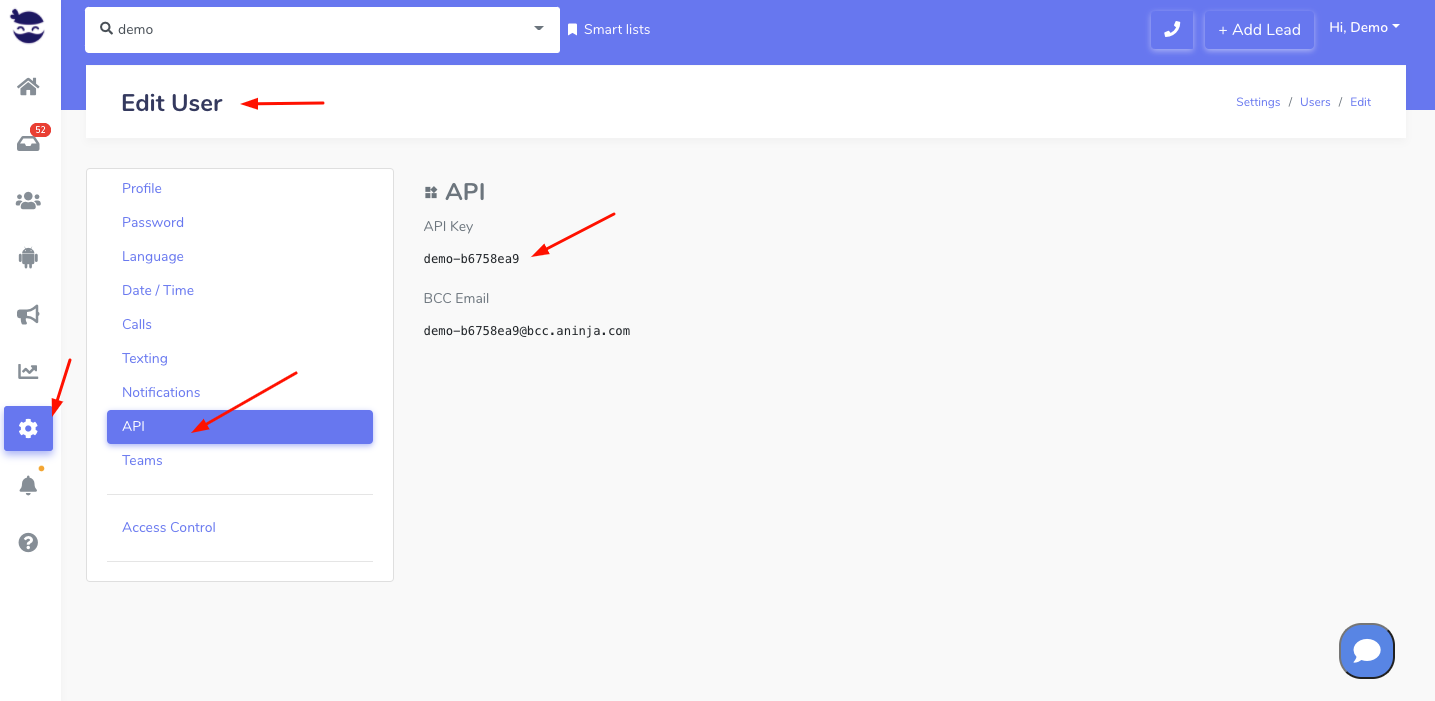
- First, log in to your Wild Apricot account
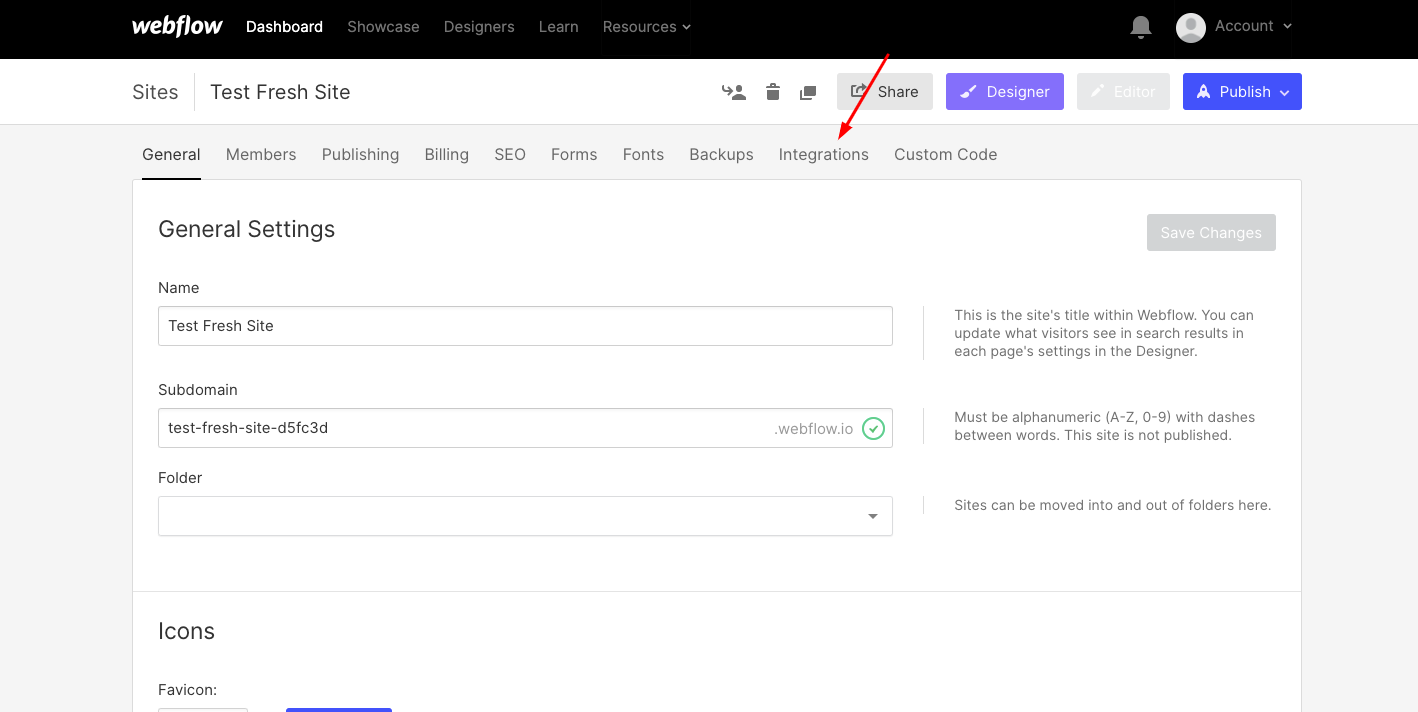
- On the left sidebar, click the Settings menu
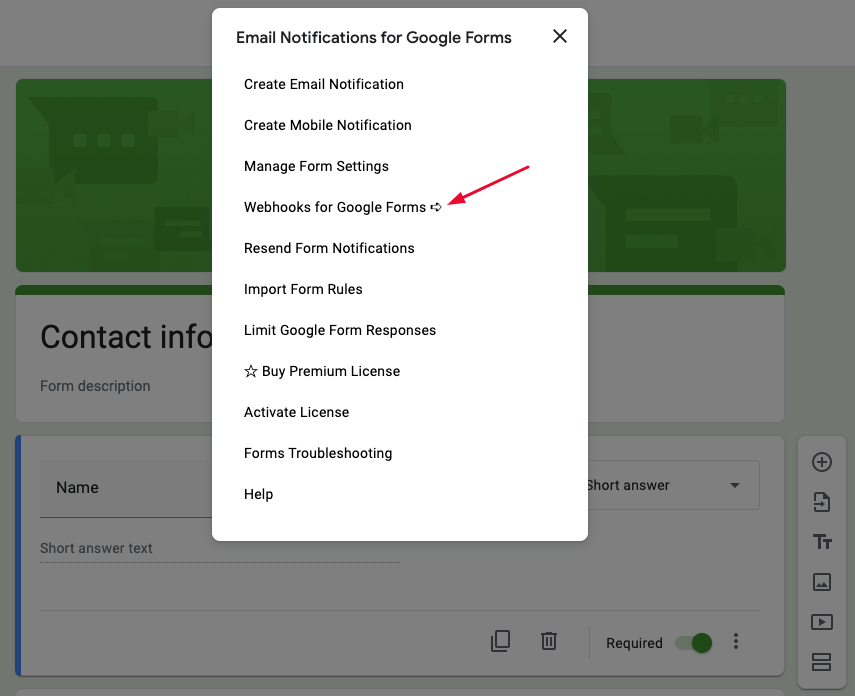
- And, select the Webhooks option (under Integration).
- If you can’t see Integration under Settings, check under Apps.

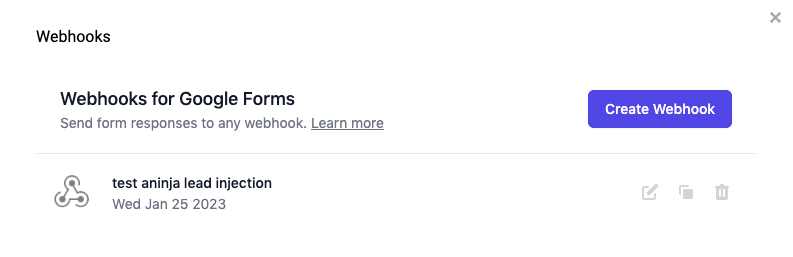
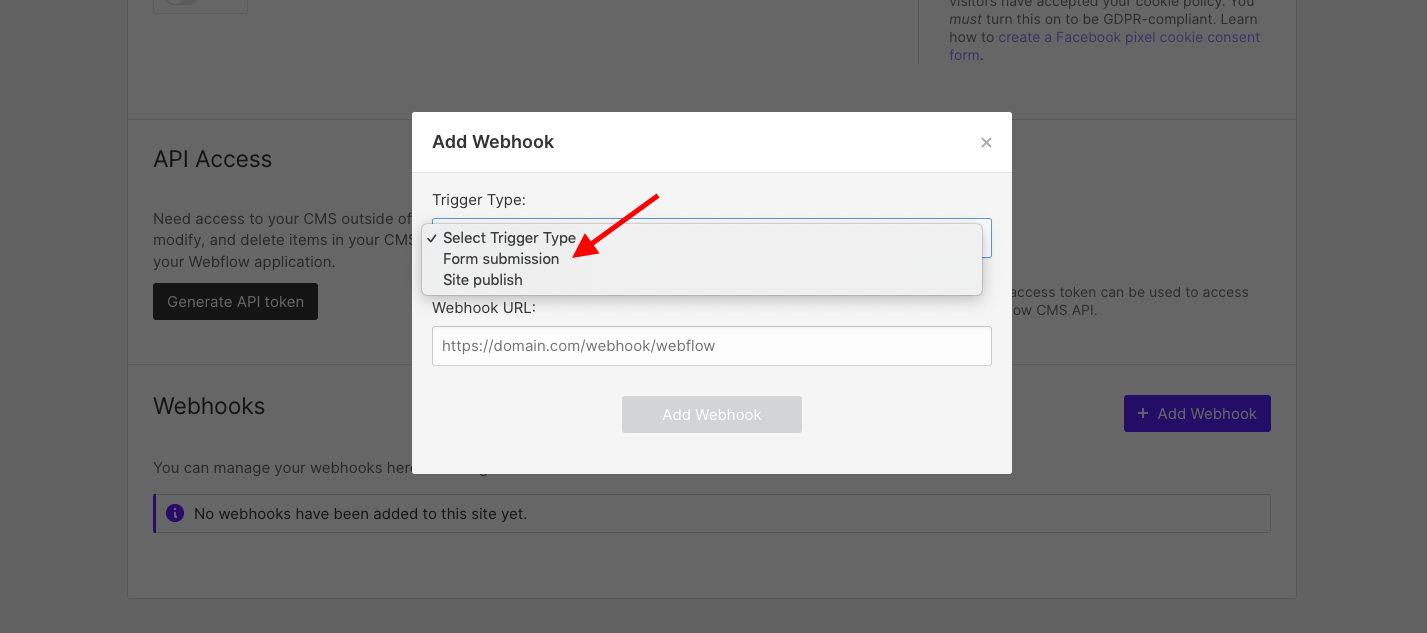
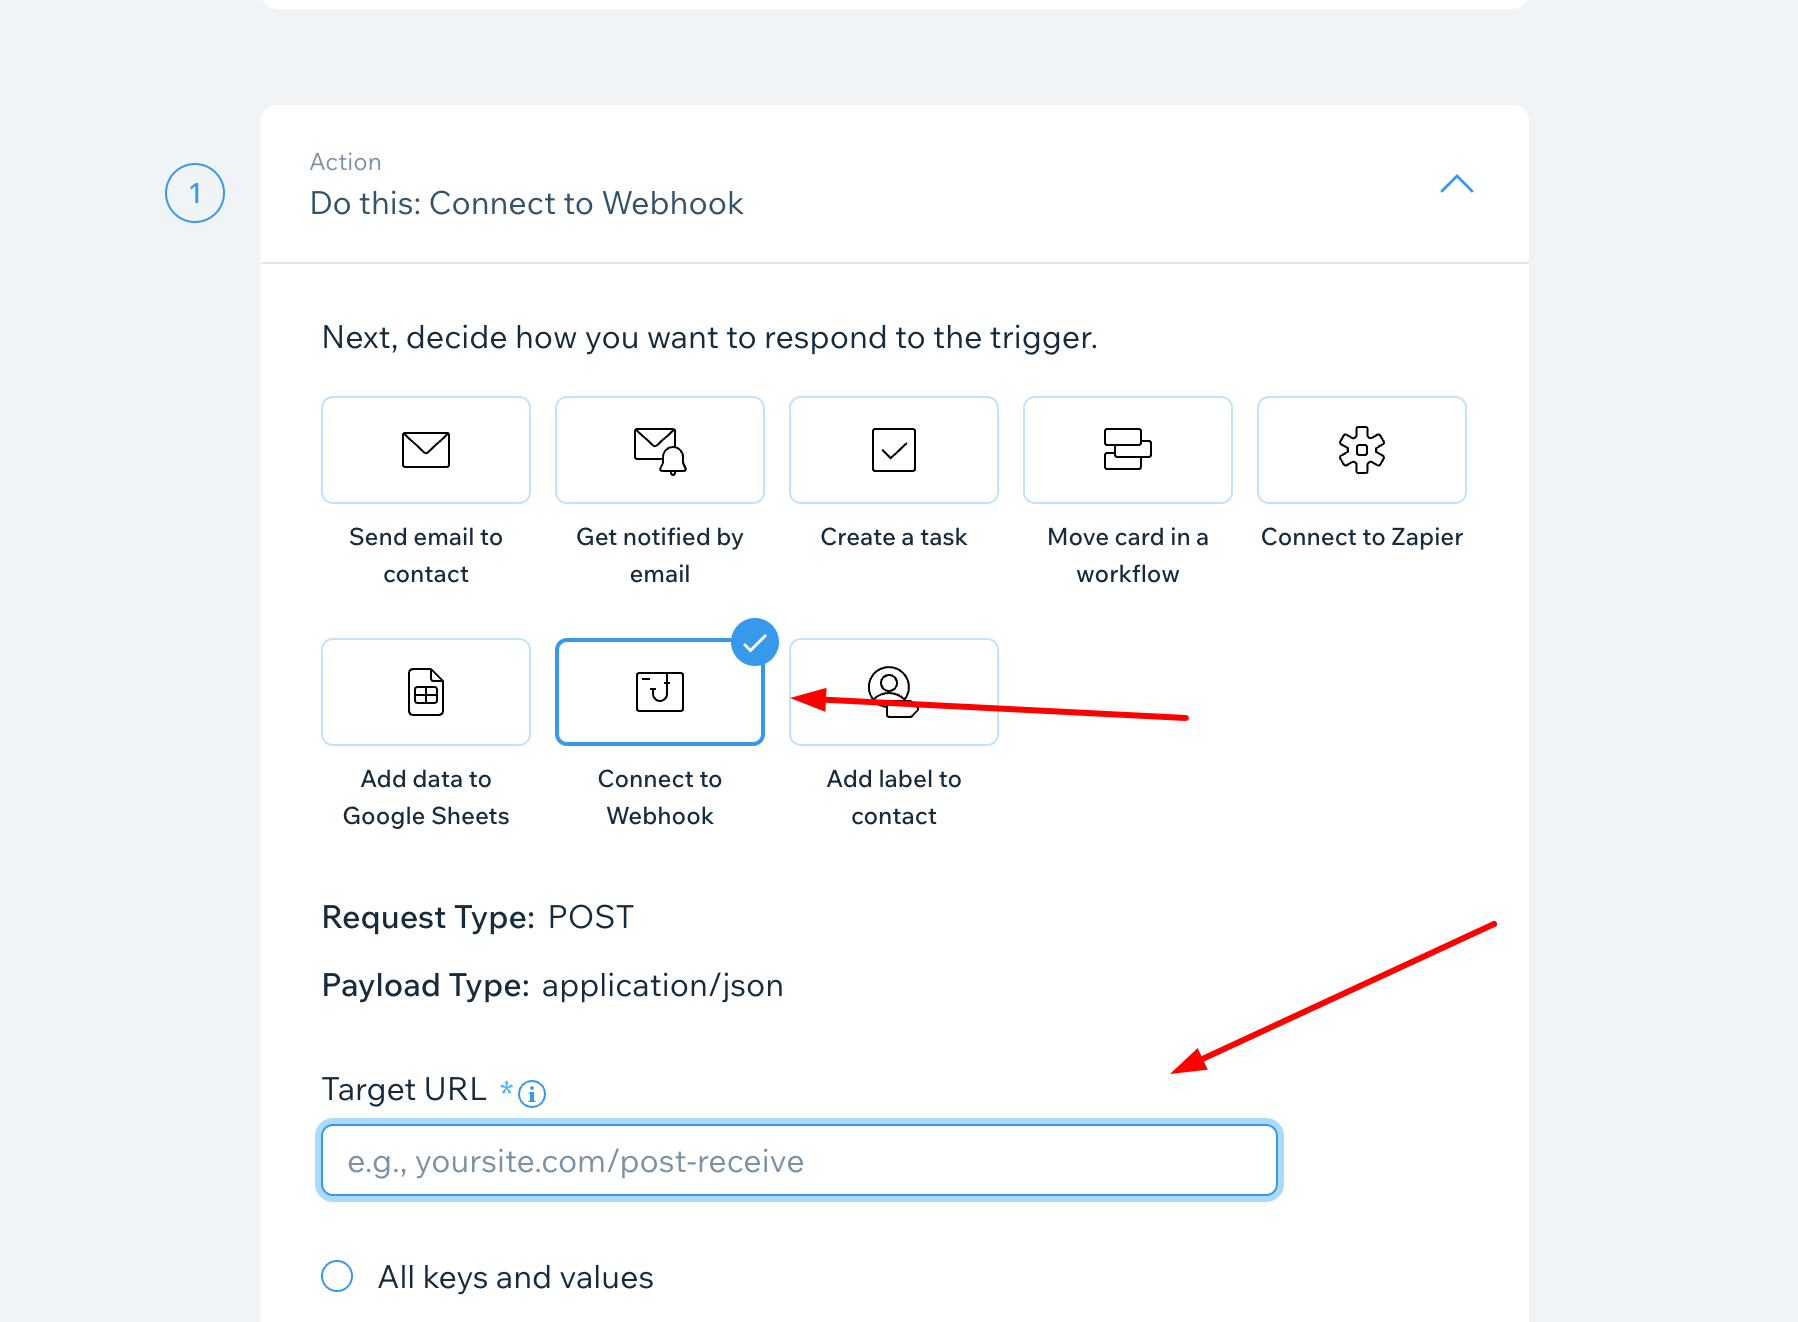
- On the Webhooks screen, click Add webhook.

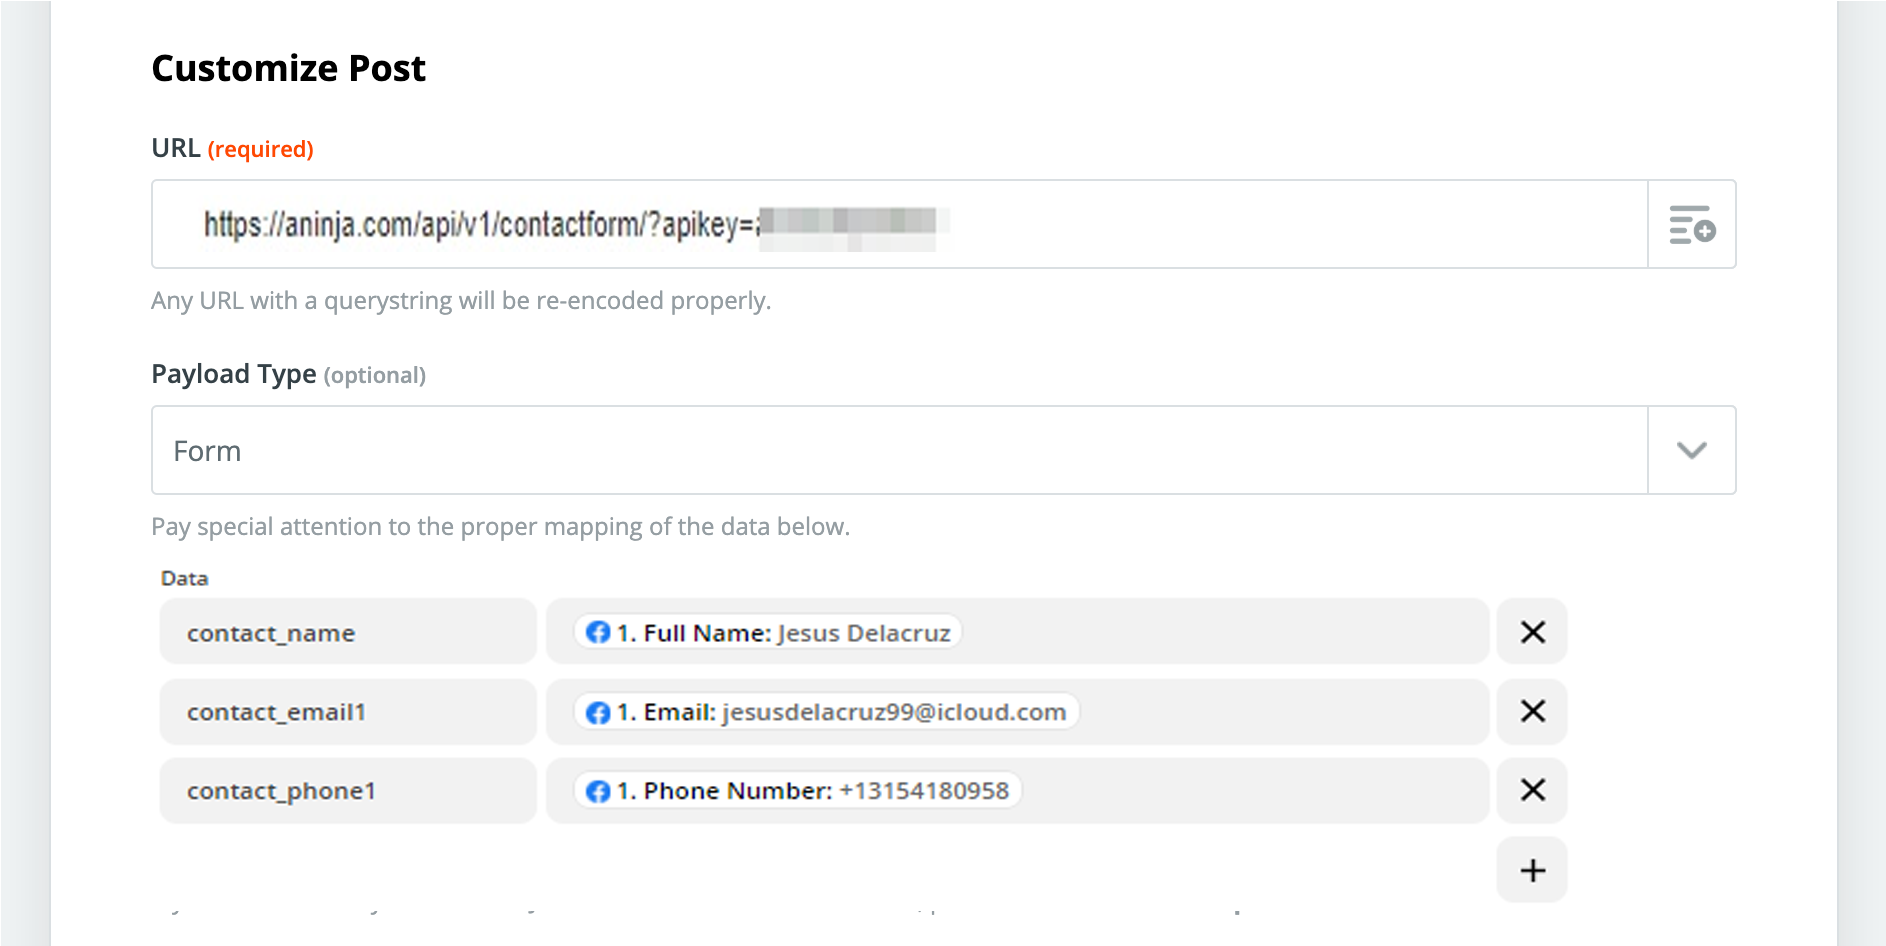
- After that, on the screen that appears, enter a title for your webhook, and paste the following URL.
- TODO ADD URL

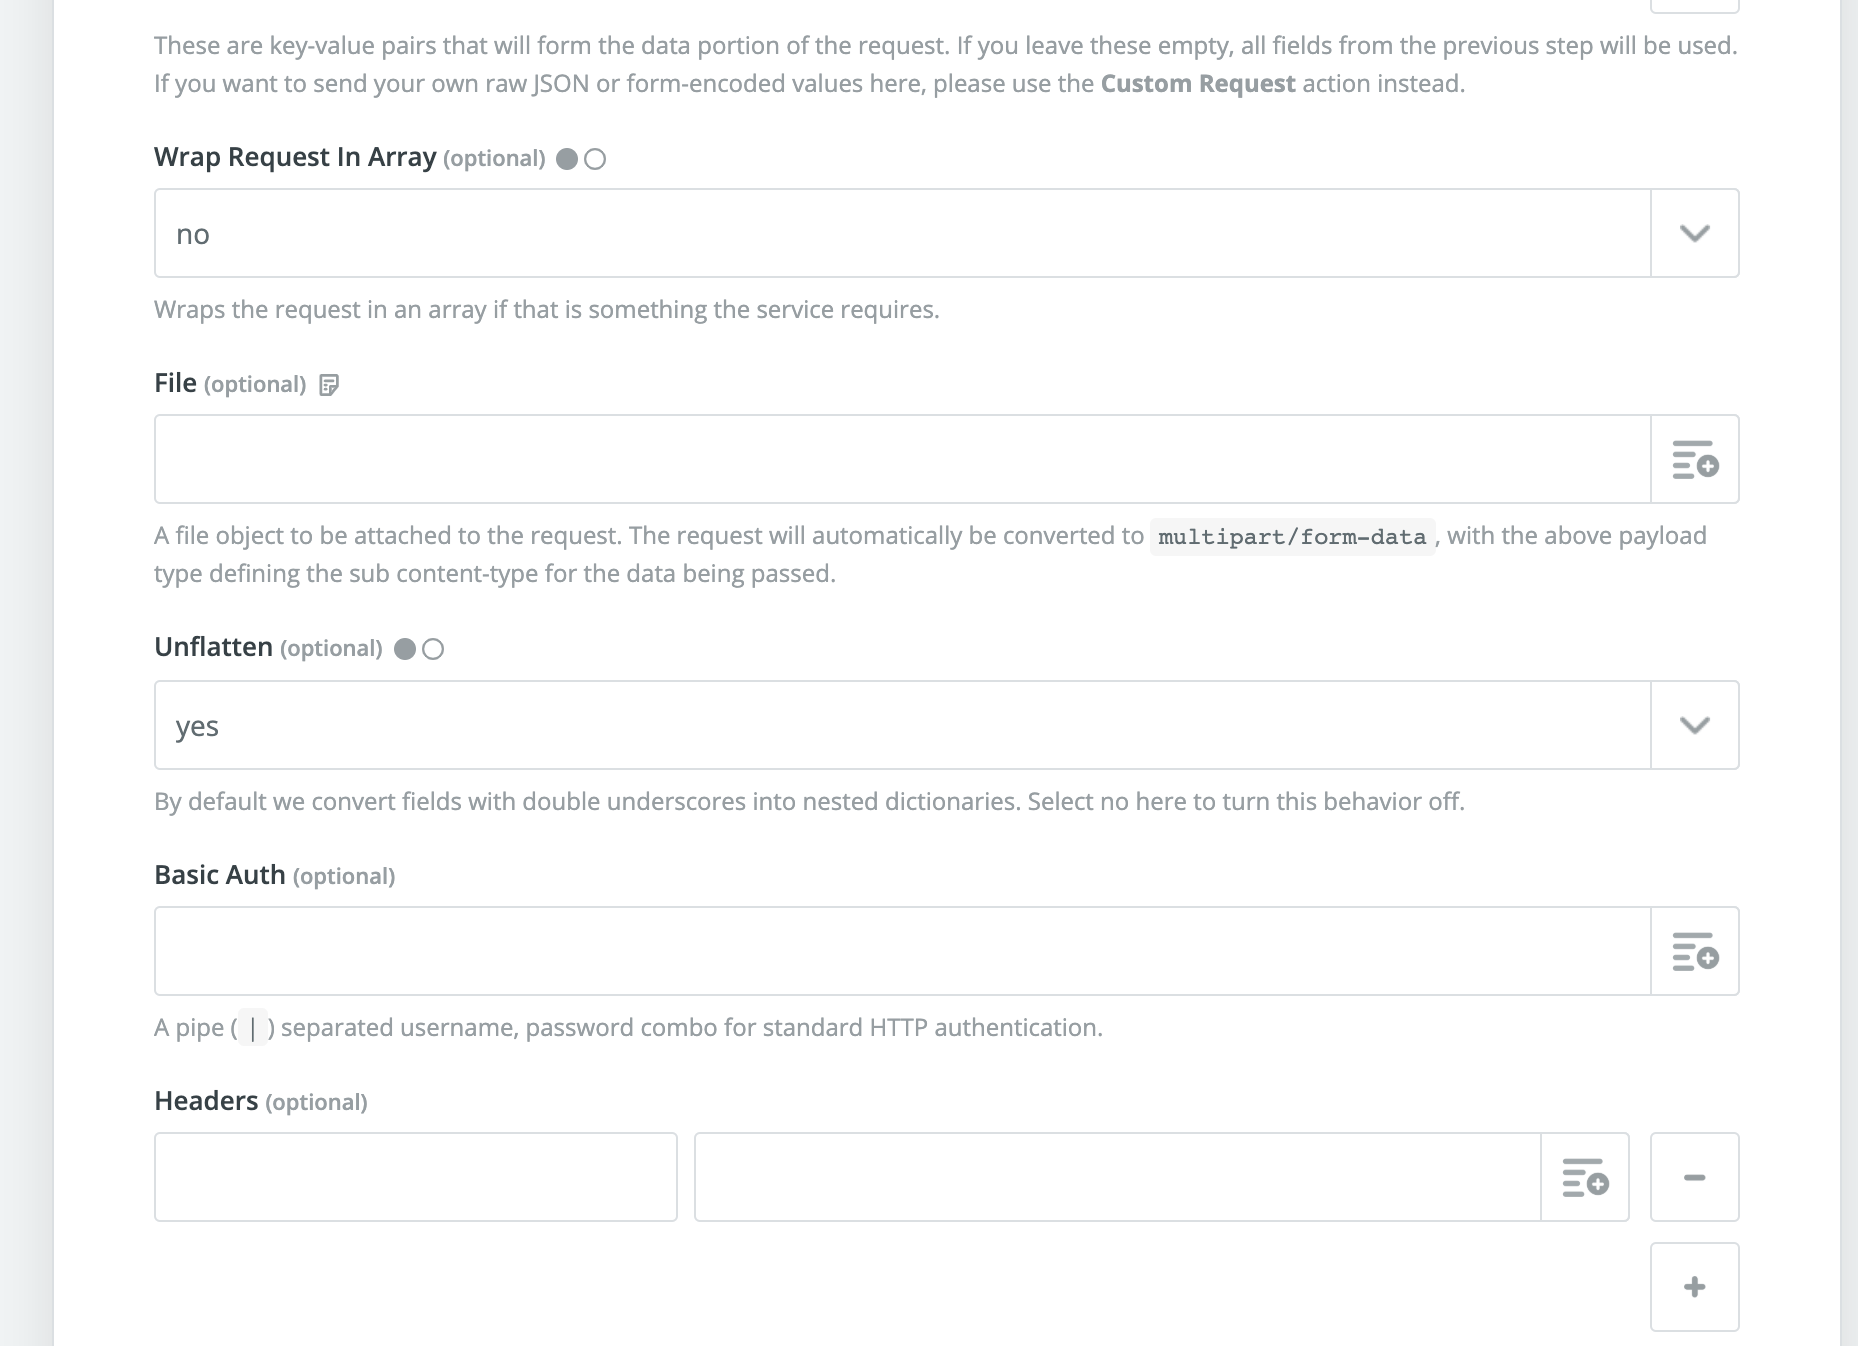
Authorization settings
Within the Authorization settings, click on “None”. No authorization credentials will be included in the call request.
Notification type(s)
Within the Notification type(s) section, choose the kinds of changes that will trigger notifications to be sent to the external service.

The table below lists the changes that will trigger notifications for each notification type.
|
Type
|
Triggers
|
|---|---|
| Contact |
|
| Event | Any change to event settings except:
|
| Event registration | Any change to event registration details for any registrant, including:
|
| Invoice | Any change to any invoice, including:
|
| Logged email |
|
| Membership |
|
| Membership level |
|
| Membership renewal |
|
| Payment | Any change to any payment, including:
|
| Refund | Any change to any refund, including:
|
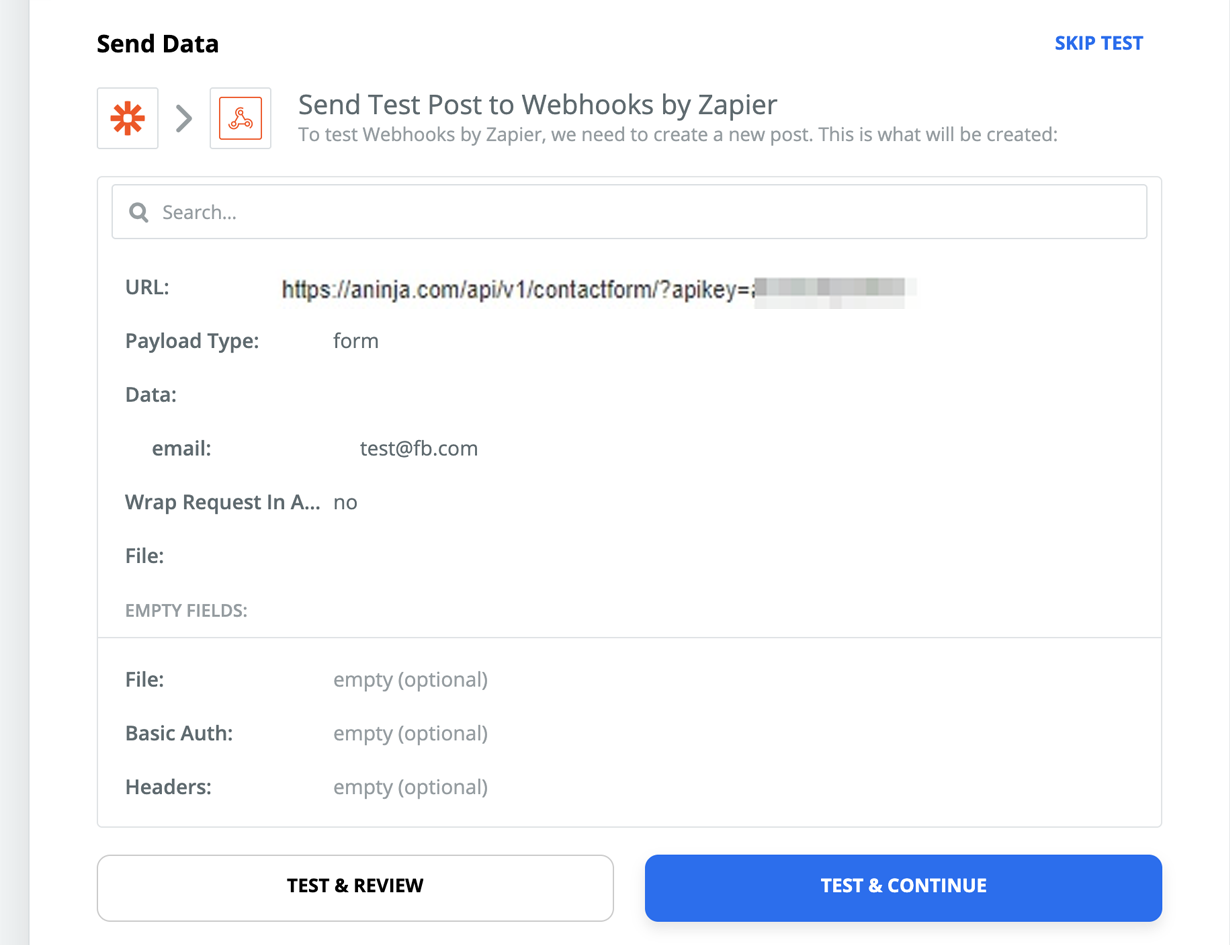
Test the webhook
- To test your webhook, click the Test webhook button within the Test your webhook section.
- Once the test is complete, the test call status will be displayed. You can then click the View details link to view the test call request and response.
- Once you are ready to enable your webhook, click the Allow webhook toggle so that it appears blue.

- Lastly, click the Save button to save your changes and enable your webhook.
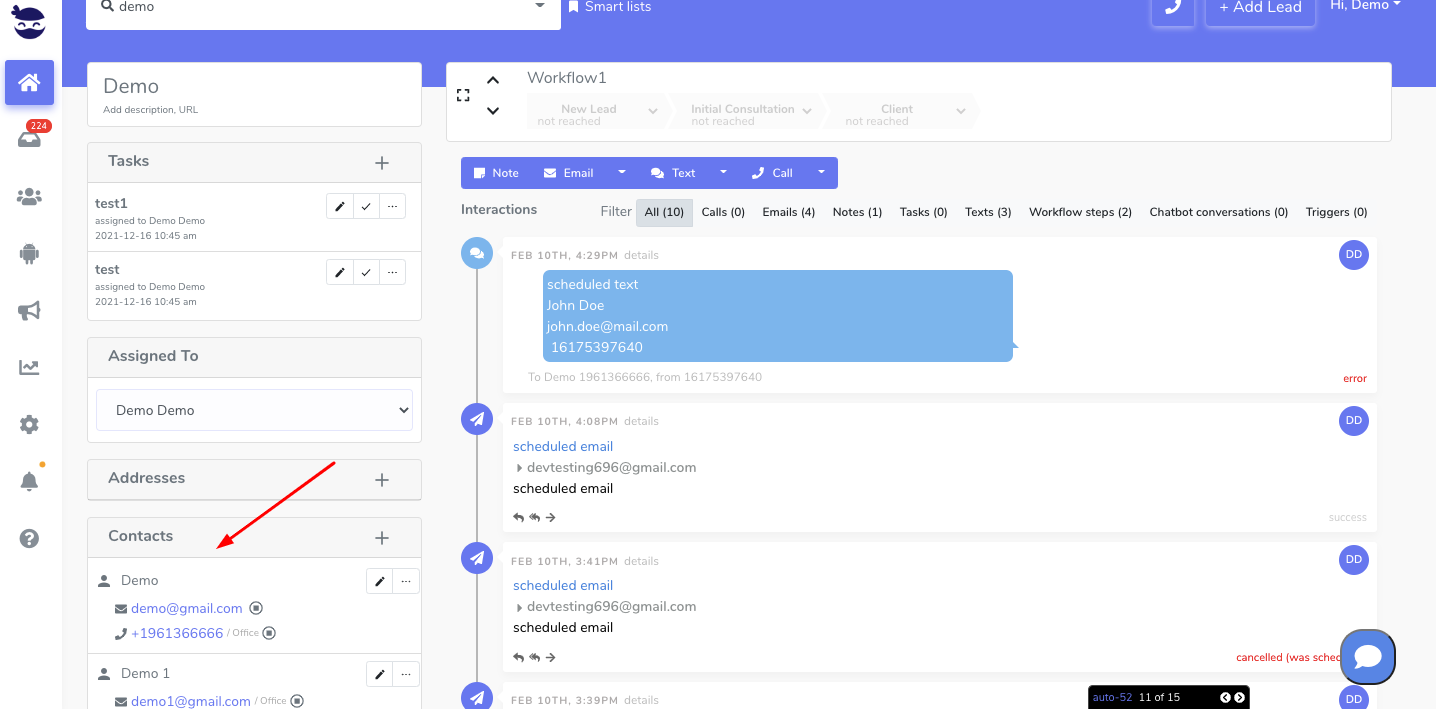
Where does the imported data appear
After the integration, you can search your aNinja CRM for the imported leads. You can also search for any custom field, opportunities, and any other info that you have imported.
- Lead’s contact appear in the leads contact section in the lead view
- Opportunities also appear in the opportunity section in the lead view
- The company’s info appears on the top left of the lead view, in the Company section.
- Custom fields appear in the custom field section of the lead view as well.
- Lead Search is a field that also appears in the bottom left of the lead view. Specifically, these are info/links on the lead or the organization found in Google search.
Need help in integrating Wild Apricot forms with aNinja? Leave us an email at support@aninja.com. And, we will happily assist you!