Sending Webflow form submissions to aNinja through Zapier
- Log in to your Zapier account
- Click on Make a Zap
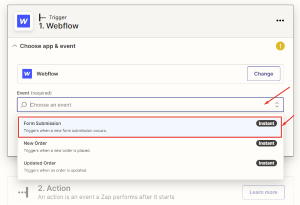
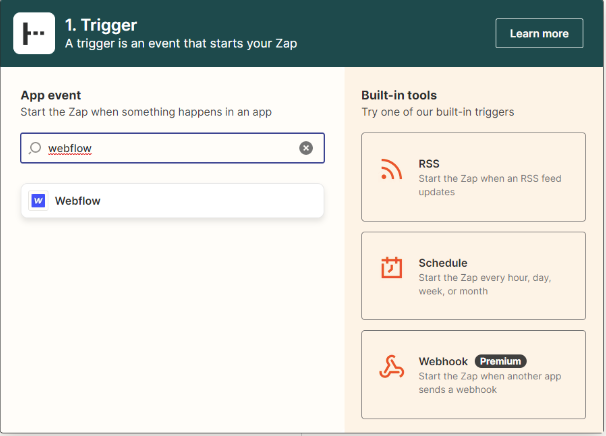
- Choose Webflow as your Trigger App event
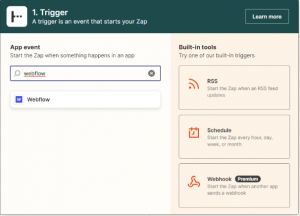
- Connect the Webflow account. Make sure you are logged in to Webflow on the same browser.
- Select Form Submission as Webflow trigger
- Choose your Webflow Account
- Set up Webflow Form Submission by selecting the site you want to receive notifications from and the Form Name
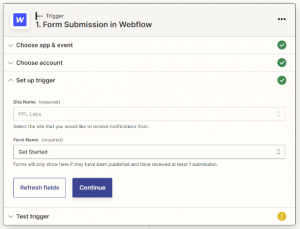
- Test Trigger
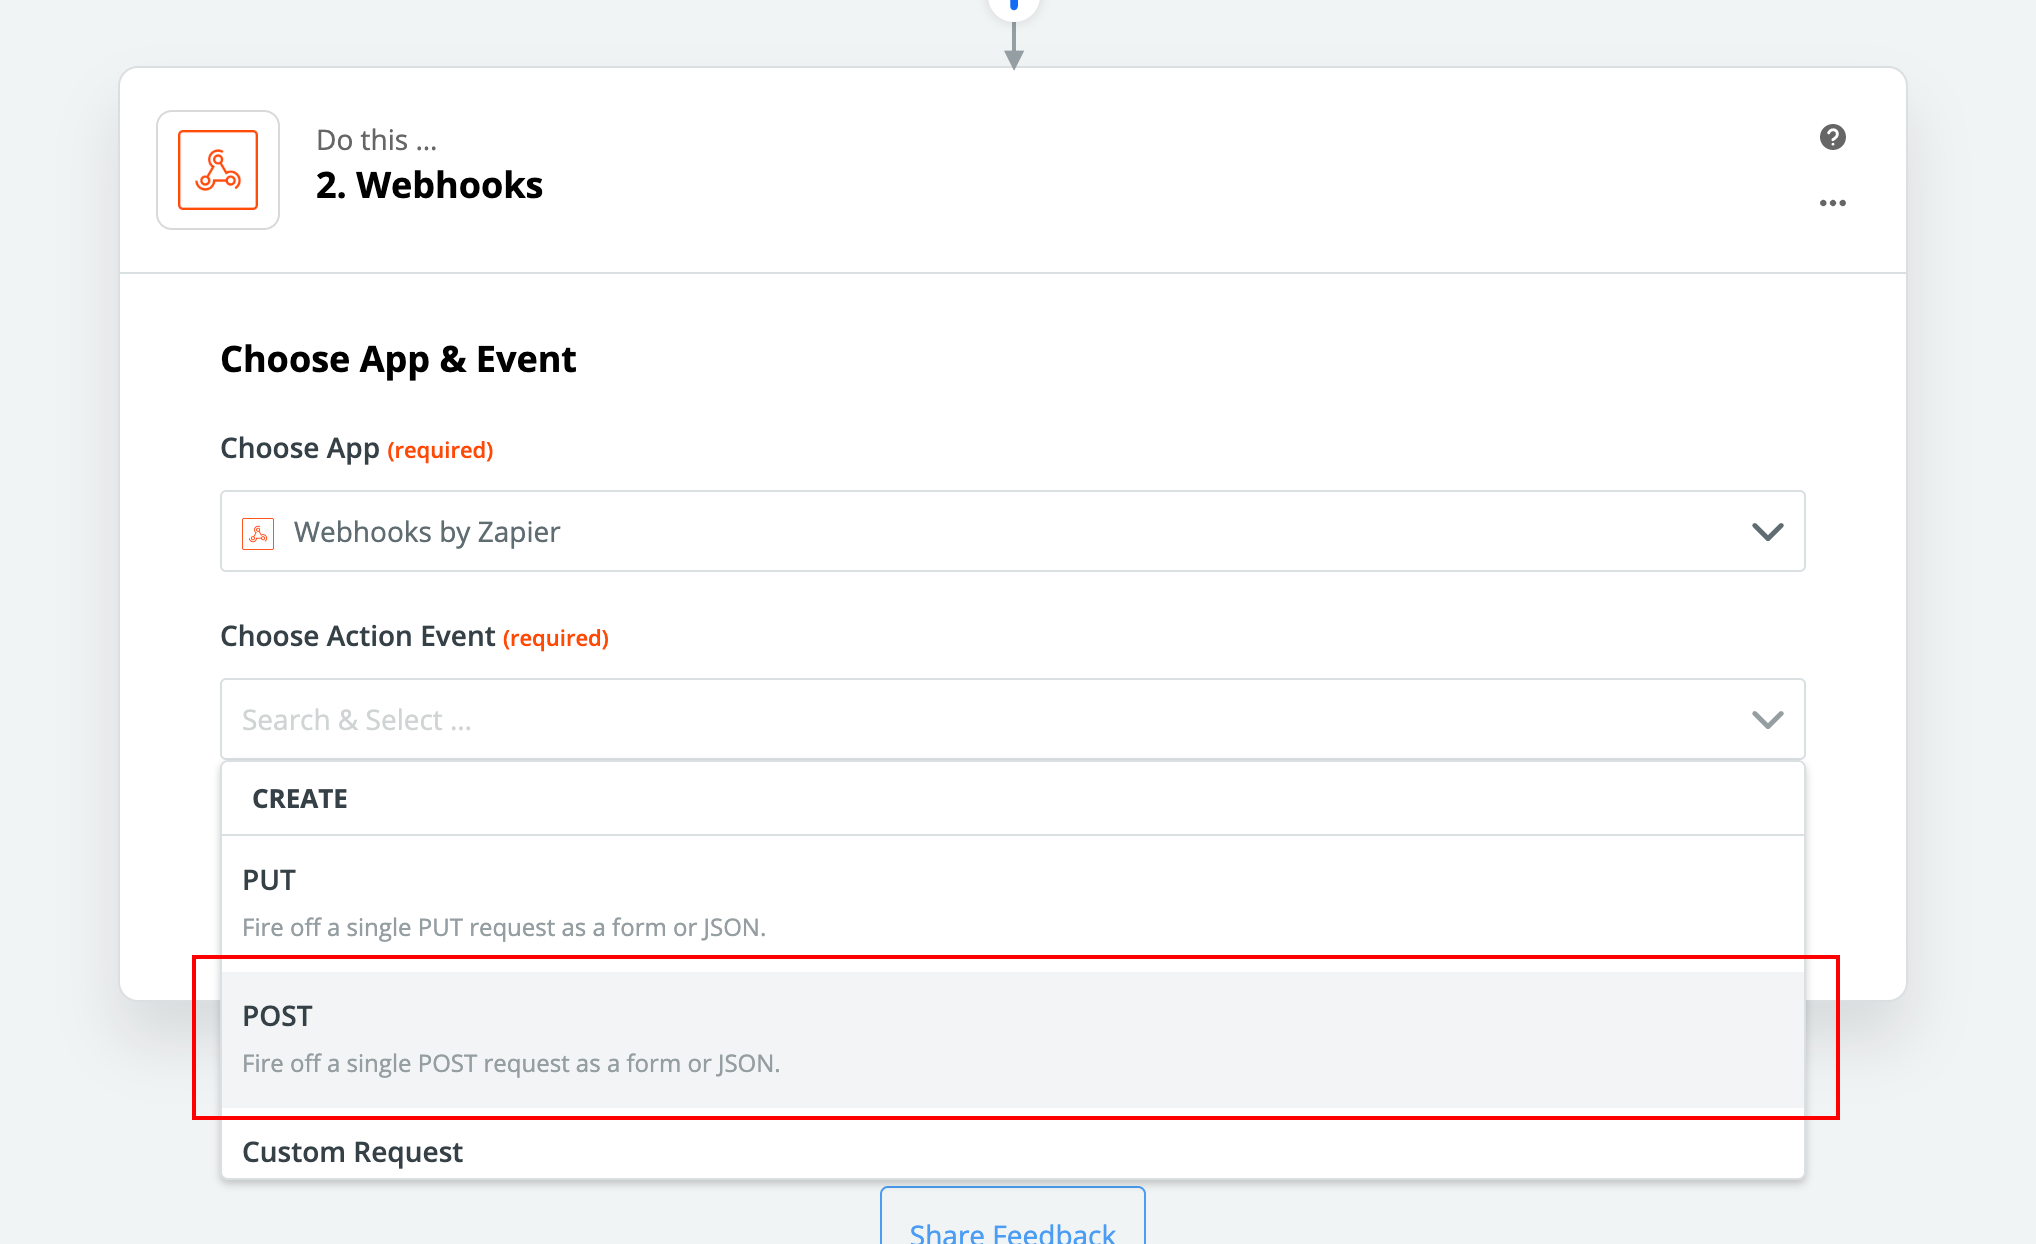
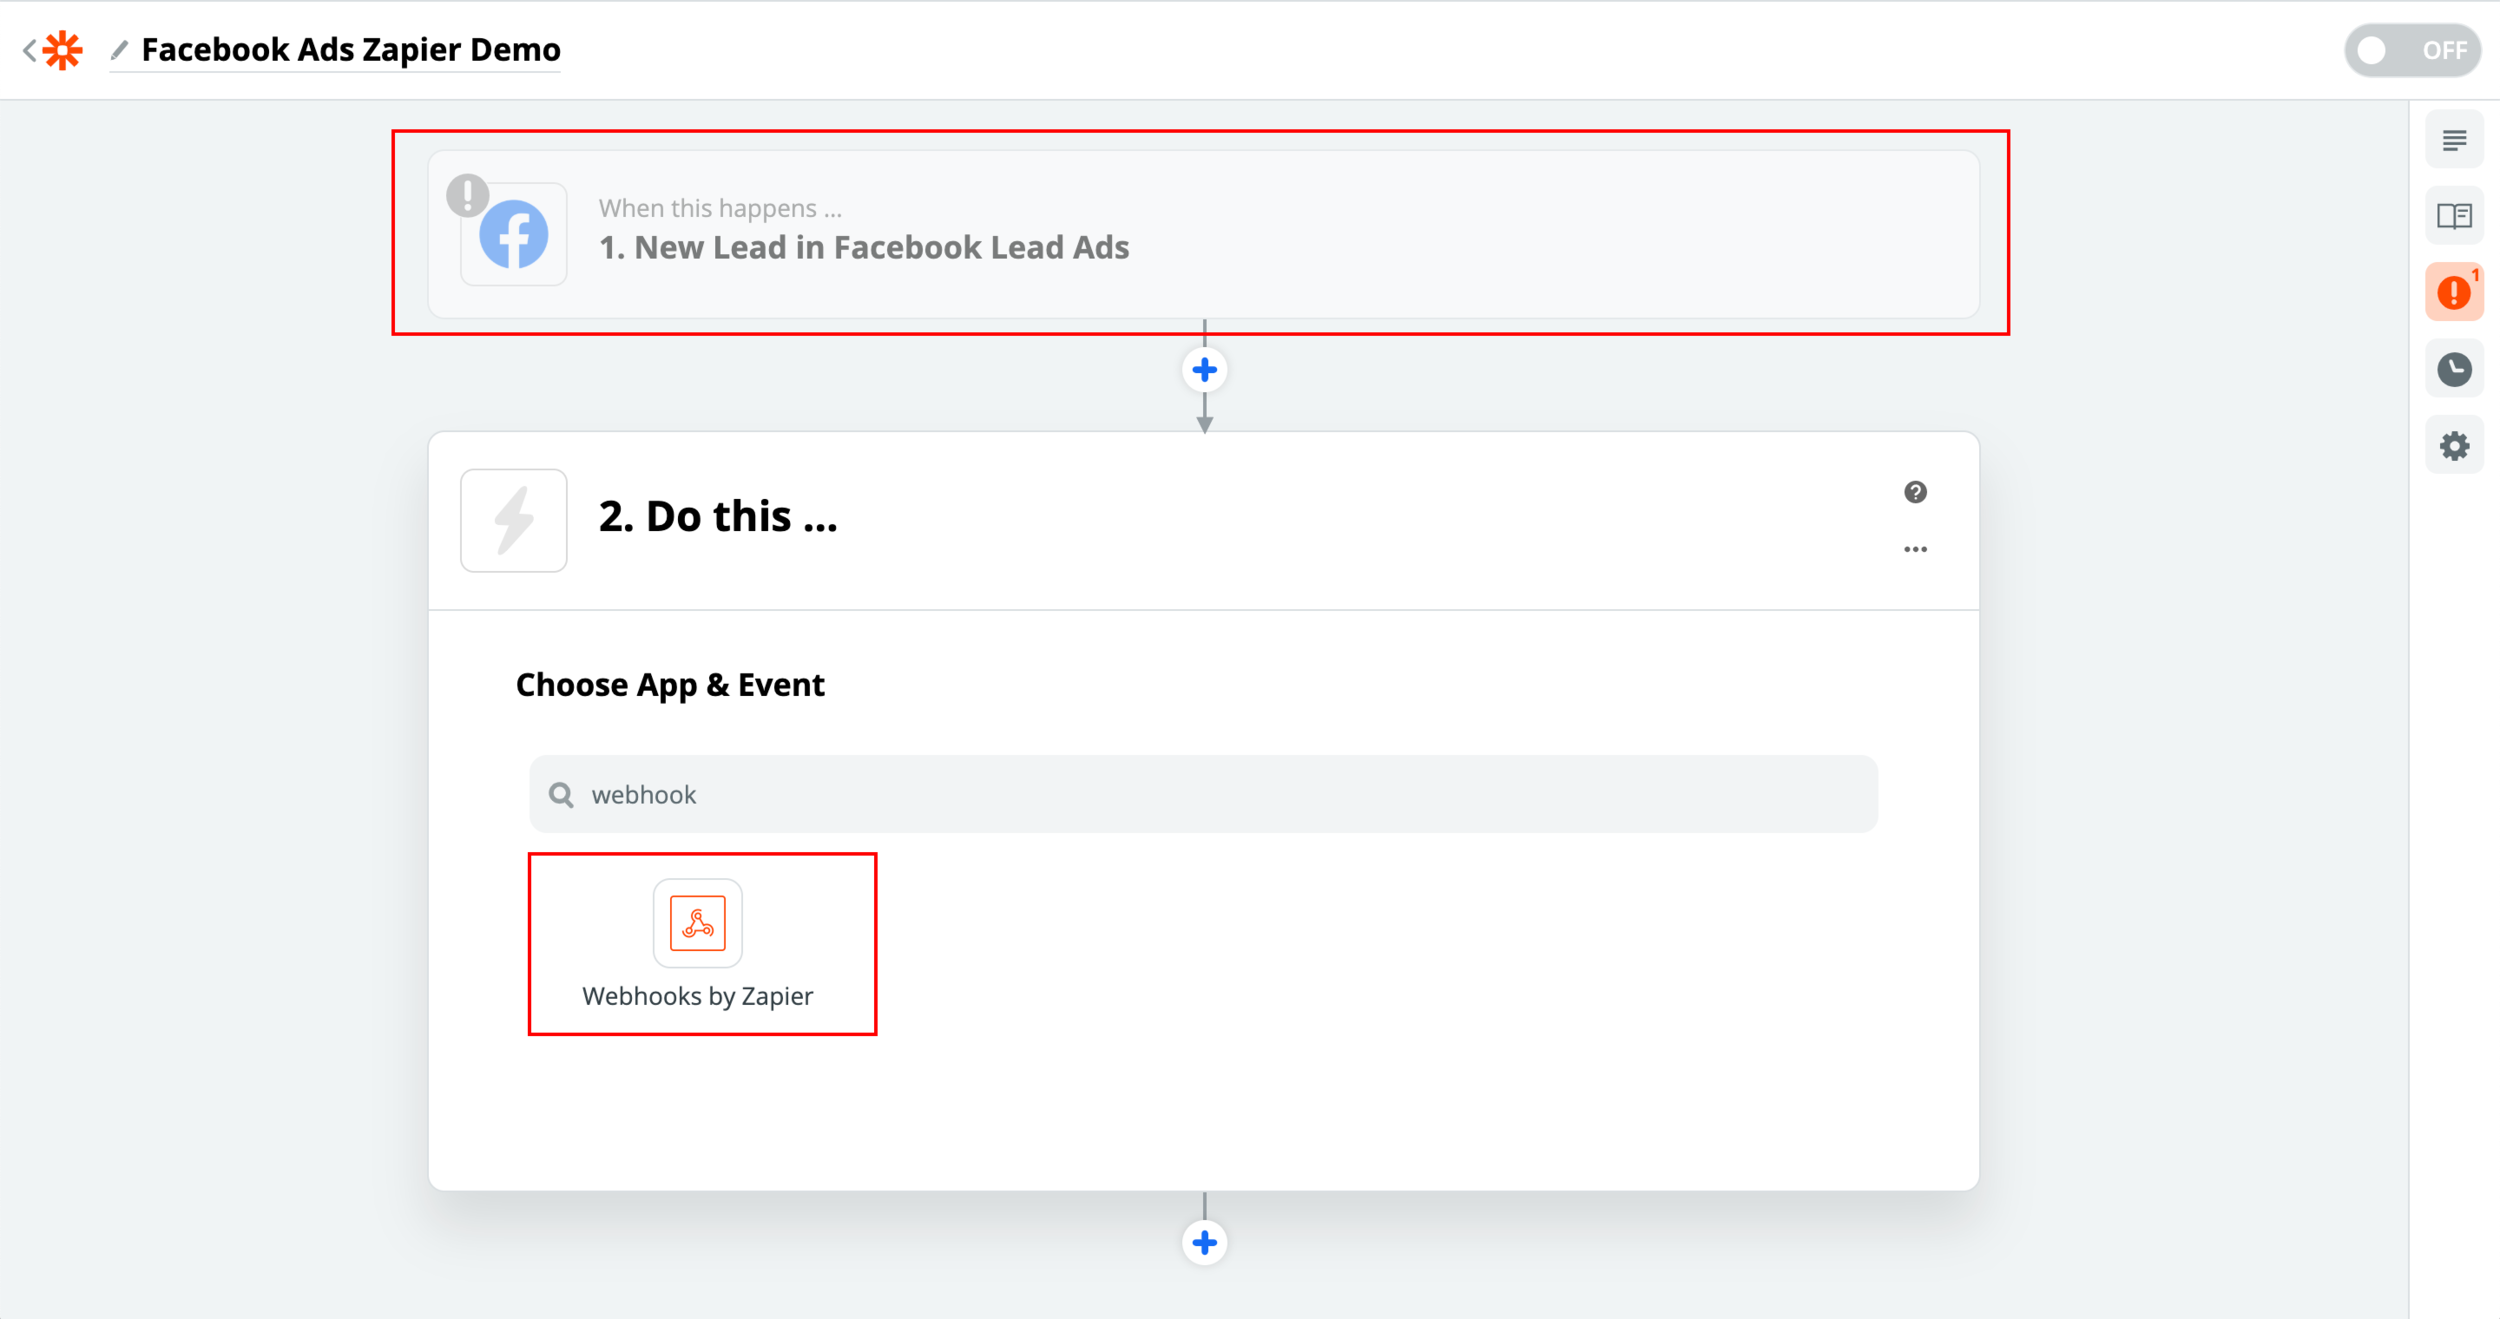
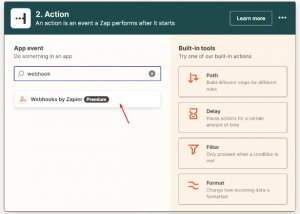
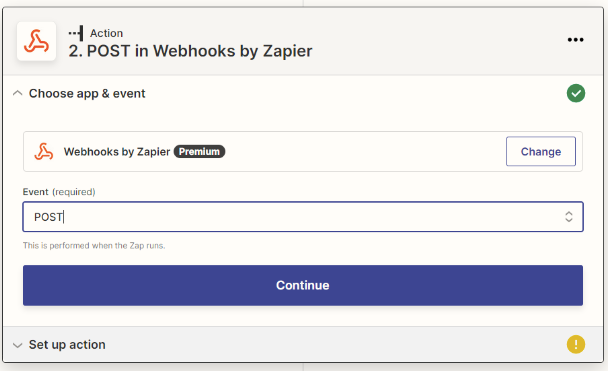
- For Action, choose Webhook.
- For Event, select POST
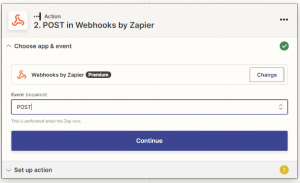
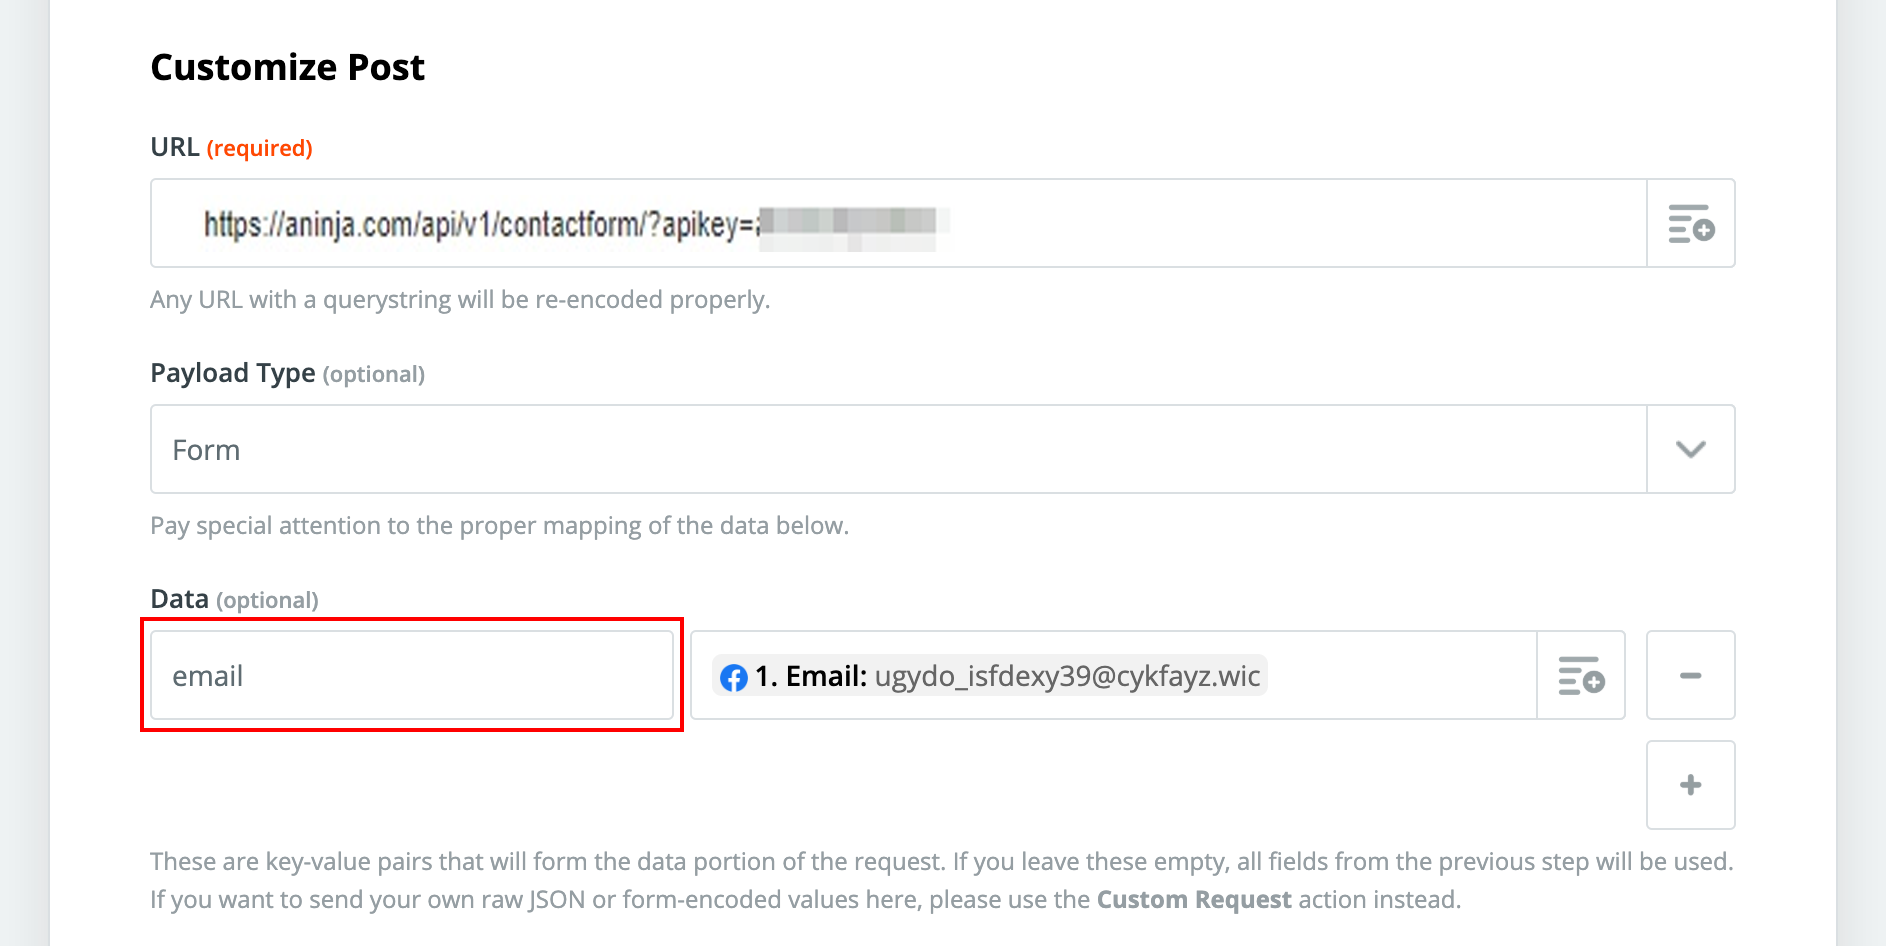
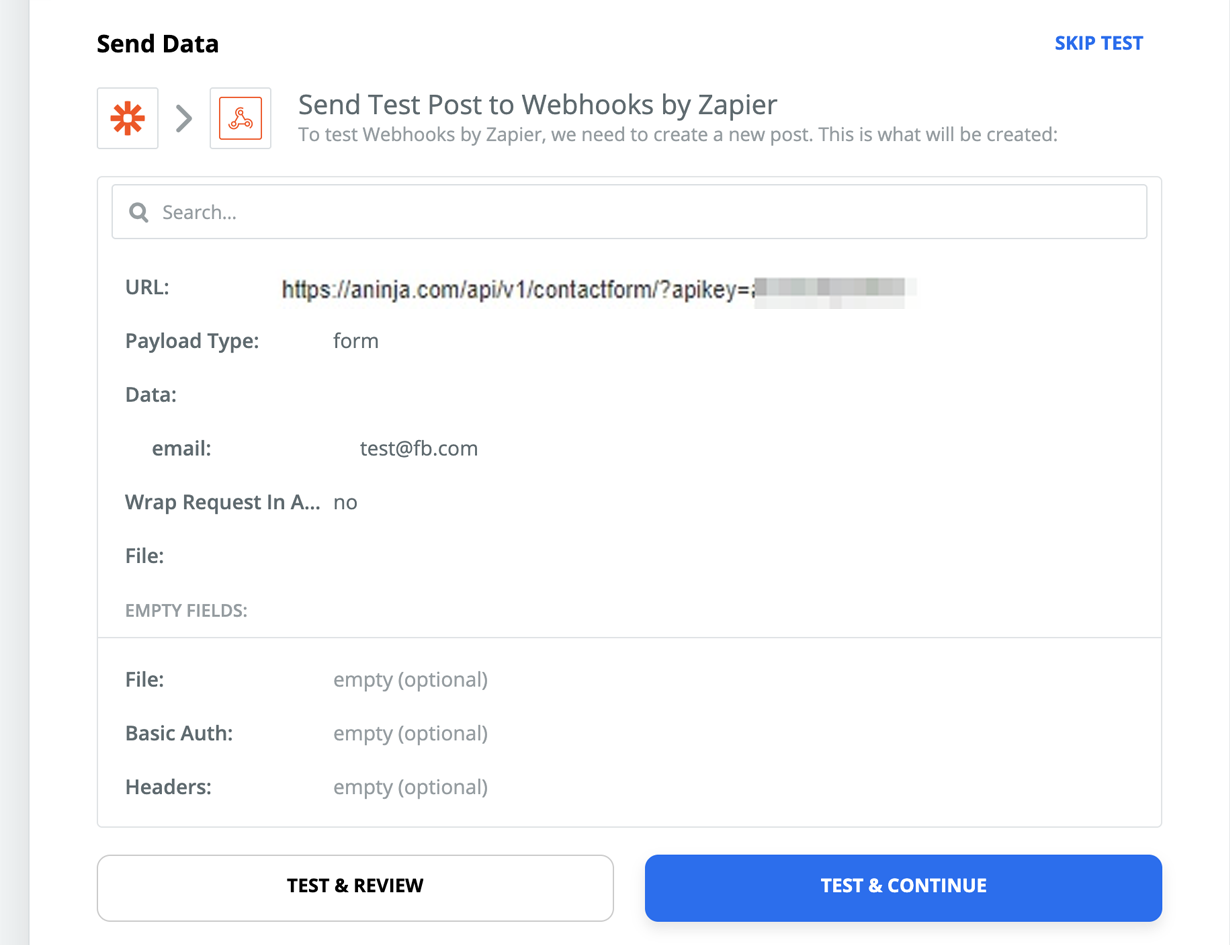
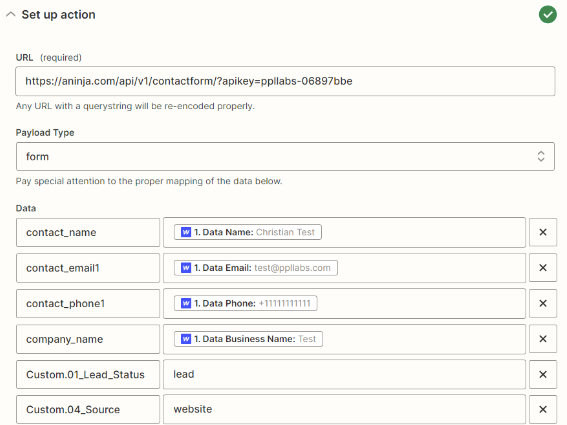
- Set up action
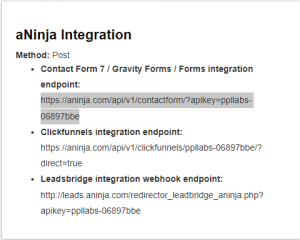
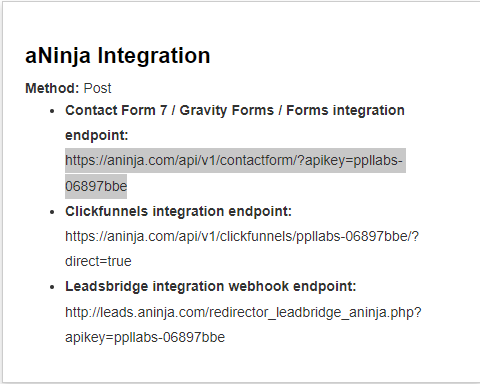
- URL: Copy here the aNinja Form Embed code.
- Payload Type: form


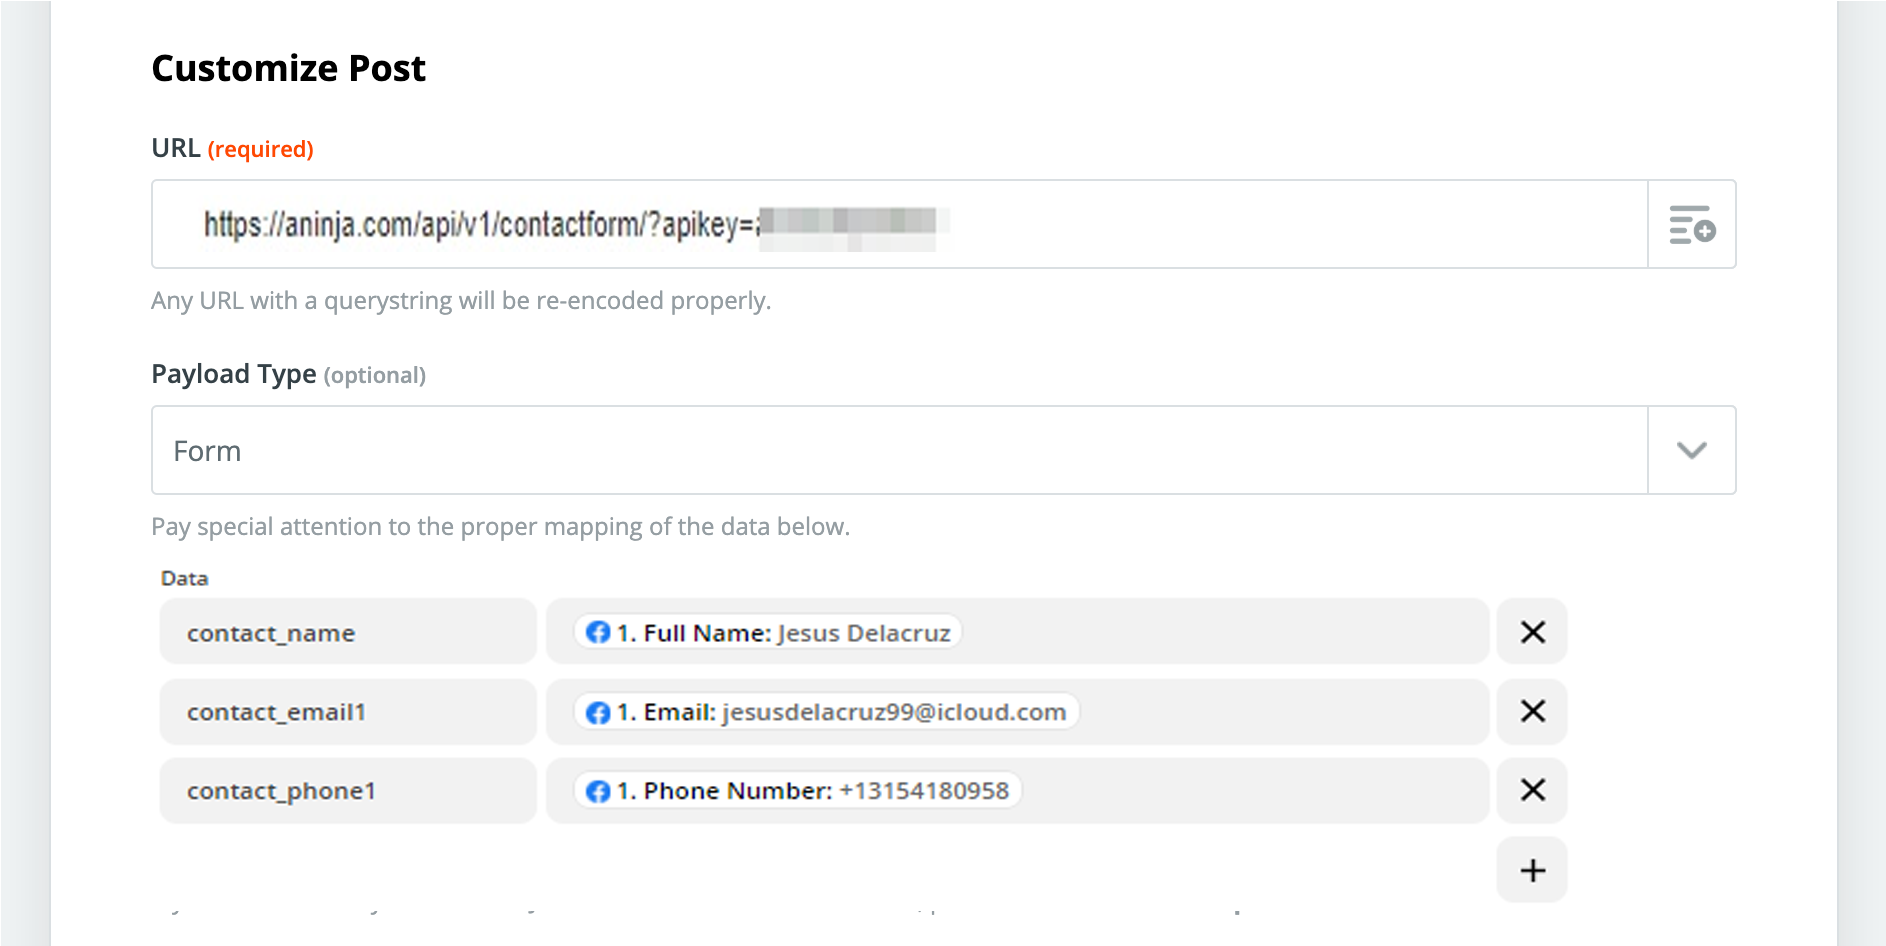
Mapping Fields
Map the Data on the aNinja fields and Form fields
These are the default aNinja fields:

Testing the Integration
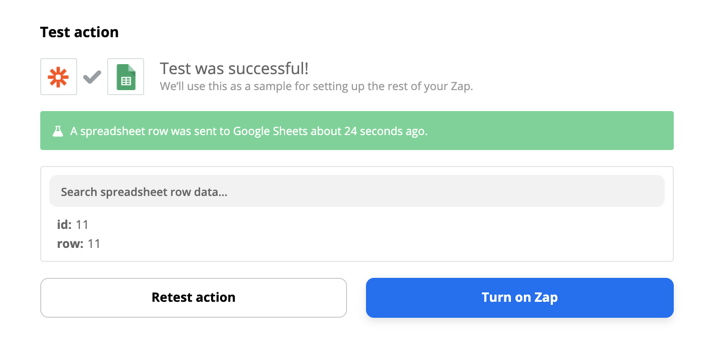
- Click Fetch & Continue to test the Webflow connection. Make sure you have at least one recent form submission created or submit a new form submission on your website before testing the connection. If there’s an issue with the connection troubleshoot your Webflow connection with Zapier (see below).
- Check aNinja if the test lead got through.
- Rename the Zap.
- Publish Zap
Where does the imported data appear
After the integration, you can search your aNinja CRM for the imported leads. You can also search for any custom field and any other info that is collected from the forms. All the data appear in the Lead View.
- Lead’s contact (Name, address, email, phone, and email) appears in the leads contact section in the lead view
- The company’s info appears on the top left of the lead view, in the Company section.
- Custom fields appear in the custom field section of the lead view
- Lead Search is a field that also appears in the bottom left of the lead view. Specifically, these are info/links on the lead or the organization found in Google search.
Need help with the Webflow Integration using Zapier? Leave us an email at support@aninja.com. We’re more than happy to assist you.