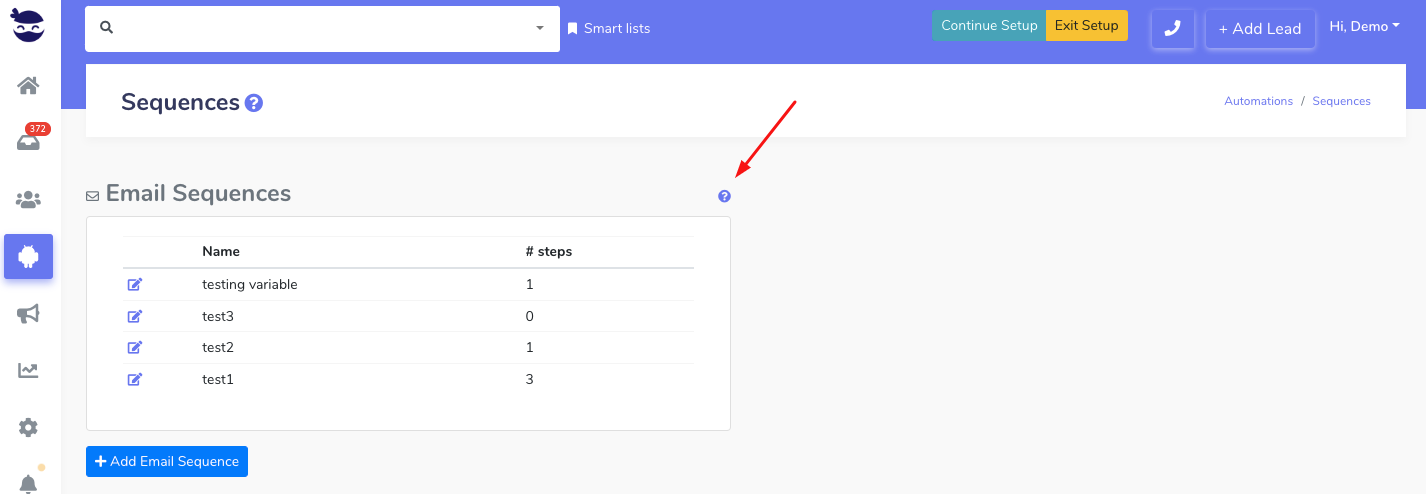
Go ahead and click on the help (?) icon next to Sequences. It redirects to a short youtube video to get an overview of Sequences.
You can also watch a guide video that explains specifically on Text sequences.
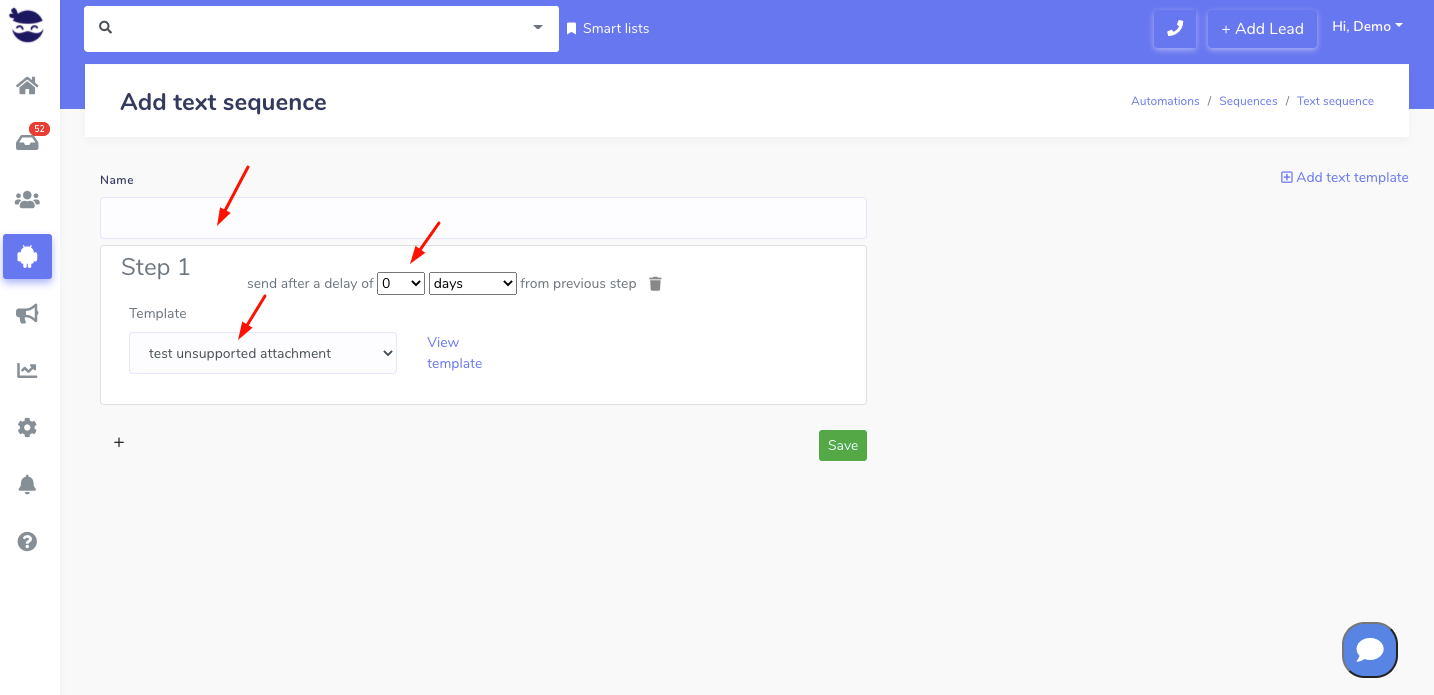
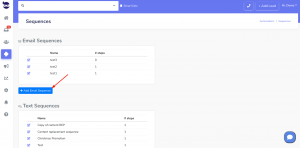
Here, click on Add Text Sequence
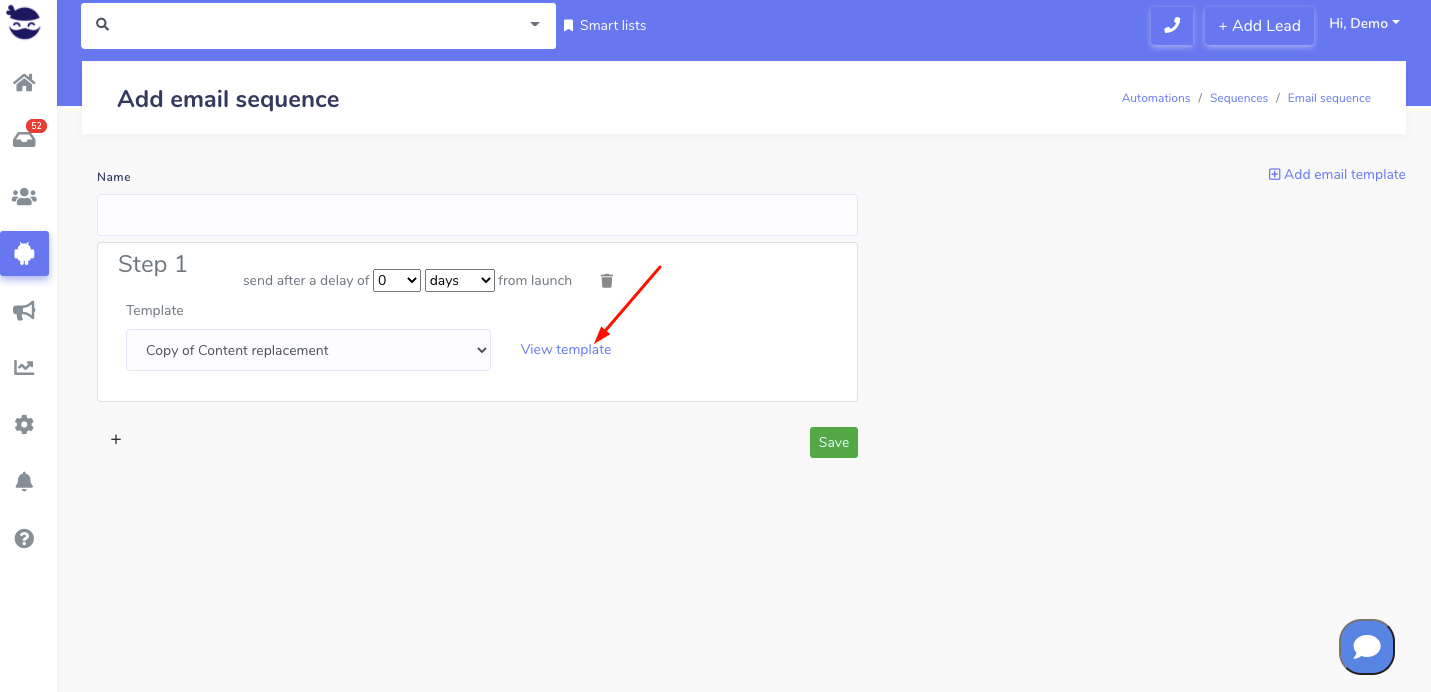
Give a name to your text sequence.
And add each step to your text sequence:
Select when you want the sequence step to be sent out:
If you want to send out the step as soon as you launch the sequence, choose “Immediate”. This fires the step within the acceptable text time window that’s set in Global Settings.
If you want to send out the step with disregard to the acceptable text time window, choose “Immediate (skip global settings validations). This fires the step immediately after the sequence is launched.
Otherwise, define the number of days after which you want the step to be sent out.
And choose which text template you want to use in this step.
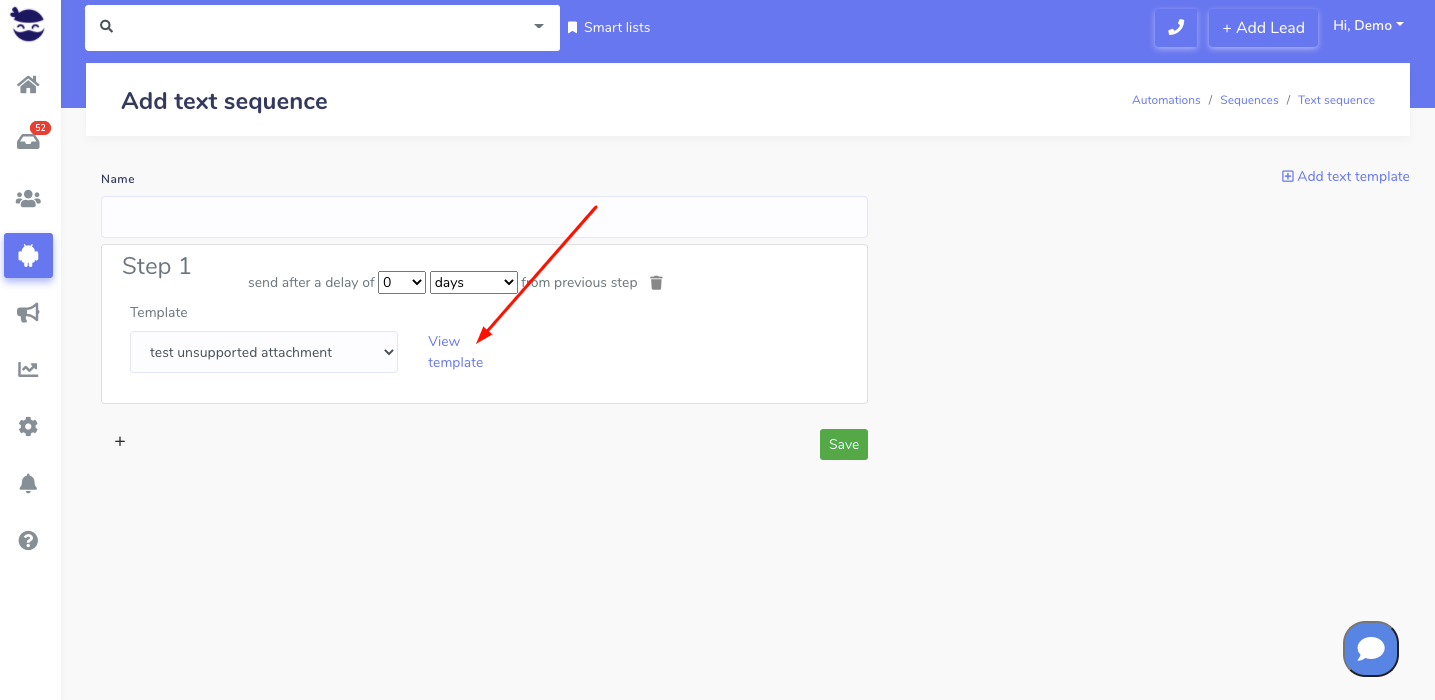
Lastly, you can change the text template. Just click on the link View template.
Email templates can be in plain text or in HTML. Customizing the design of email templates allows you to create a new template entirely from scratch using whatever HTML or design you like.
You can customize HTML templates and include inline CSS and images.
Customizing the design of email templates
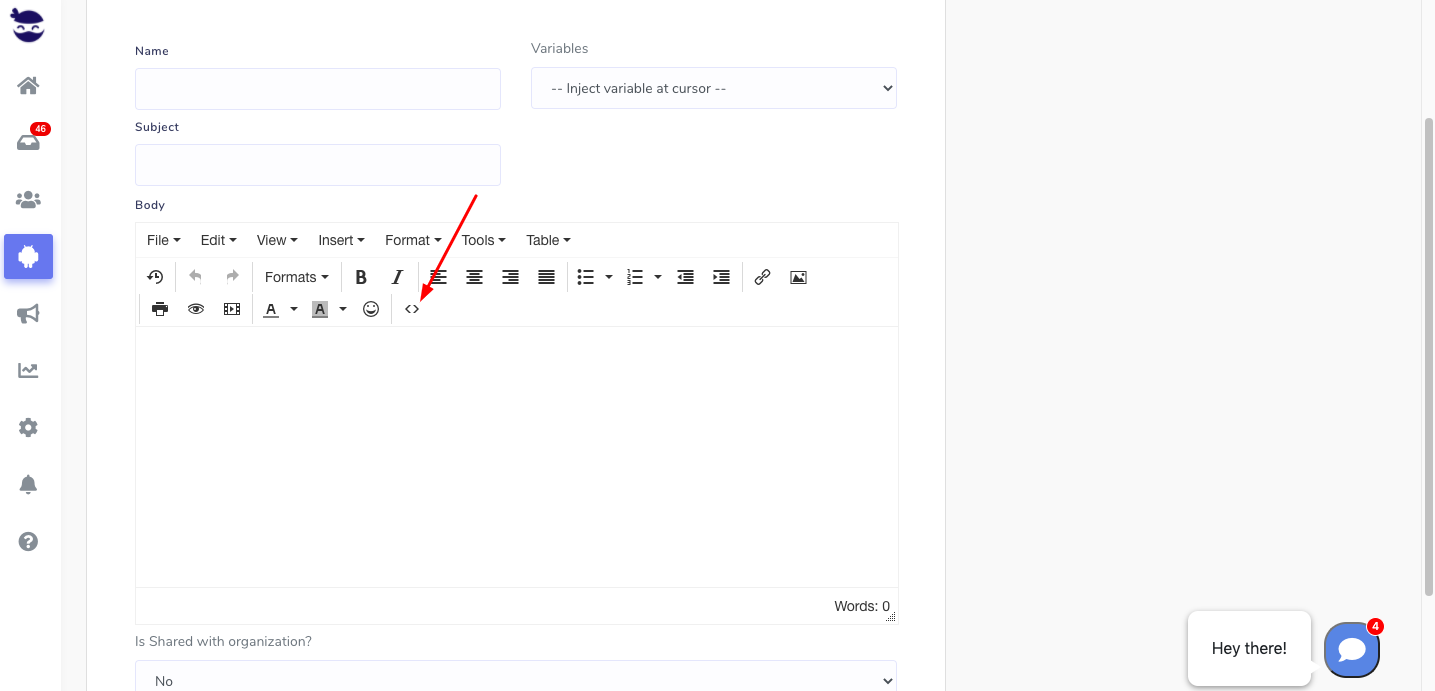
Any standalone CSS can be added to the source code view of the HTML template.
Inject this source code in the body of your email template by clicking on the source code icon (the 2 brackets icon < >) in the email template editor.
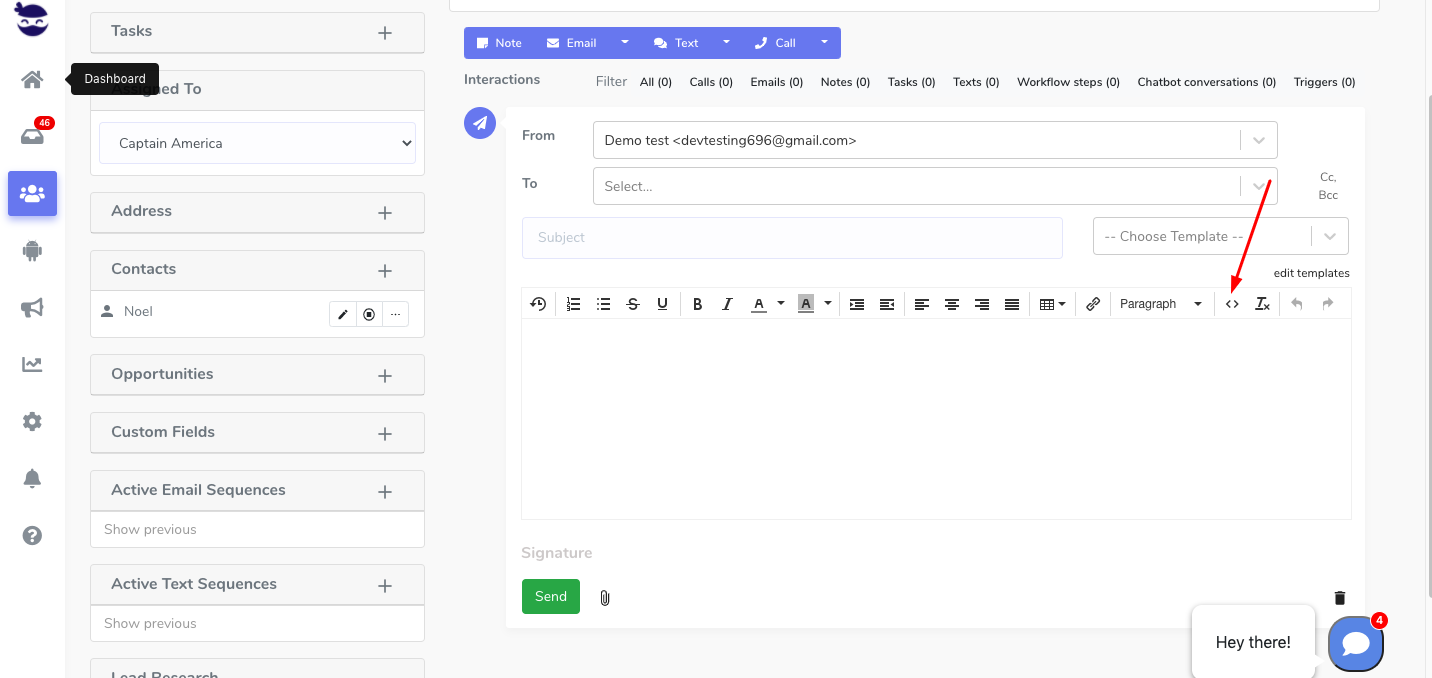
From the lead view, create an email and either use the customized template, or insert the source code by using the (the 2 brackets icon < >).
Make sure to add any changes to the email before sending it.
Iframe content in Email
Most Email Service Providers (e.g. Gmail, Yahoo, etc…) won’t allow iframe content in emails and they automatically block it.
We recommend you add an image in the email template body and link it to the video URL: Click on the image and then hit the link button on the toolbar to add the URL.
Sending emails via aNinja to your leads when having all relevant information at your fingertips is what you really need to handle all your communications directly through aNinja.
You can take advantage of aNinja’s features to make your interactions with the leads more efficient.
Moreover, aNinja auto-saves your work every few seconds so you don’t lose it.
Sending emails via aNinja
Users with Admin role can send emails from any email account associated with aNinja. When composing an email, an admin will have all the email accounts listed in the “From” dropdown.
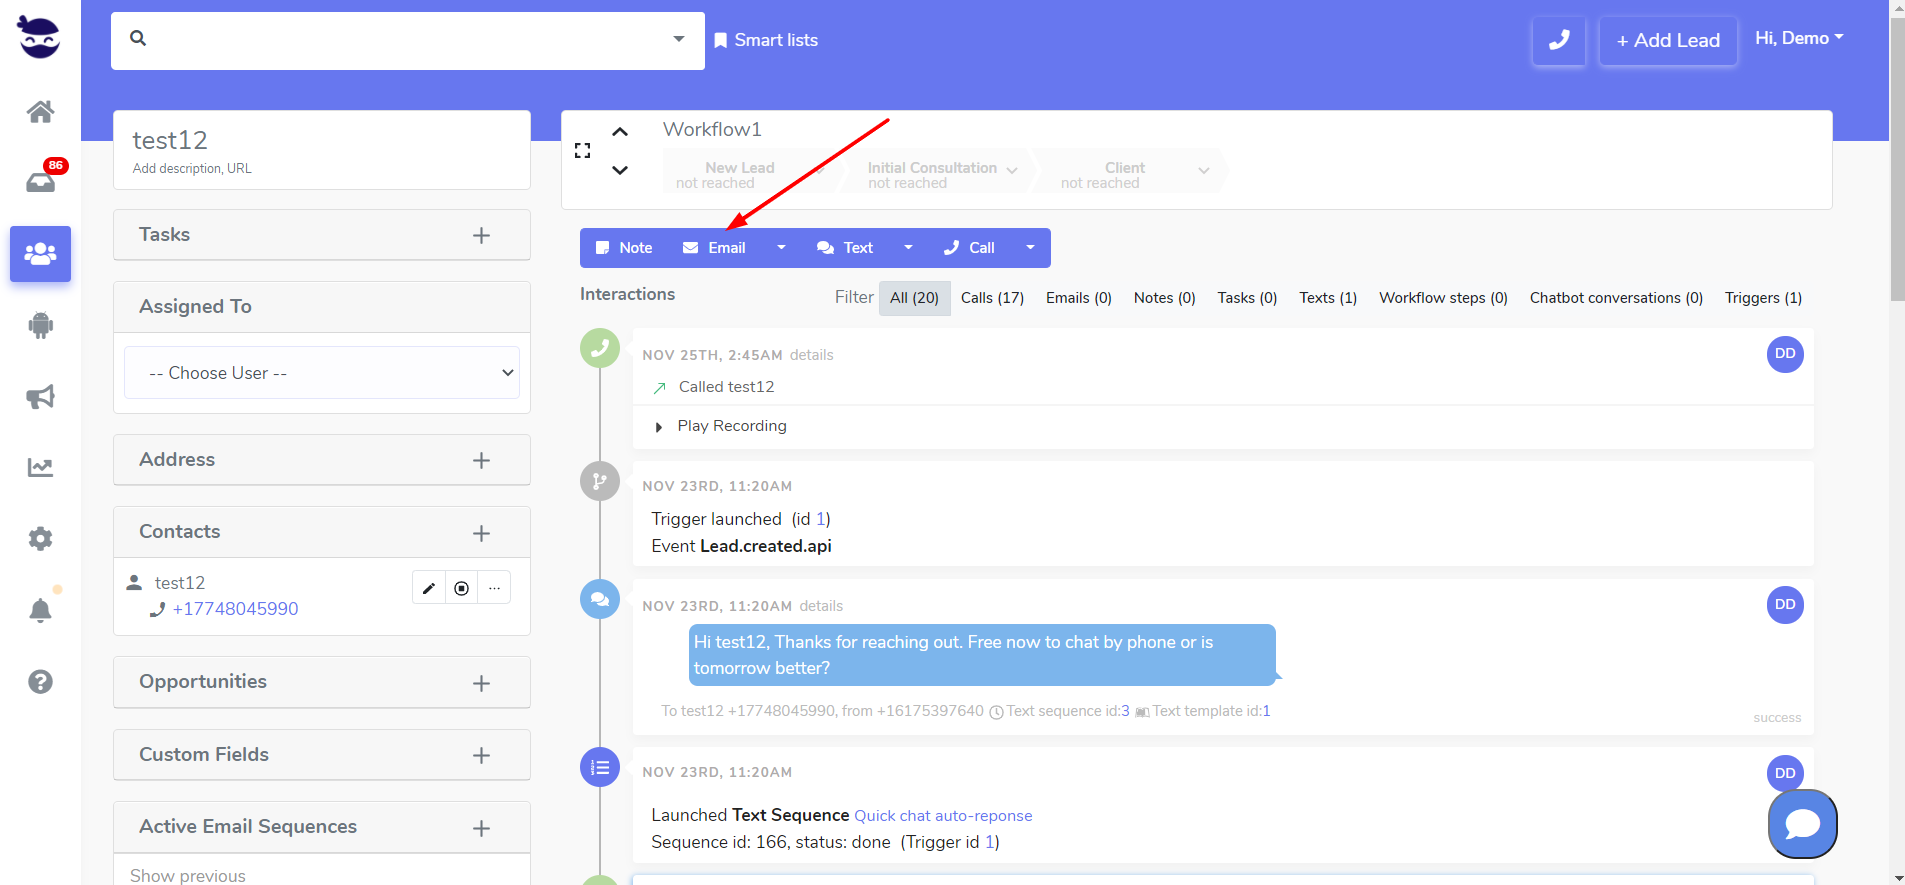
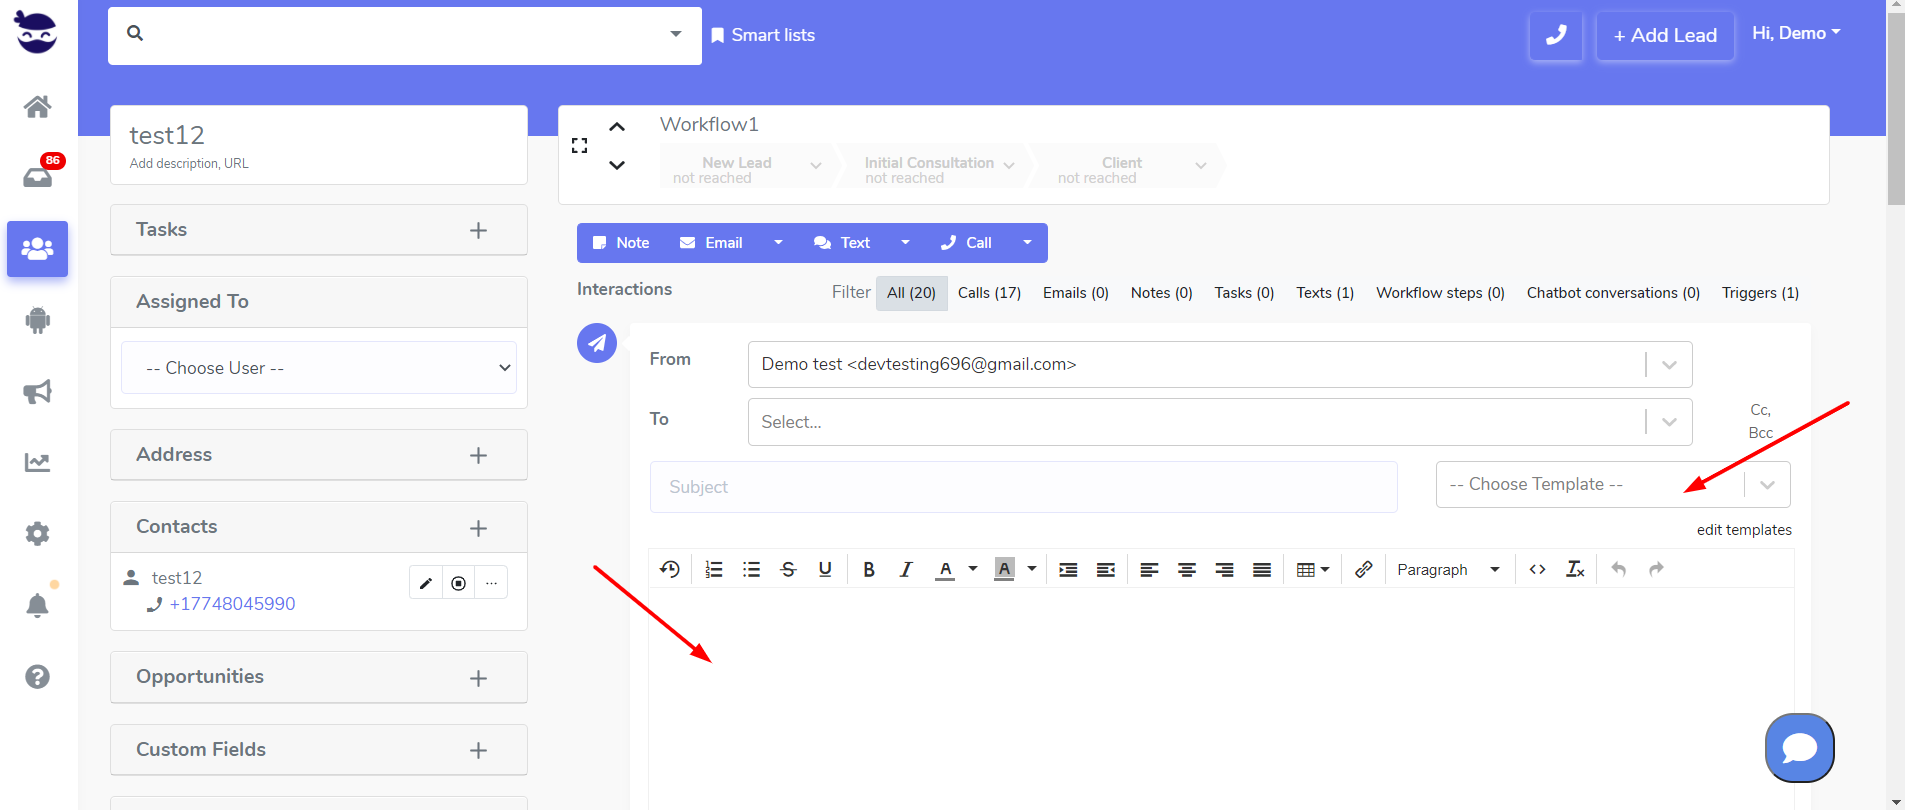
When on the lead view, click on email from the toolbar
Type the email or select an available template
Click Send
If you choose to “reply”, “reply all” or “forward”, this brings you the old communicated messages in the body of the email.
However, if you select a template in the reply/reply all/forward, the template overwrites the old messages with the pre-defined text saved in the template.
Sending an attachment by email
To attach a file to your email, click on the attachment icon.
Note! We presently don’t allow attachments in Email Templates.
aNinja Templates including Text (SMS), Email, or Notes templates are available to easily re-use copy in different situations.
When replying or forwarding an email, if you select a template, it replaces the old communicated messages with the pre-defined text saved in the template.
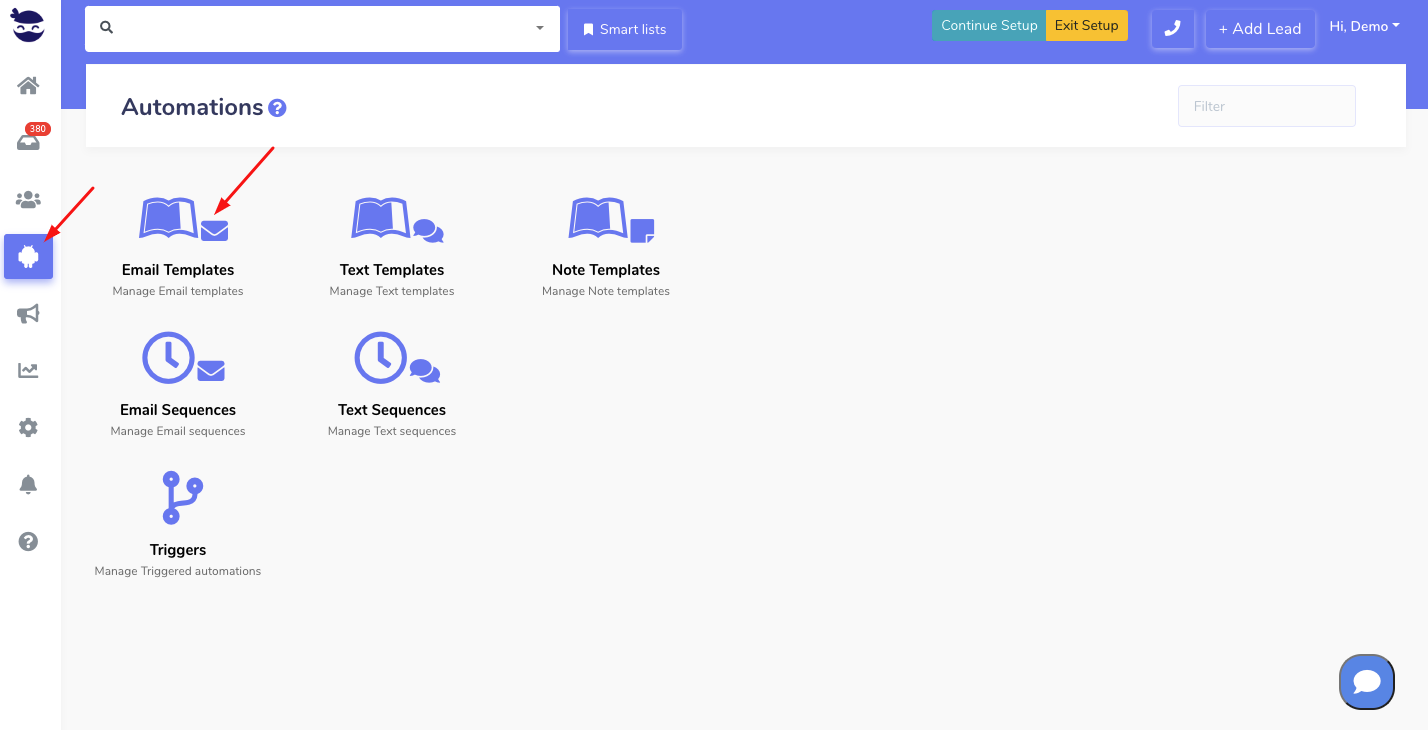
Go ahead and click on the help (?) icon next to Email Templates in the header. It redirects you to a short youtube video to get an overview of the templates.
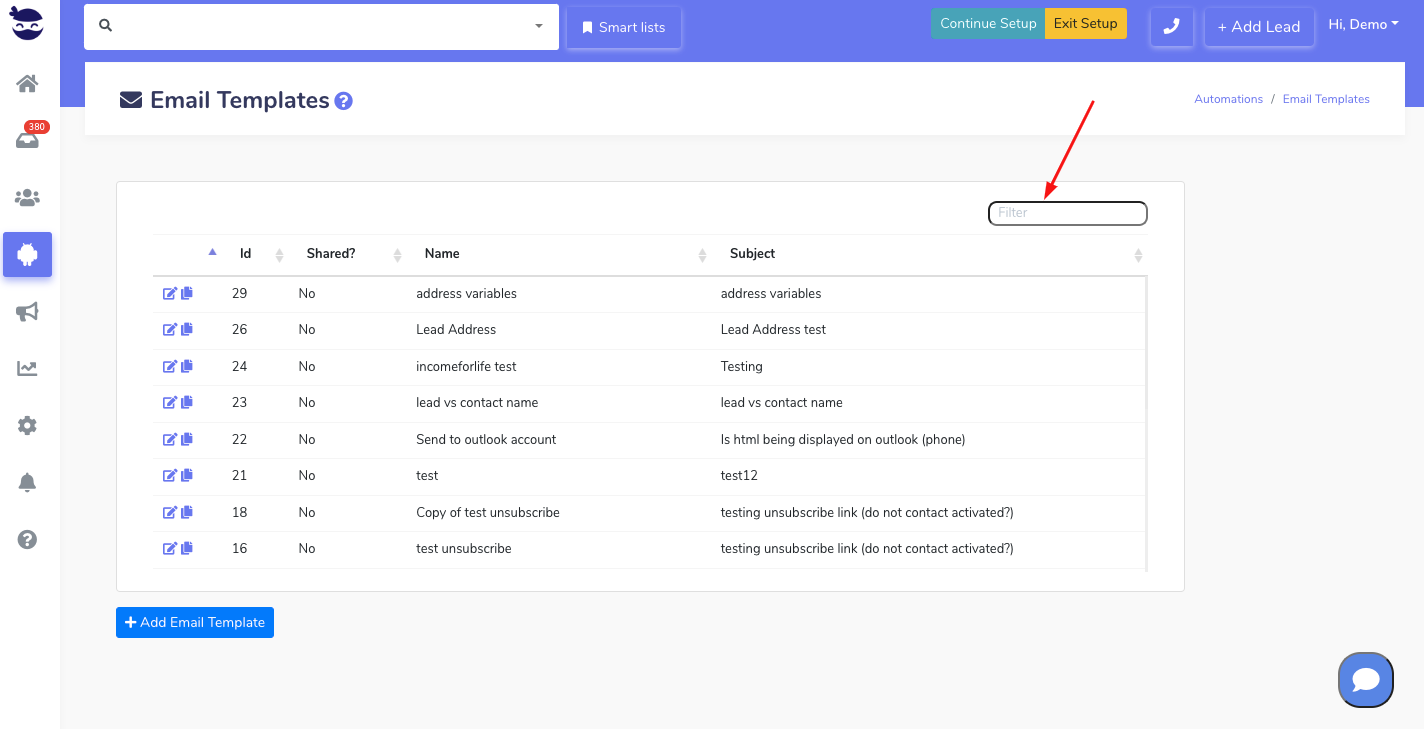
Filtering Email templates
You can also filter your Email Templates by typing your search in the search bar e.g.
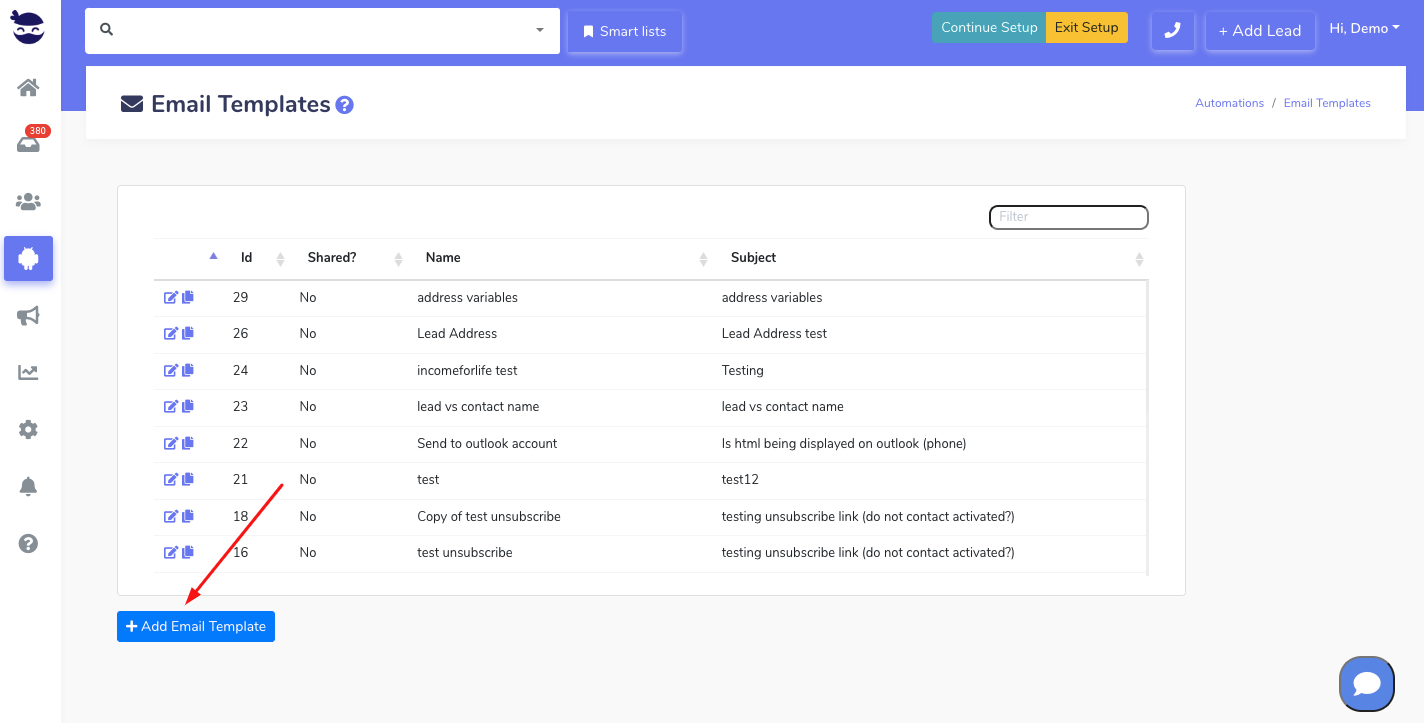
Adding an Email Template
Click on +Add Email Template
Start by giving your template a name that’s relevant to the content and usecase.
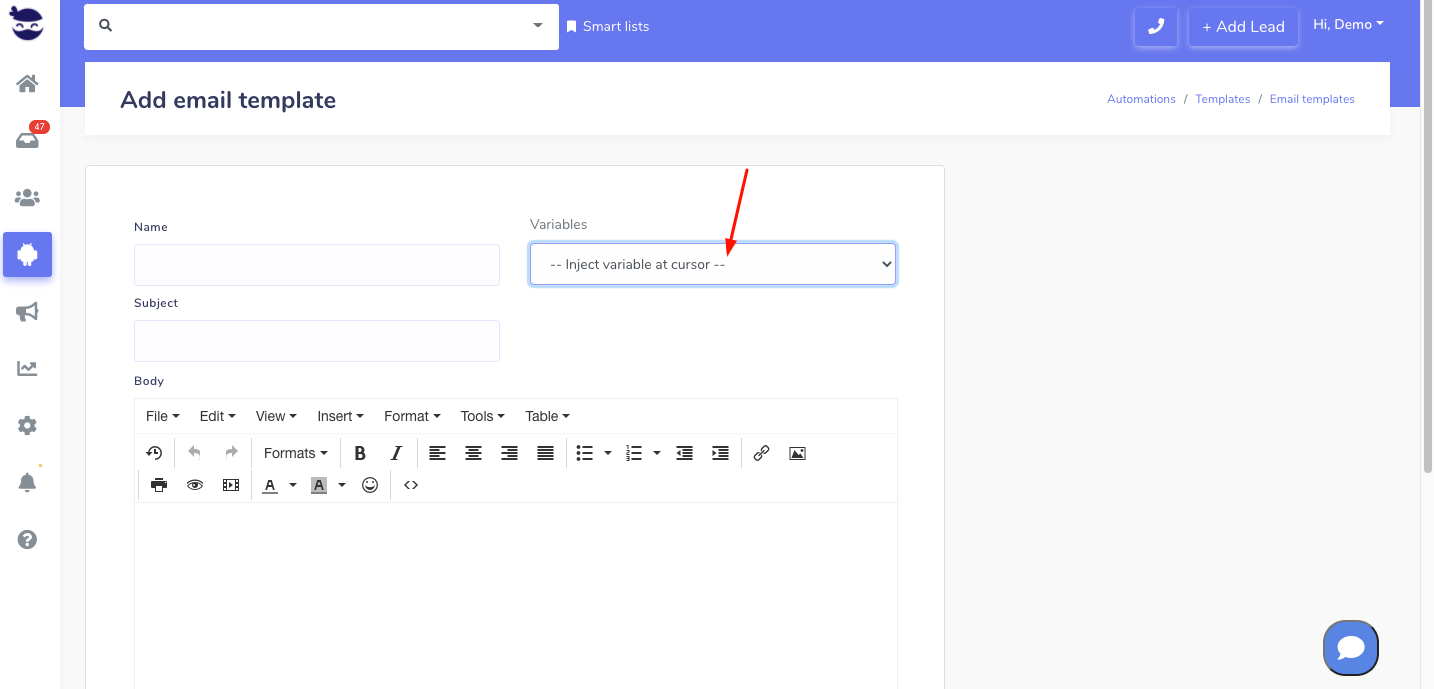
Type the content of your email. You can include variables from the variables dropdown.
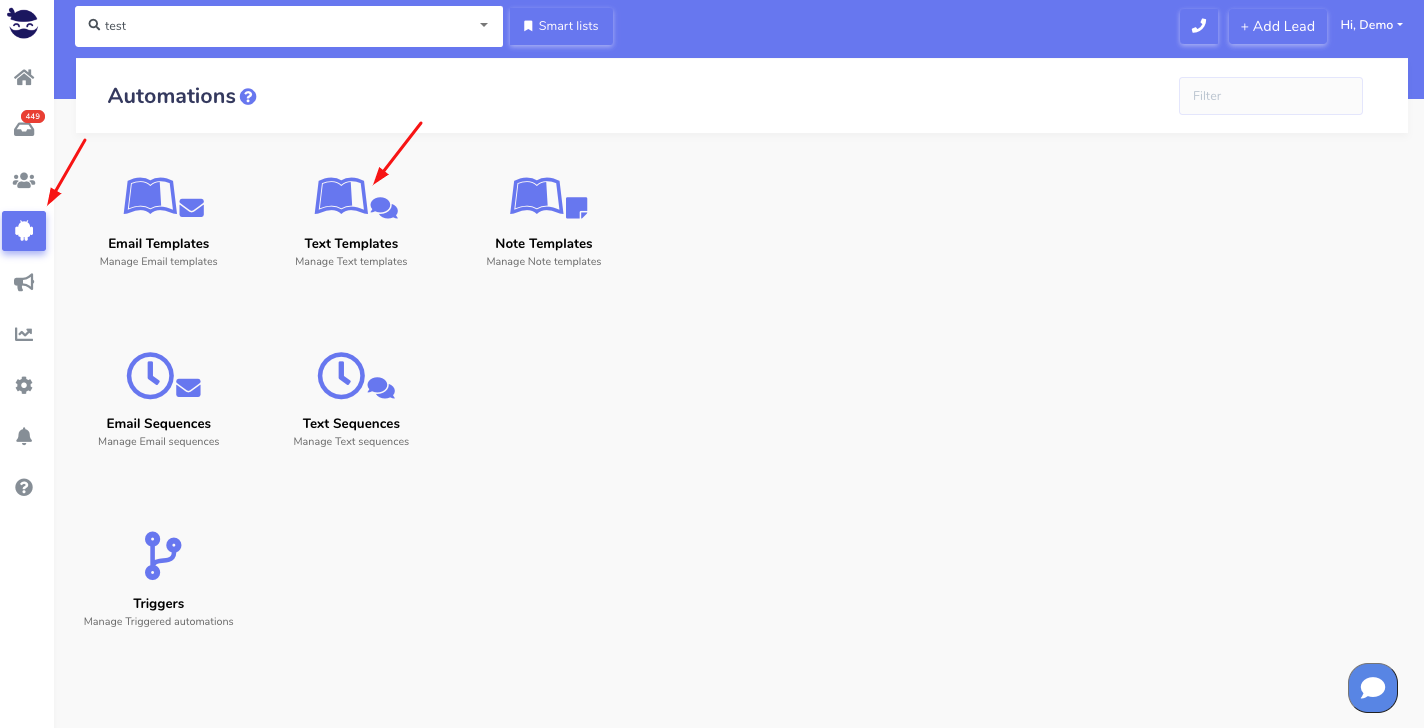
Go ahead and click on the help (?) icon next to Text Templates in the header. It redirects you to a short youtube video to get an overview of the templates.
Filtering Text templates
You can also filter your text templates by typing your search in the search bar. e.g.
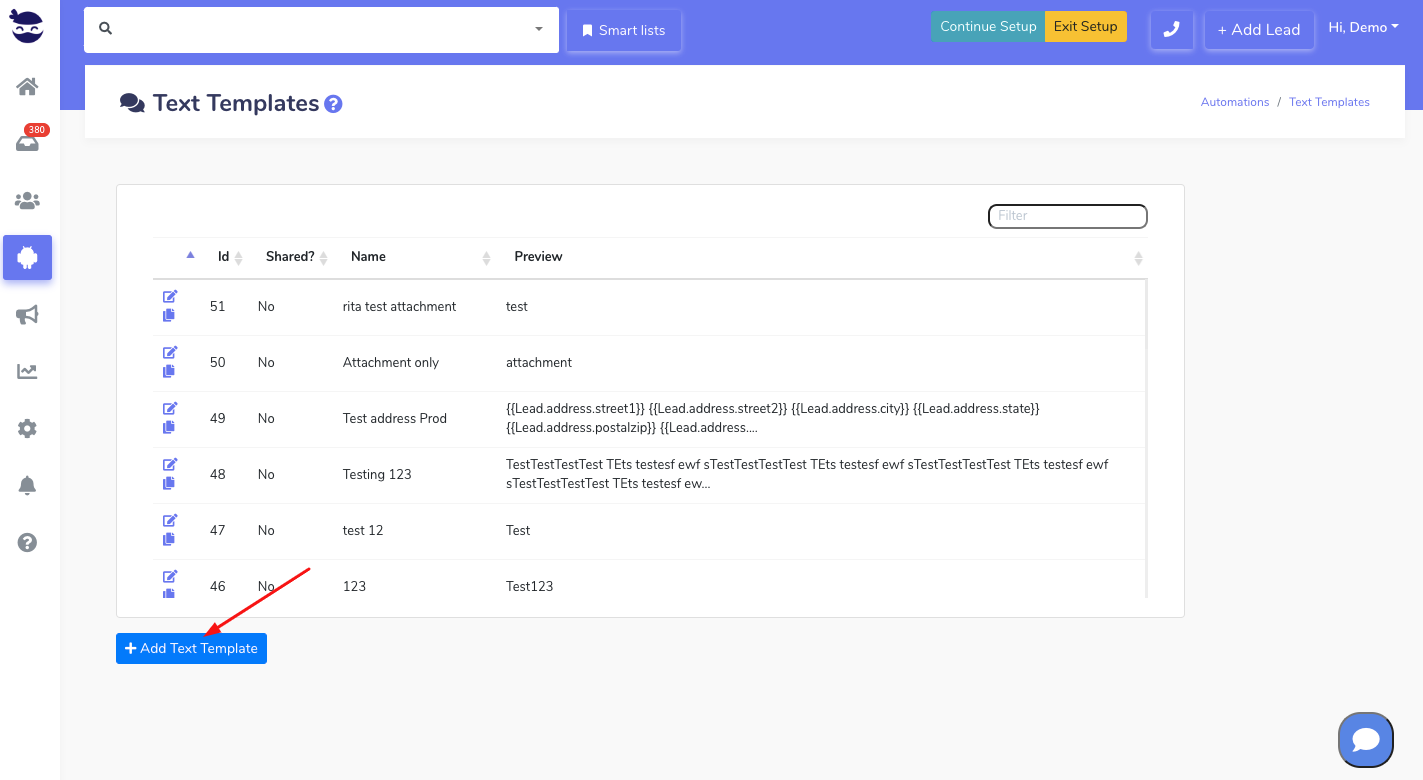
Adding a Text template
Choose + Add Text Template
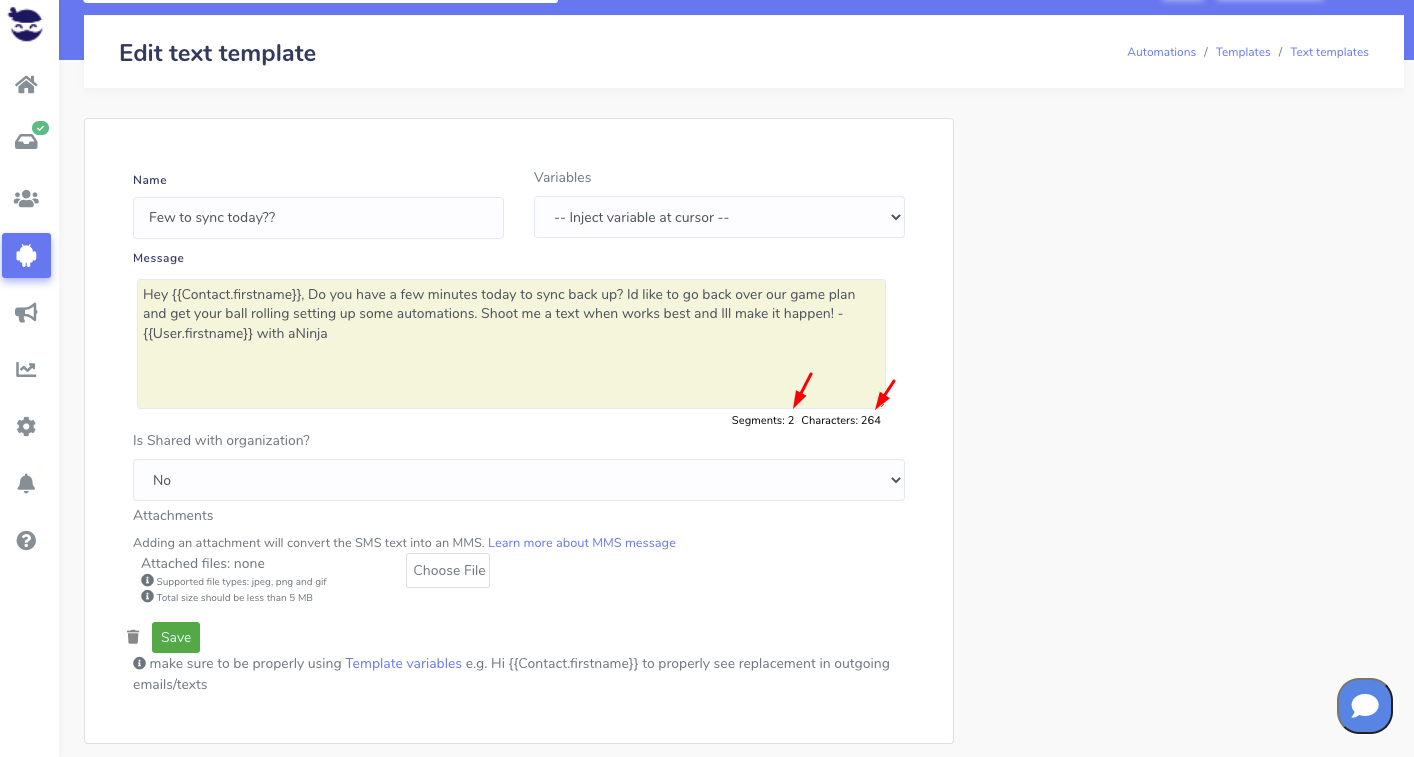
Start by giving the template a name that’s relevant to the content and usecase.
When typing your text, you can include variables from the variables dropdown.
There’s a characters counter at the bottom of the text area, that counts the characters that you’re adding to your text.
SMS industries consider every 160 characters as a segment. If you exceed 160 characters, the segment counter will automatically change to 2. And you will be billed accordingly.
Moreover, if the size of your text overpasses 3 segments, or if the text content requires a specific encoding method, an alert will pop up to notify you. You can then automatically convert your text and remove special or hidden characters and reduce the size:
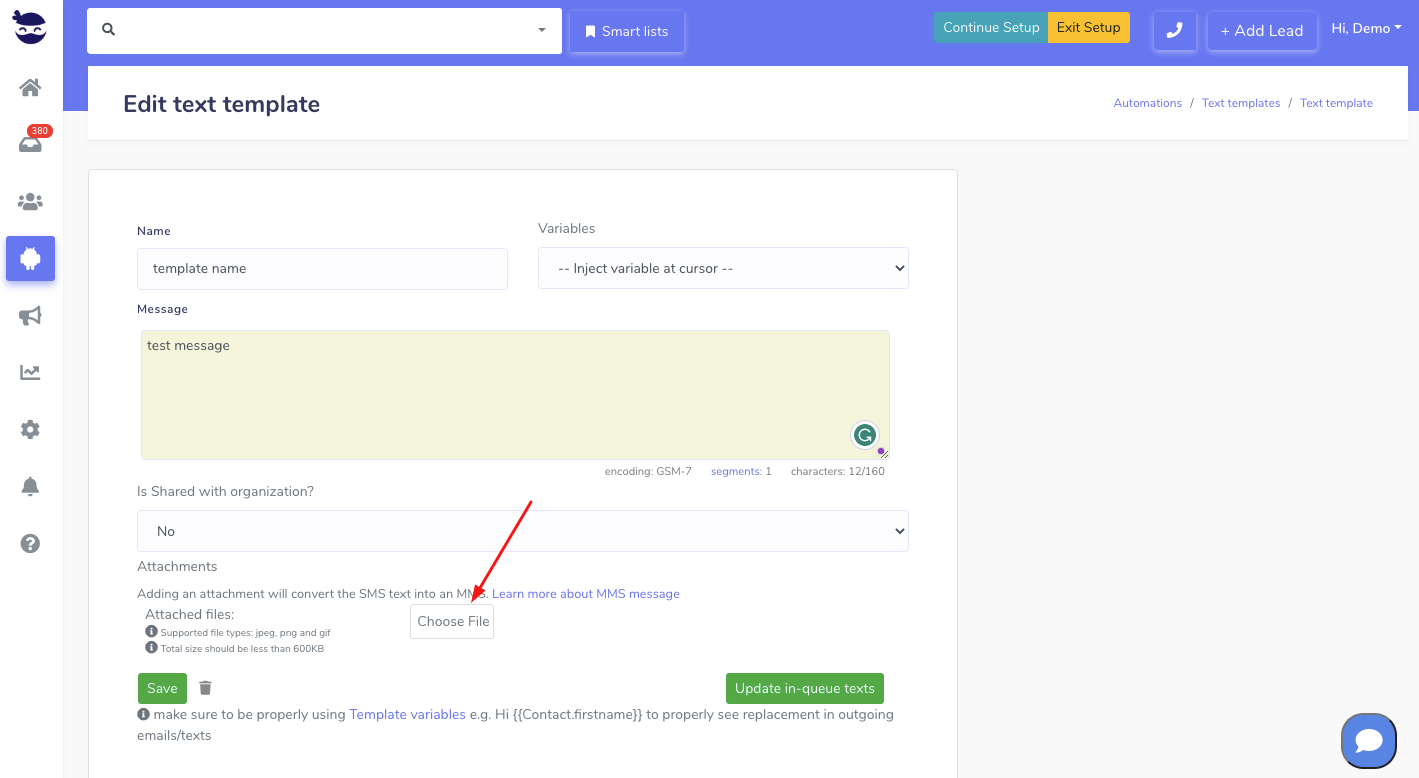
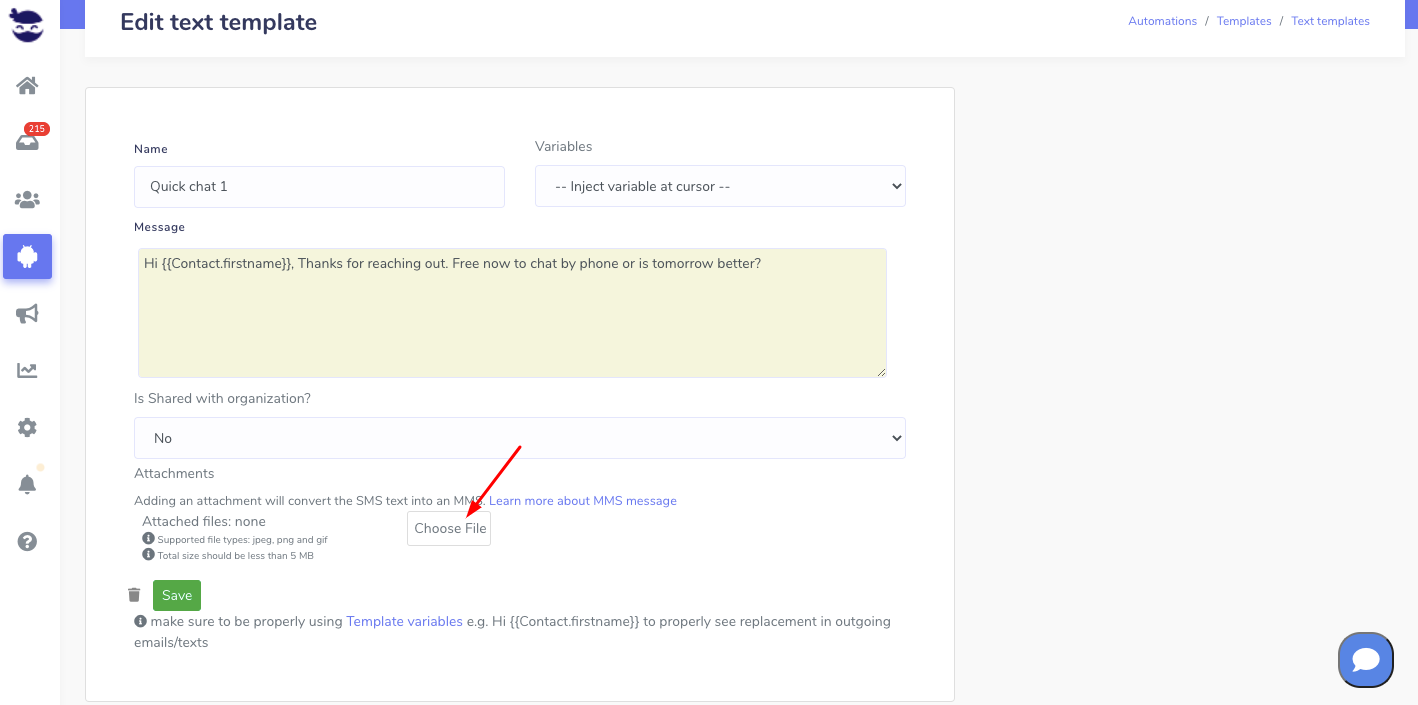
To add an attachment to your text template, just click on “Choose file”.
Supported attachments:
Types: jpeg, png and gif
Size: less than 600KB
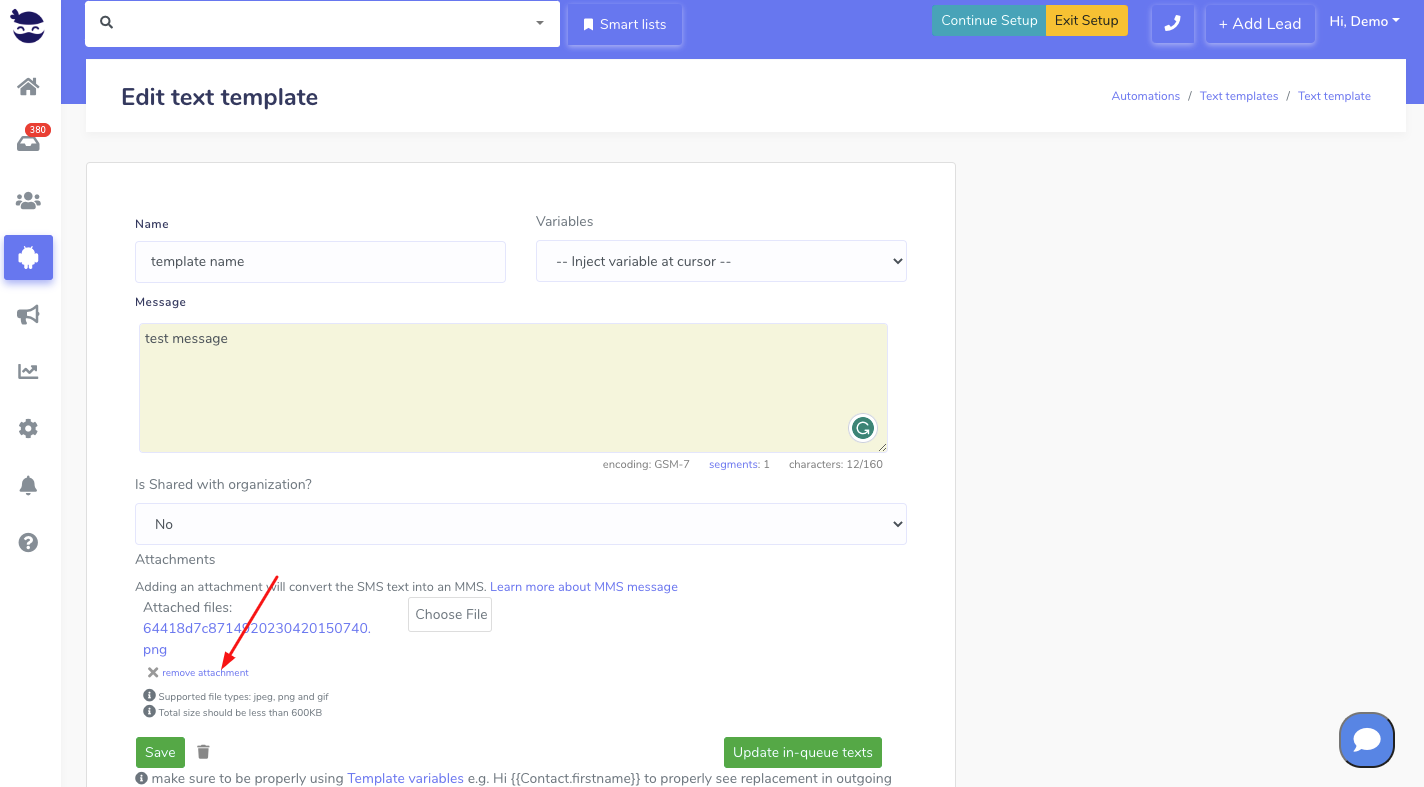
You can always remove the attachment by clicking on “Remove attachment”
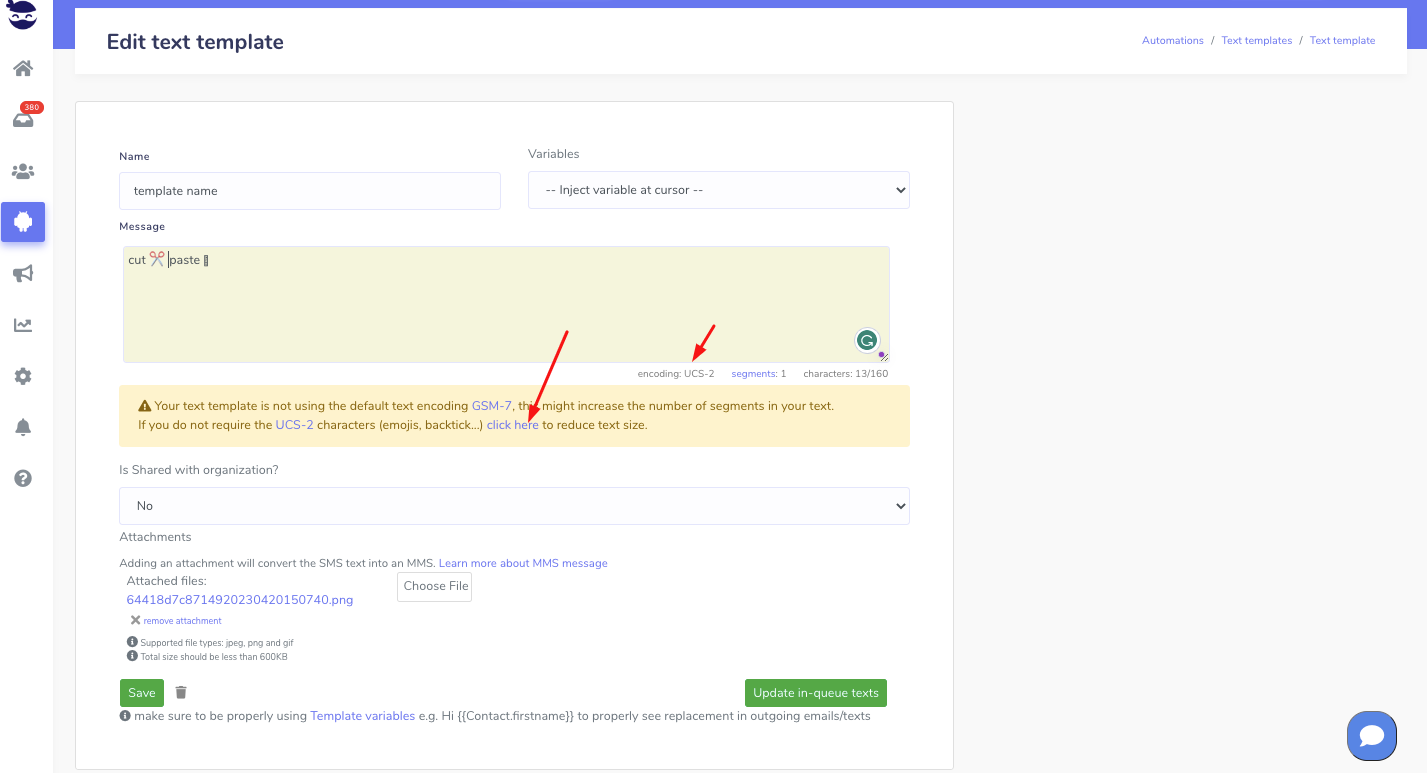
Converting UCS-2 texts to GSM-7
GSM-7 is an encoding method widely used that allows for the transmission of text messages in a compact form through mobile phones. However, if the text contains special characters that are not supported by GSM-7, it’ll require UCS-2 encoding method which allows the transmission of less characters in one segment and is more costly.
To check the content of your text, keep an eye on encoding GSM-7. If it turns to UCS-7, an alert will appear explaining about the encoding methods and their implications.
Click on “click here” to convert the text content back to GSM-7. This feature removes any special characters and enables GSM-7 encoding.
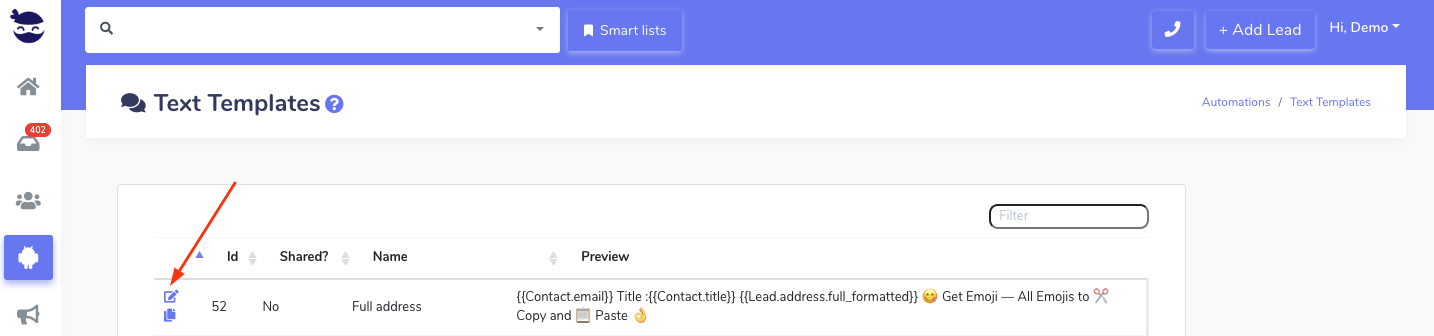
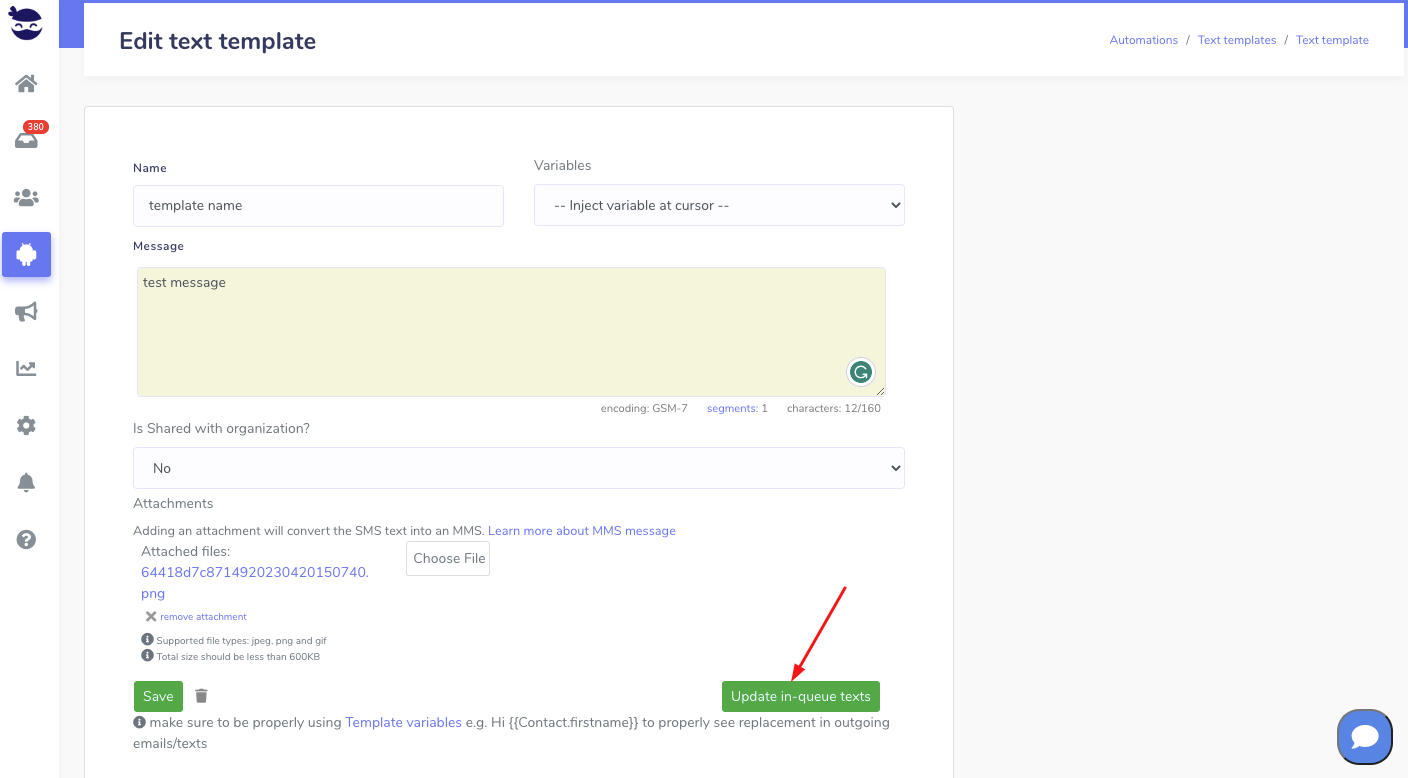
Editing Text Templates
Click on the edit pencil to go to the edit view
Add your changes and click on Update
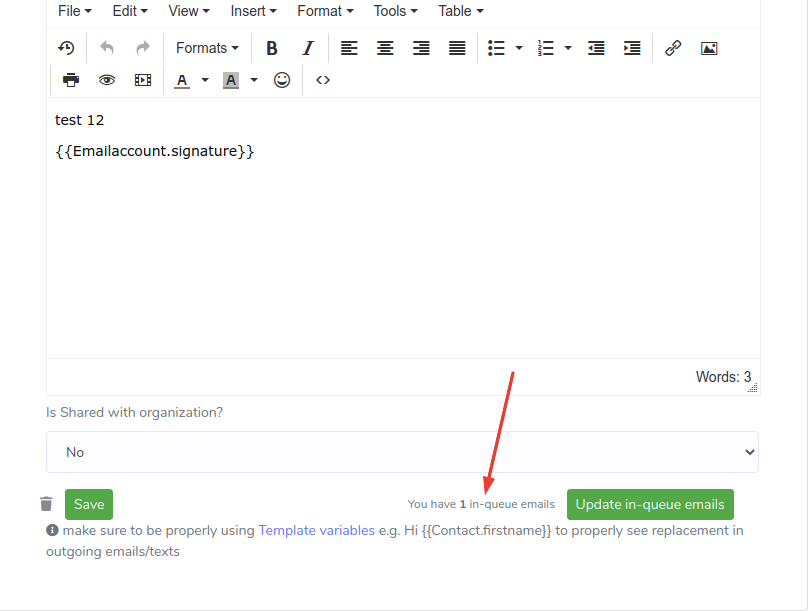
Updating in-queue texts
After updating your template, you have the ability to update the in-queue texts if this template is used in launched text sequences.
You can also see the number of in-queue texts using this template.
In case there are no texts in queue using this template, the update in-queue button is disabled.
We recommend you add an Unsubscribe link to allow the recipients to opt-out.
Once you’ve saved your Text Template, you can re-use it:
to send a text to a single lead in the Lead view, or
Adding attachments to templates sounds interesting especially if you’re trying to launch a special campaign with a nice catchy design.
Attachments to email templates
We presently don’t allow attachments to email templates.
We recommend hosting your attachment files on your website or a file hosting service and adding the link to download it in your template call to action.
This has the following advantages:
If need be, you can update the file at the link source.
This is useful if the attachments need urgent changes after the emails have been sent out.
It increases the reachability of your emails:
As it lowers the email spam score.
And you’ll be sending smaller-sized outbound emails.
We highly recommend hosting your attachment files on your website or a file hosting service and adding the link to download it in your template call to action.
Also, you want to consider counting the characters included in the text to avoid your text being counted as multiple segments and being overcharged for them.
If the size of the text is larger than 3 segments, or if it requires a specific encoding method, an alert will pop-up to notify you.
All Email templates, text templates, and note templates created in aNinja, support variables. Using aNinja template variables allows for the automatic replacement of the contact’s name, for example in the outgoing email, text, or note.
In this article, we show you how to use the variables and what are the available variables in aNinja.
What are template variables
Variable allows for the automatic replacement of a field, e.g. the contact name, in the outgoing email, text, or note. Allowing you to customize an outgoing message so that it says
Hi John,
instead of just
Hi.
Injecting a variable in a template
When you’re editing your email/text/note template, you see the “Variables” dropdown.
Select an available variable, and it’ll automatically inject into the text area of your template.
You can notice that variables are represented with 2 curly braces around them, for example:
For example:
Hi {{Contact.name}}, this is {{User.firstname}} from {{Organization.name}}
will show for the recipient in an outgoing email/template/note:
Hi John Doe, this is Rita from aNinja
You can use the dropdown to automatically inject the variable you need at your cursor when editing templates.
Make sure to position the cursor in the template text area where you want to inject the variable.
What are the available variables
To see the list of available variables, simply click on the variables dropdown.
User variables refer to the system users – that is your accounts.
They are usually prefixed with User. or Organization. e.g. User.firstname, or Organization.name, Organization.address. And emailaccountsignature
Contact related variables have to do with a lead’s contact in the Lead View.
They are usually prefixed with Lead. or Contact. e.g. Lead.name (is the lead company name), Lead.address.street, Lead.address.full_formatted. Also Contact.title, Contact.name.
Another template variable is Unsubscribe link which is a link that allows leads to opt out from your outgoing automations.
Lastly, any custom field saved in your account. These variables start with Custom. e.g. Custom.Source
Need help using aNinja template variables? Just leave us an email at support@aninja.com. And we will happily assist you!