Connect your Microsoft Office 365 – Outlook (Hotmail) with aNinja to start sending emails to your leads.
Office 365 email integration with aNinja allows you to use your Hotmail account in aNinja app to send, receive, and view all the email interactions in parallel with your email client.
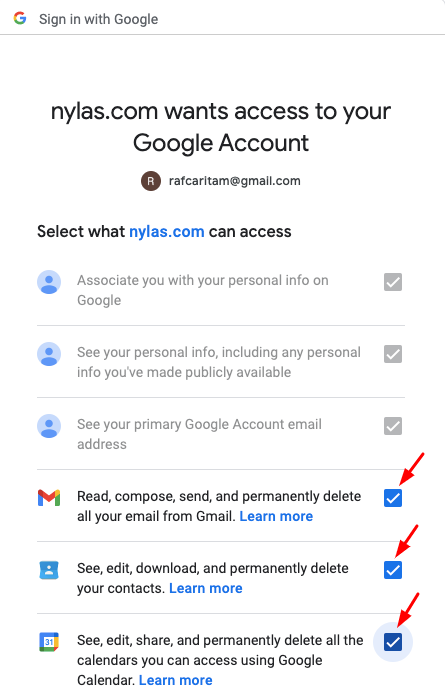
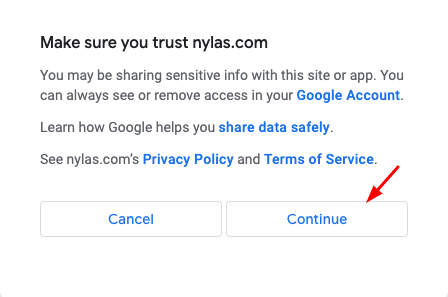
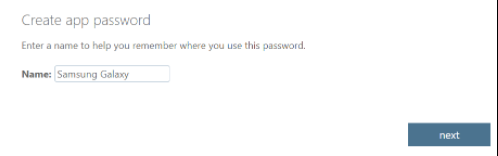
To secure your email account, and for the integration with aNinja to work, you want to create an App Password.
When connecting your Hotmail account with aNinja, it’s important to complete the 2 steps for your email to sync correctly.
Connect your Microsoft Office 365 (Hotmail) with aNinja
Before you go ahead and connect your Microsoft Office 365 email with aNinja, make sure to enable the two-step verification and generate an app password.
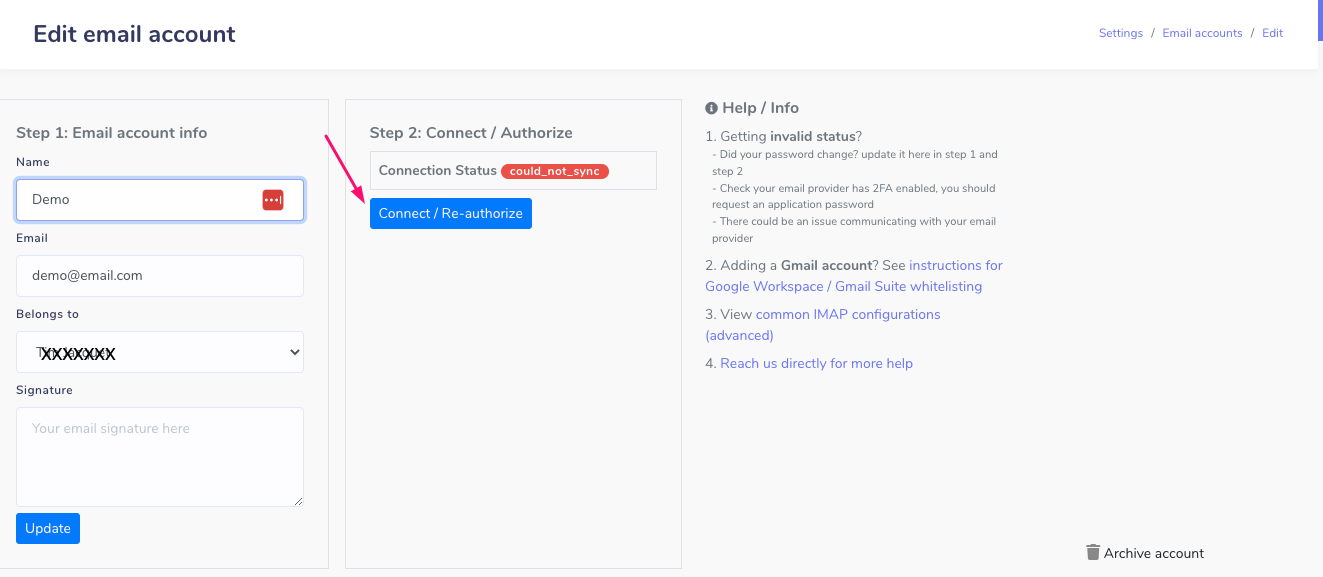
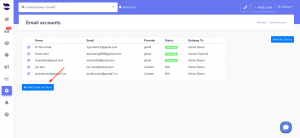
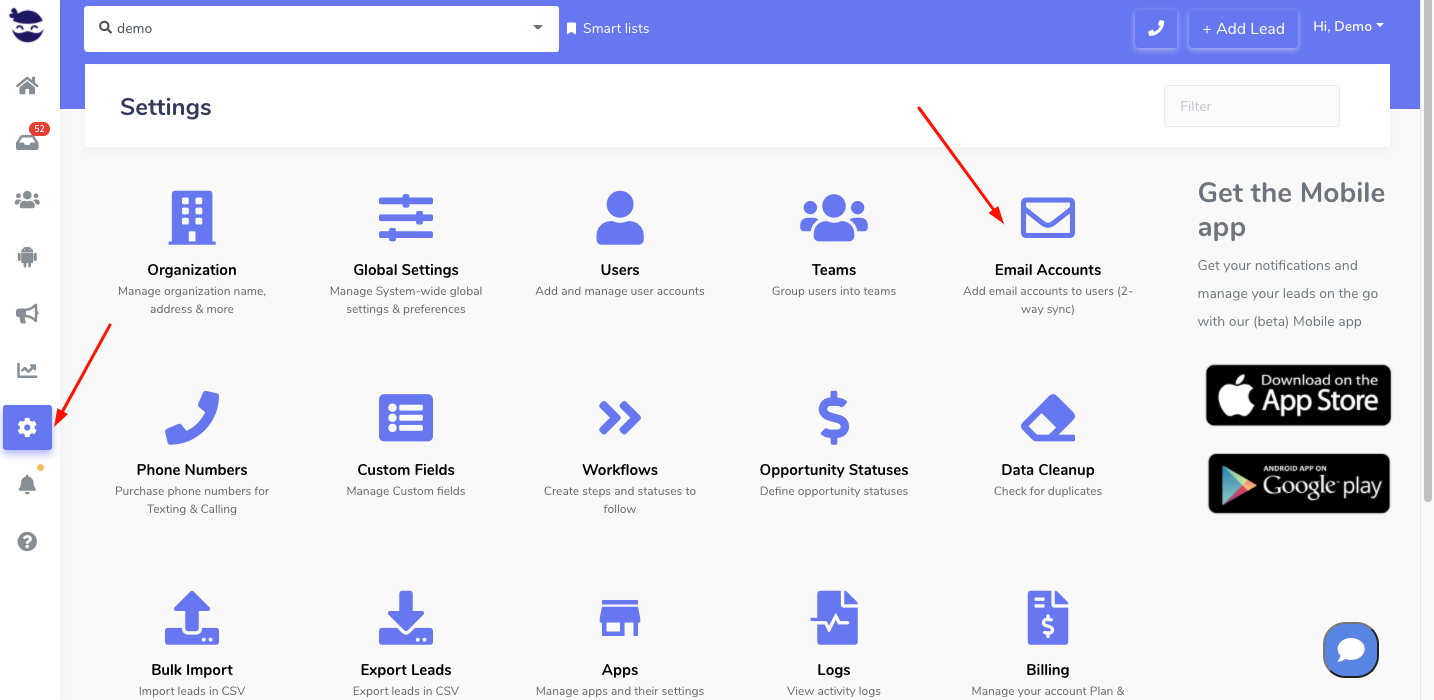
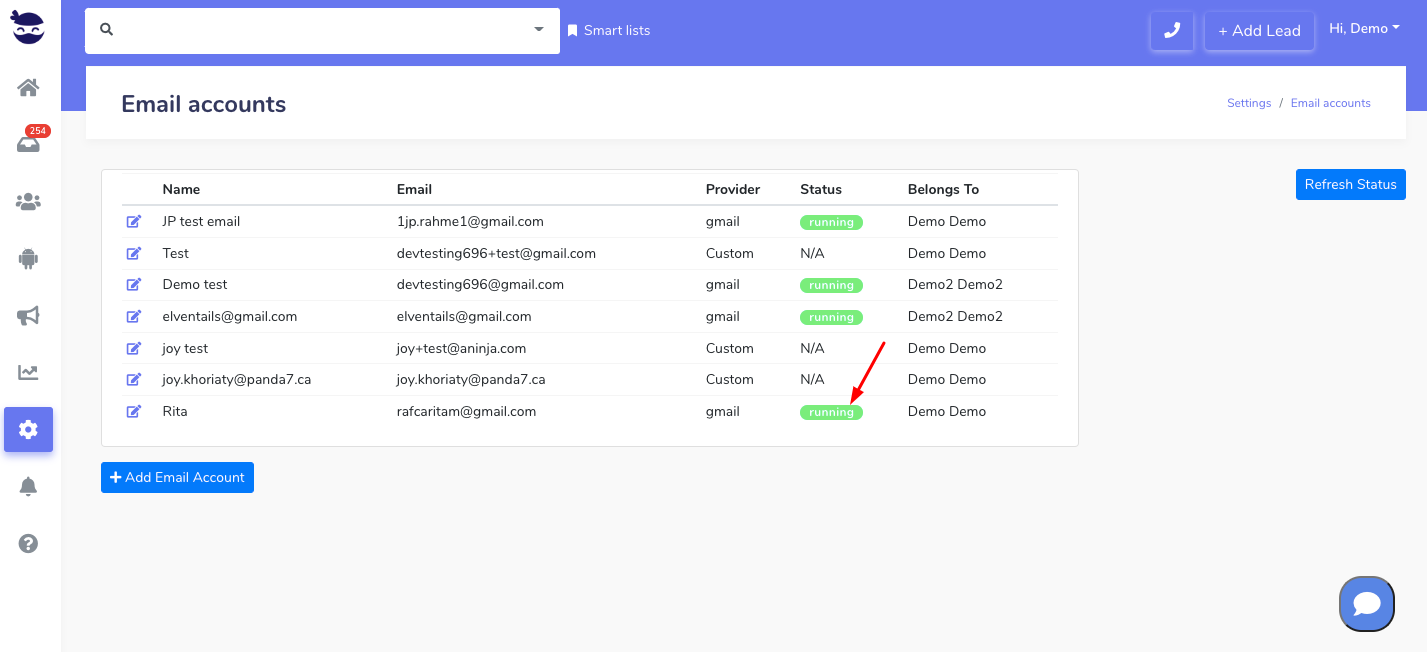
- On the left sidebar, click on Settings > Email Accounts

- If you already have an email account saved in aNinja, and want to complete the authorization, click on the edit pen next to the email. Then go to step 2 —> Connect/Re-auth.
- Otherwise, go ahead and create an email account. Click Add Email Account

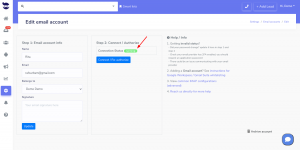
Step 1
- Fill in the following fields: Name and Email
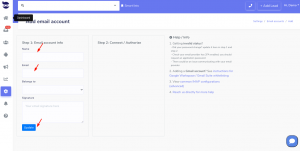
- And hit Update

Step 2
- Click Connect / Re-auth
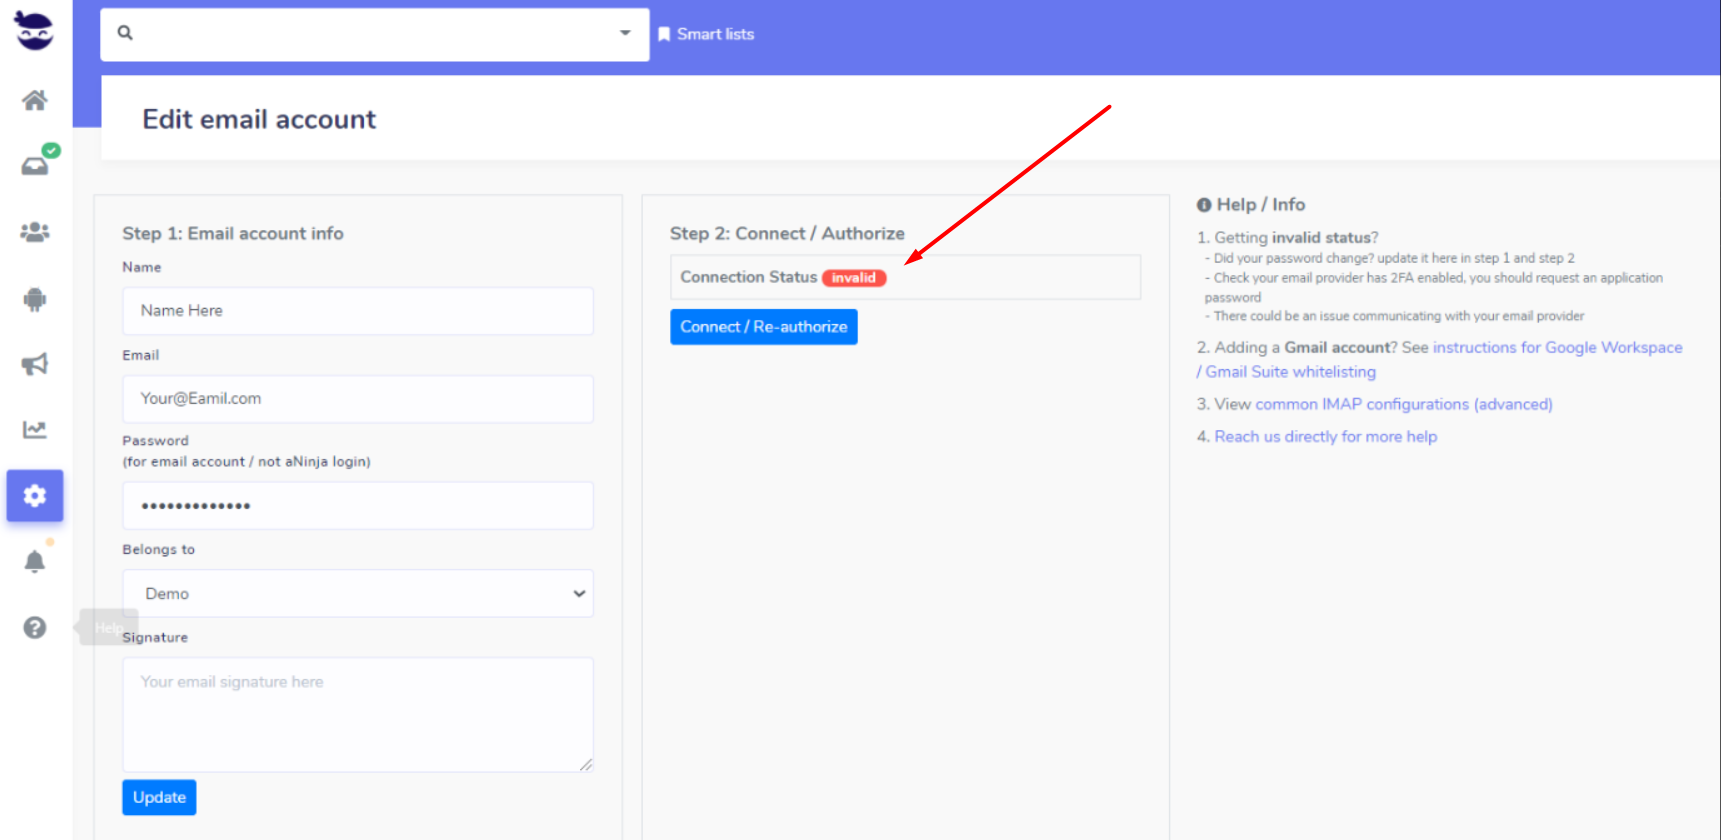
- Enter the app password that you generated for aNinja, and hit Login.

- Once set up, your Email account would show up running under the status.

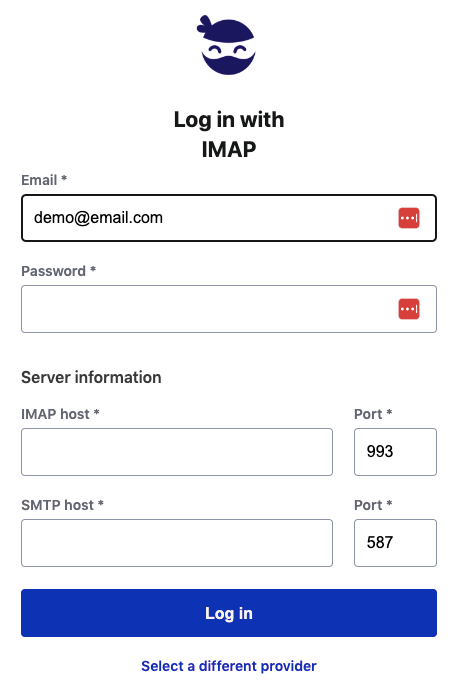
You can also connect your email using IMAP settings
Note! It is very important to complete the 2 steps for the email to sync correctly.
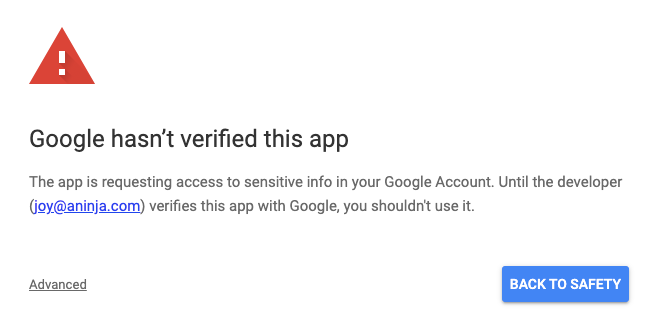
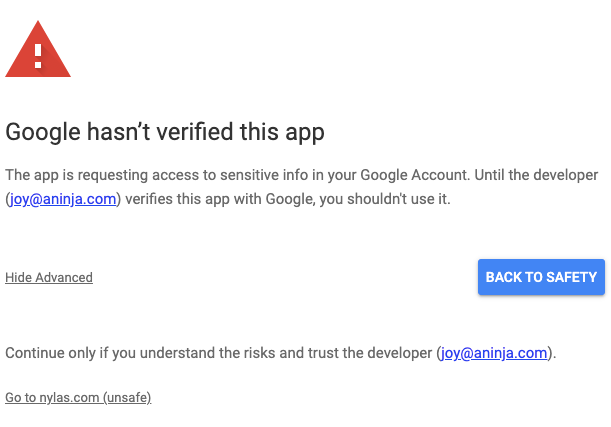
Unable to authorize the Microsoft Office 365 account
The error Unable to Authorize Microsoft/Office365 account may occur when an account has an issue with the connected mailbox.
Instructions on how to resolve this problem.
After which please restart your authentication flow in aNinja.