For integrating forms data into aNinja, you can:
- Use aNinja forms: These are created inside aNinja. You simply drop the Javascript code on your site and they render and automatically push the lead data into aNinja.
- Use your existing forms (in this case we can adapt some Javascript code to push the lead into aNinja on form submission).
- If your site is a WordPress or similar, we also have plugins for those cases (Gravity forms, Contact Form 7, Hubspot Form, and WPForms).
With aNinja, you have the ability to create custom forms and personalize the content to your liking. Once these forms are integrated into your website, every submission will result in a lead being automatically added to your aNinja account.
Creating aNinja Forms
- On the left sidebar, go to Marketing > Forms
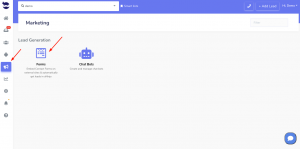
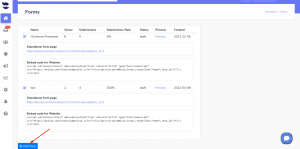
- Click on Add Form
- Label your form and select its status (draft, live, or archived)
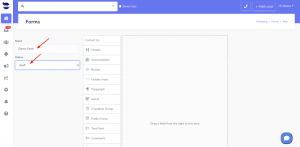
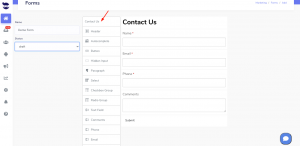
- You can either select the Contact Us template or just drag fields from the list to create your own form.
- Incorporate a “hidden input” into your website’s form that remains concealed from users as they fill it out. And a custom field with the form name will be injected along with the lead data. This helps you identify leads generated from this specific form through the use of Smartlists.
- A hidden input has a name and a value.
- name: e.g. Custom_Form
- value: e.g. aNinja contact form (or any title relating to the form).
- If you’re intending to use multiple forms on your website, to each form you can assign a different name and value for the hidden input. Then you map it to aNinja’s Custom field. So every form submission creates a lead that has this input’s name and value among his custom fields.
- A hidden input has a name and a value.
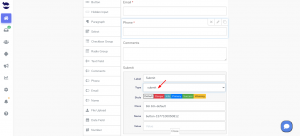
- Insert a “Button” of type “Submit” at the bottom of your contact form for the form submission.
Embed the form on your website
- Go to Marketing > Forms
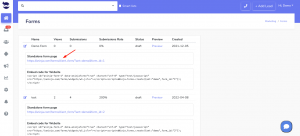
- Copy the embed form code, to be able to embed the code snippet on your website.

- We’ve added a data attribute inside this code that allows you to manage the Bootstrap design in the form. Set it to True or False to either skip or include the Bootstrap design in the form.
- If it is set to True, then it skips aNinja’s design and uses the Bootstrap used in your website.
- If set to False, then it uses aNinja’s Bootstrap design for the form.
Fields to include in the form
It’s very important to add “Input names” in the form fields and map them to aNinja fields (check the fields mapping section below).
The input names basically are:
- Name: that’s a required field and it will be mapped to the aNinja field: contact_name
- Phone: to be mapped to the aNinja field contact_phone1
- Email: to be mapped to the aNinja field contact_email1
- If in your form you’ve added other fields (e.g. Source), these are considered Custom Fields. When mapping them to the aNinja fields, just add this prefix Custom_ (Custom + Underscore). (e.g. Custom_Source).
Fields mapping
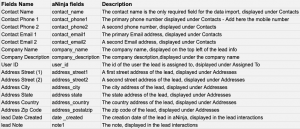
The following are standard fields you can map to, in addition to any custom fields created in your application that you can see under Settings > Custom fields.
Where does the imported data appear
After the form submission, a lead is automatically injected into your aNinja account.
You can search your aNinja CRM for the imported leads. You can also search for any custom field, opportunities, and any other info that you have included in your form.
- Lead’s contacts appear in the lead contact section in the lead view.
- Opportunities also appear in the opportunity section in the lead view.
- The company’s info appears on the top left of the lead view, in the Company section.
- Custom fields appear in the custom field section of the lead view.
- Lead Search is a field that also appears in the bottom left of the lead view. Specifically, these are info/links on the lead or the organization found in Google search.
