Launching text sequences typically refers to the process of sending a certain number of text messages to one or a group of recipients all at once, using an automated messaging system.
Those messages are typically pre-written (text templates) and scheduled in sequences in advance. And, ultimately, aNinja takes care of launching those text sequences at the designated time or interval.
However, it is important to ensure that the messages comply with applicable laws and regulations, to avoid your messages being marked as SPAM.
Text sequences can be sent individually to a single lead, in Bulk to a group of leads, or to all the leads at once.
Creating text sequences
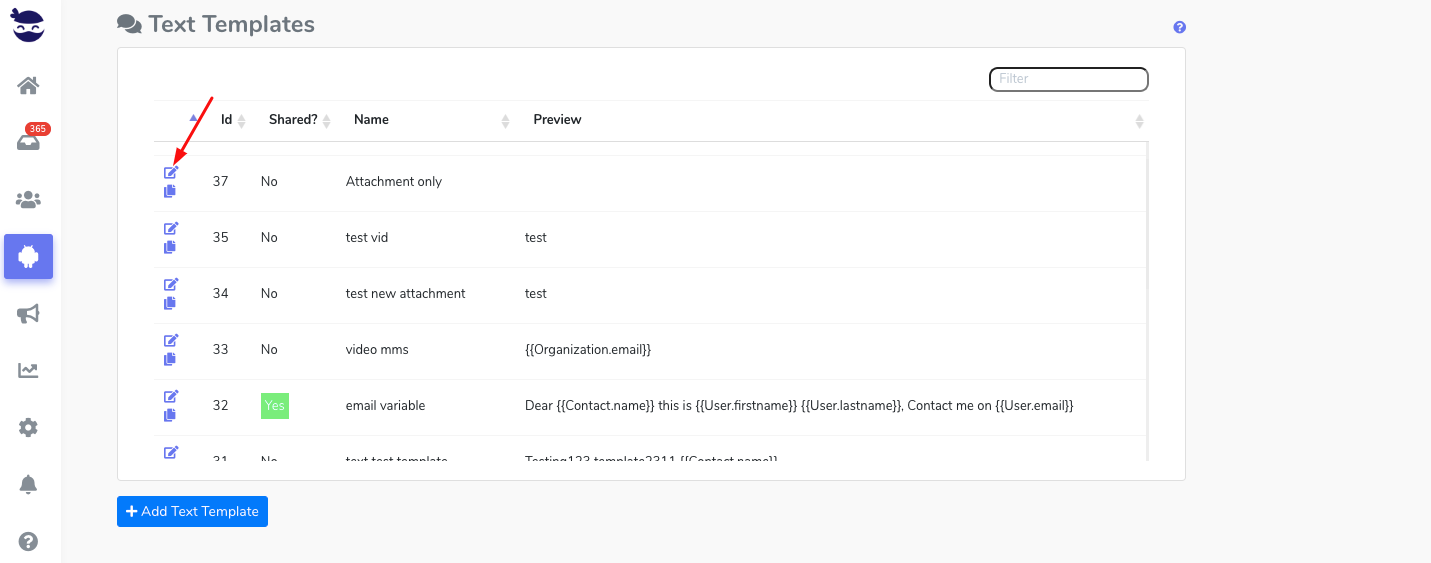
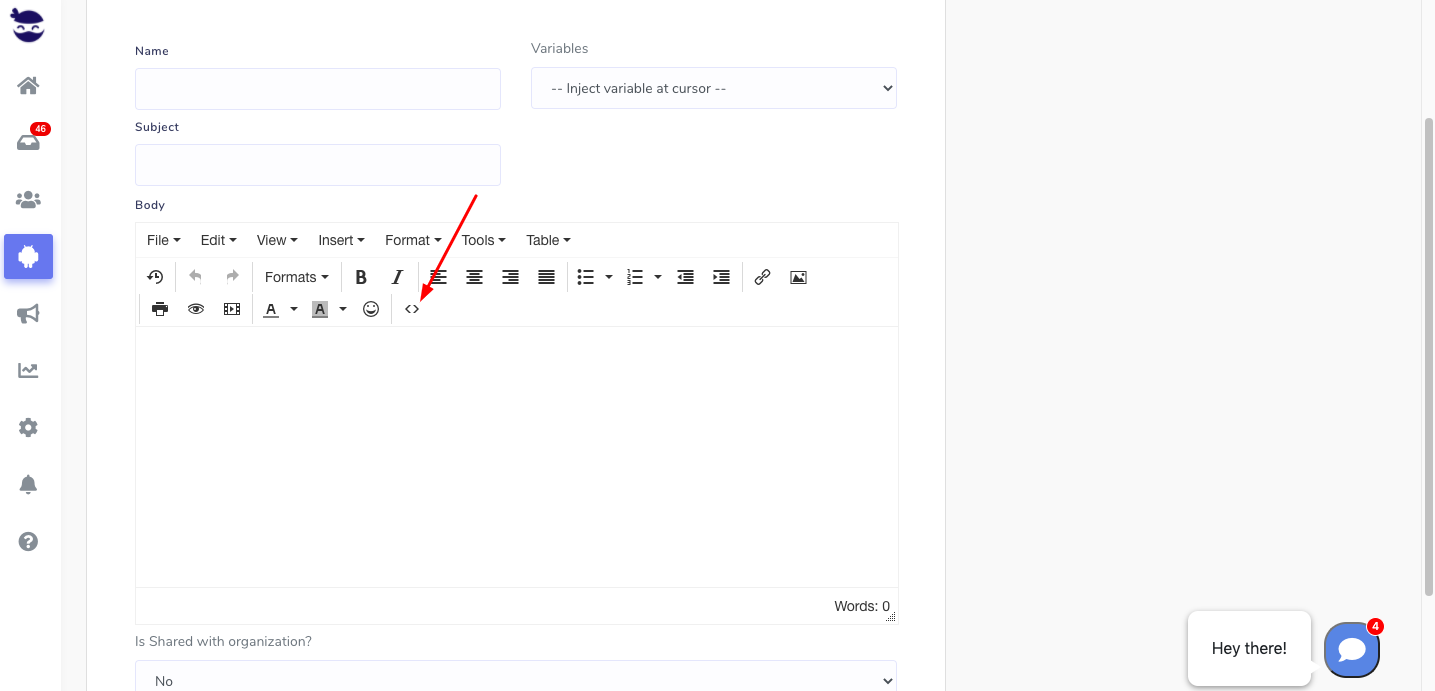
- First, prepare the text template(s) that you want to include in the sequence.
- Then, go to Settings > Automations > Text Sequences
![]()
- Create text Sequence with at least one step. Choose to send “immediately” if you want your sequence to launch with no delay.
- Lastly, you can choose to either send your text sequence to a single lead or in bulk.
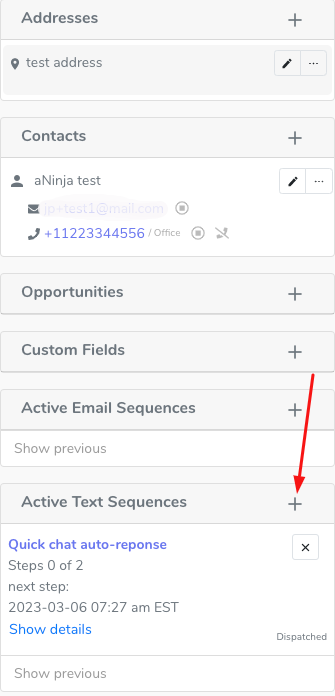
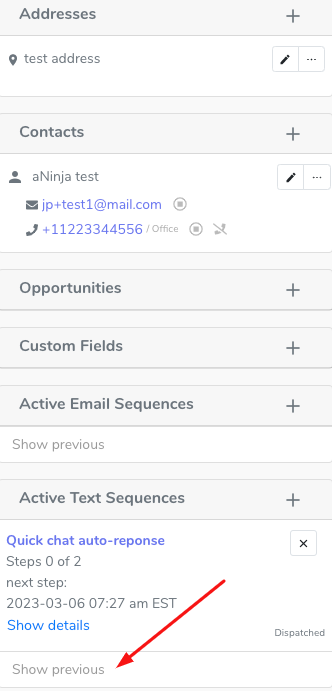
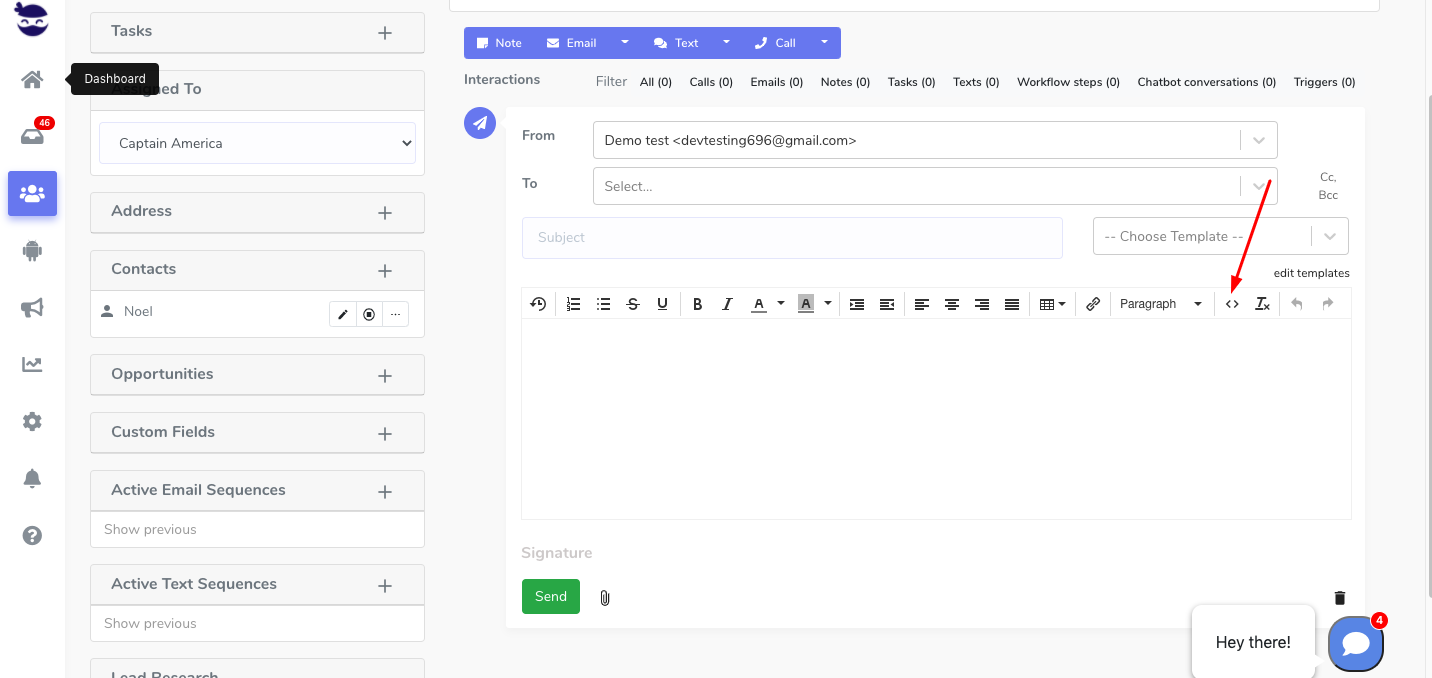
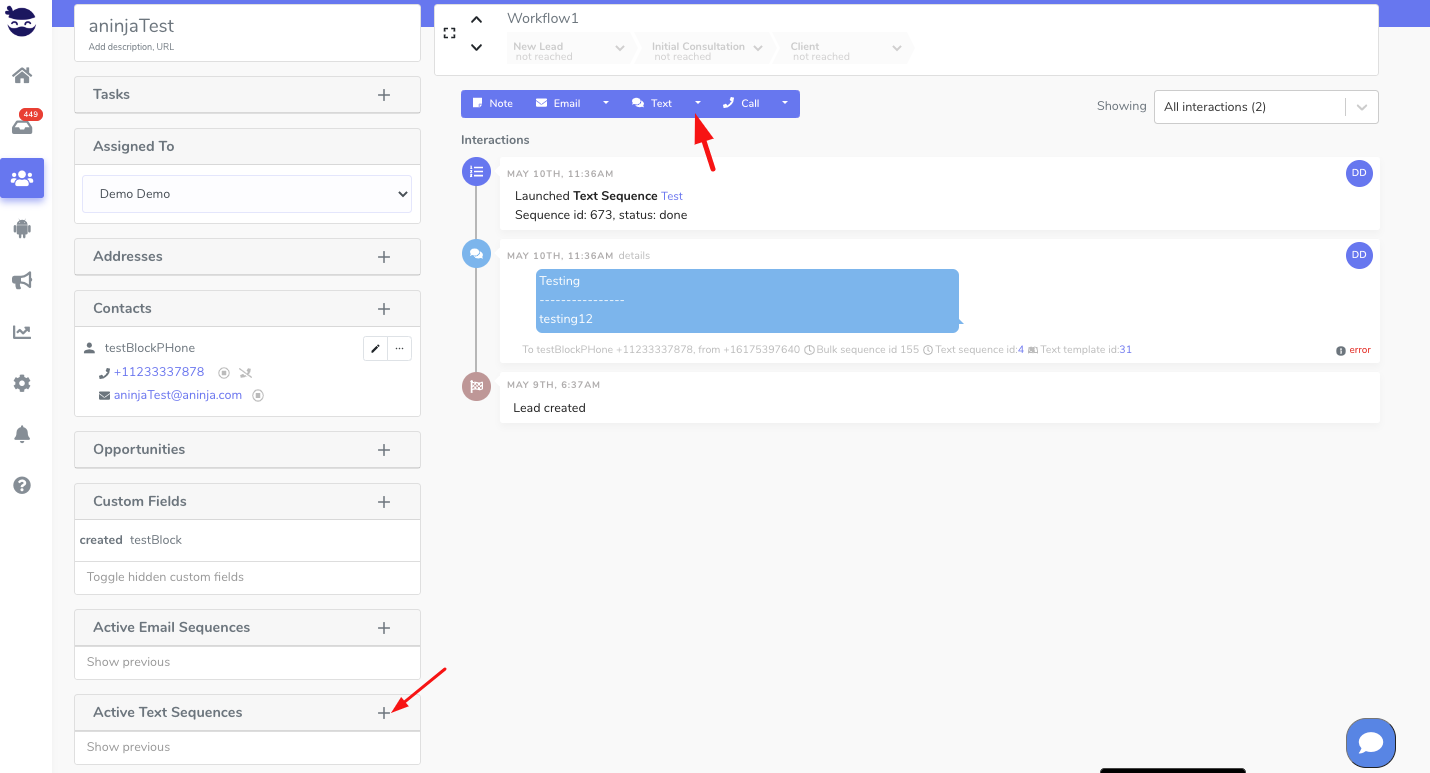
Launching a Text Sequence to a single lead
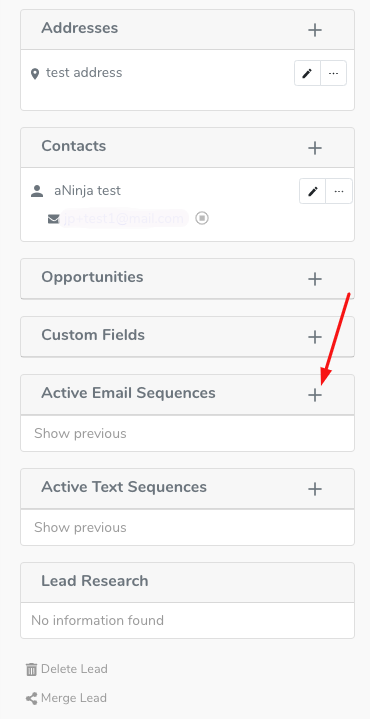
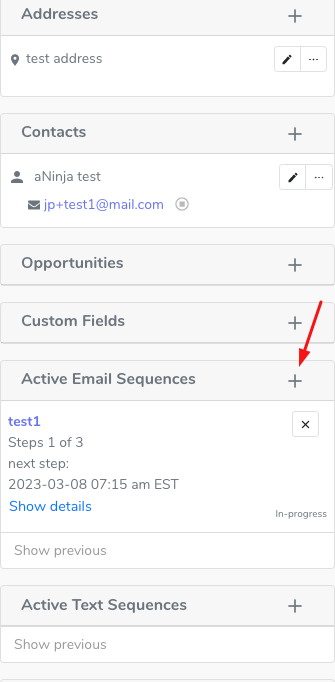
Launching a Text sequence to a single lead is done from the lead view
- ( + ) Active Text Sequence,
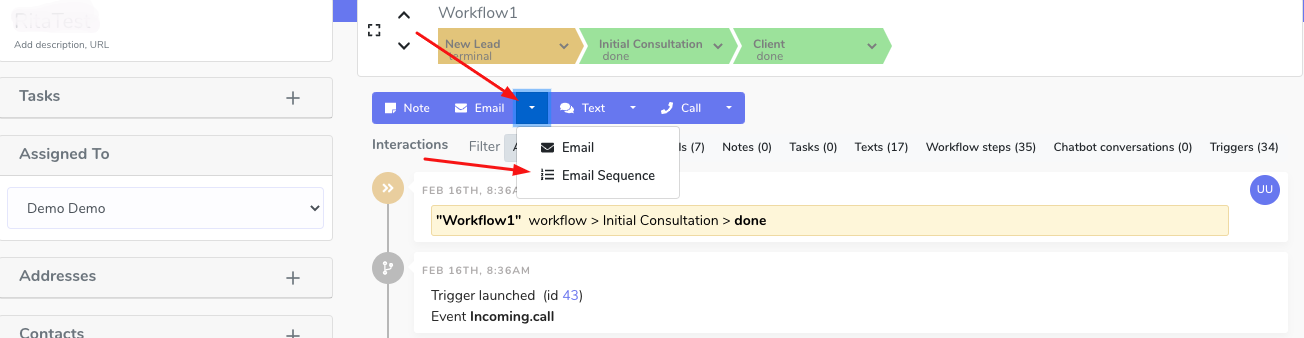
- Or from the Toolbar > Text dropdown > Text Sequences
Launching a bulk text sequence
After creating templates and sequences, you can launch bulk sequences to your leads.
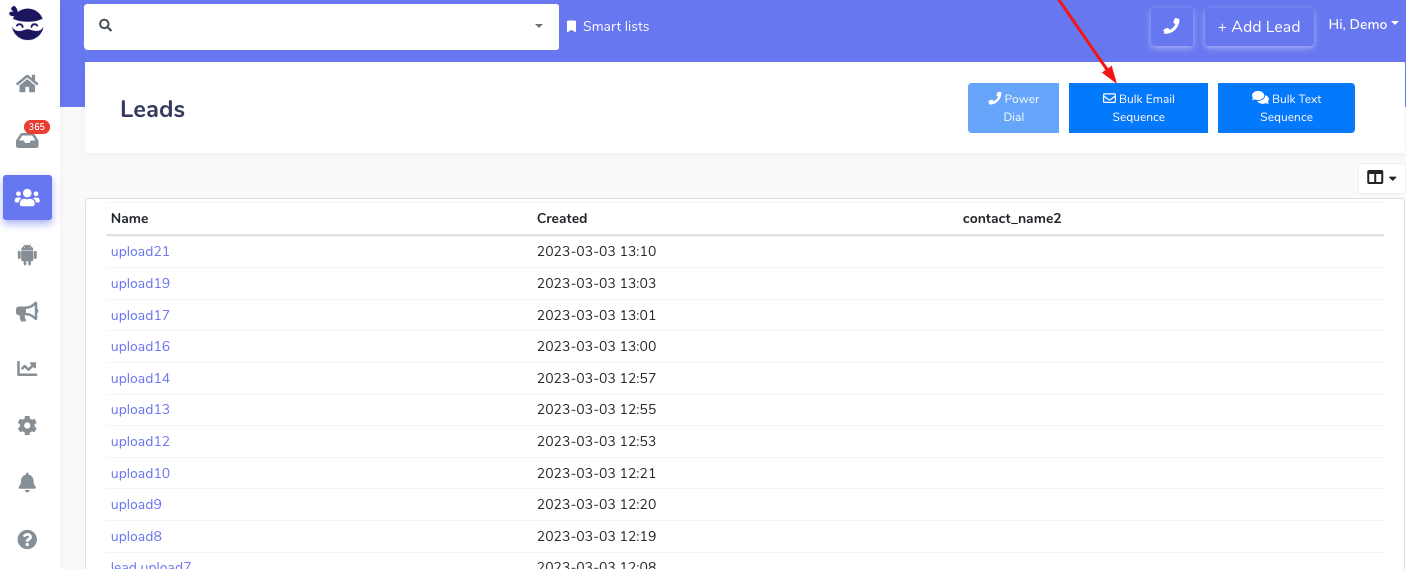
- First, go to the Leads View from the left sidebar.
- On the top right, choose Bulk text sequences
- This launches your sequence to all the leads in your CRM.
- If you want to target a specific group of leads, use a Smartlist.
Follow links in the article above to get full instructions.
Or, browse aNinja Knowledge Base for more articles.