Allow microphone on iOS and Android phones to make calls via aNinja

Allow the microphone access on your iOS and Android phones, to be able to make calls from the aNinja mobile app.

Hence, if your microphone is not enabled on your phone, you might face problems receiving or making calls.

Allow microphone on iOS and Android phones

iOS
  • Go to Settings
  • Click on Privacy > Microphone
  • Make sure that aNinja app is enabled
Android
  • Go to Settings
  • Scroll down and tap Apps
  • Google Play Services > Permissions
  • Look for “Microphone” and slide the slider On

Fix problems with your microphone

iOS

If your microphone isn’t working, try these steps recommended by iOS:

  • Clear the microphones
  1. Remove any screen protectors, films, or cases from your iPhone.
  2. Also, clear any debris from the openings of your iPhone.
  • If people can’t hear you on the phone
  1. Open the Voice Memos app.
  2. Tap the Record button . Speak at the bottom of your phone, then stop the recording.
  3. When you play back the memo, you should hear your voice clearly.
  • If people can’t hear you when you’re using the speakerphone
  1. Open the Camera app.
  2. Record a video while speaking at the top of your iPhone.
  3. Tap the camera chooser  to switch to the other camera. Then record another video while speaking at the top of your iPhone.
  4. When you play back the videos, you should hear your voice clearly.
  • If the microphone doesn’t work in a specific app
  1. Go to Settings > Privacy > Microphone.
  2. Make sure that the app is enabled.
  3. If the app has permission to access your microphone, or if it isn’t listed, contact the app developer.
  • Contact Apple Support

If you still sound unclear during calls, recordings, or apps, contact Apple Support to discuss service options.

Android

If your microphone isn’t working, try these steps recommended by Android.

  • Check your microphone isn’t obstructed. Your microphone has openings on it, and if dirt particles accumulate, it can stop the microphone from working correctly. Check your hands or fingers aren’t covering it too when in use.
  • Check your cell phone network signal is strong. If your cell phone signal is weak, it can affect how well your microphone appears to be working.
  • Check the microphone is enabled. Follow the above instructions to ensure your microphone is enabled for the app with which you’re trying to use it.
  • Restart your phone. If you’ve tried everything else, try rebooting your phone. That usually fixes many common issues.
  • Repair your phone. If your phone’s microphone continues not to work, you may need to have it repaired or replaced.
Allow microphone access on browser to make calls via aNinja

To be able to make calls from the aNinja web app, you want to allow microphone access on the browser.

Hence, if your microphone is not enabled on your browser, you might face problems receiving or making calls.

Allow microphone access on the browser

  1. Open Chrome Chrome.
  2. At the top right, click More Settings.
  3. Then, click Privacy and Security > Site settings > Microphone.
  4. Lastly, select the option you want as your default setting.
    • Review your blocked and allowed sites.
    • Remove an existing exception or permission:
      • To the right of the site, click Delete Delete .
    • Allow a site that you already blocked: 
      • Under “Not allowed,” select the site’s name and change the microphone permission to “Allow.”

You might need network administrator permission to set the microphone settings for you. In that case, you can’t change them here.

Fix problems with your microphone

If your microphone isn’t working, try these steps:

  • Make sure you aren’t muted

If you’re using a headset, make sure the mute switch on the cord is off. Also, make sure you aren’t muted on the website (like Google Meet or Skype).

  • Check your system settings

Make sure your microphone is the default recording device, and that recording levels are correct:

Windows

Mac

  • Contact your manufacturer

If you’re still having problems, contact your microphone’s manufacturer.

Things to consider before Bulk Texting

Bulk texting is an aNinja great tool that you use to nurture your leads and keep them updated with your latest campaigns, and offers, and send them reminders. Here are a few things to consider before bulk texting.

Things to consider before bulk texting

Here are a few things you would want to consider/check before sending out your text blast.

  • Phone number to send out the texts

To be able to send texts, you want to have a phone number saved in your aNinja account. Either you buy a new phone number from aNinja or you port your own.

  • Leads phone numbers

If possible, provide a mobile number in the lead’s primary contact to ensure delivery of your message.

  • Text segmentation

When preparing a text template, you want to count the characters you’re adding to this text. A text is composed of 160 characters which is considered one segment. If your text exceeds 160 characters, it will be delivered to the recipients anyhow, but you will be overcharged for all extra segments by your phone carrier.

SMS and MMS are encoded by the carriers in different formats to represent the characters and special characters used in the message.

The default encoding method is GSM-7, which consumes fewer segments, making it more cost-effective.

However, if the text content includes special characters like emojis or backticks, a different encoding method called UCS-2 is used; it consumes more segments, approximately double the amount of GSM-7.

  • Text limit per bulk/per user

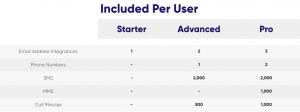
According to your Billing plan (only for Advanced and Pro plans), each user can send 2000 SMS per bulk.

If you wish to increase your SMS limit, either:

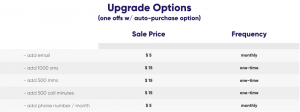
1- Reach support at support@aninja.com and they will bump it up for you, with a one-time charge of 15$ for every additional 1000 SMS per user.

2- Or, enable the auto-recharge for Billing, that automatically recharges your add-ons once your plan included add-ons are hit.

Otherwise, limit your bulk texts to 2000 SMS per bulk by segmenting the contacts in the CSV file before you import it.

Getting started tips

In this article, we bring you tips that will help you getting started with aNinja quickly and efficiently.

Getting started tips

We recommend you follow this sequence of steps to make your use of aNinja easier and more efficient. Click on the links for the detailed articles.

We also recommend you check the aNinja Onboarding article to get an overview of the aNinja features.

Connect your email and phone number
Additional Apps
  • If you want to use Zendesk for your ticketing
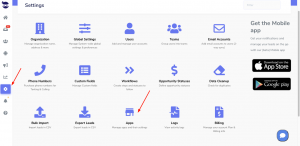
    • On the left sidebar, click on Settings > Apps
    • Install Zendesk in your aNinja account
  • If you want to use Calendly as your Calendar
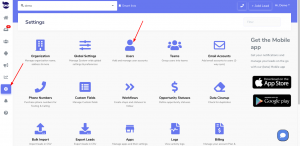
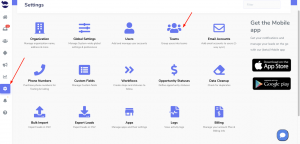
Add and manage Users & Teams
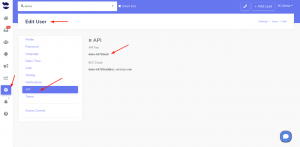
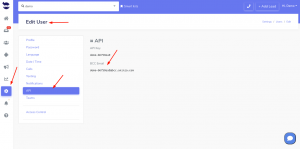
aNinja Keys
Settings
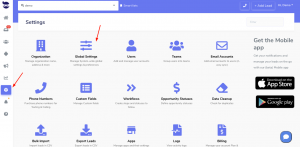
  • Set your rules in Global settings
    • On the left sidebar, click on Settings > Global Settings.
    • Choose what works better for you from these settings
    • Here, you can directly enable SendGrid which allows you to send a large number of email sequences with no limitations.
Leads
Create your automations
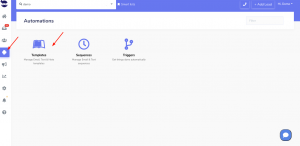
  • Create Templates (email / text / note templates)
    • On the left sidebar, click on Automation > Templates
    • Templates are samples of emails and texts that you send to leads without re-typing the content every time.
  • Create Sequences
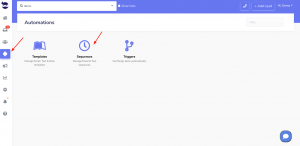
    • On the left sidebar, click on Automation > Sequences
    • Now that you’ve created your templates, you can use them to launch email sequences and text sequences to your leads. So Sequences allow you to use the email and text templates you’ve created, and send them to leads, in sequence, in a different interval of time.
  • Create Triggers
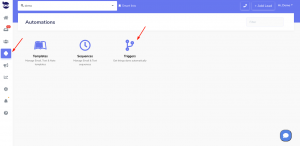
    • On the left sidebar, click on Automation > Triggers
    • After you’ve created the templates and sequences, you can set your triggers. Triggers are email and text templates delegated to be sent to the leads based on an event or condition.
  • Add an unsubscribe link to your outbounds for security.
  • Create a transactional email
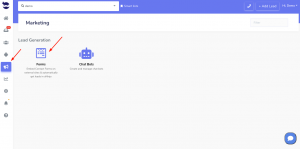
Manage your Marketing Features

Search for more help articles in the aNinja Knowledge base

Have any specific questions about the getting started tips? Leave us an email at support@aninja.com. Our support team is more than happy to assist you!

Access aNinja CRM Mobile app on iOS & Android devices

Access aNinja CRM Mobile app on iOS & Android devicesYou can access aNinja CRM Mobile app on iOS & Android devices or by downloading the mobile app to your iOS and Android devices.

Ensure access to your CRM anywhere and anytime with the aNinja Mobile app.

Leads can come in at any moment. So make sure you’re keeping up on your mobile phone when you can’t be in front of your computer.  Available on both iOS and Android devices.

Accessing aNinja Mobile app & In-App Purchases

Once you’ve signed up to aNinja from the web (https://signup.aninja.com), immediately, you will have credentials sent to you (email/password).

So, you can use them to securely log into your aNinja web or mobile app.

For security reasons, we recommend you change the given password.

There is presently no direct registration to aNinja through the mobile app.

aNinja on iOS

To access aNinja using your iPhone, simply point your web browser to:

https://apps.apple.com/us/app/aninja-mobile/id1457990850


aNinja on Android

To connect your Android mobile phone, simply point your web browser to:

https://play.google.com/store/apps/details?id=com.aninja&hl=en&gl=US

Need help to access aNinja CRM Mobile app on iOS & Android devices? Reach us at support@aninja.com. We will happily assist you!