How Can We Help?
Getting started tips
In this article, we bring you tips that will help you getting started with aNinja quickly and efficiently.
Getting started tips
We recommend you follow this sequence of steps to make your use of aNinja easier and more efficient. Click on the links for the detailed articles.
We also recommend you check the aNinja Onboarding article to get an overview of the aNinja features.
- Check the Onboarding Setup
- On the left sidebar, click on Help > Go to Setup
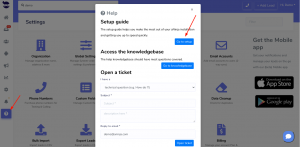
- On the left sidebar, click on Help > Go to Setup
- Fill in the organization info.
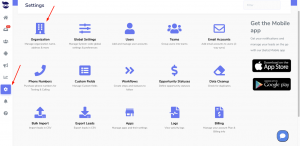
- On the left sidebar, click on Settings > Organization
- Go ahead and add the info about your organization.
- Download aNinja app to your mobile phone
Connect your email and phone number
- Connect your email with aNinja
- On the left sidebar, click on Settings > Email Accounts
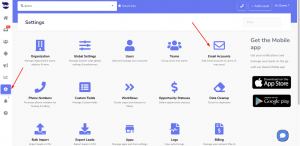
- On the left sidebar, click on Settings > Email Accounts
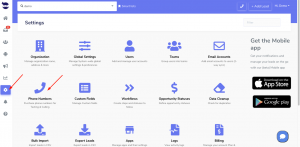
- Port your phone number for texting and calling.
- Send us an email at support@aninja.com.
- Or purchase a new phone number from aNinja for texting and calling.
- Add a voicemail greeting
- When a lead calls you to your aNinja number and the call is not answered, he will hear the voicemail greeting.
Additional Apps
- If you want to use Zendesk for your ticketing
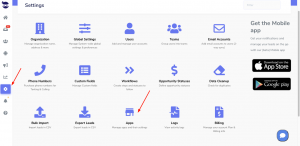
- On the left sidebar, click on Settings > Apps
- Install Zendesk in your aNinja account
- If you want to use Calendly as your Calendar
- On the left sidebar, click on Settings > Apps
- Install Calendly in your aNinja account

Add and manage Users & Teams
- Add and manage users’ accounts
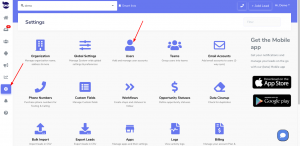
- On the left sidebar, click on Settings > Users
- Create users and specify their roles (Admin or user).
- Create Teams
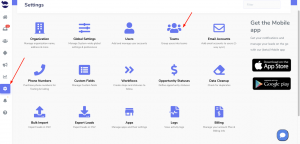
- On the left sidebar, click on Settings > Teams
- Invite users and create teams.
aNinja Keys
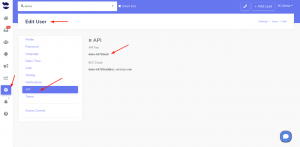
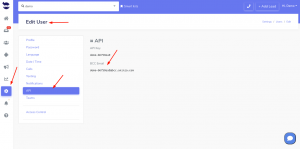
- Find your aNinja API key.
- On the left sidebar, click on Settings > Users > API
- You will use the API key for your integrations.
- Find your private BCC email address
- On the left sidebar, click on Settings > Users > API
- Use this code in the BCC section of your email, and a lead will be created from the recipient.
Settings
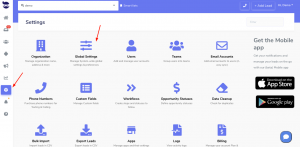
- Set your rules in Global settings.
- On the left sidebar, click on Settings > Global Settings.
- Choose what works better for you from these settings
- Here, you can directly enable SendGrid which allows you to send a large number of email sequences with no limitations.
Leads
- Create Leads
- Import Leads from your marketplaces
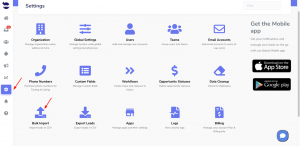
- On the left sidebar, click on Settings > Bulk import
- Import leads using a CSV or Excel file
Create your automations
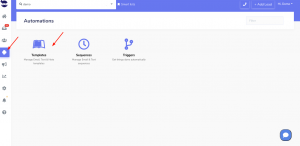
- Create Templates (email / text / note templates)
- On the left sidebar, click on Automation > Templates
- Templates are samples of emails and texts that you send to leads without re-typing the content every time.
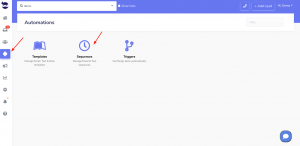
- Create Sequences
- On the left sidebar, click on Automation > Sequences
- Now that you’ve created your templates, you can use them to launch email sequences and text sequences to your leads. So Sequences allow you to use the email and text templates you’ve created, and send them to leads, in sequence, in a different interval of time.
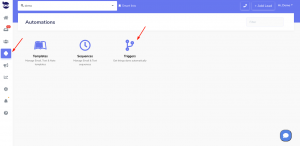
- Create Triggers
- On the left sidebar, click on Automation > Triggers
- After you’ve created the templates and sequences, you can set your triggers. Triggers are email and text templates delegated to be sent to the leads based on an event or condition.
- Add an unsubscribe link to your outbounds for security.
- Create a transactional email
Manage your Marketing Features
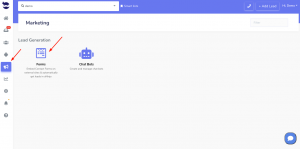
- Create an aNinja contact form
- On the left sidebar, click on Marketing > Forms
- Moreover, you can embed it on your website to help you collect leads.
Search for more help articles in the aNinja Knowledge base
Have any specific questions about the getting started tips? Leave us an email at support@aninja.com. Our support team is more than happy to assist you!
