Onboarding is the process that aNinja new users go through to get set up and start using our product. It covers the whole journey with aNinja: from initial sign-up to product activation and first use.
Moreover, Customer Onboarding aims to deliver value to our customers as early as possible – in their first use, if possible.
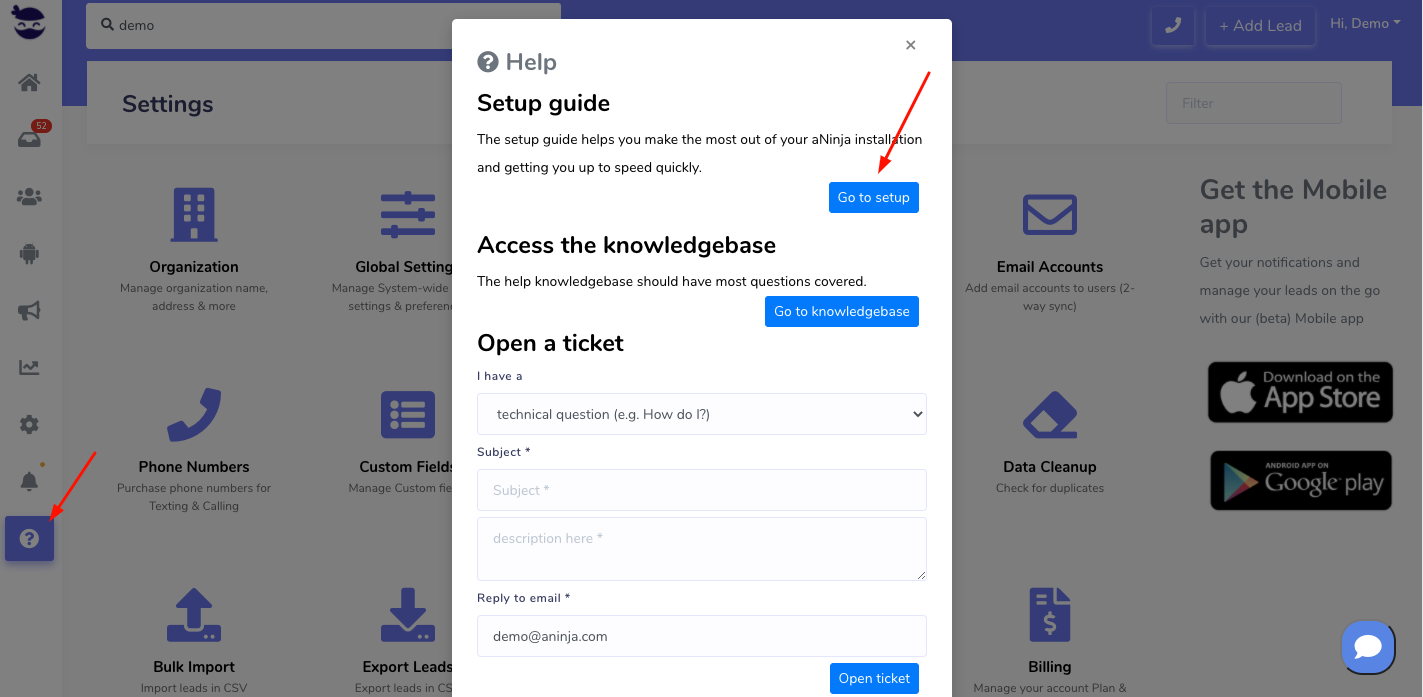
Additional Support
- Email us at support@aninja.com for a fast response within 24 hours during business days.
- Or, search our Help Center for any specific keyword that relates to your questions.
- Also, call, text, or email your Onboarding Associate.
Professional Onboarding Package
We provide:
- 1 Hour intro screen share with a dedicated onboarding specialist.
- 30 Days of white-glove support with an onboarding specialist.
Personalized Guidance for:
- Bulk Import of your Leads
- Chatbot Playbook Build Out
- Email Integration
- Contact Form Integration
- Text and Email Sequences/Triggers
Demo Plan:
- Email integration
- You should have no trouble syncing if you have an Outlook Account, either business or personal. You may get an unsafe screen. Click “Proceed”.
- If you have a Gmail business account, you will need to whitelist the domain first. Here are the instructions: Gmail Whitelist. Then you can connect your Gmail account with aNinja.
- If you have an @gmail.com email address, follow the prompts. You may get an unsafe screen. Click “Advanced”. Here are the instructions: Connect Gmail account with aNinja
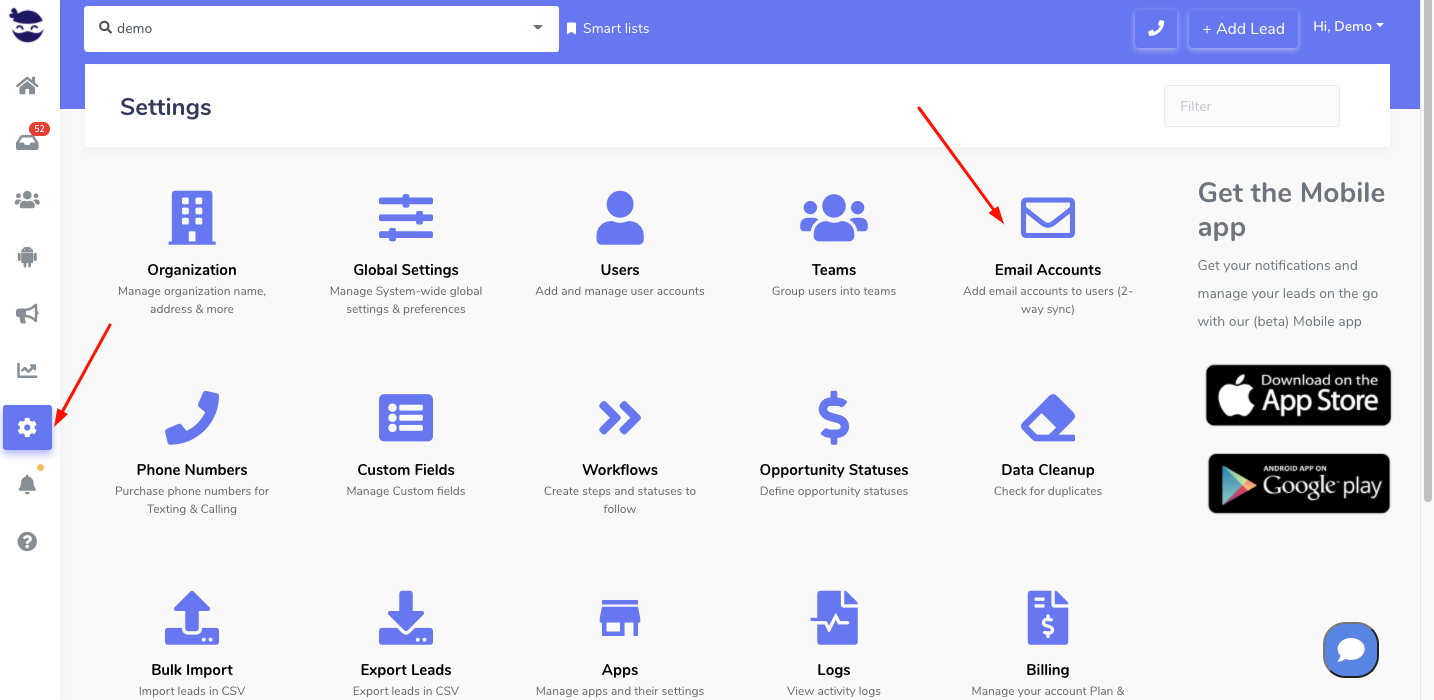
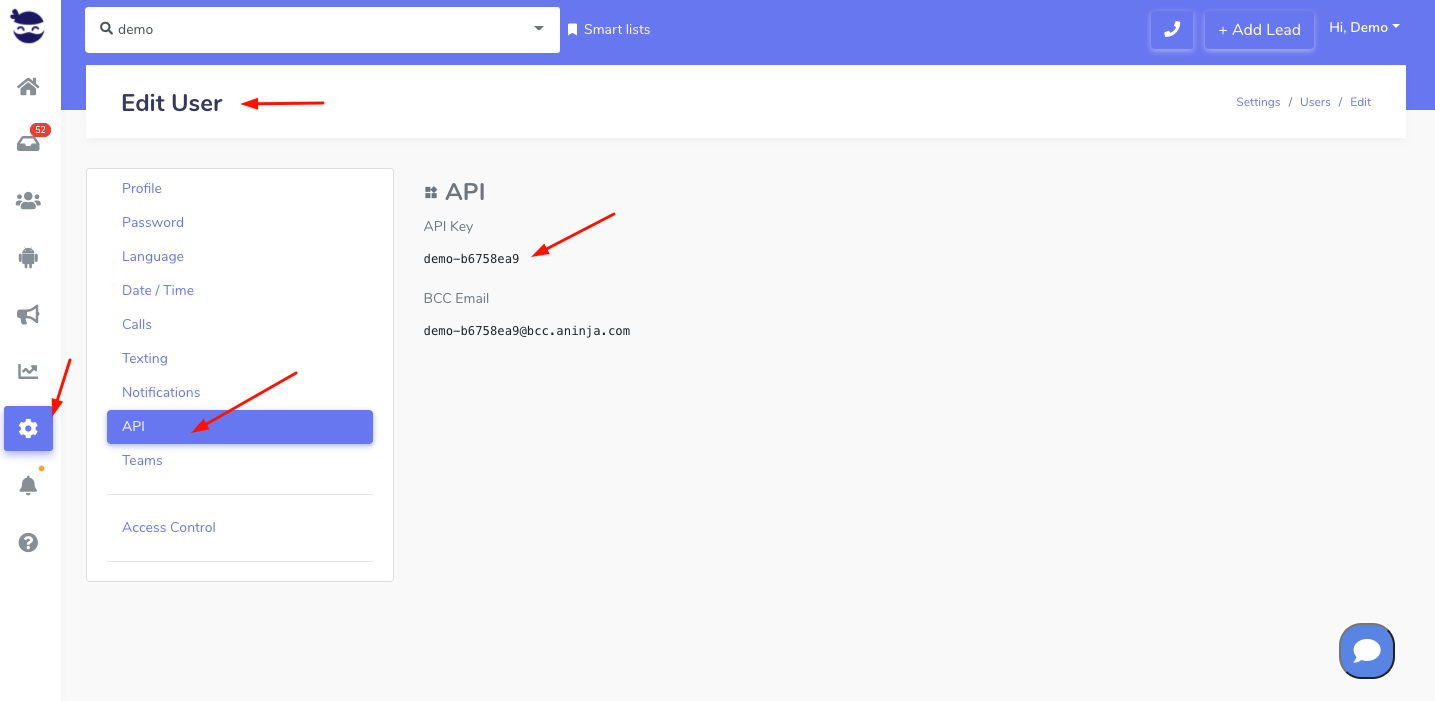
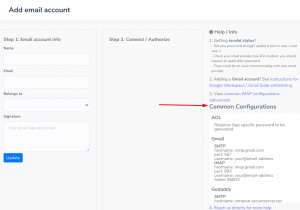
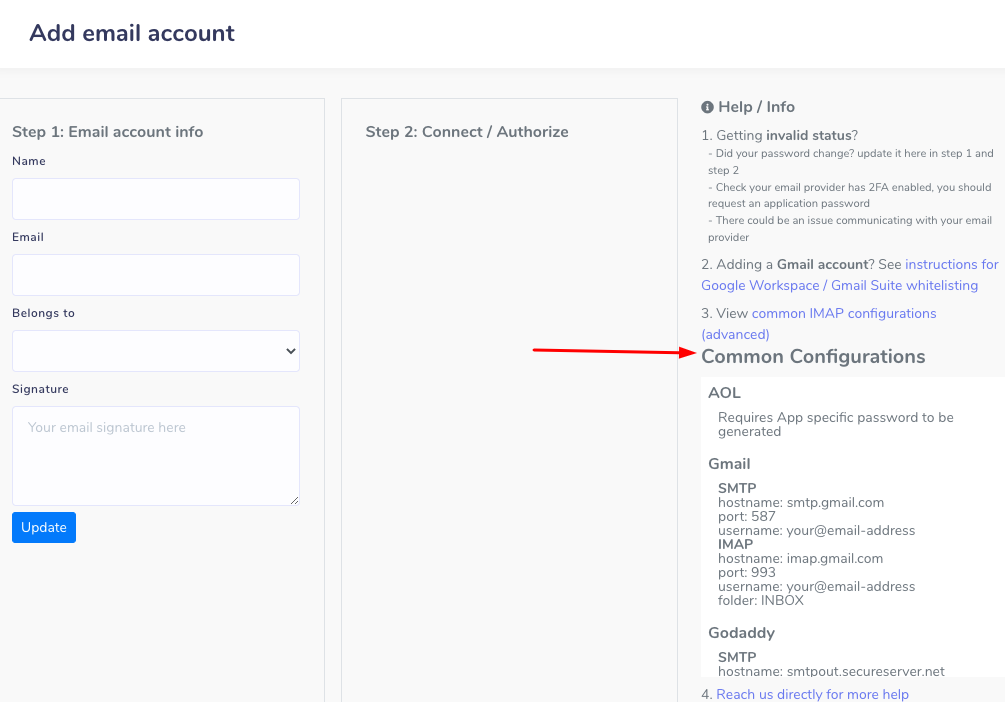
- IMAP configuration: proceed to the common configuration on the email accounts page. (image below)
- Dashboard Widgets:
- System Widgets
- Smartlists
- Lead View:
- Lead Activities (left side)
- Workflows (top right)
- Lead’s Interactions (right side)
- Lead History (middle of the page)
- View and add tasks for leads that you want to reach later
- Where to update workflow status
- Custom Fields
- Leads View
- View/Column editing
- How to launch a Bulk Text
- How to launch a Bulk Email
- What power dial is
- Automations
- Bulk Import
- Via CSV file
- How to save it as Smartlist
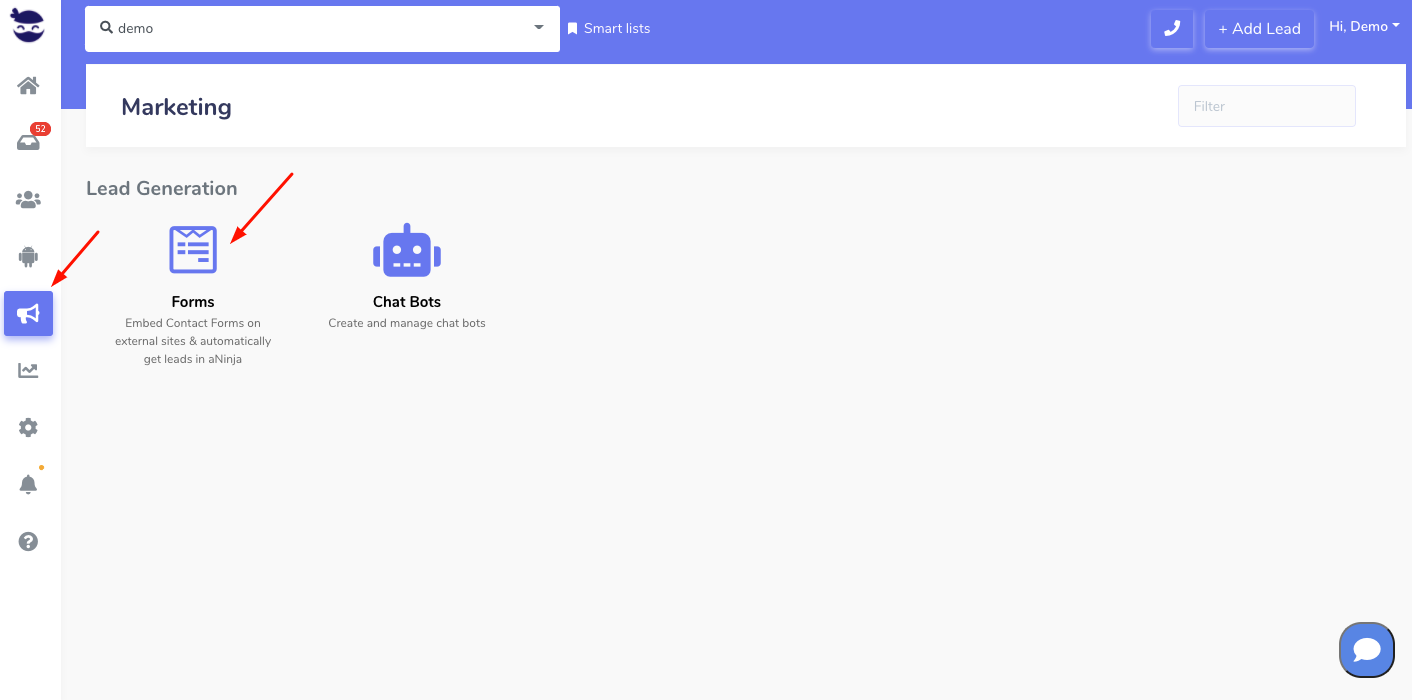
- Building your Chatbot:
- Adding your aNinja Chatbot to your site:
- GoDaddy
- Squarespace
- UENI
- Wix
- WordPress
- If you use a different website provider or are not technical, send us your website credentials to support, along with the chatbot code.
- Adding your aNinja Chatbot to your site:
- Website Contact Form Integration Additional Information
- If a PPL Labs website/client, this will be done by the PPL Labs devs upon website launch.
- Otherwise, you can use these help center articles, depending on where your website is built in and what forms are used:
- aNinja Mobile App:
- Go to App Store or Google Play
- Search “aNinja Mobile”
- Once downloaded, log in
aNinja Onboarding Complete
If you have any questions or need further assistance, the best way to reach aNinja is through our amazing support team: support@aninja.com