Integrating Hubspot forms with aNinja

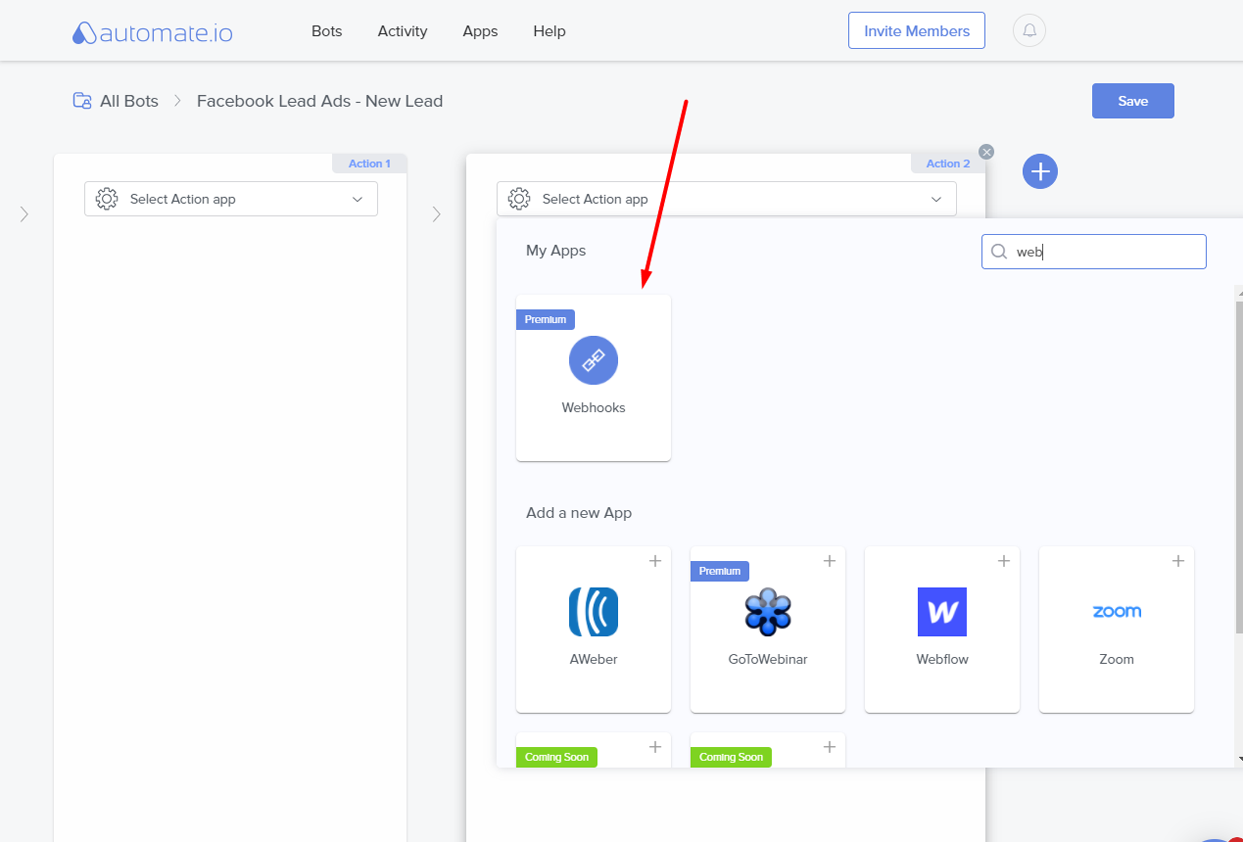
In this article, we show you how integrating the Hubspot forms with aNinja can be done in 2 steps.

The integration allows you to forward leads into your aNinja account simply using a programming code or an API. Which allows you to augment the number of your leads.

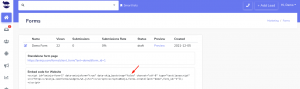
1- In Hubspot Marketing Hub, Edit your page, then, go to page Settings > Advanced Options.

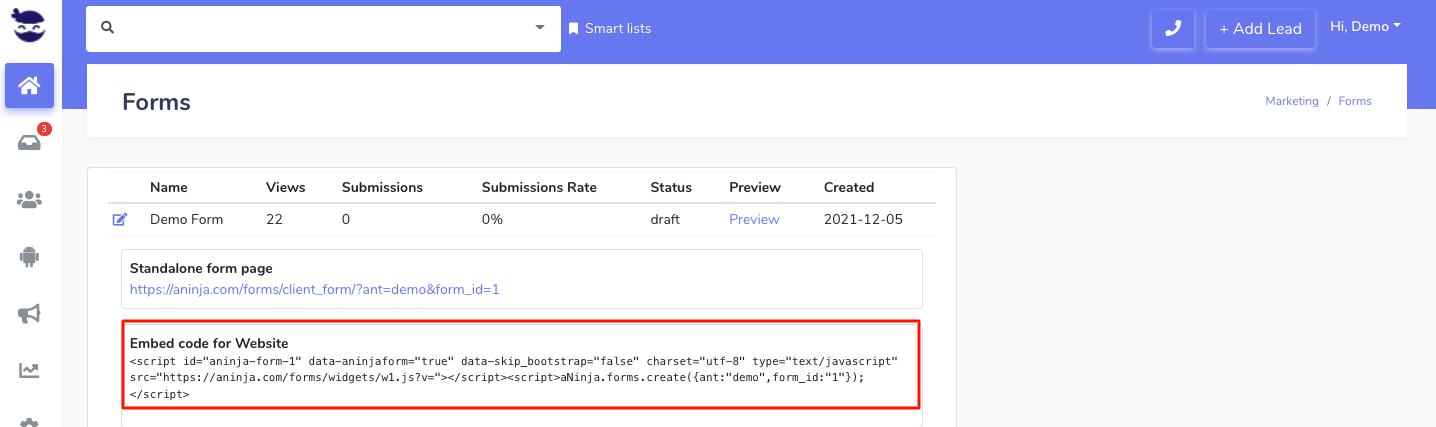
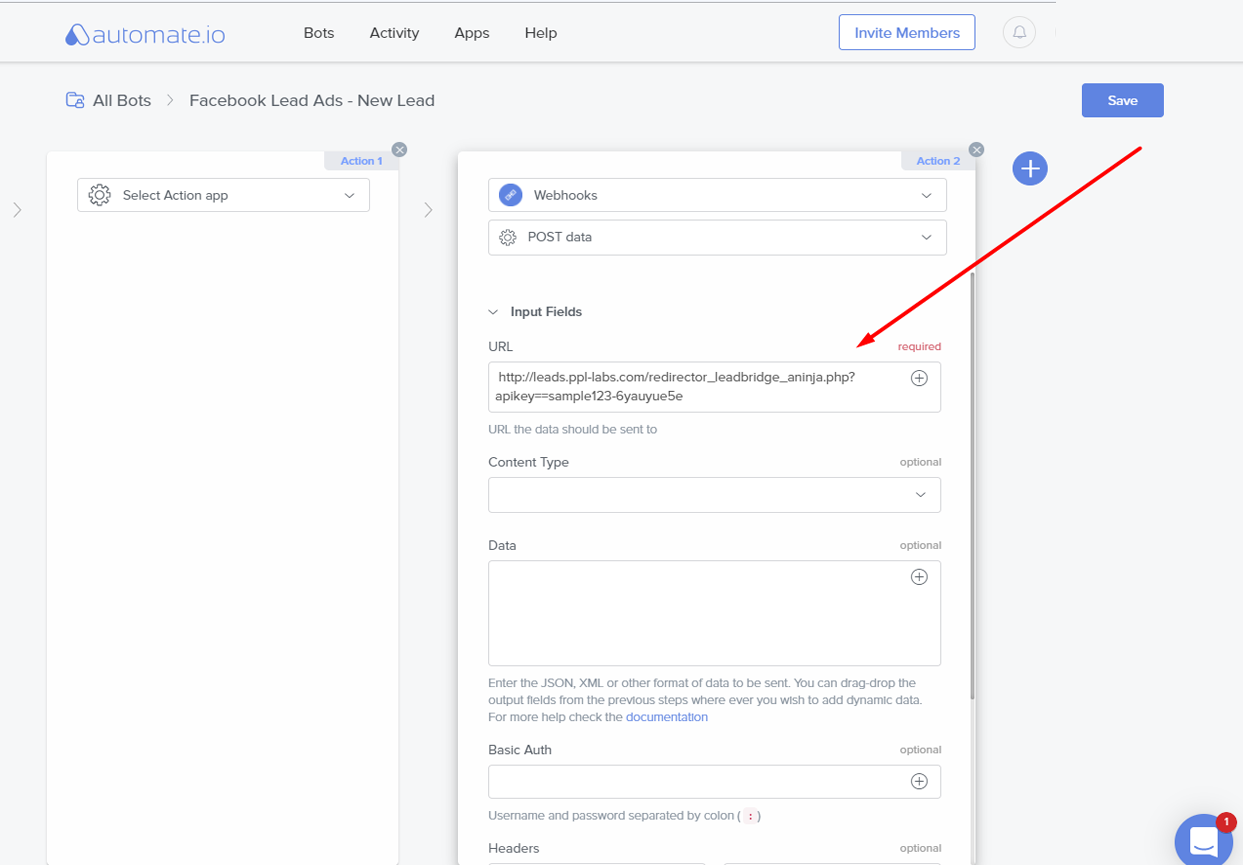
2- In Footer HTML add the following Javascript (here, you will need to adapt the code to your form and use your aNinja API key).

<script src=”https://ajax.googleapis.com/ajax/libs/jquery/3.2.1/jquery.min.js”></script>
<script>

$(document).on(‘submit’,’form’,function(){
var contact_name = $(“input[name=’firstname’]”).val() +” “+$(“input[name=’lastname’]”).val();
var contact_email1 = $( “input[name=’email’]”).val();
var contact_phone1 = $( “input[name=’phone’]”).val();

    $.ajax({
        type: 'POST',
        url: "https://aninja.com/api/v1/contactform/?apikey=YOUR_ANINJA_API_KEY_HERE",
        data: {
            'contact_name': contact_name,
            'contact_email1': contact_email1,
            'contact_phone1': contact_phone1,
            'your-comments': 'From my Hubspot form'
        },
        success: function (data) {
            console.log('[Info] aNinja form submitted successfully');
        }
    });
});

</script>

  • Also, check if your Hubspot plan offers Workflows. If so, you can post the Form submission to aNinja through a Workflow webhook in Hubspot.

Where does the imported data appear

After the integration, you can search your aNinja CRM for the imported leads. You can also search for any custom field, opportunities, and any other info that is collected from the forms.

  • Lead’s contact appears in the leads contact section in the lead view
  • Opportunities also appear in the opportunity section in the lead view
  • The company’s info appears on the top left of the lead view, in the Company section.
  • Custom fields appear in the custom field section of the lead view
  • Lead Search is a field that also appears in the bottom left of the lead view. Specifically, these are info/links on the lead or the organization found in Google search.

Need help integrating Hubspot forms with aNinja? Leave us an email at support@aninja.com. We’re more than happy to assist you.

Syncing your Godaddy email into aNinja

Syncing your Godaddy email into aNinja automatically syncs all email communication between you and any contact in aNinja.

Once your GoDaddy email is linked to your aNinja account, you can easily send, receive and check messages directly from your aNinja account.

You can also use aNinja features to automate your emails and target your leads with your best campaigns and sequences.

In this article, we’re going to show you the steps to syncing your Godaddy email into aNinja.

1- Enable and enforce MFA

First, please click this link to enable and enforce MFA

https://www.godaddy.com/help/enable-or-disable-multi-factor-authentication-32039

2- Create an App password

Now, the App Password option will show-up at the top of the page when you follow here these steps:
https://www.godaddy.com/help/create-app-passwords-40980

Syncing your Godaddy email into aNinja

3- Add the App password

Lastly, choose “Add method” to add the App password.

Note: After that, please wait 1-24 hours of the propagation time (this is a Godaddy constraint).

As a result, you are now able to send automations to your leads and target them with your email sequences.

Have any specific questions on the syncing process? Please leave us an email to the Support team at support@aninja.com. We’re always happy to assist you!

Generating an App password for Office365

In this article, we show you how generating an App password for Office365 can be done.

You want to enable the two-step verification before you move forward and create an app password.

Create an App Password to secure your Office 365 email account, and for the integration with aNinja to work.

Overview of the app passwords

App passwords are created for each MFA-enabled account to allow signing in to non-browser applications.

In which case you are unable to use additional security verification methods, such as providing a code sent via a text message or approving a notification through the Microsoft Authenticator app.

Those passwords don’t expire, and you can use them in different programs at the same time.

Enabling Two-Step verification

To be able to generate an app password, you want to enable two-step verification first.

  • Login to https://login.live.com
  • Then, go to “Advanced Security Options
  • Here, make sure you enable “Two-Step verification” under Additional Security.
  • Once you’ve completed step 3, then, you’ll see an “App passwords section” on the Additional security page at the bottom. This allows you to create a new app password.

Creating the App Password in the Office 365 Admin Center

  • Sign in to your user account.
  • Go to Admin Center by clicking the Admin icon in the Apps launcher.
  • Then, go to your account and select ‘My Account.
  • And select ‘Security & privacy.’
  • Click ‘Additional security verification.’
    • Note: You’ll see this option only when your admin has set up multi-factor authentication for your account.
  • Hit App Passwords
  • And click Create.

  • Here, type the name of the app that requires the app password (aNinja) and select Next.

  • Now, an app password is created successfully. Hit ‘copy password to clipboard

  • Lastly, go to the aNinja application and use this app password to login into your Office account and complete the integration.

Enabling App Passwords at your Office365 Organization level

Enabling the App password for Office365 is giving permission to an app to access your Office365 account. After you generate an app password, enable it at your Office365 Organization level.

If you can’t see app passwords at your user level, so, they might be disabled at your office365 organization level.

However, your administrator can expose them following these steps:

  • Go to https://admin.microsoft.com/
  • Then, go to Users > Active Users
  • And, choose “Multi-factor Authentication” in the table options (above the table of users).
  • Lastly, choose “Service Settings” (in the top menu) and choose “Allow users to create app passwords“.

Changing your Office 365 app password

  • Click My Account.
  • Then, hit Security and Privacy menu to the left or the Manage Security and Privacy link on the main area of the page.
  • Choose Additional Security Verification.
  • And click Create and manage app passwords.
  • Lastly, create yourself an additional app password and give it a description.

Unable to authorize the Microsoft Office 365 account

The error Unable to Authorize Microsoft/Office365 account may occur when an account has an issue with the connected mailbox.

Instructions on how to resolve this problem.

After which please restart your authentication flow in aNinja.

Need help with generating an App password for Office365? Please leave us an email at support@aninja.com. We will happily assist you!

aNinja keys & codes

In aNinja, you have private keys and codes that you use for your integrations.

It’s important to know your aNinja keys & codes, know how to use them, and where to find them in your aNinja install.

aNinja Keys & Codes

Squarespace API Integration

With Squarespace API Integration you can forward leads into your aNinja account simply using a programming code or an API. In this article, we show you how the Squarespace API Integration can be done.

Squarespace API Integration

The following example is specific to Squarespace (add in the “Page section Settings > Advanced tab > Page header code injection text area section for the page where you have the form you want to forward into aNinja).

// SQUARESPACE - example 1
// Add in javascript advanced:
<script src="https://ajax.googleapis.com/ajax/libs/jquery/3.2.1/jquery.min.js"></script>
<script>
$(document).ready(function() {
$('form').submit(function(e) {
var contact_name = $("input[name='fname']").val();
var contact_email1 = $( "input[name='email']").val();
var phone_areacode = $('*[data-title="Areacode"]').val();
var phone_prefix= $('*[data-title="Prefix"]').val();
var phone_line = $('*[data-title="Line"]').val();
var contact_phone1 = phone_areacode+phone_prefix+phone_line;
var subject = $($('select')[0]).val();
var pref_contact_method = $($('select')[1]).val();
var message = $('textarea#textarea-yui_3_17_2_1_1442700176413_134868-field').val();

$.ajax({
type: 'post',
url: "https://aninja.com/api/v1/contactform/?apikey=YOUR_API_KEY_HERE",
data: {
'contact_name': contact_name,
'contact_email1': contact_email1,
'contact_phone1': contact_phone1,
'your-comments': 'message: '+message+' subject:'+subject+' pref_contact_method: '+pref_contact_method
},
success: function (data) {
// alert('success');
}
});
});
});
</script>

Fields mapping Table

The following are standard fields you can map to, in addition to any custom fields created in your application that you can see under Settings > Custom fields.

Where does the imported data appear

After the integration, you can search your aNinja CRM for the imported leads. You can also search for any custom field, opportunities, and any other info that you have imported.

  • Lead’s contacts appear in the leads contact section in the lead view
  • Opportunities also appear in the opportunity section in the lead view
  • The company’s info appears on the top left of the lead view, in the Company section.
  • Custom fields appear in the custom field section of the lead view
  • Lead Search is a field that also appears in the bottom left of the lead view. Specifically, these are info/links on the lead or the organization found in Google search.

Need help with Squarespace API Integration? Leave us an email at support@aninja.com. And we will happily assist you.

Find your aNinja Forms Embed Code

Find your aNinja Forms Embed Code. You need this code to embed the forms that you’ve created in aNinja on the website.

Find your aNinja Forms Embed Code

  • On the left sidebar, click on Marketing > Forms
  • Select and copy the Embed Code For WebsiteFind your aNinja Forms Embed Code
  • We’ve added a data attribute inside this code that allows you to manage the Bootstrap design in the form. Set it to True or False to either skip or include the Bootstrap design in the form.
  • Paste this Javascript code on your website to add the aNinja form.
  • If you need assistance with embedding your aNinja form on your website, just leave us an email at support@aninja.com. Our Support team will happily assist you!


Find your private BCC email address

Using this email address in the BCC section when sending out an email automatically creates a lead from the recipients. In this article, we show you where to find your private BCC email address in your aNinja account.

Find your private BCC email address

Your private BCC code is found in the user profile.

  • You can access your profile from 2 places:
    • In the left sidebar, click on Settings > Users
    • Or, on top right of the page, click on your name > Profile.
  • Click on the edit next to the user to access your profile.

  • Click on API. Here’s where you find your account’s BCC email.

Find your private BCC email address

Use this code in the BCC section of your emails and a lead is created from the recipient.

Creating Leads in aNinja

In aNinja, creating leads can be done in several ways.

A growing database of leads means more potential engagement. So import your leads from different sources and keep them engaged with newsletters and product or service updates.

Creating leads in aNinja

In aNinja, you can create leads in multiple ways:

  1. Manually one at a time.
  2. Importing Leads in Bulk using CSV file.
  3. Third-party Integration using aNinja API (including Chatbot conversations, form submissions, and website integration).
  4. Importing leads from your Phone Contacts.
  5. Importing leads from your Gmail account.
  6. Creating leads using BCC email address.
  7. Generating a lead from incoming SMS.

1- Creating Leads manually

  • First, log in to your aNinja account.
  • Then, on the top right, click on + add lead

2- Importing leads from a CSV file

Another way to add leads to your aNinja account is importing contacts in a CSV or XLSX file directly to your aNinja account.

3- Third-party integration using aNinja API

In simple words, API is a set of functions that allow applications to interact with each other by exchanging data.

Basically, you can forward leads from your different marketplaces into your aNinja app using API.

  • Here, you need your aNinja API key for the integration.
  • After the integration, you start receiving leads in your aNinja account from the different integration channels, including Chatbot conversations, Form submissions, and website integration.

4- Importing contacts from your Gmail account

Importing contacts from your Gmail account is another way to expand your leads database.

5- Importing your Phone contacts

You can also get your phone contacts to your aNinja account.

6- Creating new leads using BCC email

By BCC’ing your private BCC email address, the system automatically creates new leads from the recipients.

After all, you want to get all your leads into one place to target them with your sales and marketing strategies.

7- Generating a lead from incoming SMS

This is a basic function in aNinja that generates a lead from an incoming SMS, if the phone number is not already saved in the system.

However, this practice is not available for incoming emails. So if the sender’s email is not saved in your system, you will not be able to see the email in aNinja. But it still shows in your email client (Gmail, Outlook, etc…).

Search for more help articles in aNinja Knowledge base.

Or reach us at support@aninja.com. Our support team will happily assist you.

Calendly API Integration

Calendly is an online Calendar that helps you schedule meetings without the back-and-forth emails. Moreover, Calendly appointments can now be automatically added to your aNinja account. You just need to activate the Calendly API integration.

The integration requires a “Professional” account with Calendly.

Activating the integration with Calendly

  • First, click on Browse Marketplace

  • And, click on Install under Calendly

  • Then, hit Configure

  • Click on Profile > Calendly Integration

  • You will be redirected to your user profile. Hit Calendly Integration

  • Under “Add your Calendly API v2“, add your Calendly Personal Access Token.
    • Click on “Get your Calendly Personal Access Token” to be redirected to your Calendly account.

  • Lastly, click on Update Personal Access Token.
  • You can see the Calendly account details:

  • To complete the integration, you want to activate ONE of the two webhooks:
    • Calendly User Webhooks
      • This triggers the webhooks for subscribed events that belong to the specific user.
    • OR Calendly Organization Webhooks:
      • This triggers the webhooks for ALL the subscribed events within the Organization.
  • If you can’t see the webhooks data under the User / Organization Webhooks, check your Calendly plan. The integration requires a “Professional” account.
  • Refresh Webhooks every time you make changes to the webhooks.

Now, any Calendly event automatically injects a lead into your aNinja account.

We’ve added a custom field ‘calendly_webhook_user_id‘ to the new leads created via Calendly. It represents the id of the user where the Calendly webhook is configured.

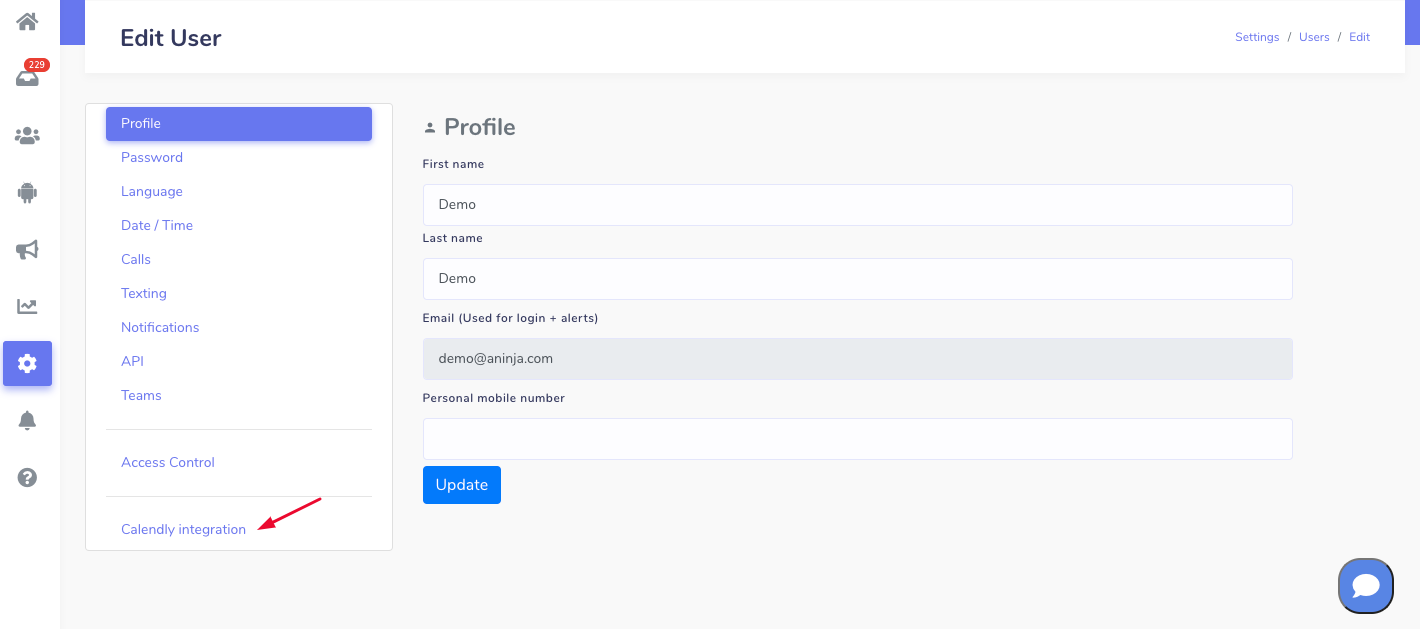
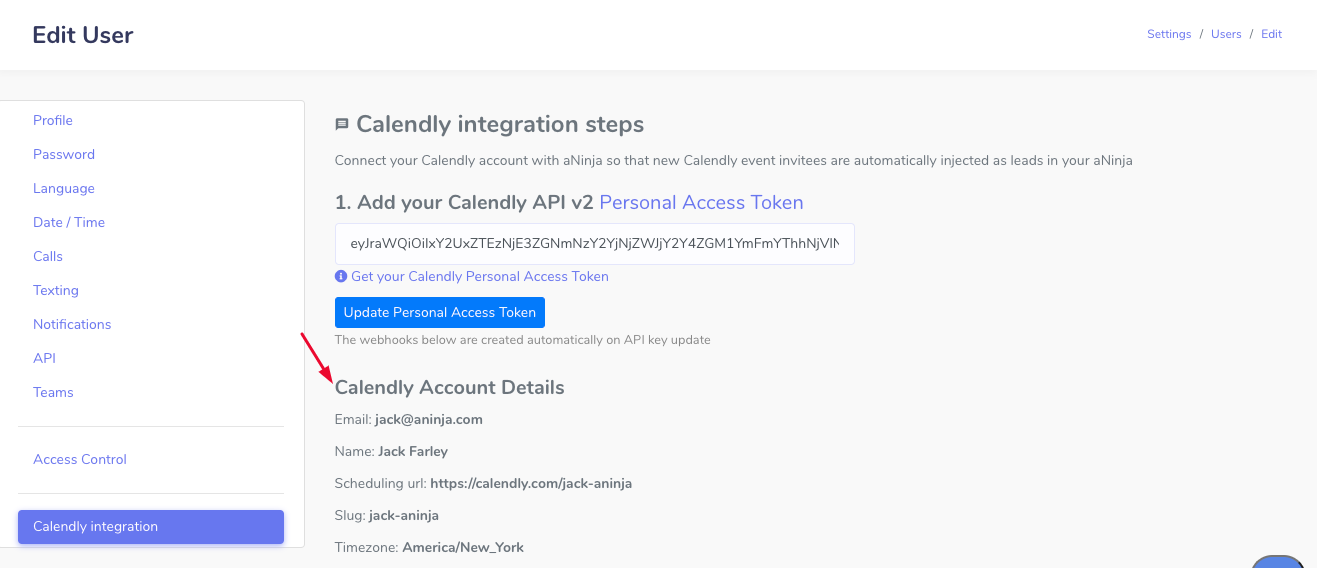
You can include the calendly_webhook_user_id in the trigger’s conditions, to e.g. assign the lead to the correspondent user.

Fields mapping

Ensure correct transfer of Calendly form fields to lead contacts and custom fields by using the provided naming conventions and mapping them to aNinja fields:

  • Name: map to contact_name (this is the only required field for the mapping).
  • Phone Number: map to contact_phone1
  • Email: map to contact_email1

My Calendly Integration Stopped Working

In this case, please check the following:

  • Firstly, if Calendly has regenerated or changed the Personal access token, then you should update it in aNinja for the integration to work.
  • Secondly, check if the Calendly App in aNinja is still active.
  • Thirdly, check if your Calendly account is still active and that it allows for API integrations (Professional plan).
  • Lastly, sometimes, Calendly automatically disables the webhooks if it receives error codes from our server. To re-enable it, you want to delete and recreate the webhook in your User profile > Calendly Integration.

After the integration, any Calendly appointment will automatically inject a lead into your aNinja account.

Where does the lead data appear

After the integration, you can search your aNinja CRM for new leads. You can also search for any custom field, opportunities, and any other captured info.

  • Lead’s contacts appear in the leads contact section in the lead view.
  • The company’s info appears on the top left of the lead view, in the Company section.
  • Custom fields appear in the custom field section of the lead view.
  • Lead Search is a field that also appears in the bottom left of the lead view. Specifically, these are info/links on the lead or the organization found in Google search.

Need help with the Calendly API integration? Leave us an email at support@aninja.com. And we will happily assist you!

Automate.io aNinja Integration

In this article, we show you how the Automate.io aNinja Integration can be easily done.

Getting Started

  • Log in to automate.io
  • Click on Create a Bot at the top of your dashboard. 
  • Give a name for your Bot. Let’s say ‘Facebook leads to aNinja‘, as we are using these two apps in this Bot.

Connecting the Trigger app

  • Select Facebook Lead Ads from the selection.

  • Under the Input Fields select the Page and Form.

Connecting the Action app

  • Select Webhooks under the action app.

Configuring the Action app

  • Select POST data under Webhooks.

  • Here, we need to find your aNinja API Key
  • Under Submission URL field put:
    • https://aninja.com/api/v1/contactform/?apikey=YOUR_API_KEY
      • Example:  https://aninja.com/api/v1/contactform/?apikey=sample123-6yauyue5e

Enter the Posting URL

  • Copy & Paste in the Posting URL from above.

Saving and Turning ON the Bot

  • Lastly, after you are done with creating your Bot, save it by clicking on the Save button on the top-right.
  • You see that your Bot is in an OFF state. You can turn it ON using the toggle button.

Where does the imported data appear

After the integration, you can search your aNinja CRM for the imported leads. You can also search for any custom field, opportunities, and any other info that you have imported.

  • Lead contacts appear in the leads contact section in the lead view
  • Opportunities also appear in the opportunity section in the lead view
  • The company’s info appears on the top left of the lead view, in the Company section.
  • Custom fields appear in the custom field section of the lead view
  • Lead Search is a field that also appears in the bottom left of the lead view. Specifically, these are info/links on the lead or the organization found in Google search.

Need help with Automate.io aNinja Integration? Leave us an email at support@aninja.com. We will happily assist you.