One of aNinja’s key features is its Leads Integration Channels which allow you to connect a variety of apps and tools to aNinja, enabling you to streamline your workflow and boost productivity.
By connecting your apps and tools to aNinja, you can streamline your workflow. Ultimately, the integration ensures that your customer data is up-to-date and consistent across all your platforms.
aNinja Leads Integration Channels
aNinja offers integration options with the following channels; but not limited to them. We are continuously extending our reach to connect with additional channels along the way.
Click on the links below to access the knowledge base articles. You’ll find step-by-step instructions on how to integrate the relevant components.
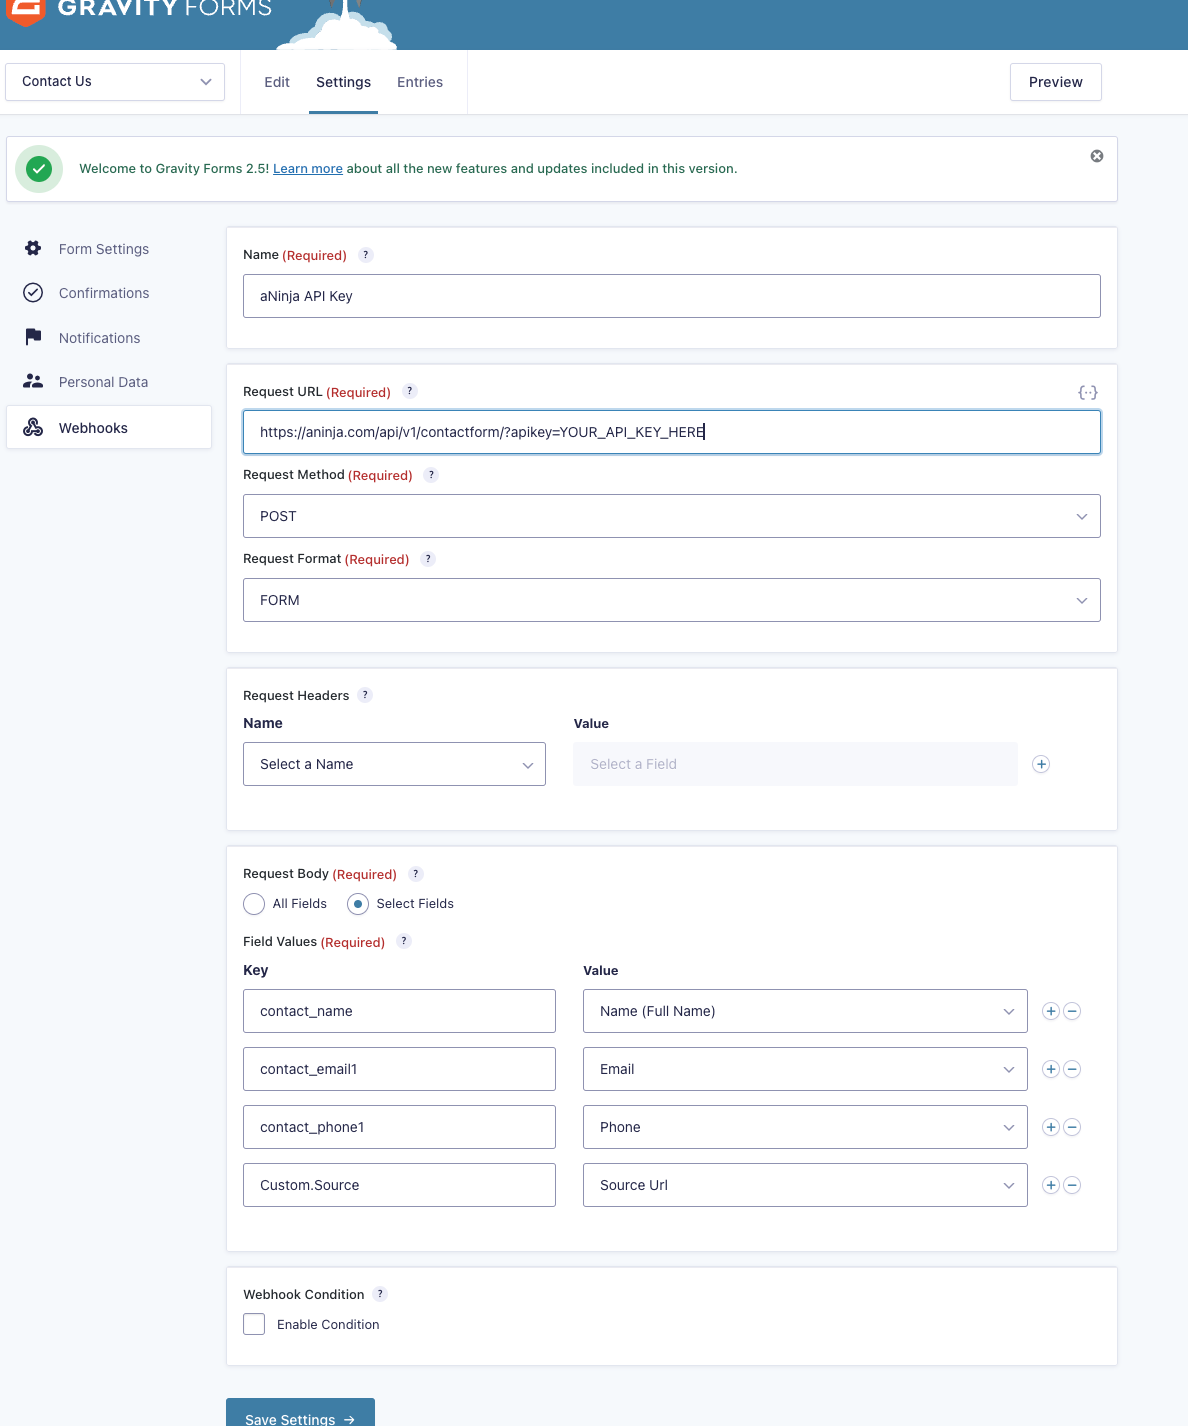
And before getting started with the integration, please make sure you have your aNinja aNinja API key.
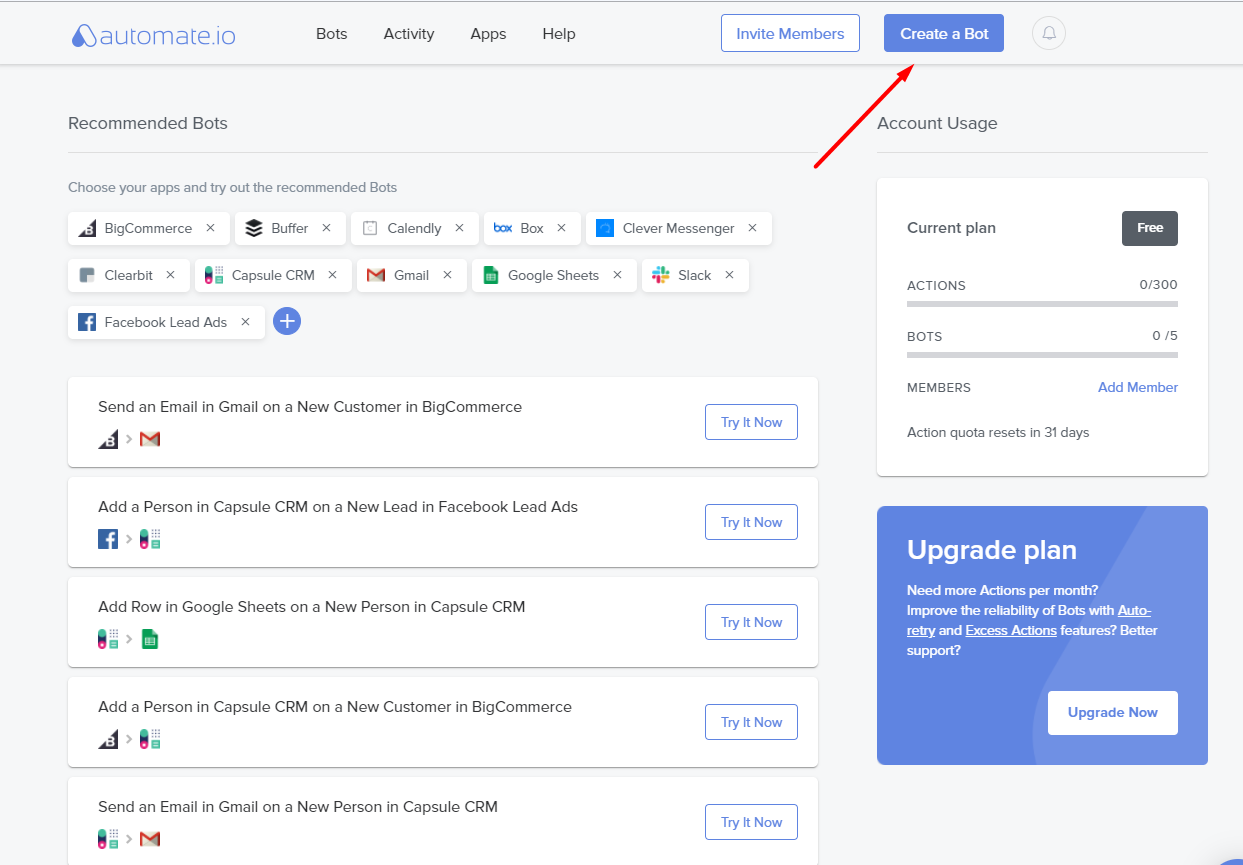
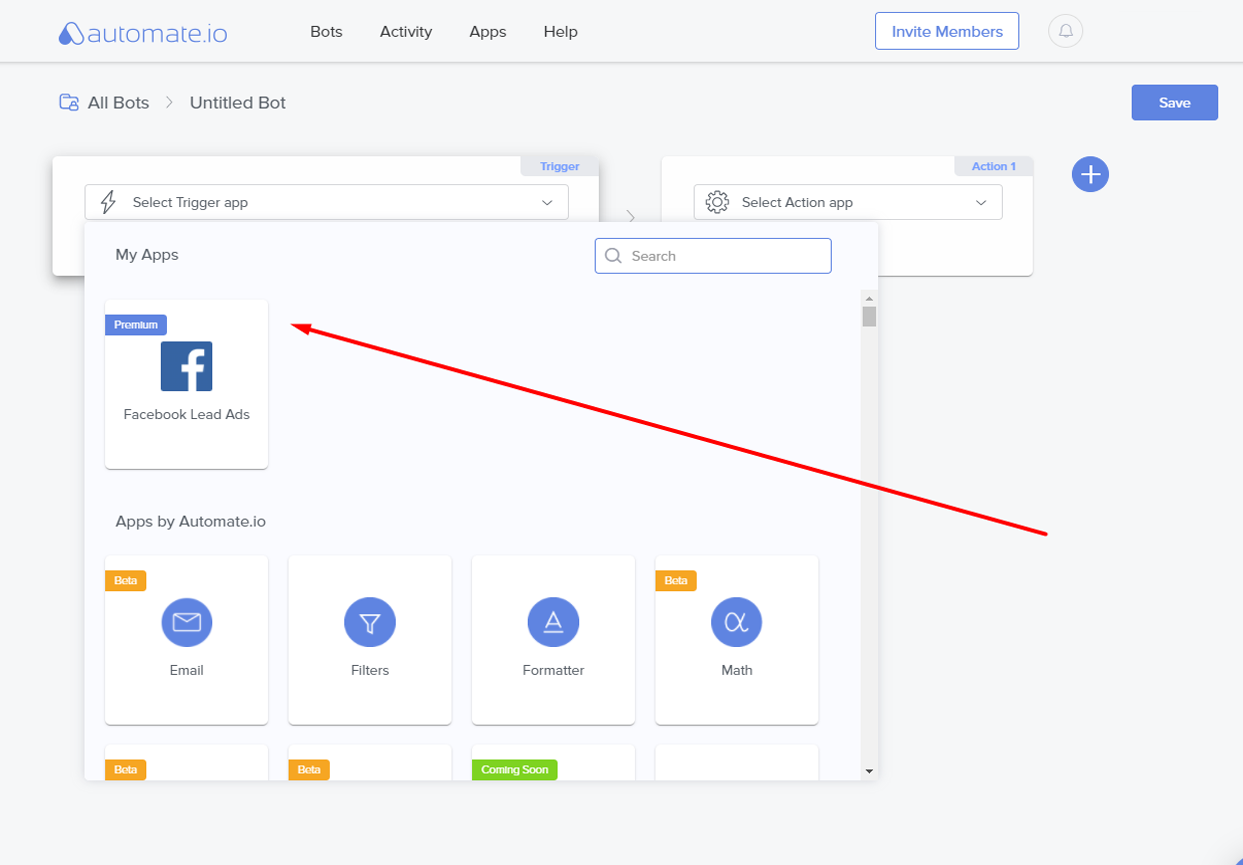
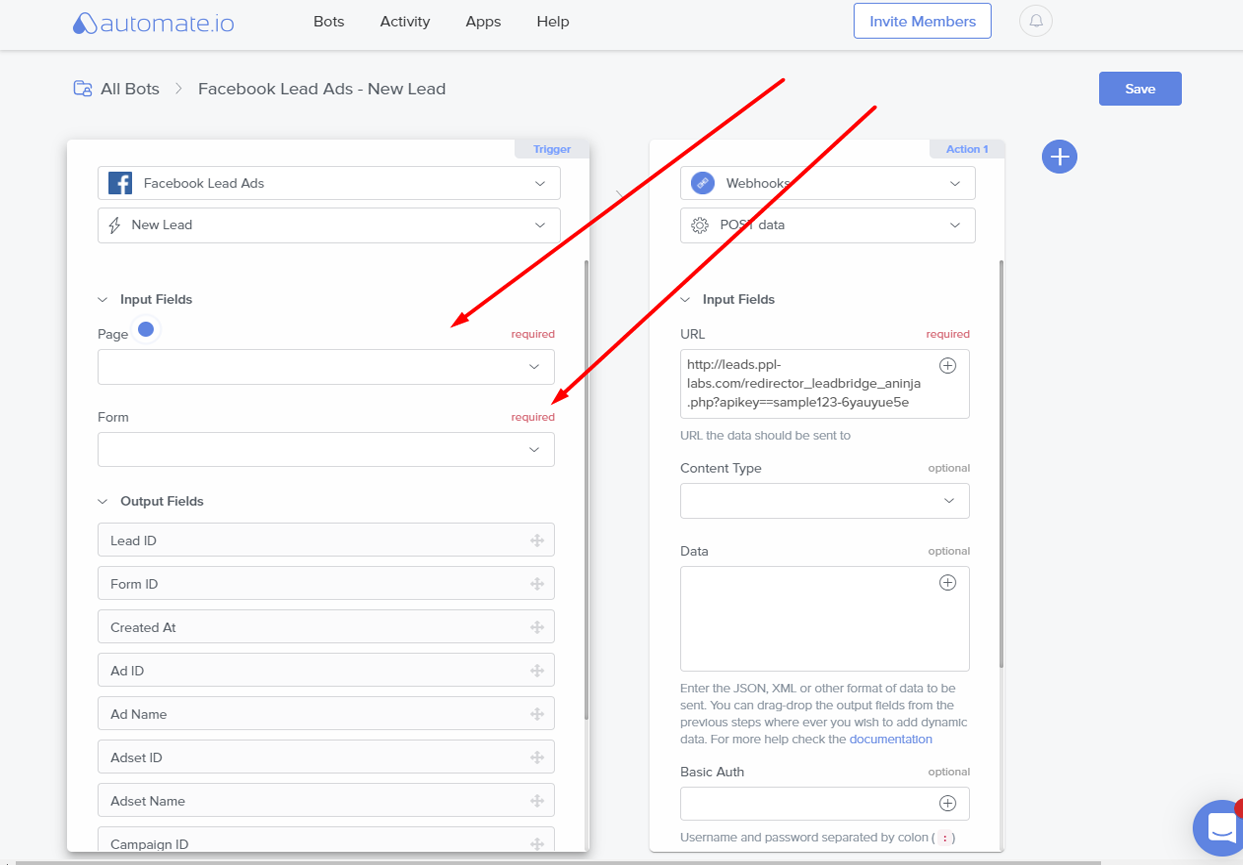
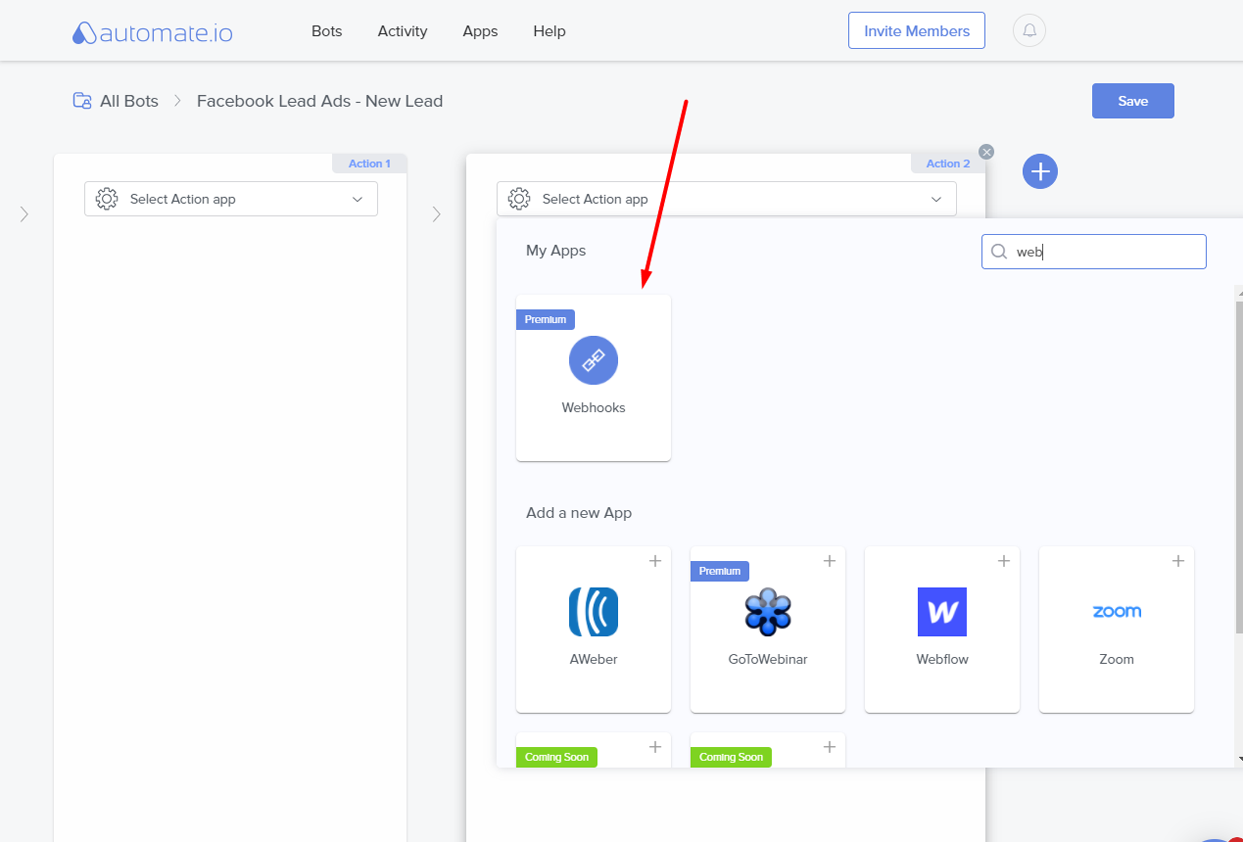
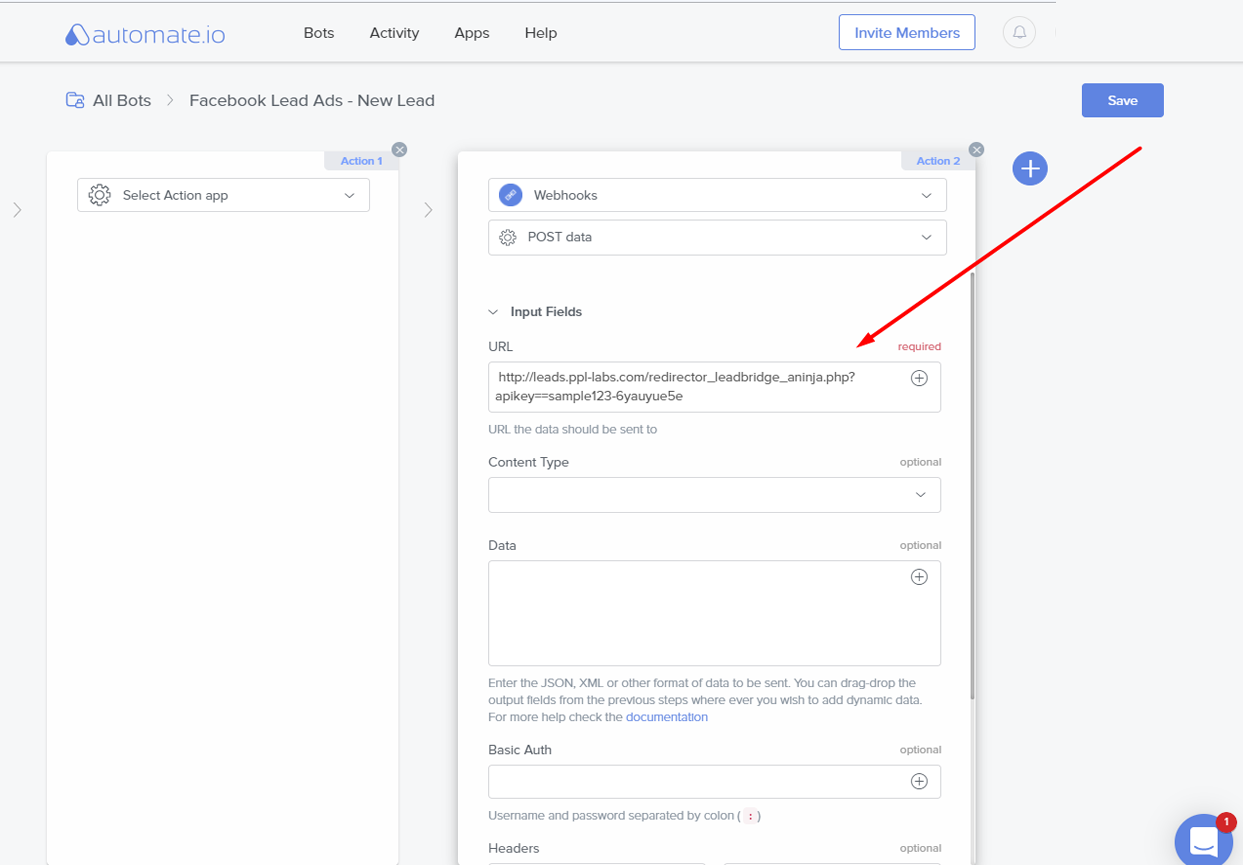
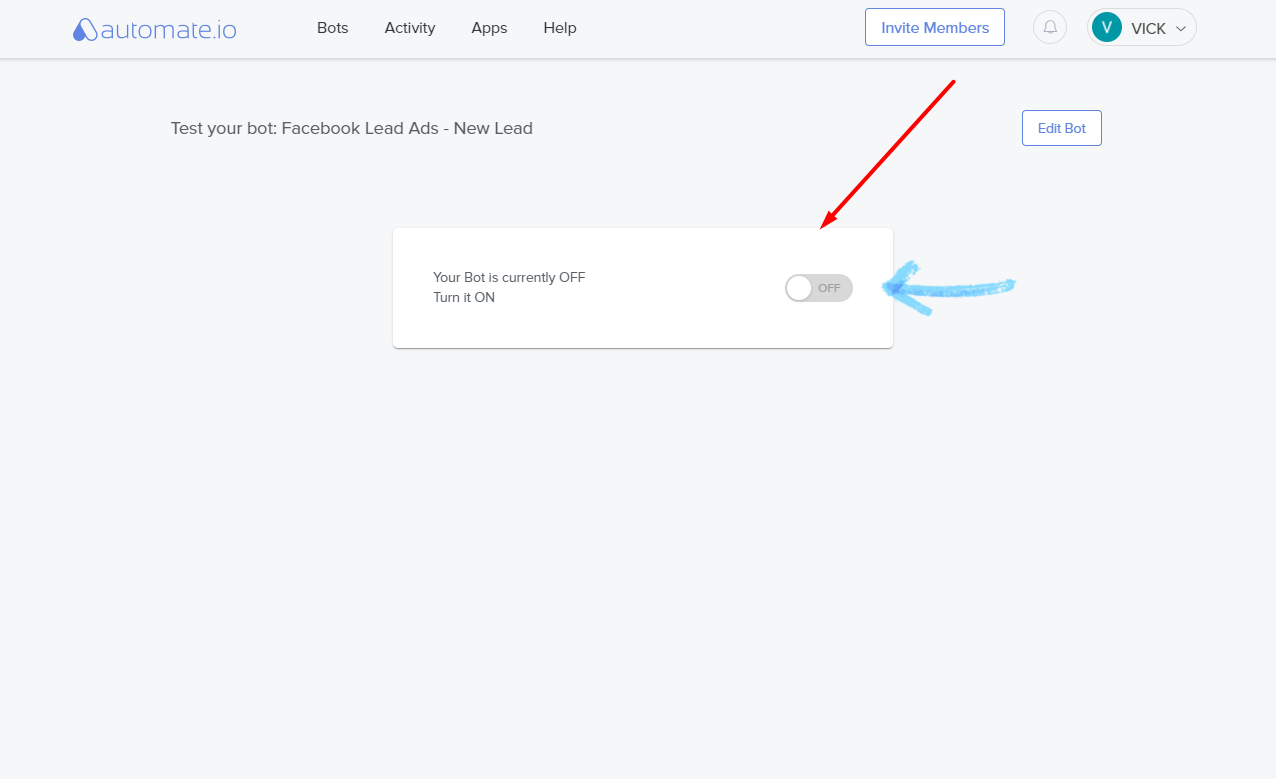
- Automate.io – Facebook ads aNinja Integration
- Amazon Seller Central + Webhooks by Zapier aNinja Integration
- WordPress Forms aNinja Integration
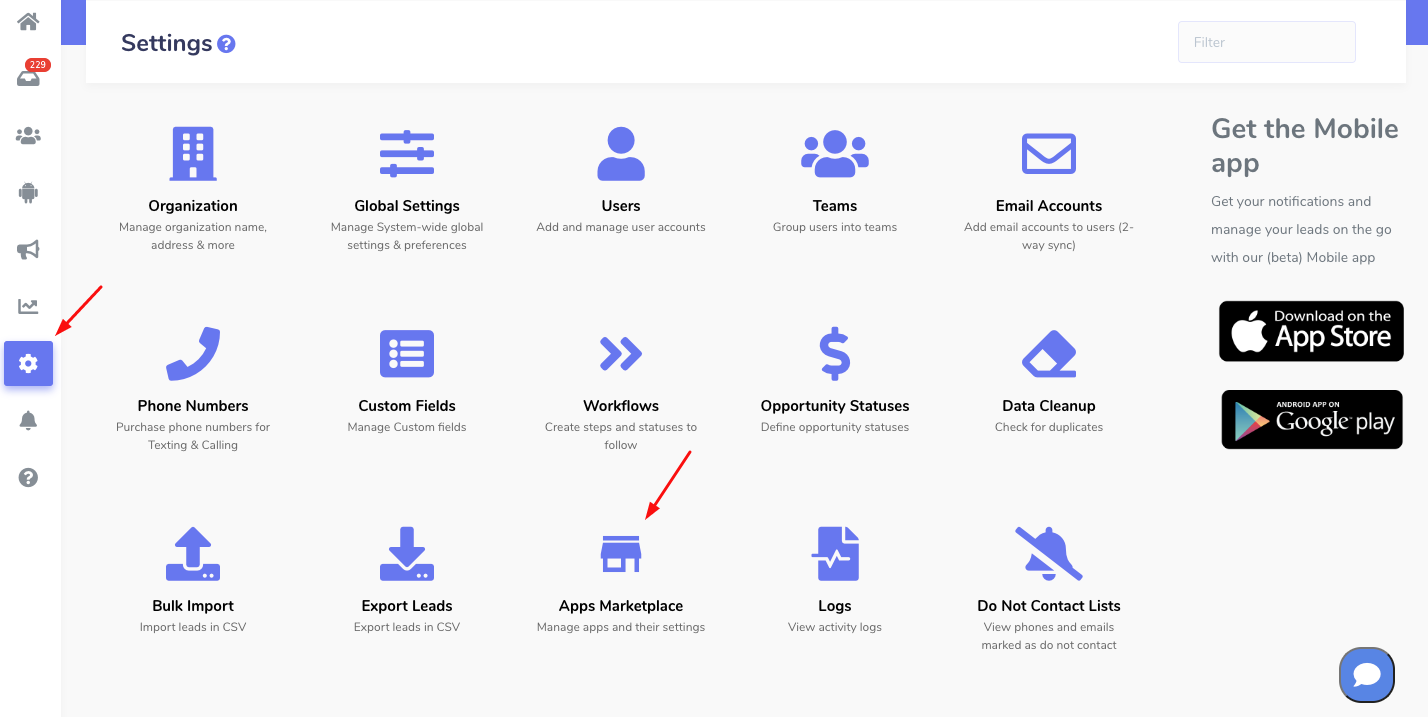
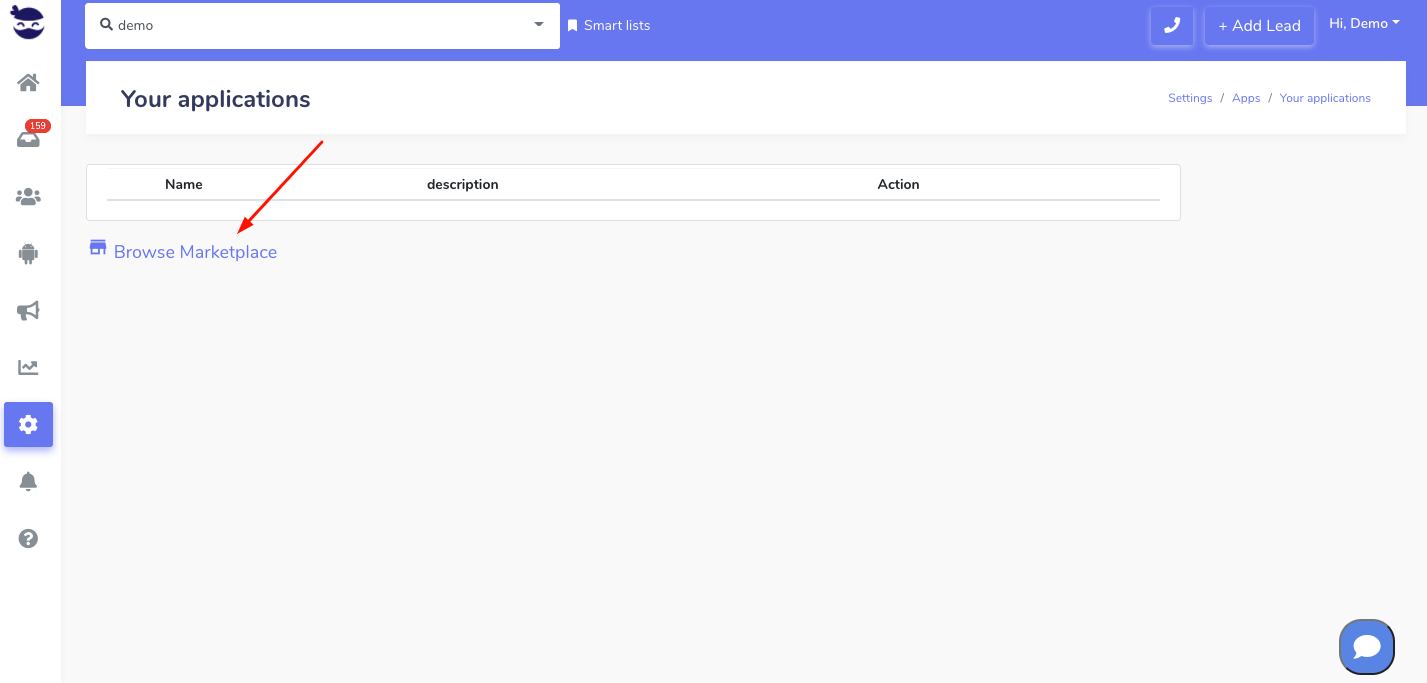
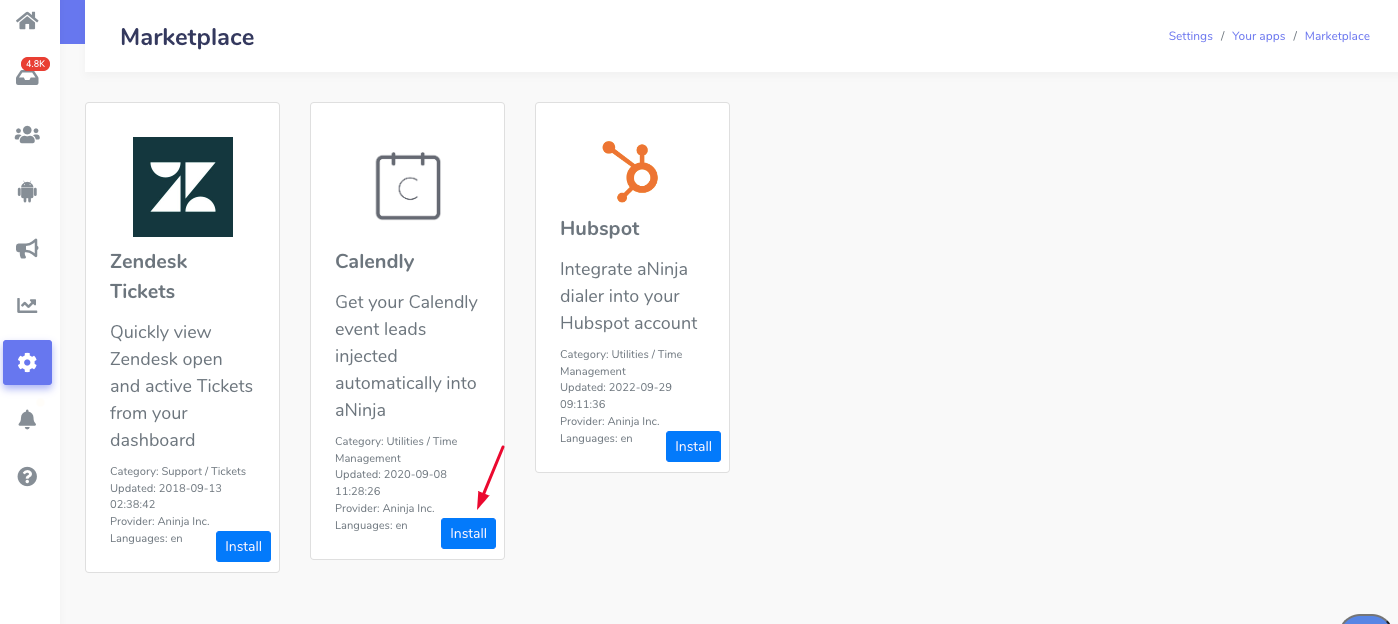
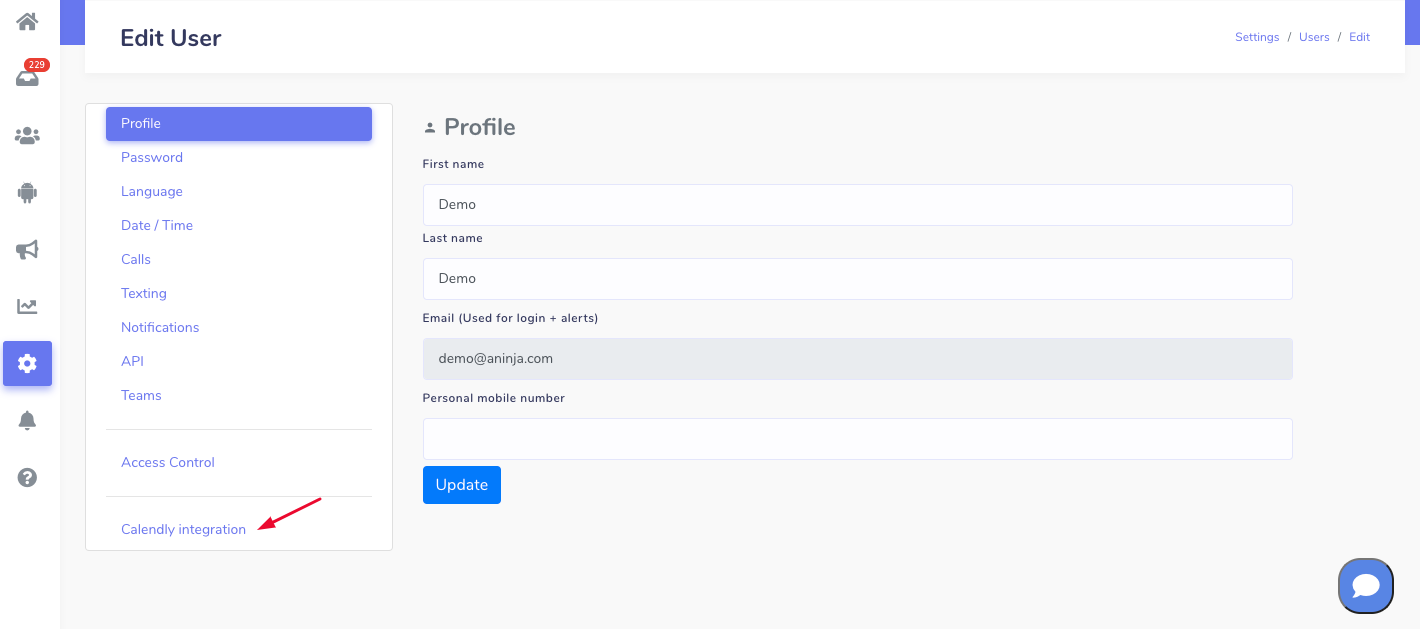
- Calendly Integration
- Clickfunnels Integration
- Creating aNinja Lead Form
- Eventbrite Webhook aNinja Integration
- Google Forms Webhook Integration
- Hubspot Forms Integration
- Javascript API Integration
- imatrix aNinja Integration
- Leadsbridge aNinja Integration
- Standalone / Curl Applications Integrations
- Shopify Integration
- VistaPrint aNinja Form Integration
- Webflow Integration using Zapier
- Webflow Webhook Integration
- Wix Webhook aNinja Integration
- Zillow Integration
- Zapier aNinja Integration
- Embed aNinja form to Godaddy website
- Adding aNinja form to Squarespace website
- Bulk Import
Where does the imported data appear
After the integration, you can search your aNinja CRM for the imported leads. Also, you can search for any custom field, opportunities, and any other info that you have imported.
- Lead’s contacts appears in the leads contact section in the lead view
- Opportunities also appear in the opportunity section in the lead view
- The company’s info appears on the top left of the lead view, in the Company section.
- Custom fields appear in the custom field section of the lead view
- Lastly, Lead Search is a field that also appears in the bottom left of the lead view. Specifically, these are info/links on the lead or the organization found in Google search.
Need any help? Please reach us at support@aninja.com and we will happily assist you!
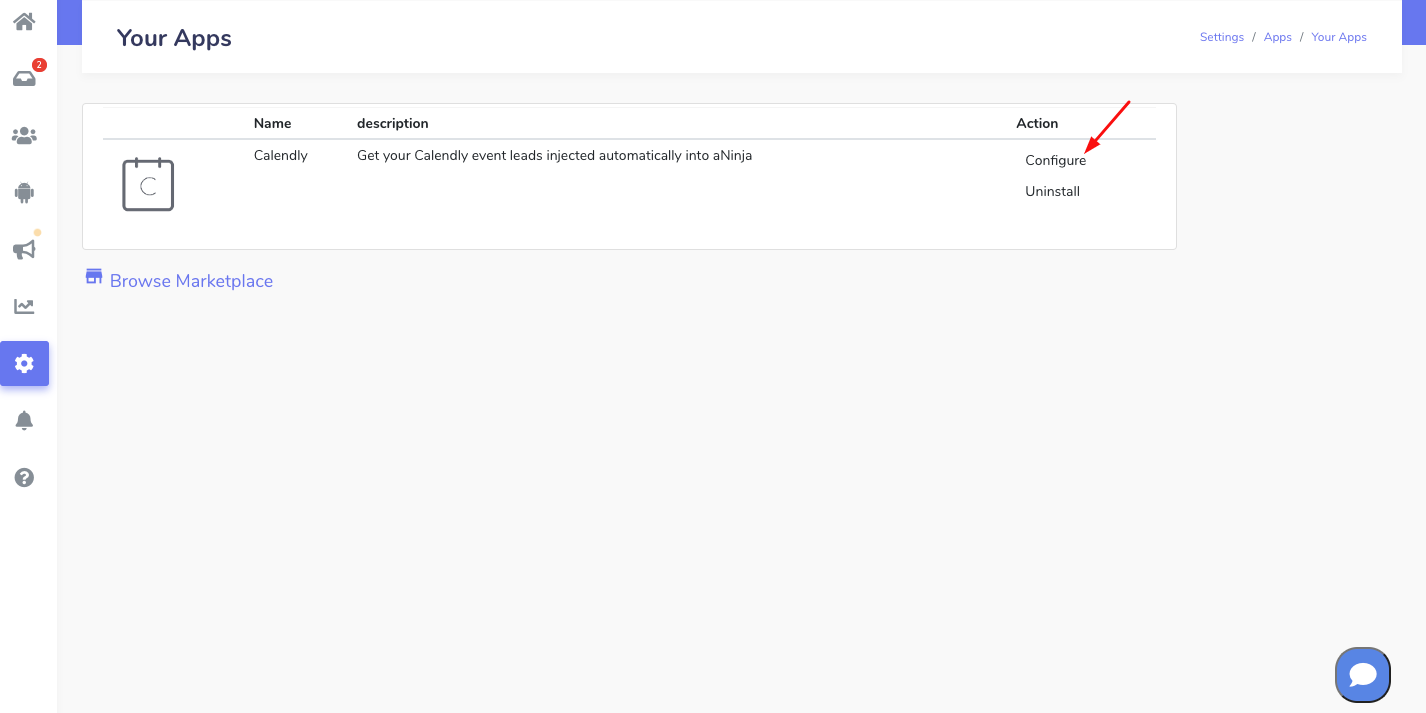


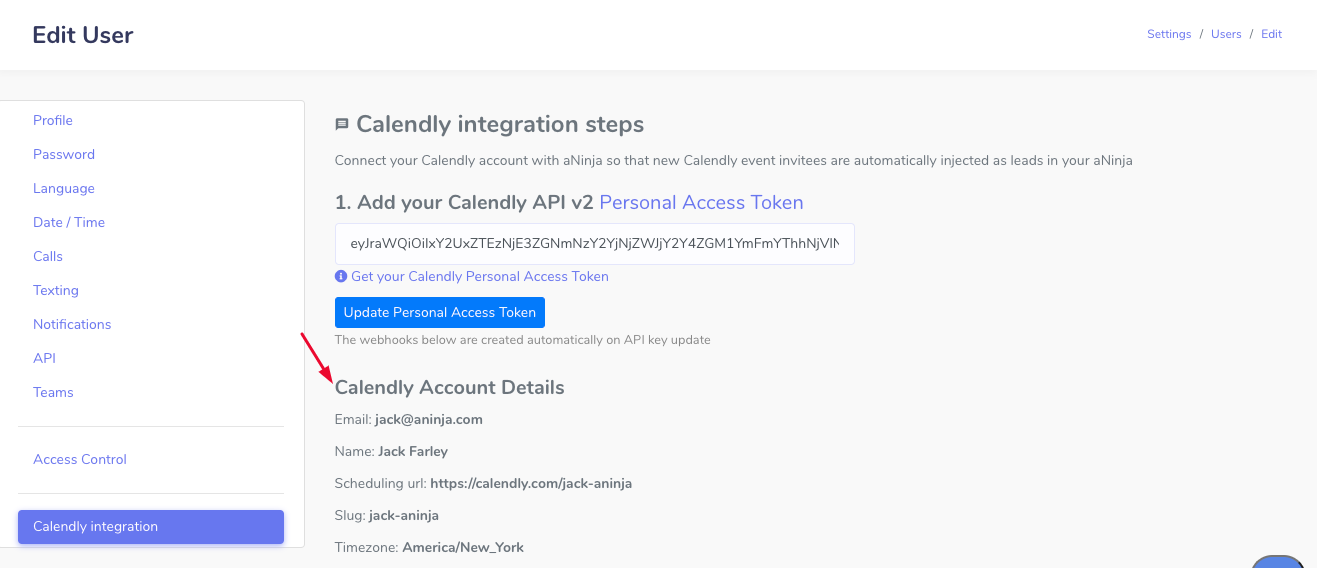


You can include the calendly_webhook_user_id in the trigger’s conditions, to e.g. assign the lead to the correspondent user.