Changing the role of a user

The role assigned to a user controls access to areas and features within the aNinja app. Each user account requires a role. And changing the role of a user can be done at any time.

Different roles of aNinja users

There are 3 predefined user roles in aNinja. User’s permissions to use aNinja features vary according to the role assigned to them.

The user roles are:

  • Owner
    • The owner user is the owner of the application and the one who assigns the admin role and the user role to the users.
  • Admin
    • The admin user assigns the user role to the users.
  • User
    • The user role doesn’t have permission to assign other users.

Changing / assigning the user role

  • On the left sidebar, click on Settings > Users
  • Choose the user and click on the edit pen.Changing the role of a user
  • Click on Access Control and assign the role.

All the new users will be on the same billing plan as the current one the owner user is on.

To change the owner user, please contact us at support@aninja.com.

Exporting Leads into a CSV file

aNinja allows you to export your leads from your account into a CSV file.

Exporting Leads into a CSV file

You can access the “Export leads” function through 2 places: The Lead View, and Settings.

Exporting Leads through the Lead View
  • On the left sidebar, click on the Leads View icon.
  • Here, you can choose to export all your leads, or some of them using a smartlist.
  • Then, go all the way down to the end of the page.
  • Lastly, click on Export results as CSV.Export Leads to a CSV file
  • The results will be saved in your downloaded files on your computer.
Exporting Leads through Settings

  • “Exporting leads may take a while depending on the number of leads in your system. Continue with export now?” Click OK
  • The results will be saved in your downloaded files on your computer.

Leads data that get exported in the CSV file

The following basic data is exported into the CSV file:

  • Address
  • Assignee
  • Company Name
  • Contact info
  • And Lead Search

However, we can custom export the following data as tables of CSV files.

  • Lead tasks
  • Lead notes
  • Workflows
  • Leads opportunities
  • SMS templates
  • Email templates
  • SMS sequences
  • Email sequences
  • Users info
  • Teams info
  • “Do not contact” items
  • Sent texts (optional)
  • Received texts (optional)

Just leave us an email at support@aninja.com and a developer from our side will work on preparing the full export accordingly.

Find your private BCC email address

Using this email address in the BCC section when sending out an email automatically creates a lead from the recipients. In this article, we show you where to find your private BCC email address in your aNinja account.

Find your private BCC email address

Your private BCC code is found in the user profile.

  • You can access your profile from 2 places:
    • In the left sidebar, click on Settings > Users
    • Or, on top right of the page, click on your name > Profile.
  • Click on the edit next to the user to access your profile.

  • Click on API. Here’s where you find your account’s BCC email.

Find your private BCC email address

Use this code in the BCC section of your emails and a lead is created from the recipient.

Creating Teams

Users can be grouped into teams to easily manage assignments. Creating teams in aNinja is easy.

However, managing teams is not that simple. When Admin users can create, edit, and delete teams in aNinja; They definitely have to play a far more hands-on role to make sure the group works well together and remains focused on the right priorities.

Creating teams in aNinja

To create a team in aNinja, follow these steps:

  • Click on Add a Team

Creating Teams

    • Assign the users from your aNinja members.
    • A user can be member of multiple teams.

Editing a team

You would want to edit a team to add or change users to keep a good and effective workflow.

  • On the left sidebar, click on Settings > Teams
  • Click on the recycle bin under the name of the user you want to remove from the team.
  • To edit the name of the team, click on the edit pen on the left side of the team name.

Deleting a team

To delete a team, just click on the recycle bin on the left side of the team name.

8 Tips for Managing Your Team Effectively
  • Maintain good communication.
  • Build positive working relationships.
  • Acknowledge good work.
  • Be real.
  • Be decisive.
  • Delegate jobs to the right people.
  • Manage conflict.
  • Set a good example.

Creating Opportunity Statuses

Creating opportunity statuses allow you to customize statuses for your lead Opportunities. By default aNinja has 3 opportunity statuses enabled: Active, Won, and Lost. You can create your own opportunity statuses.

Creating opportunity statuses

  • Here, choose the Add opportunity status

Creating Opportunity Statuses

  • Then, Name the status and set the Confidence rate.

Creating Opportunity Statuses

  • Lastly, don’t forget to Save the new opportunity to be able to use it in the lead view.

Editing Opportunity Status

  • Click on the edit pen next to the opportunity name.
  • And make the changes
  • Lastly, don’t forget to save it.

Deleting Opportunity Status

From inside the edit section, just click on the recycle bin. Afterward, the system will delete it.

Adding Users to aNinja

Adding users to aNinja is very easy.  However, the number of users in aNinja is set according to your Billing plan.

The role assigned to a user controls his access to areas and features within the aNinja app. Each user account requires a role. And changing the role of a user can be done at any time.

Adding / inviting users

Users with admin or owner roles can invite other users to join their aNinja installation.

  • Fill in the following info:
    • Email: email address of the user to invite. This will be the login username.
    • First Name: of the user
    • Last Name: of the user
    • Role: Role to assign to the new user (user/admin)
  • After reviewing the data added, just click invite.
  • Lastly, your newly invited team member will receive the login information by email.

Adding users to aNinja

Note: the new user will be on the same billing plan as the current one the owner user is on.

User ID

Each user is granted a private user-id as soon as he is invited to join aNinja, regardless of his role.

Using a Smartlist, you can utilize this user-id to filter leads assigned to a certain user.

You can also assign a bulk import to a user or multiple users using this user-id in the CSV file.

Organization Info

You can edit the main info representing your organization under Settings > Organization.

Updating your Organization Info

  • On the left sidebar, click on Settings > Organization
  • Under Info add:
    • Name: This represents the official name of your Organization.
    • Phone: This represents the phone number of your Organization.
    • Email: This represents the official email of your Organization.
    • Website: This represents the official website of your Organization.
  • Under Address add:
    • The official address of your main offices.
  • Lastly, after reviewing the entered data, click on Save.Organization info

Bulk Leads Import using a CSV or Excel file

You can import your leads in bulk into your aNinja account using a CSV or Excel file.

What’s a CSV file

CSV: a Comma Separated Values file. It’s a plain text file that contains a list of data. These files are often used for exchanging data between different applications. For example, databases and contact managers often support CSV files.

A CSV file has commas in between the values of each column. If there is no comma separating the values of the columns, the CSV file is not valid. And you’ll not be able to import your file to aNinja. So, you want to check the export options that generated this file to make sure the comma is there to have a valid CSV.

Creating a CSV or Excel file for Importing

  • Have your data saved in an Excel or Google sheet file as a dataset* and work on sanitizing it there.
  • Make sure the first row in your spreadsheet is a headers row (a row containing columns names).

Dataset*

  • To make the mapping process easier, name your headers as they appear in aNinja:
    • Standard Fields
      • aNinja standard fields are found under the categories: Lead’s Contacts, Company, and Address.
      • The Contact name is the only required field and it’s essential to complete the import.

    • Custom Fields
      • Prefix your field’s name with “Custom.” so it is saved as a custom field on the lead page.

Bulk Leads Import using a CSV / Excel file

  • You can access the Bulk Import from:
    • + Add Lead on the top right navigation bar

    • Or from Settings > Bulk Import in the left sidebar

  • Hit the Click to select a file

Bulk Leads Import using a CSV file

  • Then, choose the file you created for the upload.
  • If you have previously saved mappings, you can use them here. Click on “Load mapping” dropdown.
  • Otherwise, map the file fields (on the left side) to aNinja fields (on the right side)

All the files that you’ve imported to aNinja are saved in the Previous Bulk Import section. You can download / delete them at any time.

Where does the imported data appear

After the import, you can search your aNinja CRM for the imported leads. You can also search for any custom field, opportunities, and any other info that you have imported.

  • Lead’s contacts appear in the leads contact section in the lead view
  • Opportunities also appear in the opportunity section in the lead view
  • The company’s info appears on the top left of the lead view, in the Company section.
  • Custom fields appear in the custom field section of the lead view
  • Lead Search is a field that also appears in the bottom left of the lead view. Specifically, these are info/links on the lead or the organization found in Google search.

Calendly API Integration

Calendly is an online Calendar that helps you schedule meetings without the back-and-forth emails. Moreover, Calendly appointments can now be automatically added to your aNinja account. You just need to activate the Calendly API integration.

The integration requires a “Professional” account with Calendly.

Activating the integration with Calendly

  • First, click on Browse Marketplace

  • And, click on Install under Calendly

  • Then, hit Configure

  • Click on Profile > Calendly Integration

  • You will be redirected to your user profile. Hit Calendly Integration

  • Under “Add your Calendly API v2“, add your Calendly Personal Access Token.
    • Click on “Get your Calendly Personal Access Token” to be redirected to your Calendly account.

  • Lastly, click on Update Personal Access Token.
  • You can see the Calendly account details:

  • To complete the integration, you want to activate ONE of the two webhooks:
    • Calendly User Webhooks
      • This triggers the webhooks for subscribed events that belong to the specific user.
    • OR Calendly Organization Webhooks:
      • This triggers the webhooks for ALL the subscribed events within the Organization.
  • If you can’t see the webhooks data under the User / Organization Webhooks, check your Calendly plan. The integration requires a “Professional” account.
  • Refresh Webhooks every time you make changes to the webhooks.

Now, any Calendly event automatically injects a lead into your aNinja account.

We’ve added a custom field ‘calendly_webhook_user_id‘ to the new leads created via Calendly. It represents the id of the user where the Calendly webhook is configured.

You can include the calendly_webhook_user_id in the trigger’s conditions, to e.g. assign the lead to the correspondent user.

Fields mapping

Ensure correct transfer of Calendly form fields to lead contacts and custom fields by using the provided naming conventions and mapping them to aNinja fields:

  • Name: map to contact_name (this is the only required field for the mapping).
  • Phone Number: map to contact_phone1
  • Email: map to contact_email1

My Calendly Integration Stopped Working

In this case, please check the following:

  • Firstly, if Calendly has regenerated or changed the Personal access token, then you should update it in aNinja for the integration to work.
  • Secondly, check if the Calendly App in aNinja is still active.
  • Thirdly, check if your Calendly account is still active and that it allows for API integrations (Professional plan).
  • Lastly, sometimes, Calendly automatically disables the webhooks if it receives error codes from our server. To re-enable it, you want to delete and recreate the webhook in your User profile > Calendly Integration.

After the integration, any Calendly appointment will automatically inject a lead into your aNinja account.

Where does the lead data appear

After the integration, you can search your aNinja CRM for new leads. You can also search for any custom field, opportunities, and any other captured info.

  • Lead’s contacts appear in the leads contact section in the lead view.
  • The company’s info appears on the top left of the lead view, in the Company section.
  • Custom fields appear in the custom field section of the lead view.
  • Lead Search is a field that also appears in the bottom left of the lead view. Specifically, these are info/links on the lead or the organization found in Google search.

Need help with the Calendly API integration? Leave us an email at support@aninja.com. And we will happily assist you!

Adding a Voicemail Greeting for aNinja

A Voicemail greeting is a recording that the callers to your delegated number in aNinja can hear when the call is not answered. The voicemail can also play when your phone number has been forwarded.

When recording your voicemail greeting, it’s important to inform the callers that you’re not available to receive their calls. It is an essential part of any effective business communication strategy, especially if you are in Sales.

An important usage for voicemails on busy days! It enables you to screen incoming calls. You can choose to pick high-priority calls. And leave the less urgent ones to go to the voicemail to be acted upon later on.

aNinja default Voicemail greeting

By default, aNinja provides a voicemail greeting record that you can use when you are not available to answer your incoming calls; or when you forward your phone number.

Recording your voicemail greeting message

  • If you don’t already have your voicemail record, you can record it with your mic (ideally 15-30 seconds max) and save an MP3 file here: https://online-voice-recorder.com/
    • There are many other sites online (e.g. https://www.rev.com/onlinevoicerecorder), PC applications, or mobile applications you can use. Feel free to use the application of your choice as long as it can generate an MP3 audio file.

Converting your audio file

If your audio file is not MP3 type, you can use this link to convert it: https://www.media.io/audio-converter.html 

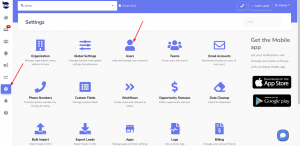
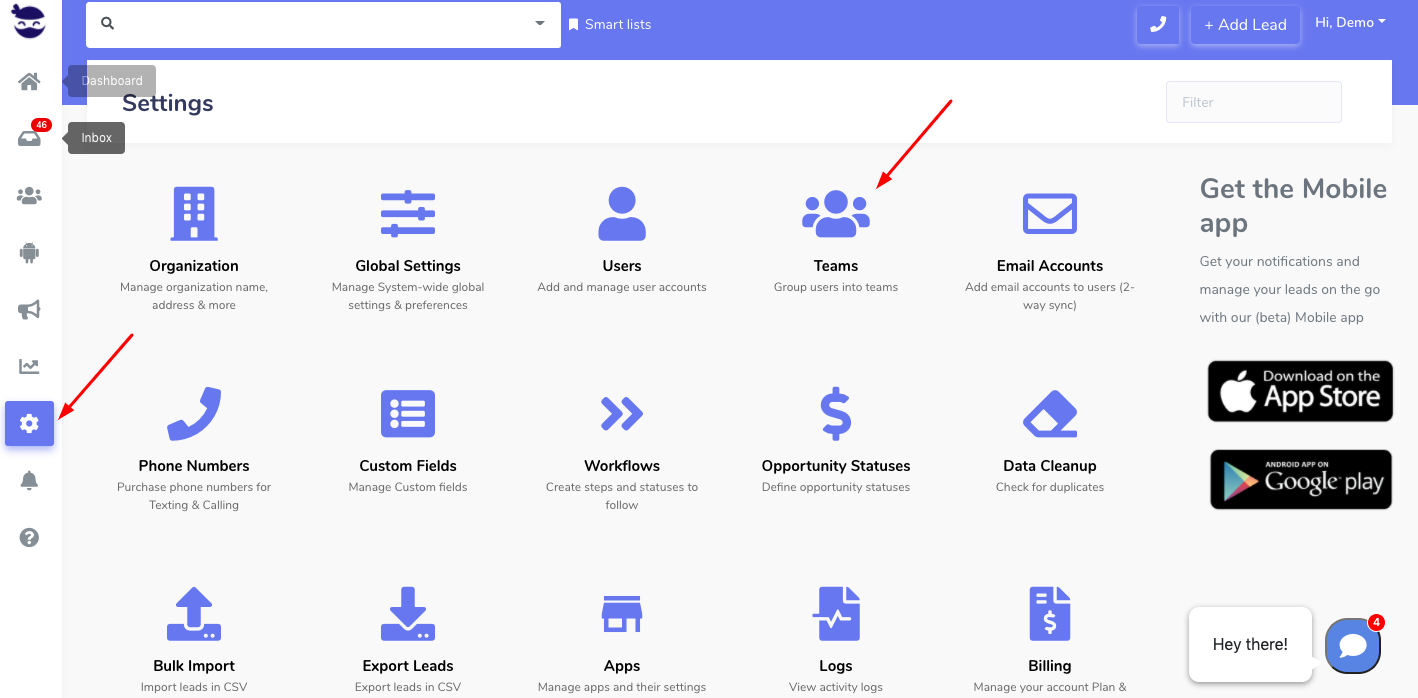
Adding your Voicemail greeting to an aNinja number

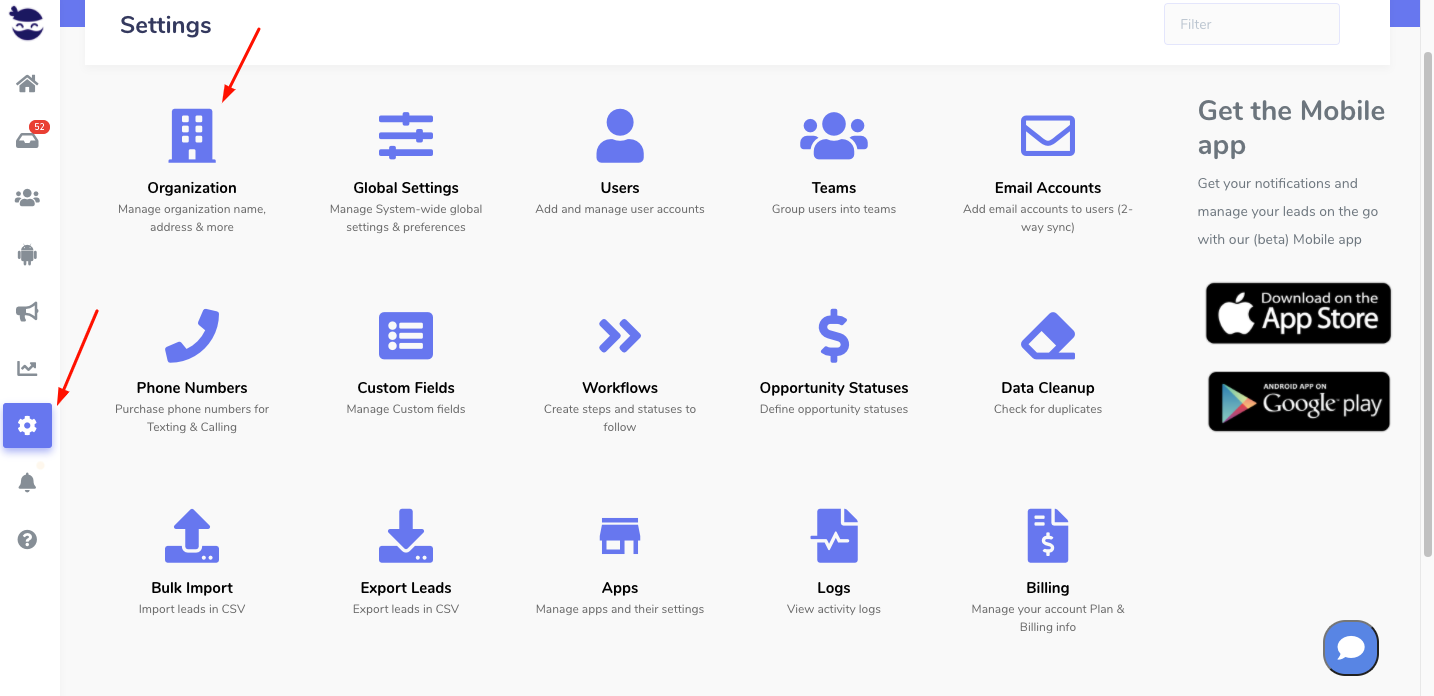
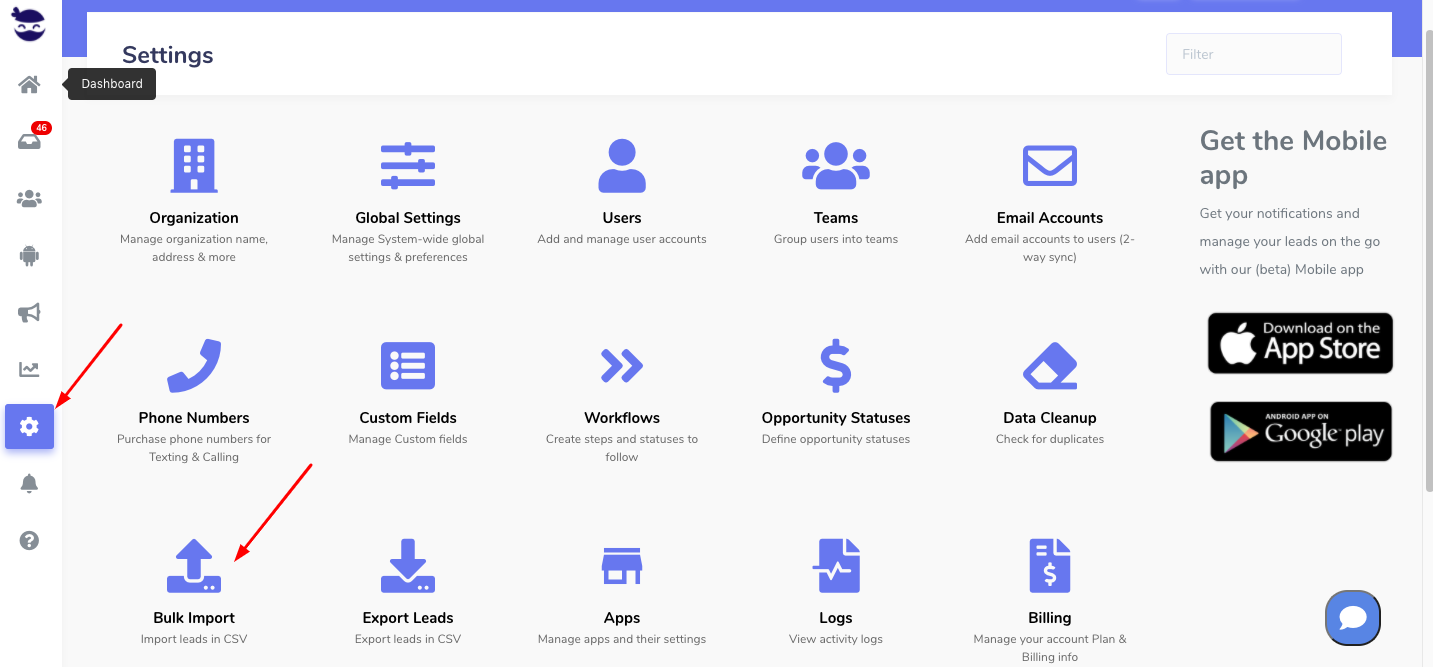
  • Go to Settings > Phone numbers
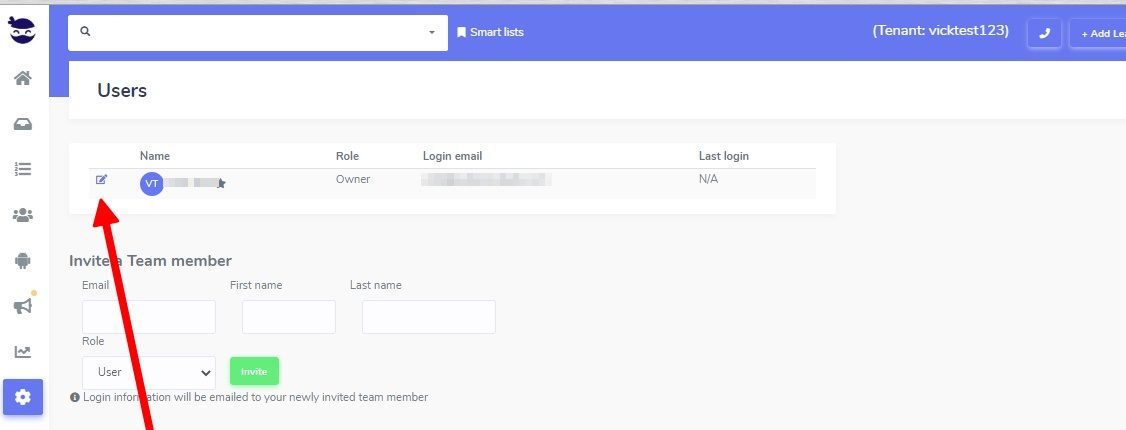
  • Click the edit pen next to the phone number you want to associate the voicemail greeting record with.
  • Hit the checkbox next to “Use Custom Voicemail“.
  • Click on Upload file to upload your voicemail greeting message.
  • Lastly, hit Update.
  • Play the voicemail record under “Active voicemail greeting audio” to listen to it.
  • Go ahead and test it by calling this phone number. Check that your voicemail greeting record is running when the call is not answered.

Changing the voicemail greeting record

To replace your customized voicemail record with a new one, just upload the new file and hit update.

To replace your customized voicemail record with aNinja’s default record, just unmark the “Use Custom Voicemail” checkbox.

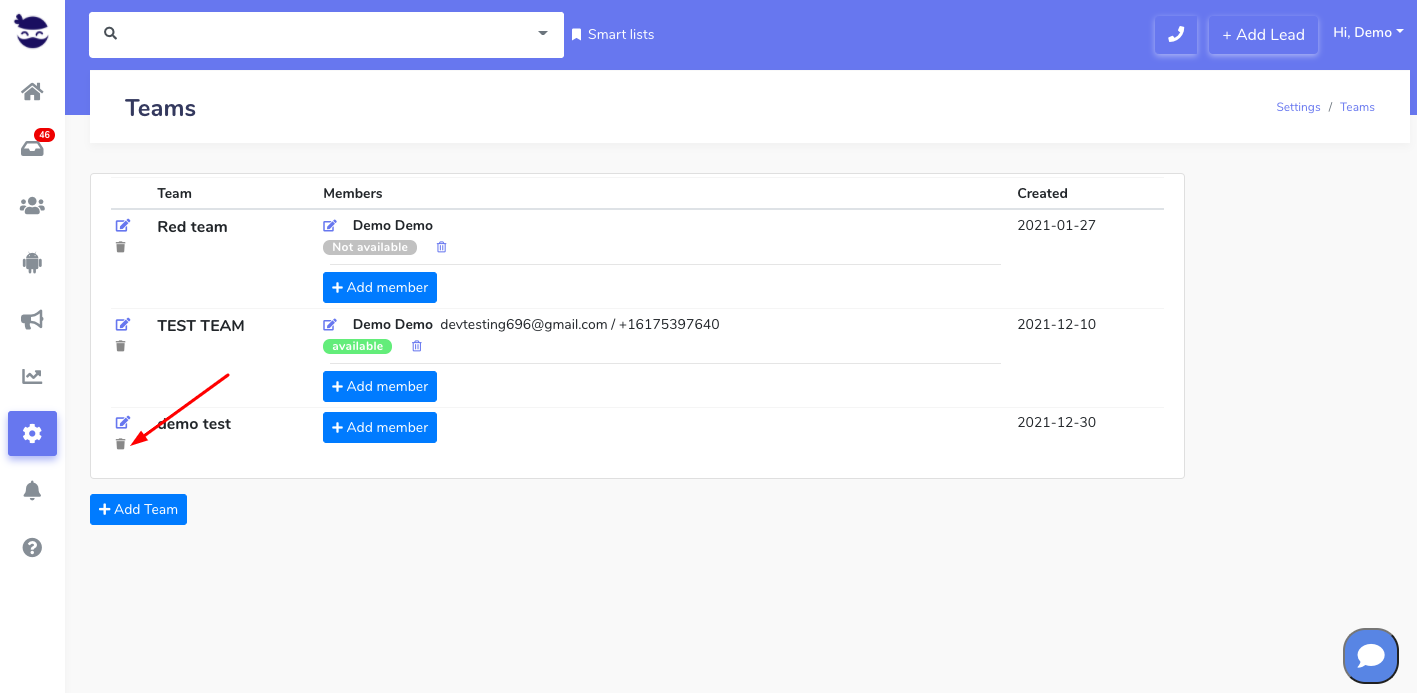
Note! The recycle bin at the bottom of the page deletes the phone number and the voicemail record associated with it.

Have any specific questions or clarification? Please send us an email at support@aninja.com. We will happily assist you!
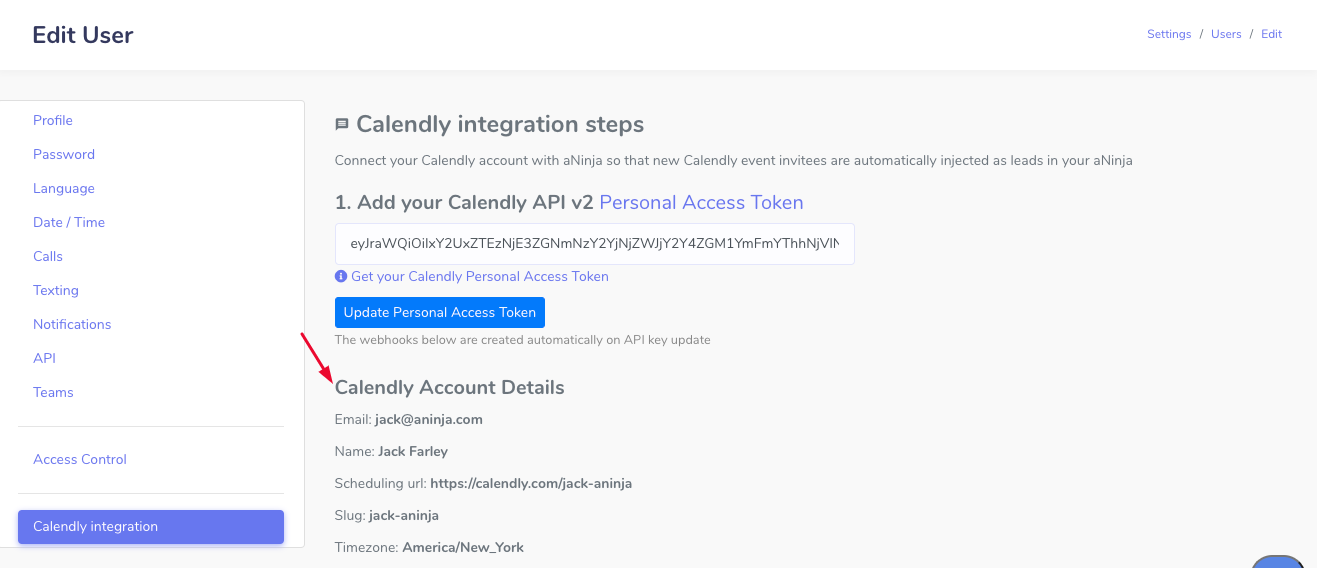