The Owner user role is a default role. Every plan must have a predefined owner.
The Owner role must always exist with all permissions enabled. This is the only role that has billing access.
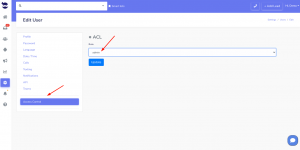
Owner user role
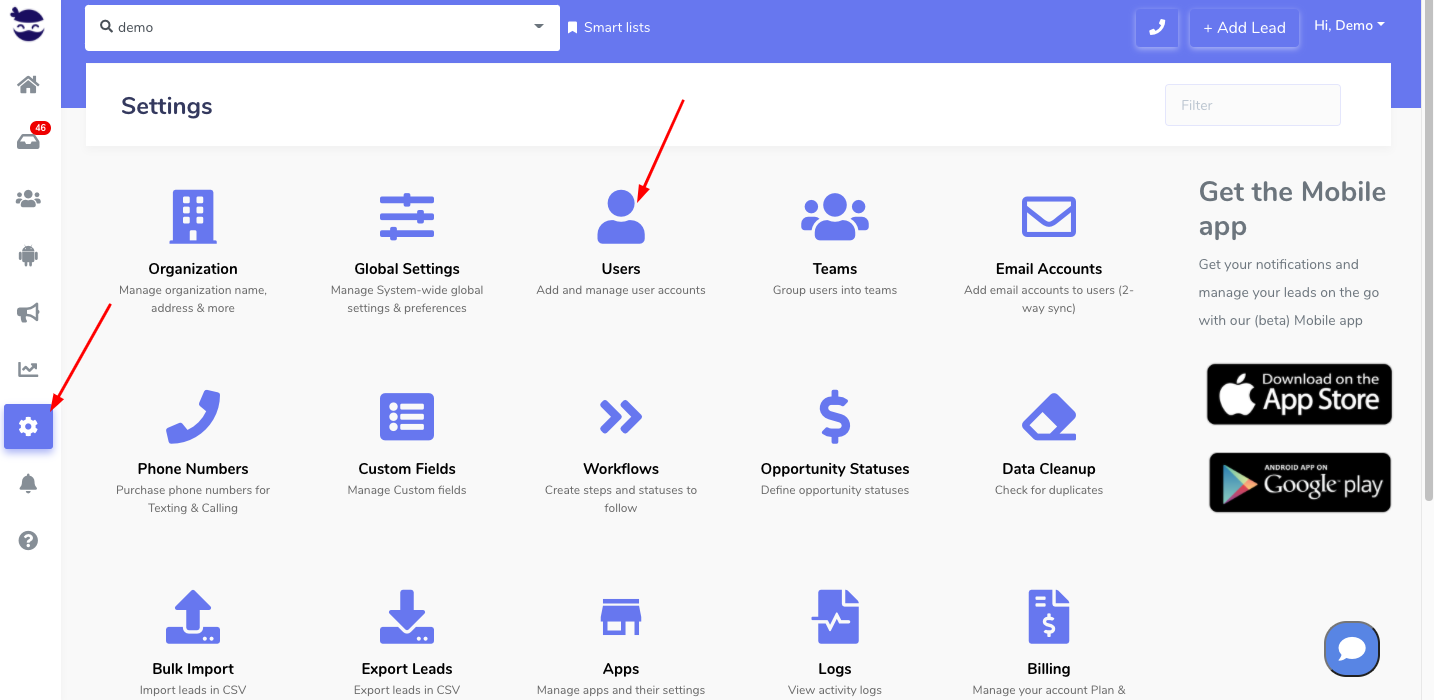
An Owner user has all permissions enabled in aNinja. In addition to the permissions granted to the Admin role, the owner has the ability to manage the Billing access.
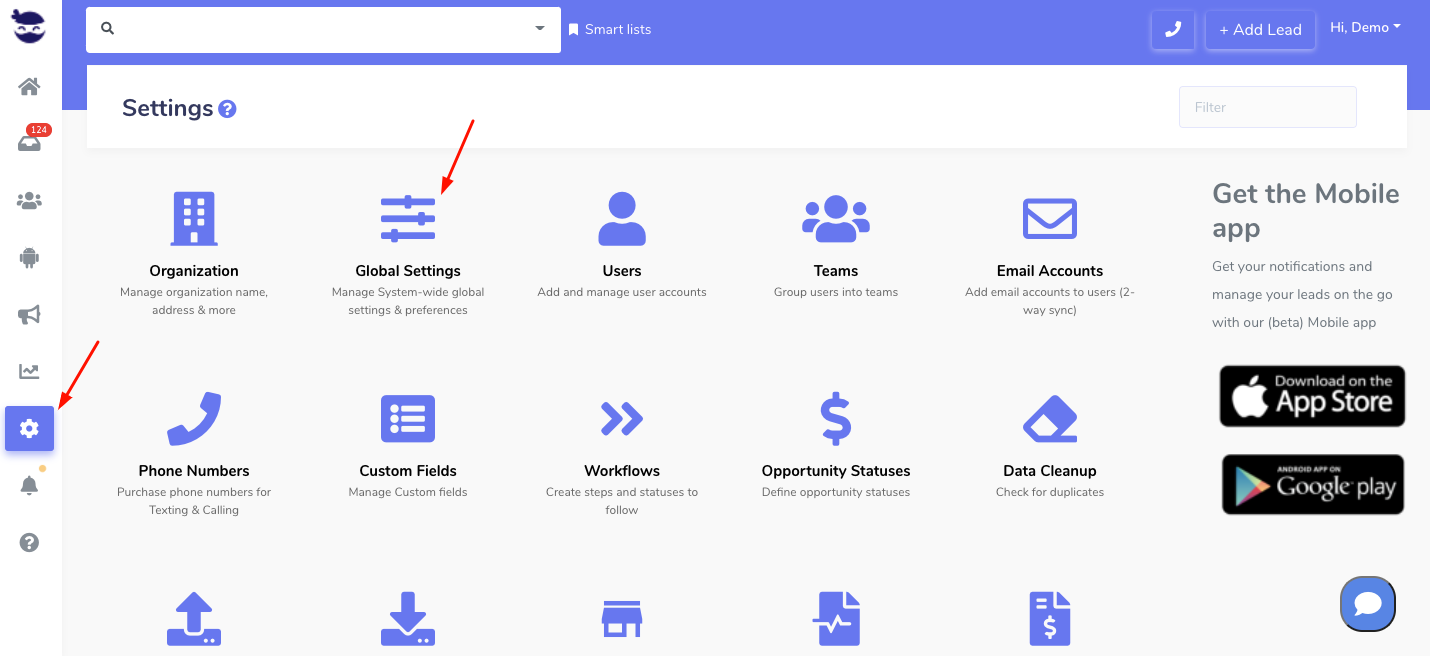
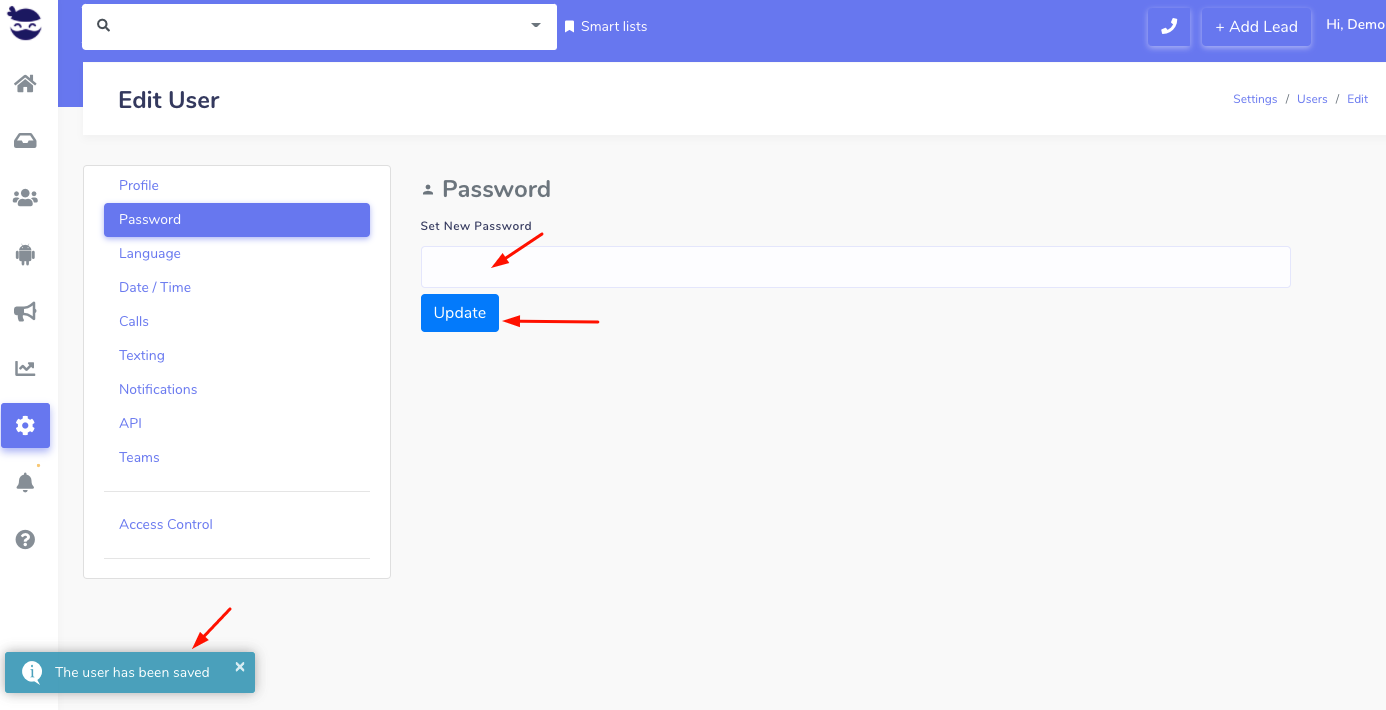
- Manage Users, Billing, & Roles/Permissions/Accesses
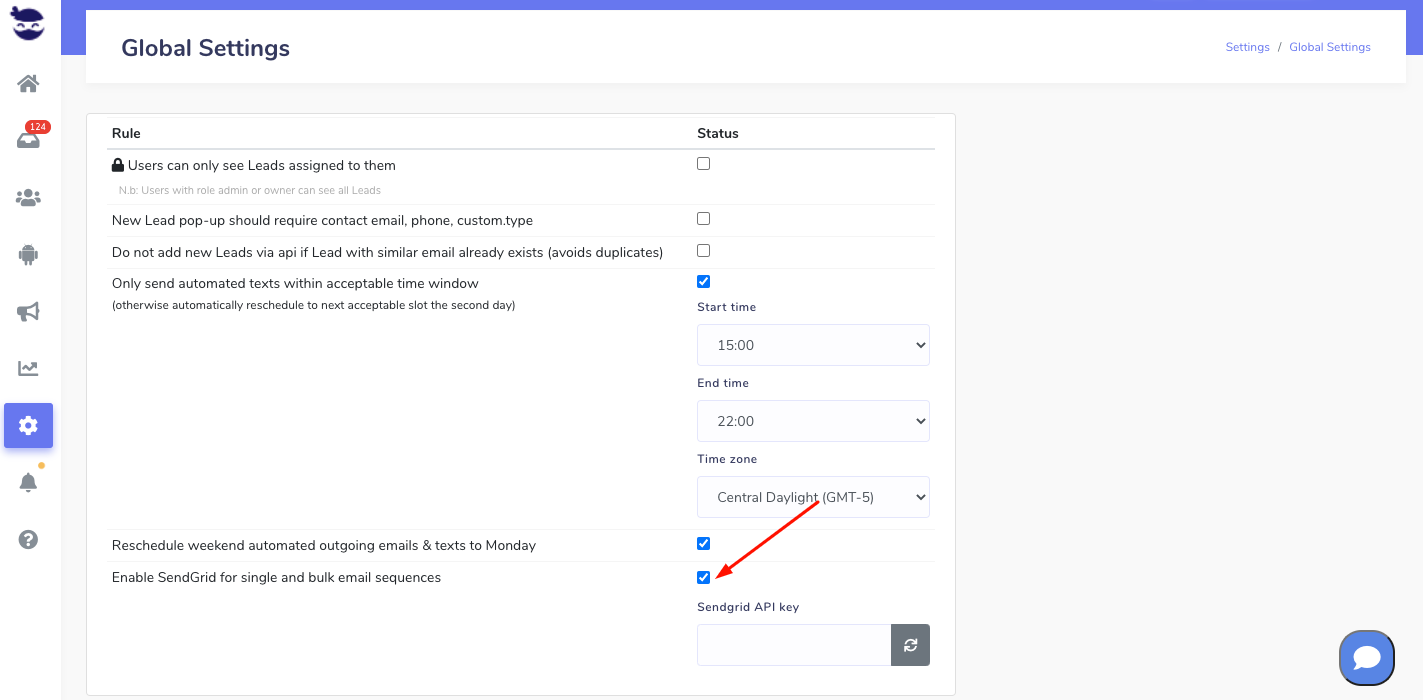
- Manage customizations: create/update/delete Workflow statuses, custom fields, integration links, organization name, currency, etc.
- And, manipulate group Phone Numbers.
- Block and unblock a lead phone number and manage the blocked numbers list.
- Also, Manage team Smartlists, and email and text sequences.
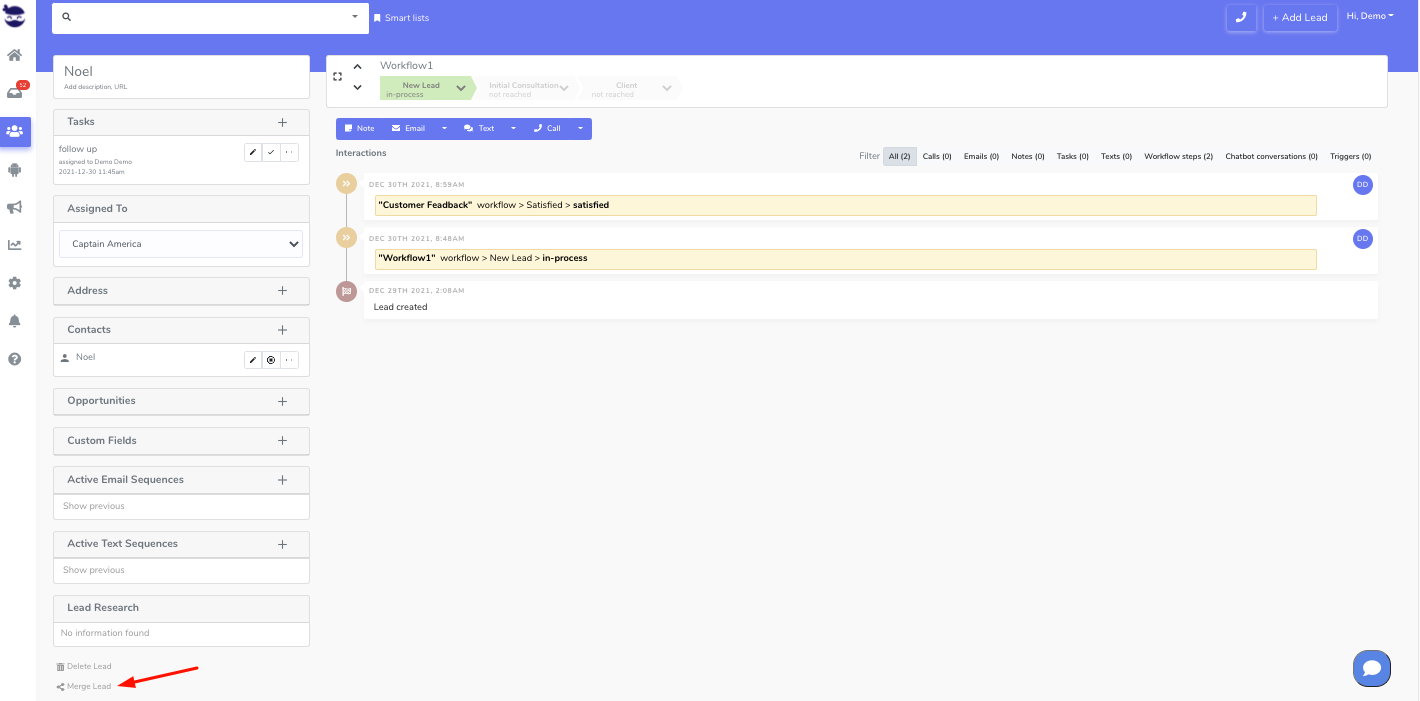
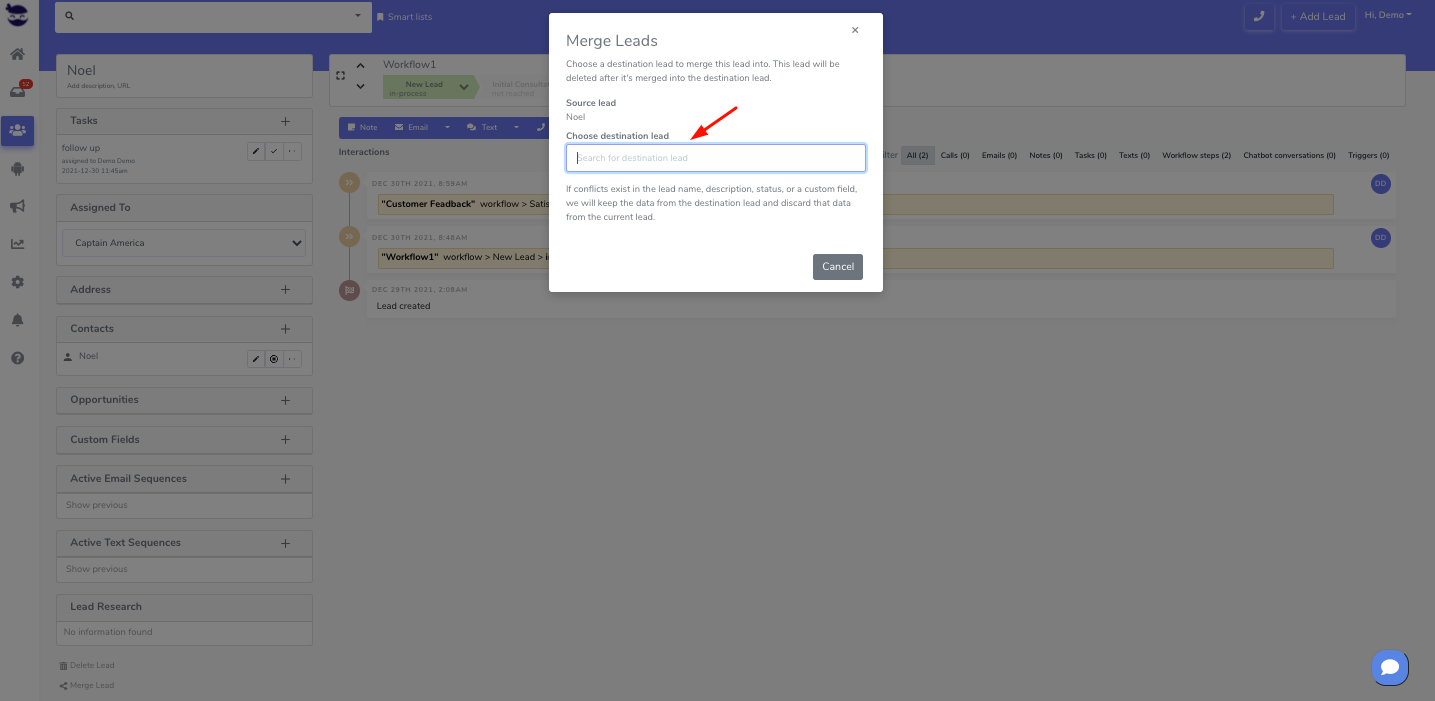
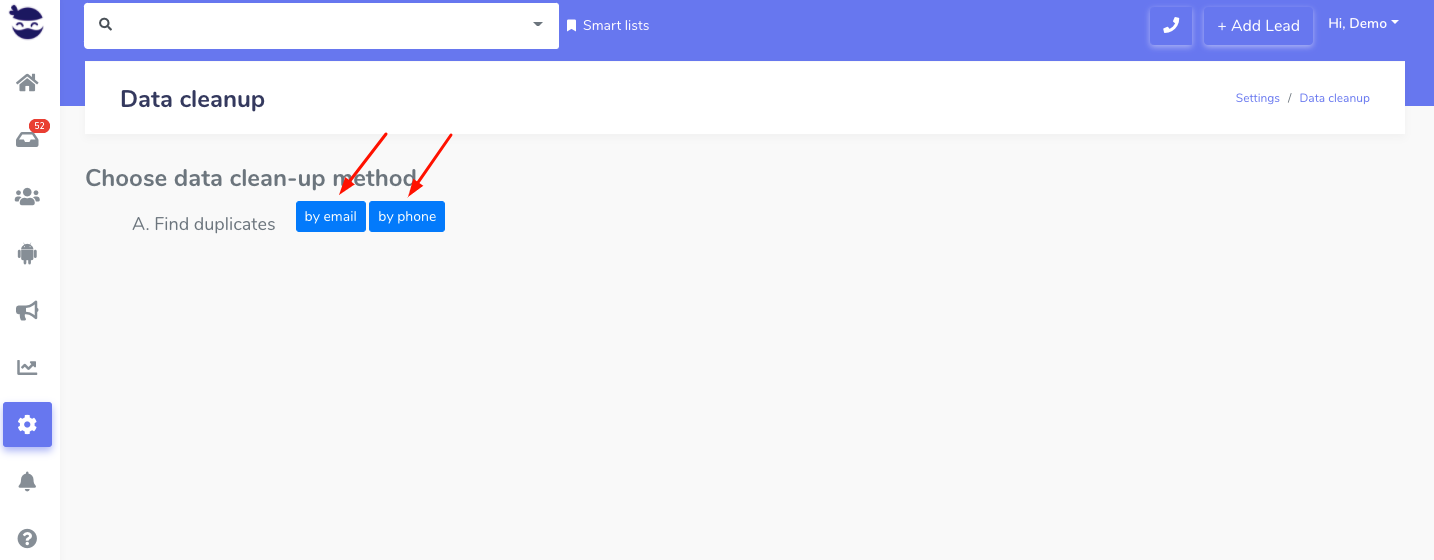
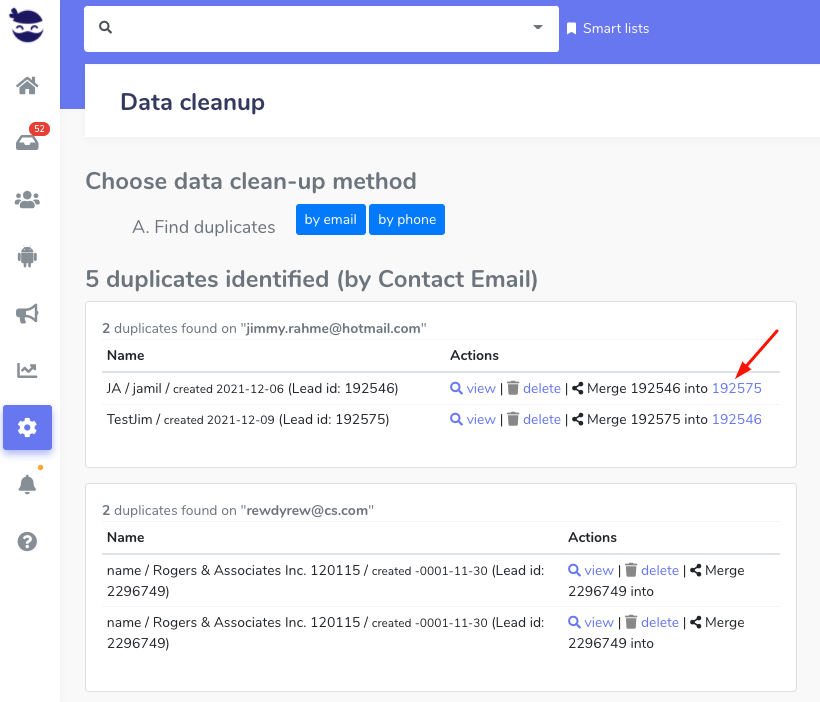
- Edit, delete, merge, or import leads.
- Also, Export lead data to a CSV file.
- Launch bulk email sequences or manage bulk sequence subscriptions as well.
- Launch bulk text sequences or manage bulk sequence subscriptions as well.
- Modify/delete other users’ opportunities, activities, and tasks.
- And, Modify/delete own opportunities, activities, and tasks.
- Lastly, Call, send SMS, and use the power dial.