Assigning a bulk import list

Assigning a lead to a user allows you to efficiently follow up with your lead and close them quickly. Especially if you have distributed the tasks between your team members to better close leads. How about assigning a bulk import list to a specific user!

Assigning a bulk import list to a user

  • When preparing the leads file, add a column in your CSV sheet called User_id.
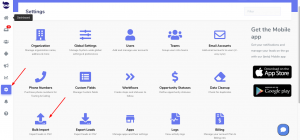
    • You can find the user_id in Settings > Users > next to the user name.
  • And set the column values to the User ID of the user you want to assign the leads to.

Mapping the user ID to aNinja field

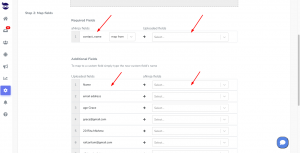
When importing your CSV file, you want to map the user ID in your CSV file to user_id in aNinja fields.

Where does the user ID appear?

After the import, the user ID you’ve added to your contacts list will show in the lead view of the imported leads > in the Assigned to section.Assigning a bulk import list

Note: As long you have “Users can only see Leads assigned to them” enabled under Settings > Global Settings, then users (unless admin) can only see leads assigned to them.

Need help in assigning a bulk import list? Leave us an email at support@aninja.com and include the CSV file. Let us know the user you’d like to assign.

Wix aNinja Webhook integration

aNinja allows you to integrate your Wix Website into your aNinja account.

In this article, we show you how the Wix aNinja integration can be easily done.

Wix Integration

You can integrate and augment the functionality of popular platforms with aNinja.

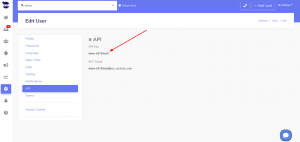
  • First, you need to find your API key
    • On the left sidebar, click on Settings > Users
    • Then, click the edit pen next to your name.
    • And, copy it to use it later in the integration

Enabling Wix Form Webhooks

To get your Wix forms to push the form submission information into aNinja, you can use webhooks in Wix.

  • First, on your Wix site, start by enabling Velo Dev Mode:
    • This is as simple as going to your site (Edit site), and in the top bar where Dev Mode is indicated, turning on Dev Mode.
  • Next, you can go back to your Wix dashboard, and under Automations, click to add a new Automation.
  • Then, choose a Trigger event (for example on all form submissions).
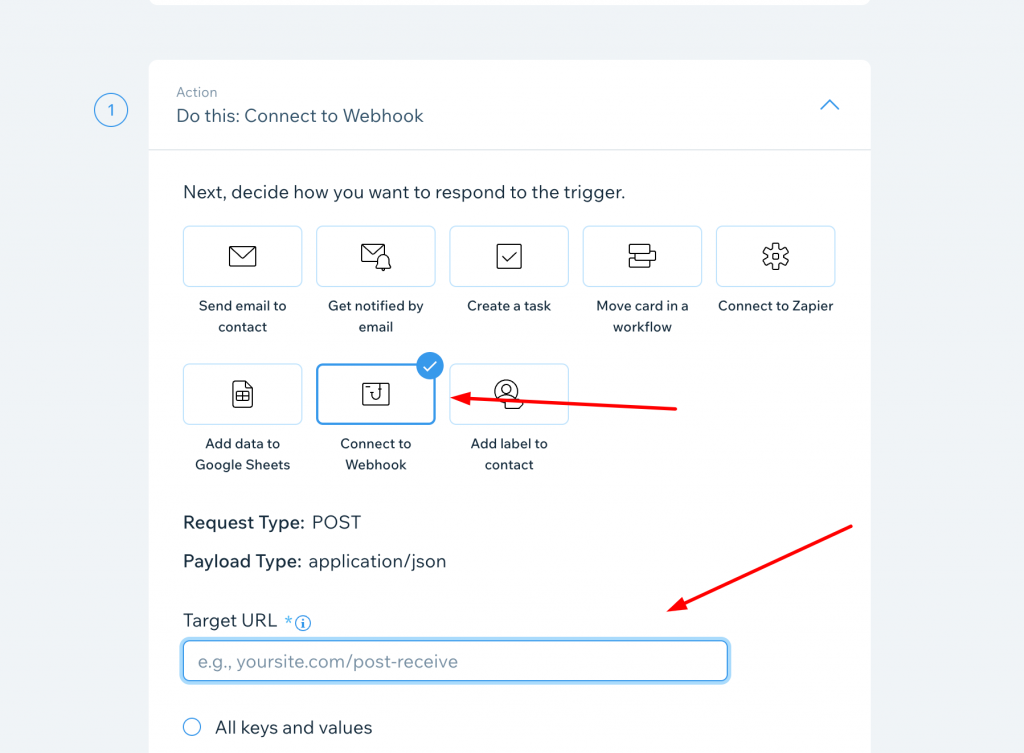
  • Now, choose the webhook option.
  • And, configure the webhook to point to the aNinja webhook handler for Wix:
    • https://leads.aninja.com/handlers/wix/redirect.php
  • Then, choose “Customize structure” to map the form fields to the aNinja fields.

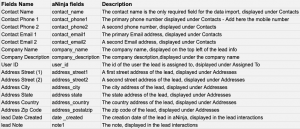
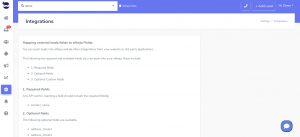
These are the default aNinja fields:

  • Lastly, hit Save and test it out with a form on your Wix site.

Need help in your Wix aNinja integration? Leave us an email at support@aninja.com. We will happily assist you!

Bulk text sequence not reaching all leads

Bull Text Sequence not reaching all leads

When launching a bulk text sequence to your leads, the system uses the contact phone numbers that were created or imported upon the creation of the lead.

It is important to fill in the right info so your bulk sends properly and reaches all the leads.

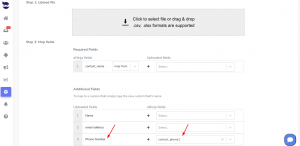
During the mapping when importing a CSV file, use this aNinja field:

contact_phone1 –> to be mapped to the phone number

Note: Make sure the primary phone number saved to your lead contact is a mobile number. The system can’t identify the landline from the mobile numbers, and the leads will not receive your messages.


Squarespace API Integration

With Squarespace API Integration you can forward leads into your aNinja account simply using a programming code or an API. In this article, we show you how the Squarespace API Integration can be done.

Squarespace API Integration

The following example is specific to Squarespace (add in the “Page section Settings > Advanced tab > Page header code injection text area section for the page where you have the form you want to forward into aNinja).

// SQUARESPACE - example 1
// Add in javascript advanced:
<script src="https://ajax.googleapis.com/ajax/libs/jquery/3.2.1/jquery.min.js"></script>
<script>
$(document).ready(function() {
$('form').submit(function(e) {
var contact_name = $("input[name='fname']").val();
var contact_email1 = $( "input[name='email']").val();
var phone_areacode = $('*[data-title="Areacode"]').val();
var phone_prefix= $('*[data-title="Prefix"]').val();
var phone_line = $('*[data-title="Line"]').val();
var contact_phone1 = phone_areacode+phone_prefix+phone_line;
var subject = $($('select')[0]).val();
var pref_contact_method = $($('select')[1]).val();
var message = $('textarea#textarea-yui_3_17_2_1_1442700176413_134868-field').val();

$.ajax({
type: 'post',
url: "https://aninja.com/api/v1/contactform/?apikey=YOUR_API_KEY_HERE",
data: {
'contact_name': contact_name,
'contact_email1': contact_email1,
'contact_phone1': contact_phone1,
'your-comments': 'message: '+message+' subject:'+subject+' pref_contact_method: '+pref_contact_method
},
success: function (data) {
// alert('success');
}
});
});
});
</script>

Fields mapping Table

The following are standard fields you can map to, in addition to any custom fields created in your application that you can see under Settings > Custom fields.

Where does the imported data appear

After the integration, you can search your aNinja CRM for the imported leads. You can also search for any custom field, opportunities, and any other info that you have imported.

  • Lead’s contacts appear in the leads contact section in the lead view
  • Opportunities also appear in the opportunity section in the lead view
  • The company’s info appears on the top left of the lead view, in the Company section.
  • Custom fields appear in the custom field section of the lead view
  • Lead Search is a field that also appears in the bottom left of the lead view. Specifically, these are info/links on the lead or the organization found in Google search.

Need help with Squarespace API Integration? Leave us an email at support@aninja.com. And we will happily assist you.

Bulk Leads Import using a CSV or Excel file

You can import your leads in bulk into your aNinja account using a CSV or Excel file.

What’s a CSV file

CSV: a Comma Separated Values file. It’s a plain text file that contains a list of data. These files are often used for exchanging data between different applications. For example, databases and contact managers often support CSV files.

A CSV file has commas in between the values of each column. If there is no comma separating the values of the columns, the CSV file is not valid. And you’ll not be able to import your file to aNinja. So, you want to check the export options that generated this file to make sure the comma is there to have a valid CSV.

Creating a CSV or Excel file for Importing

  • Have your data saved in an Excel or Google sheet file as a dataset* and work on sanitizing it there.
  • Make sure the first row in your spreadsheet is a headers row (a row containing columns names).

Dataset*

  • To make the mapping process easier, name your headers as they appear in aNinja:
    • Standard Fields
      • aNinja standard fields are found under the categories: Lead’s Contacts, Company, and Address.
      • The Contact name is the only required field and it’s essential to complete the import.

    • Custom Fields
      • Prefix your field’s name with “Custom.” so it is saved as a custom field on the lead page.

Bulk Leads Import using a CSV / Excel file

  • You can access the Bulk Import from:
    • + Add Lead on the top right navigation bar

    • Or from Settings > Bulk Import in the left sidebar

  • Hit the Click to select a file

Bulk Leads Import using a CSV file

  • Then, choose the file you created for the upload.
  • If you have previously saved mappings, you can use them here. Click on “Load mapping” dropdown.
  • Otherwise, map the file fields (on the left side) to aNinja fields (on the right side)

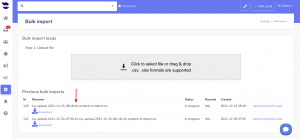
All the files that you’ve imported to aNinja are saved in the Previous Bulk Import section. You can download / delete them at any time.

Where does the imported data appear

After the import, you can search your aNinja CRM for the imported leads. You can also search for any custom field, opportunities, and any other info that you have imported.

  • Lead’s contacts appear in the leads contact section in the lead view
  • Opportunities also appear in the opportunity section in the lead view
  • The company’s info appears on the top left of the lead view, in the Company section.
  • Custom fields appear in the custom field section of the lead view
  • Lead Search is a field that also appears in the bottom left of the lead view. Specifically, these are info/links on the lead or the organization found in Google search.

Calendly API Integration

Calendly is an online Calendar that helps you schedule meetings without the back-and-forth emails. Moreover, Calendly appointments can now be automatically added to your aNinja account. You just need to activate the Calendly API integration.

The integration requires a “Professional” account with Calendly.

Activating the integration with Calendly

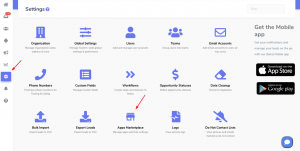
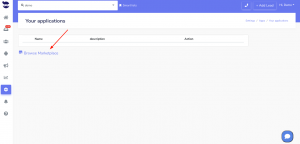
  • First, click on Browse Marketplace

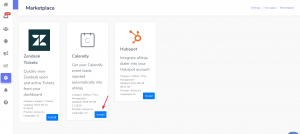
  • And, click on Install under Calendly

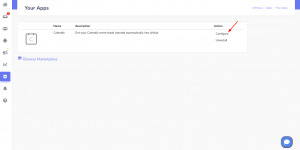
  • Then, hit Configure

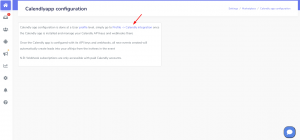
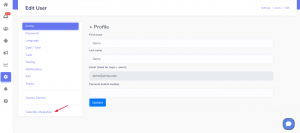
  • Click on Profile > Calendly Integration

  • You will be redirected to your user profile. Hit Calendly Integration

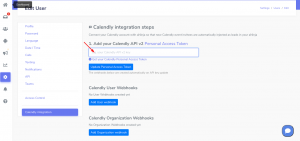
  • Under “Add your Calendly API v2“, add your Calendly Personal Access Token.
    • Click on “Get your Calendly Personal Access Token” to be redirected to your Calendly account.

  • Lastly, click on Update Personal Access Token.
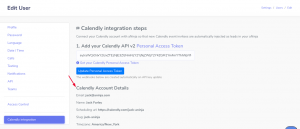
  • You can see the Calendly account details:

  • To complete the integration, you want to activate ONE of the two webhooks:
    • Calendly User Webhooks
      • This triggers the webhooks for subscribed events that belong to the specific user.
    • OR Calendly Organization Webhooks:
      • This triggers the webhooks for ALL the subscribed events within the Organization.
  • If you can’t see the webhooks data under the User / Organization Webhooks, check your Calendly plan. The integration requires a “Professional” account.
  • Refresh Webhooks every time you make changes to the webhooks.

Now, any Calendly event automatically injects a lead into your aNinja account.

We’ve added a custom field ‘calendly_webhook_user_id‘ to the new leads created via Calendly. It represents the id of the user where the Calendly webhook is configured.

You can include the calendly_webhook_user_id in the trigger’s conditions, to e.g. assign the lead to the correspondent user.

Fields mapping

Ensure correct transfer of Calendly form fields to lead contacts and custom fields by using the provided naming conventions and mapping them to aNinja fields:

  • Name: map to contact_name (this is the only required field for the mapping).
  • Phone Number: map to contact_phone1
  • Email: map to contact_email1

My Calendly Integration Stopped Working

In this case, please check the following:

  • Firstly, if Calendly has regenerated or changed the Personal access token, then you should update it in aNinja for the integration to work.
  • Secondly, check if the Calendly App in aNinja is still active.
  • Thirdly, check if your Calendly account is still active and that it allows for API integrations (Professional plan).
  • Lastly, sometimes, Calendly automatically disables the webhooks if it receives error codes from our server. To re-enable it, you want to delete and recreate the webhook in your User profile > Calendly Integration.

After the integration, any Calendly appointment will automatically inject a lead into your aNinja account.

Where does the lead data appear

After the integration, you can search your aNinja CRM for new leads. You can also search for any custom field, opportunities, and any other captured info.

  • Lead’s contacts appear in the leads contact section in the lead view.
  • The company’s info appears on the top left of the lead view, in the Company section.
  • Custom fields appear in the custom field section of the lead view.
  • Lead Search is a field that also appears in the bottom left of the lead view. Specifically, these are info/links on the lead or the organization found in Google search.

Need help with the Calendly API integration? Leave us an email at support@aninja.com. And we will happily assist you!

aNinja Custom Fields

aNinja Custom Fields allow you to add extra information to your lead’s contact. They can be created manually, or dynamically created via API-injected leads.

What is a Custom Field

A custom field is a personalized data field that you can create and define to store specific information in your aNinja account. It allows for customization and flexibility in capturing and organizing data according to unique requirements.

aNinja Custom fields allow you to augment your lead data with additional custom fields of different types.

Moreover, custom fields are searchable within the system and can be used to build smartlists and search for leads and execute a trigger action based on a custom field value changed event.

Types of Custom Fields

  • Text – For text input
    • e.g. Campaign, category, form name, etc…
  • Link – For fields with any link/URL
    • If you designate the type as “Link” here, it will render the URL value as a clickable link in the lead view.

  • Date – Date in different formats
    • Select “Date” or “Datetime” as the type, and indicate the desired date format for displaying the value in the lead view.
  • Dropdown – Fields with multiple options dropdown
    • Select “Dropdown” as the type, and indicate the desired values for displaying in the lead view. Type one value on each like and hit enter to enter the second value.
    • e.g. “Source” with the values “Facebook”, “LinkedIn”, “Twitter”, etc…

Manually adding a custom field

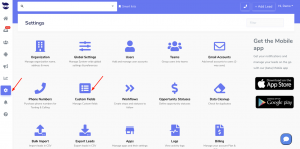
  • On the left sidebar, click on Settings
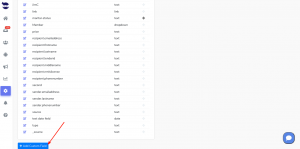
  • Go to Custom Fields
  • Here, click on Add Custom Field
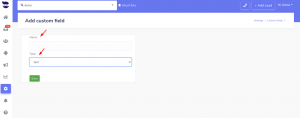
  • Label the Custom Field,
  • And, select the Type as described above (Text, Link, Date, or Dropdown).
  • Lastly, hit Save

Editing a Custom Field

  • On the left sidebar, click on Settings
  • Go to Custom Fields
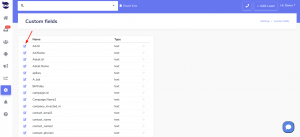
  • Click the edit pen next to the field name
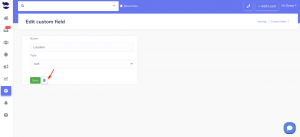
  • Make the changes and hit Save

Deleting a Custom Field

  • On the left sidebar, click on Settings
  • Go to Custom Fields
  • Click the edit pen next to the field name
  • Click the recycle bin icon
  • And hit OK to delete.

Adding a custom field to the contacts file / CSV file

When you’re preparing the contacts file, and before you import it to your aNinja account; save any additional information that you have on the leads as custom fields. Like “created date”, “source”, “platform”… Then map them to the aNinja custom fields.

Name the header and prefix it with “Custom.” e.g. Custom.Platform.

Using Custom fields in Triggers

You can use the Custom field value changed as a Trigger event to execute a trigger action.

Related articles:

Segmenting leads using Custom fields

Searching for leads using custom fields

Trigger Custom Field value changed event


WordPress Forms aNinja Integration

WordPress Forms aNinja integration is a way to integrate WordPress websites into your aNinja account.

After the integration, a lead is injected into your aNinja account after each form submission.

aNinja Integration

WordPress Sites Integration

You can integrate and augment the functionality of popular platforms with aNinja, including Shopify, Squarespace, WordPress, and Wix.

  • First, you need to find your API key
    • On the left sidebar, click on Settings > Users
    • Then, click the edit pen next to your name.
    • And, copy it to use it later in the integration

Fields mapping

Map the data on the aNinja fields and Form fields.

These are the default aNinja fields:

For the Custom Fields, just prefix the field name with “Custom.” e.g. Custom.Source

Where does the imported data appear

After the integration, you can search your aNinja CRM for your leads. You can also search for any custom field, opportunities, and any other info that was pushed from the form.

  • Lead’s contacts appear in the leads contact section in the lead view
  • Opportunities also appear in the opportunity section in the lead view
  • The company’s info appears on the top left of the lead view, in the Company section.
  • Custom fields appear in the custom field section of the lead view
  • Lead Search is afield that also appears in the bottom left of the lead view. Specifically, these are info/links on the lead or the organization found in Google search.

Need help in your aNinja integrations? Leave us an email at support@aninja.com. We will happily assist you!

Zapier aNinja Integration

In this article, we show you how Zapier aNinja integration can be done.

What is Zapier

Zapier is a tool that allows you to connect web apps together. An integration between two apps is called a Zap.

And a Zap is made up of a Trigger and one or more Actions.

Whenever the trigger happens in one app, Zapier will automatically perform the action in the other app.

So you can set up the trigger step of your choosing. In this example, we will be using Facebook Ads as the trigger. Next, select *“Webhooks by Zapier” to enter new records into aNinja.

*Requires Zapier Premium account.

Setting up a Zap trigger

  • Choose your App and event
    • In the Zap editor, click to open the Trigger step.
    • Under Choose app & event section, search for and select the app that will trigger the Zap.
    • Click the Event dropdown menu and select the event that will trigger the Zap.
  • Choose your App account
    • If you already have an account connected to Zapier for the trigger app, select it from the account dropdown menu.
    • If not, click + Connect a new account and follow the instructions to connect your app to Zapier.
    • Once a connection is selected, click Continue.
  • Customize your Options
    • Next, set up your trigger options if available.
  • Test your Trigger
    • Click Test Trigger

Once you’ve set up your trigger, you can set up the rest of your Zap by adding an action.

Setting up a Zap action

After setting up the first Trigger of the Zap, the next step is to add an action to your Zap.

  • Choose your App and event
    • In the Zap editor, click the Action step, or the plus + icon to add an action to your Zap.
    • Search for or select the app you want to use in your action (aNinja).
    • Select “Webhooks by Zapier” to post into aNinja.

    • Choose Action Event
      • aNinja only supports receiving leads using a request because POST is more secure than GET.

  • Then, we need to find aNinja API Key
  • Under Submission URL field put:
    • https://aninja.com/api/v1/contactform/?apikey=YOUR_API_KEY
      • Example:  https://aninja.com/api/v1/contactform/?apikey=sample123-6yauyue5e
    • Enter the Posting URL
      – Copy & Paste in the Posting URL from above

Mapping
  • Start mapping the data. Use the “+” icon in Zapier to choose the information that you’d like to map.
  • The “Data” field should be the aNinja Field Name.
  • Please note your field mappings may look different than the example screenshot below.

* For adding a custom field, simply add “Custom.” before the data field. For example Custom.source would automatically create a custom field and map data in your aNinja account.

Customizing
  • After mapping, you can skip these fields, as there is no need to make any alterations to these fields in Zapier.

Test & Continue
  • Next, review the data you’re trying to map and test!
  • Lastly, if there is any failure or error, please update the data accordingly.

  • The next screen will show you whether or not Zapier was able to successfully perform the action step for you.
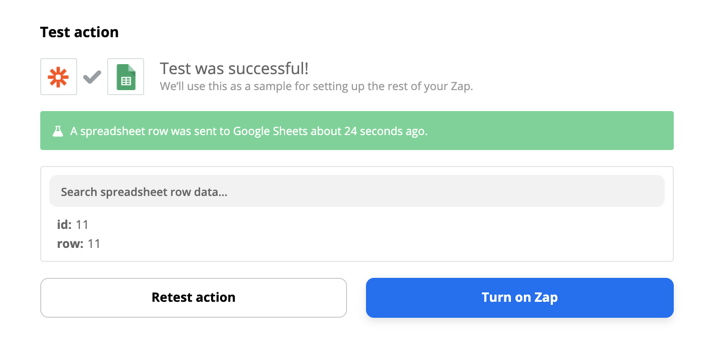
The data that your action app will output.

  • Click Close.

Where does the imported data appear

After the integration, you can search your aNinja CRM for the imported leads. You can also search for any custom field, opportunities, and other information you have imported.

  • Lead’s contacts appear in the leads contact section in the lead view.
  • Opportunities also appear in the opportunity section in the lead view.
  • The company’s info appears on the top left of the lead view, in the Company section.
  • Custom fields appear in the custom field section of the lead view.
  • Lead Search is a field that also appears in the bottom left of the lead view. Specifically, these are info/links on the lead or the organization found in Google search.

Need help with your Zapier aNinja integration? Leave us an email at support@aninja.com. And we will happily assist you.
 

Creating aNinja Forms

For integrating forms data into aNinja, you can:

  • Use aNinja forms: These are created inside aNinja. You simply drop the Javascript code on your site and they render and automatically push the lead data into aNinja.
  • Use your existing forms (in this case we can adapt some Javascript code to push the lead into aNinja on form submission).
  • If your site is a WordPress or similar, we also have plugins for those cases (Gravity forms, Contact Form 7, Hubspot Form, and WPForms).

With aNinja, you have the ability to create custom forms and personalize the content to your liking. Once these forms are integrated into your website, every submission will result in a lead being automatically added to your aNinja account.

Creating aNinja Forms

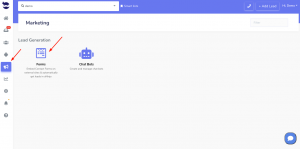
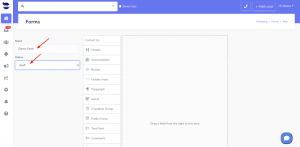
  • On the left sidebar, go to Marketing > Forms
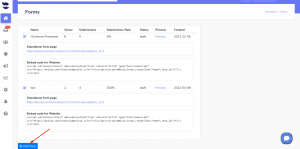
  • Click on Add Form
  • Label your form and select its status (draft, live, or archived)
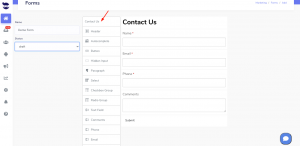
  • You can either select the Contact Us template or just drag fields from the list to create your own form.aNinja Forms
  • Incorporate a “hidden input” into your website’s form that remains concealed from users as they fill it out. And a custom field with the form name will be injected along with the lead data. This helps you identify leads generated from this specific form through the use of Smartlists.
    • A hidden input has a name and a value.
      • name: e.g. Custom_Form
      • value: e.g. aNinja contact form (or any title relating to the form).
    • If you’re intending to use multiple forms on your website, to each form you can assign a different name and value for the hidden input. Then you map it to aNinja’s Custom field. So every form submission creates a lead that has this input’s name and value among his custom fields.
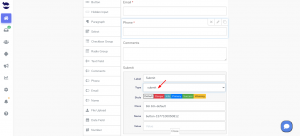
  • Insert a “Button” of type “Submit” at the bottom of your contact form for the form submission.

  • Lastly, click Save.
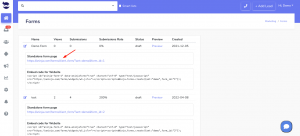
  • You can preview with Standalone link (optional)

Embed the form on your website

  • Go to Marketing > Forms
  • Copy the embed form code, to be able to embed the code snippet on your website.
  • We’ve added a data attribute inside this code that allows you to manage the Bootstrap design in the form. Set it to True or False to either skip or include the Bootstrap design in the form.
    • If it is set to True, then it skips aNinja’s design and uses the Bootstrap used in your website.
    • If set to False, then it uses aNinja’s Bootstrap design for the form.

Fields to include in the form

It’s very important to add “Input names” in the form fields and map them to aNinja fields (check the fields mapping section below).

The input names basically are:

  • Name: that’s a required field and it will be mapped to the aNinja field: contact_name
  • Phone: to be mapped to the aNinja field contact_phone1
  • Email: to be mapped to the aNinja field contact_email1
  • If in your form you’ve added other fields (e.g. Source), these are considered Custom Fields. When mapping them to the aNinja fields, just add this prefix Custom_ (Custom + Underscore). (e.g. Custom_Source).

Fields mapping

The following are standard fields you can map to, in addition to any custom fields created in your application that you can see under Settings > Custom fields.

Where does the imported data appear

After the form submission, a lead is automatically injected into your aNinja account.

You can search your aNinja CRM for the imported leads. You can also search for any custom field, opportunities, and any other info that you have included in your form.

  • Lead’s contacts appear in the lead contact section in the lead view.
  • Opportunities also appear in the opportunity section in the lead view.
  • The company’s info appears on the top left of the lead view, in the Company section.
  • Custom fields appear in the custom field section of the lead view.
  • Lead Search is a field that also appears in the bottom left of the lead view. Specifically, these are info/links on the lead or the organization found in Google search.