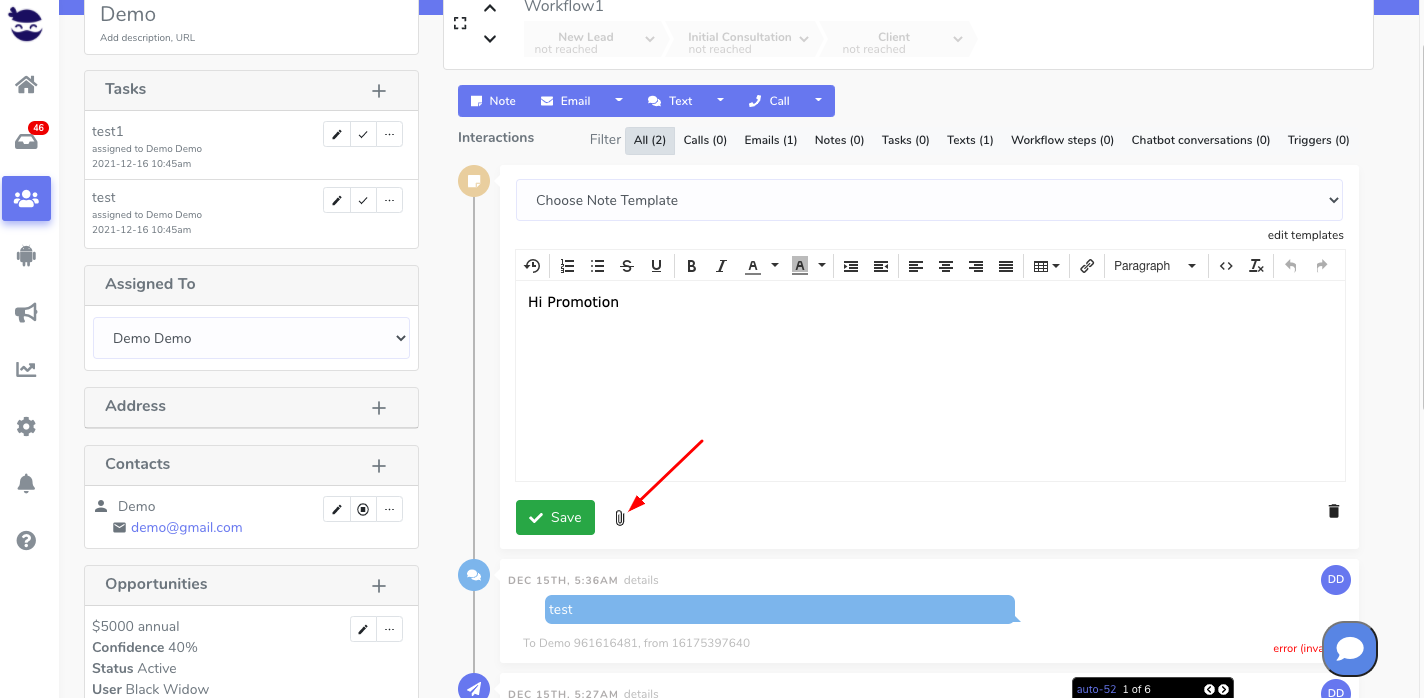
Once you’ve connected your email, and configured it with aNinja, as result, the email syncing is automatically processed: the system starts to automatically import the sent & received emails from your private email into your aNinja account.
Afterward, they are saved to the appropriate leads’ contacts in aNinja; even if you’ve sent those emails from outside of aNinja.
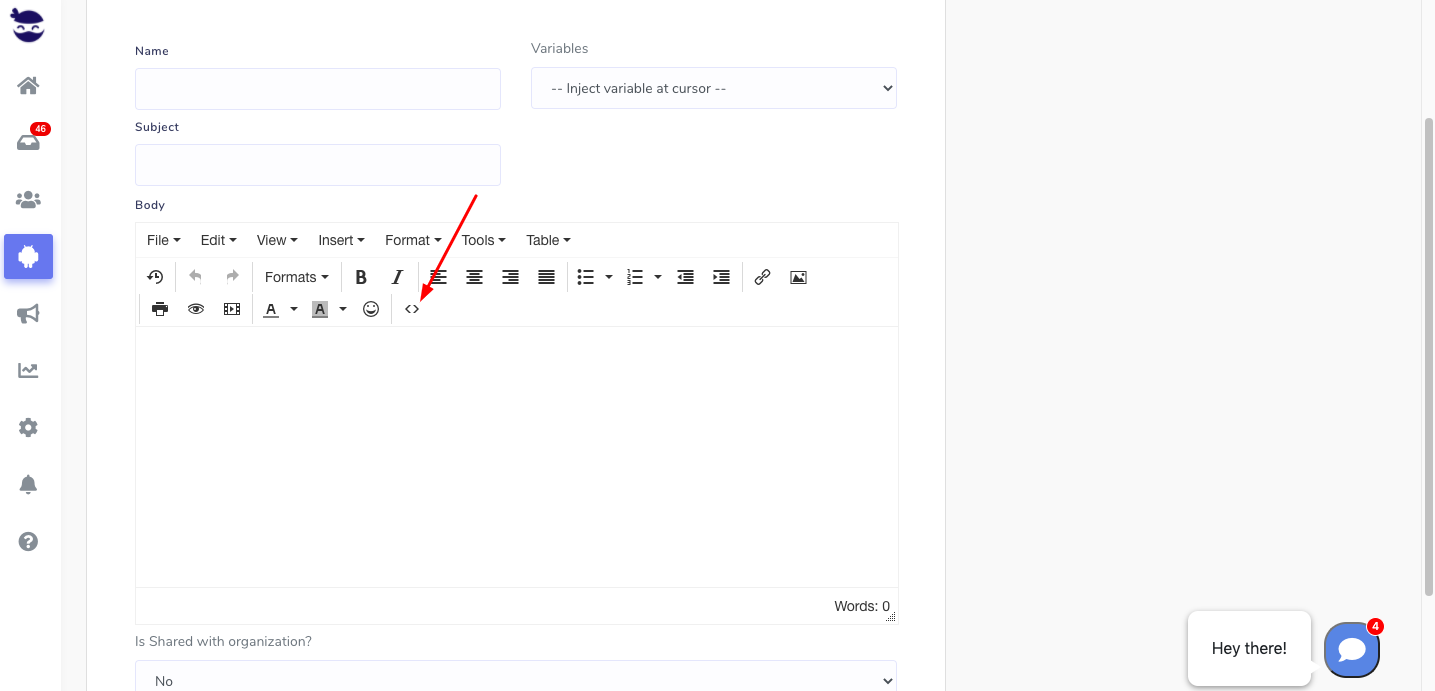
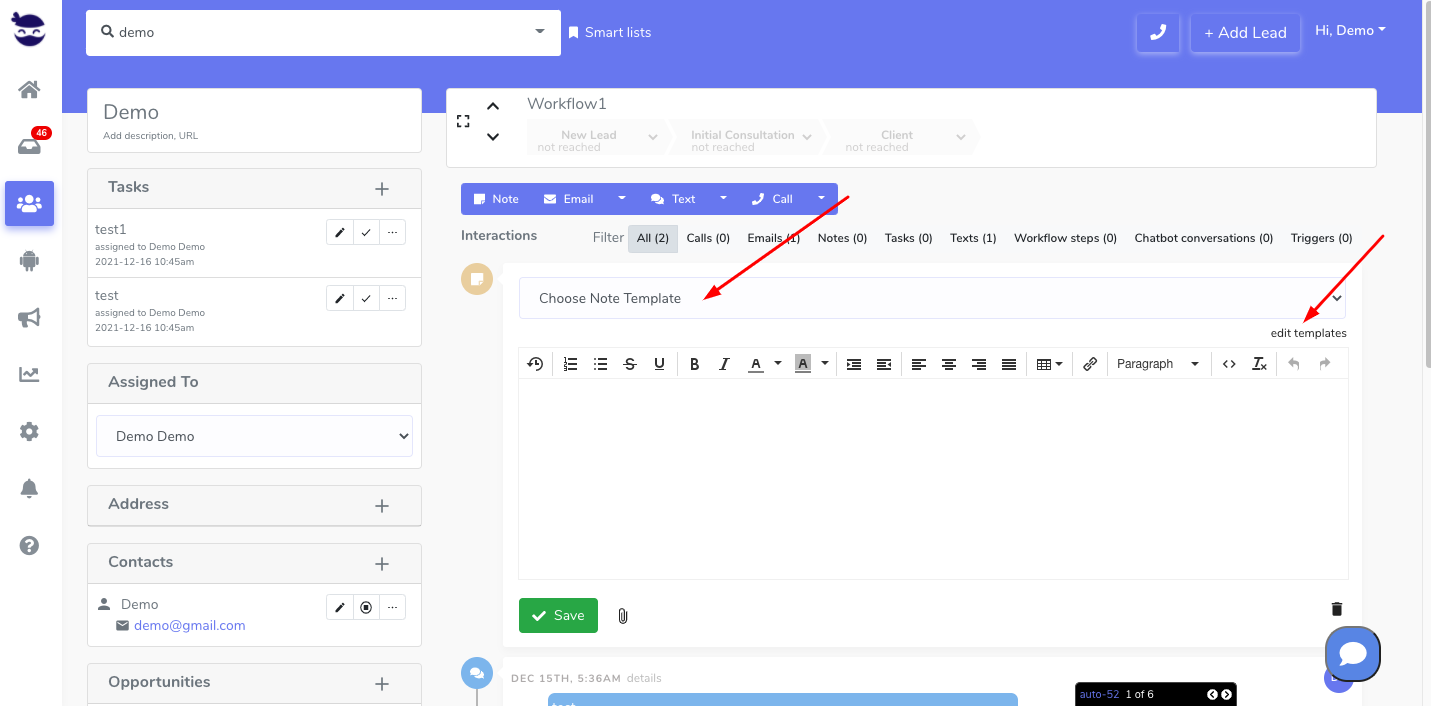
Configuring your email account
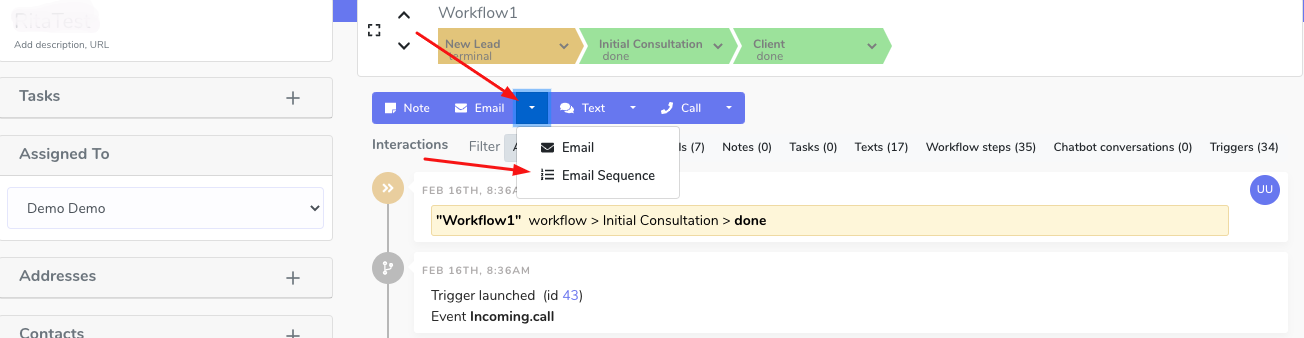
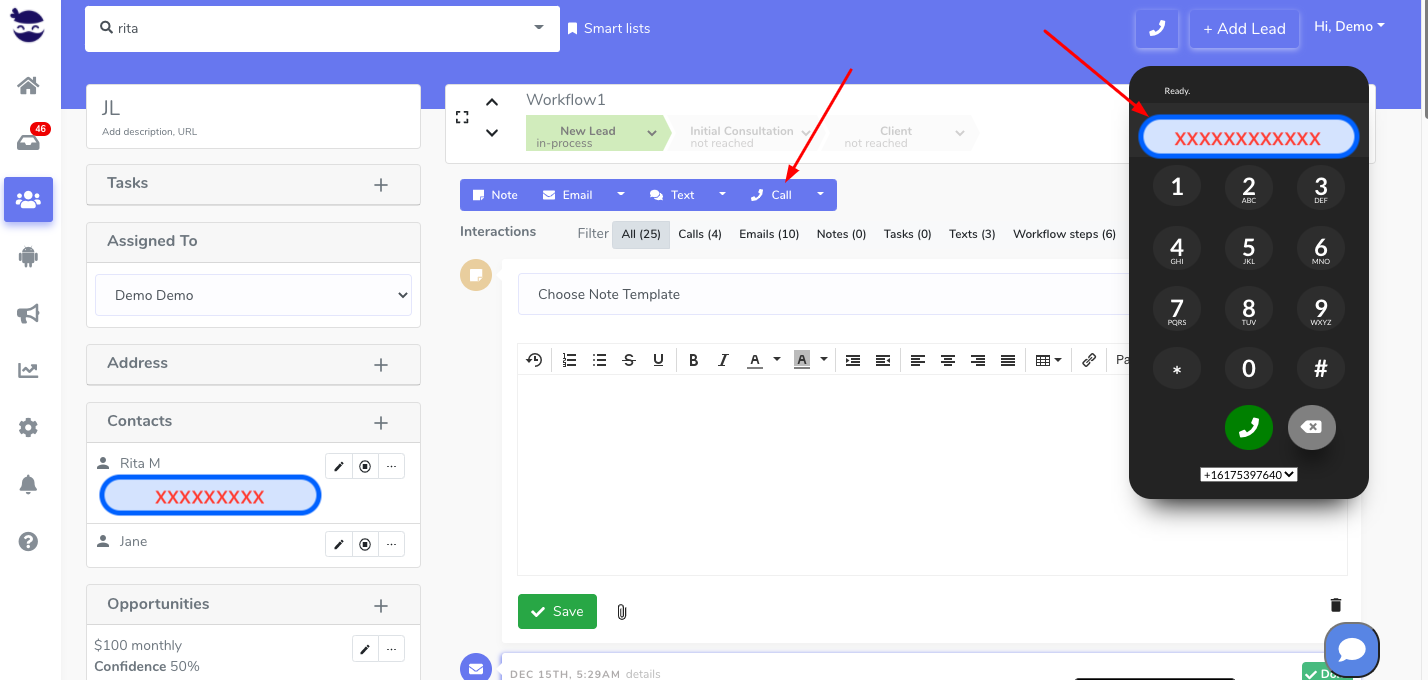
aNinja was designed to offer two-way email integration. This means that when you send emails from aNinja, they are automatically logged in the sent folders of both aNinja and your email account (Gmail or your mobile phone). Configuring your email account allows you to work on both aNinja and your email account in total synchronization.
Syncing emails to the leads’ contacts
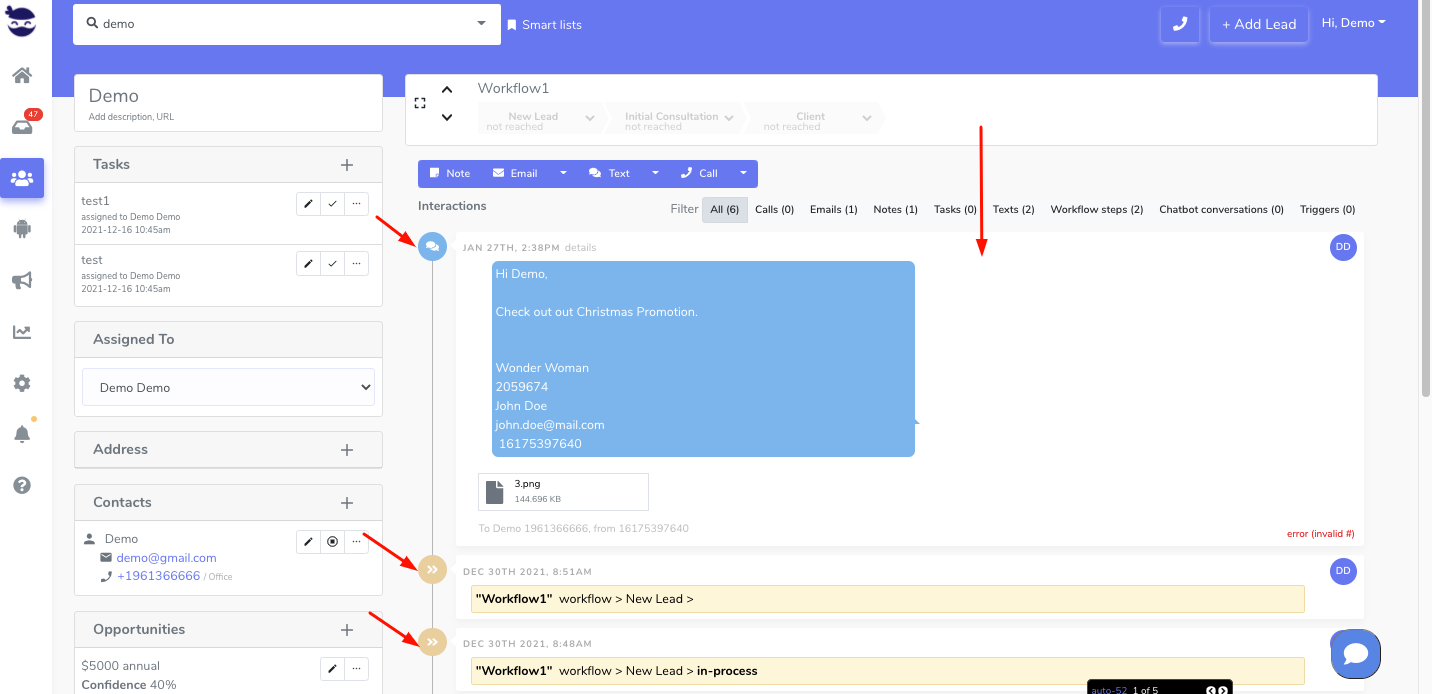
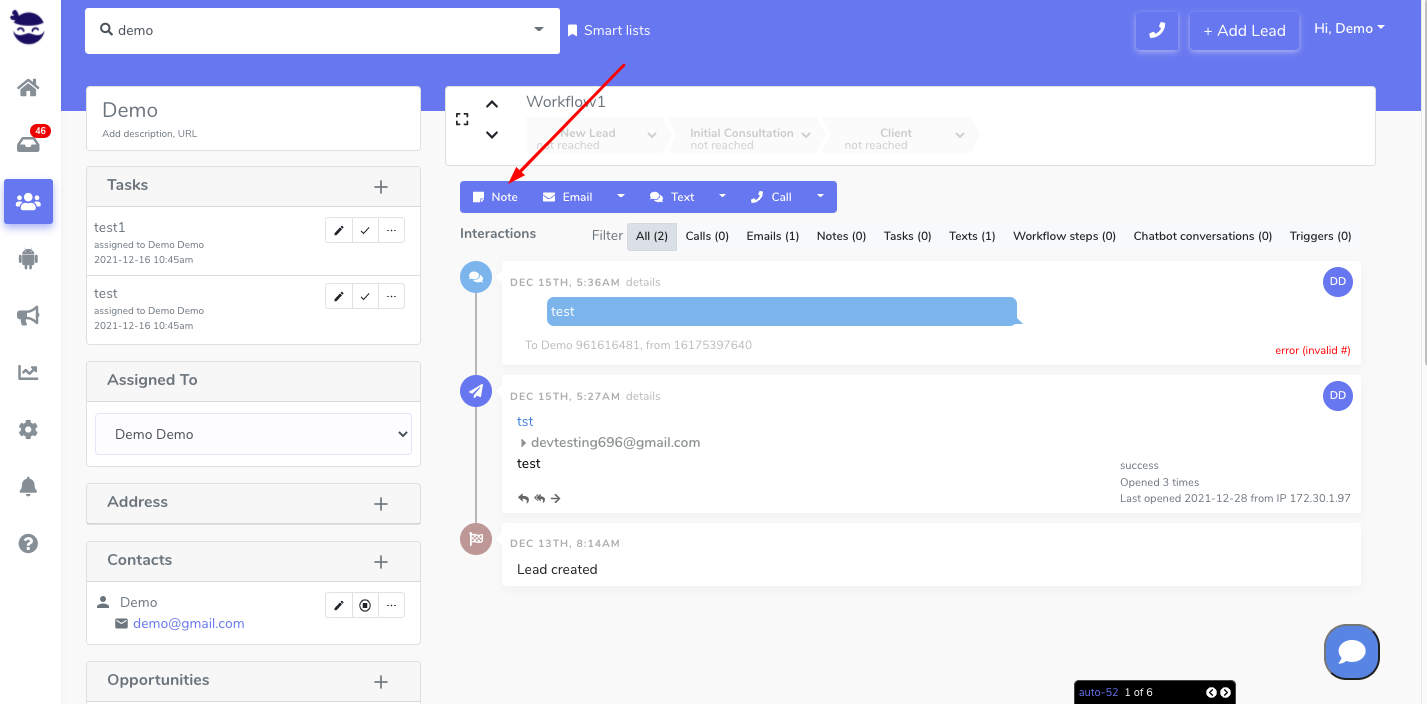
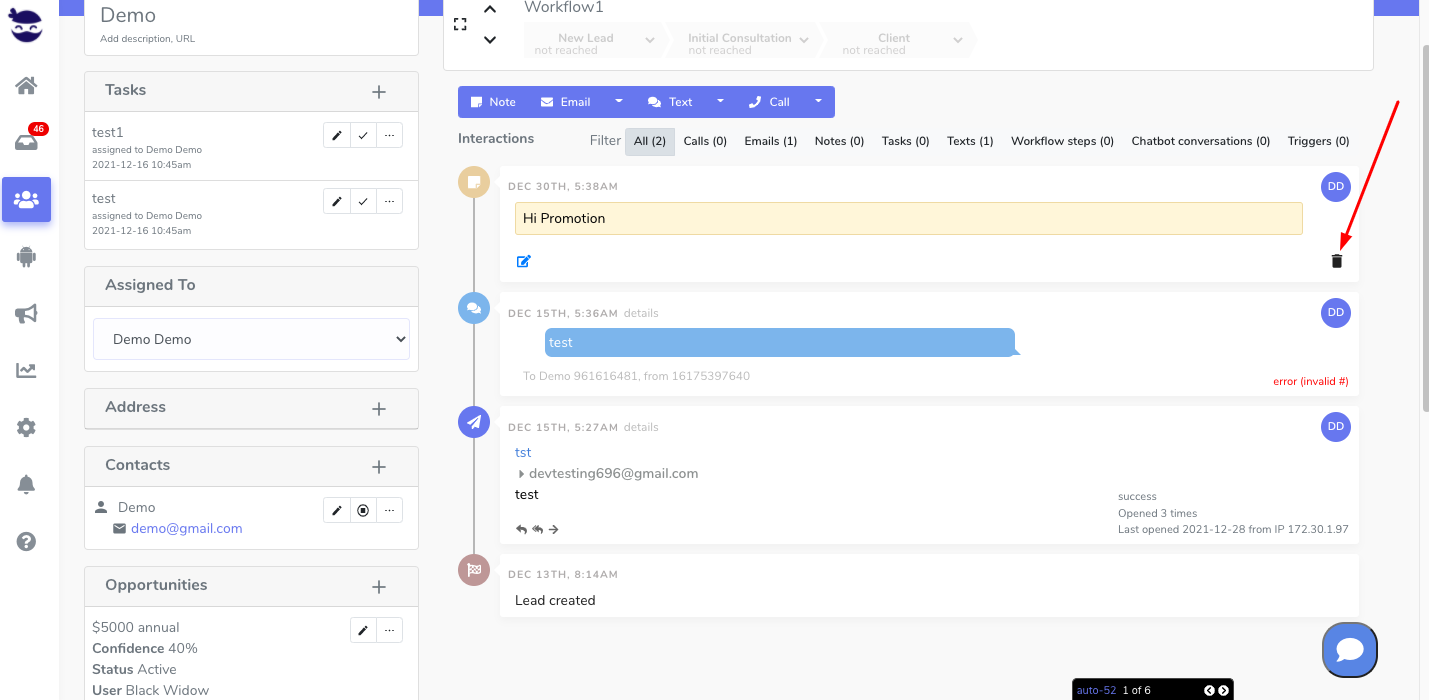
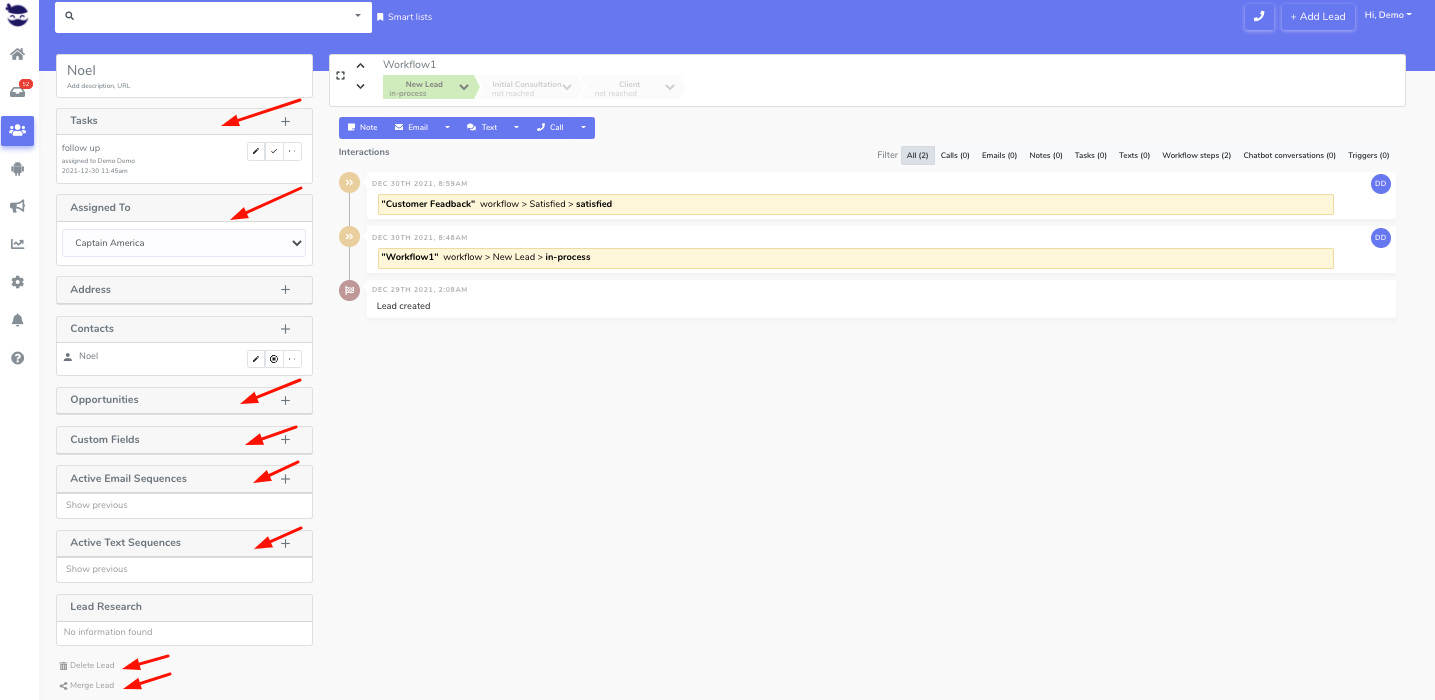
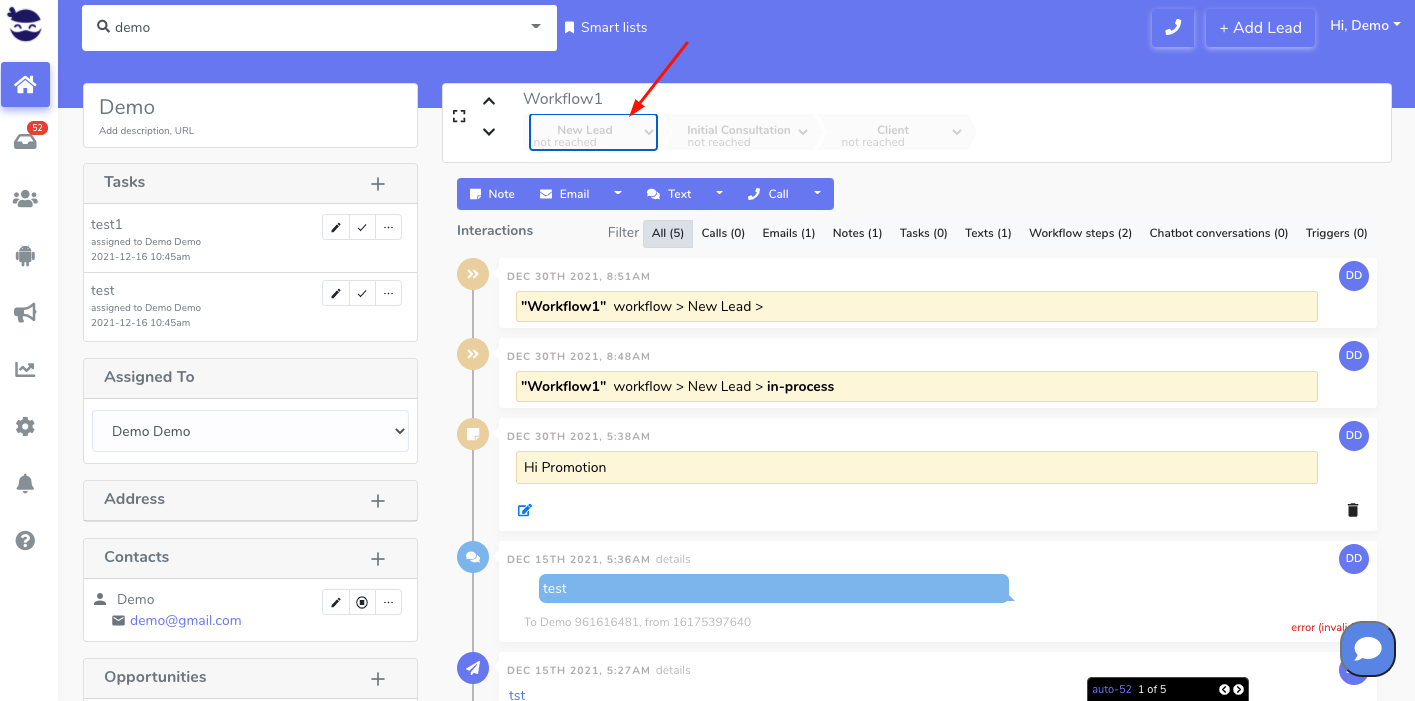
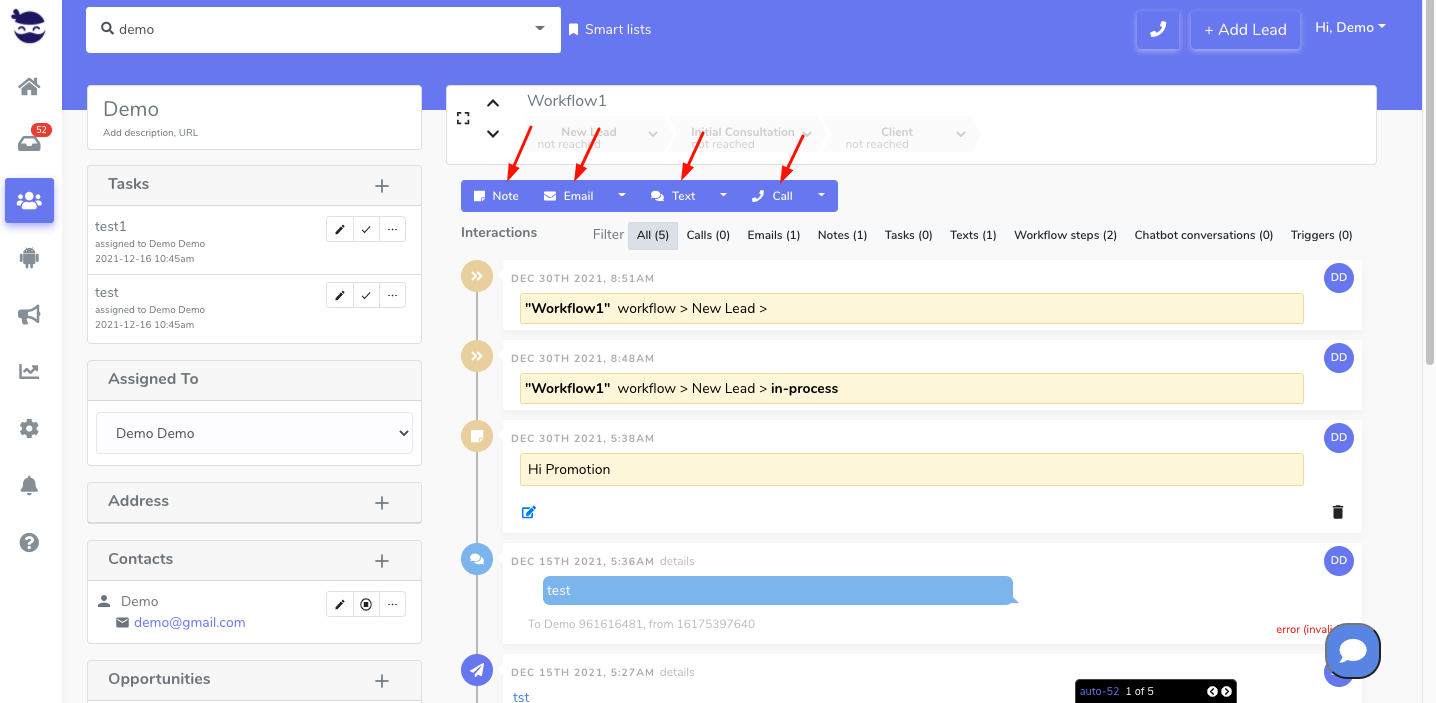
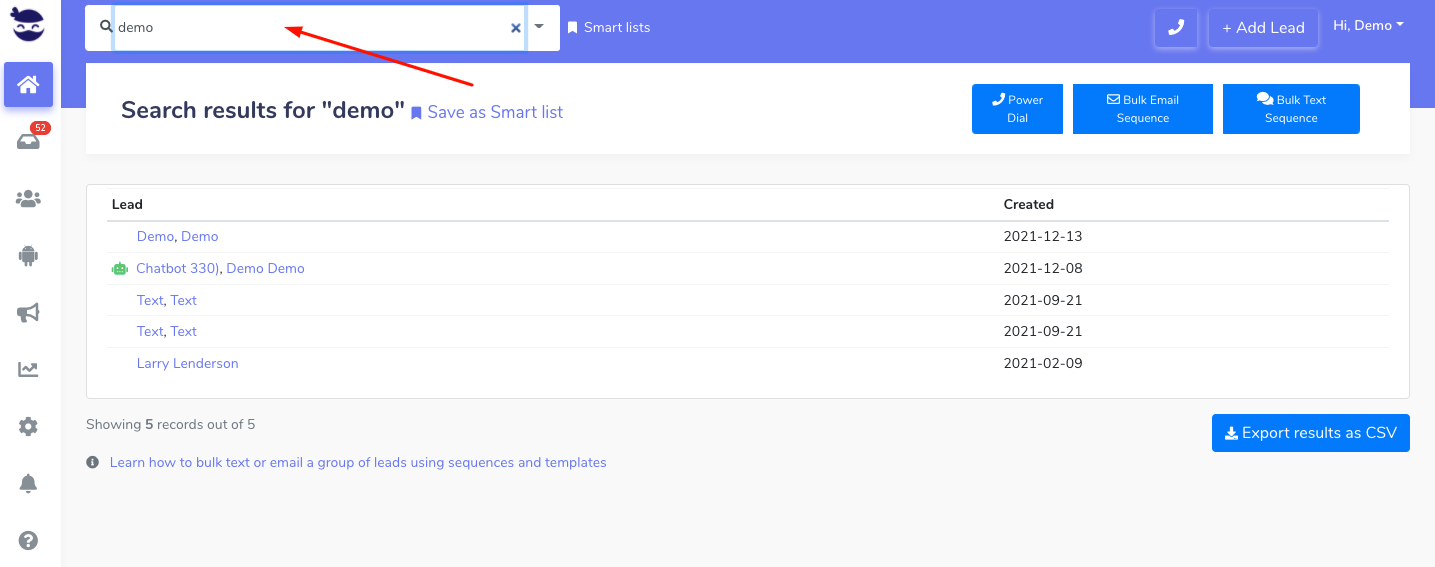
When you import your contacts from your email account, they are saved as leads. And relatively the imported sent & received emails are automatically attached to the matching email addresses in the contacts of those leads. Those emails appear in the history section of the lead in the lead view, listed in ascending order of the date.
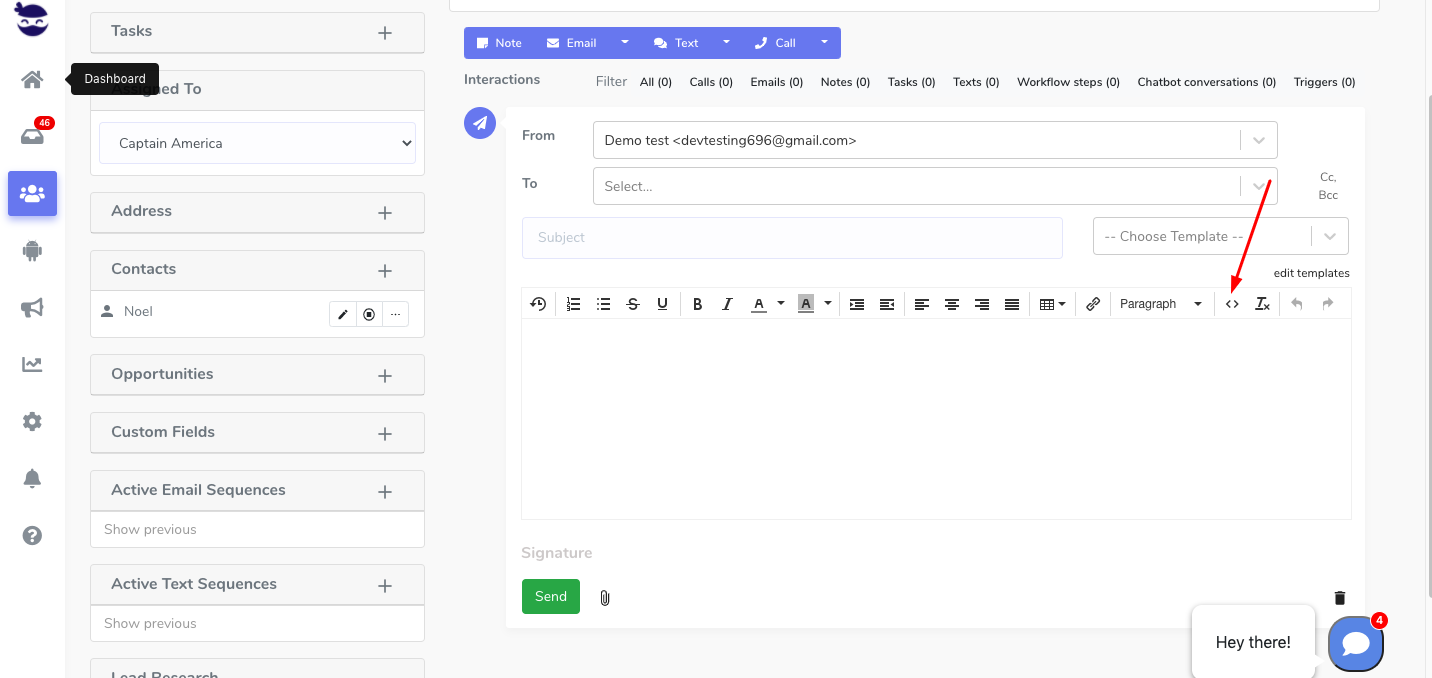
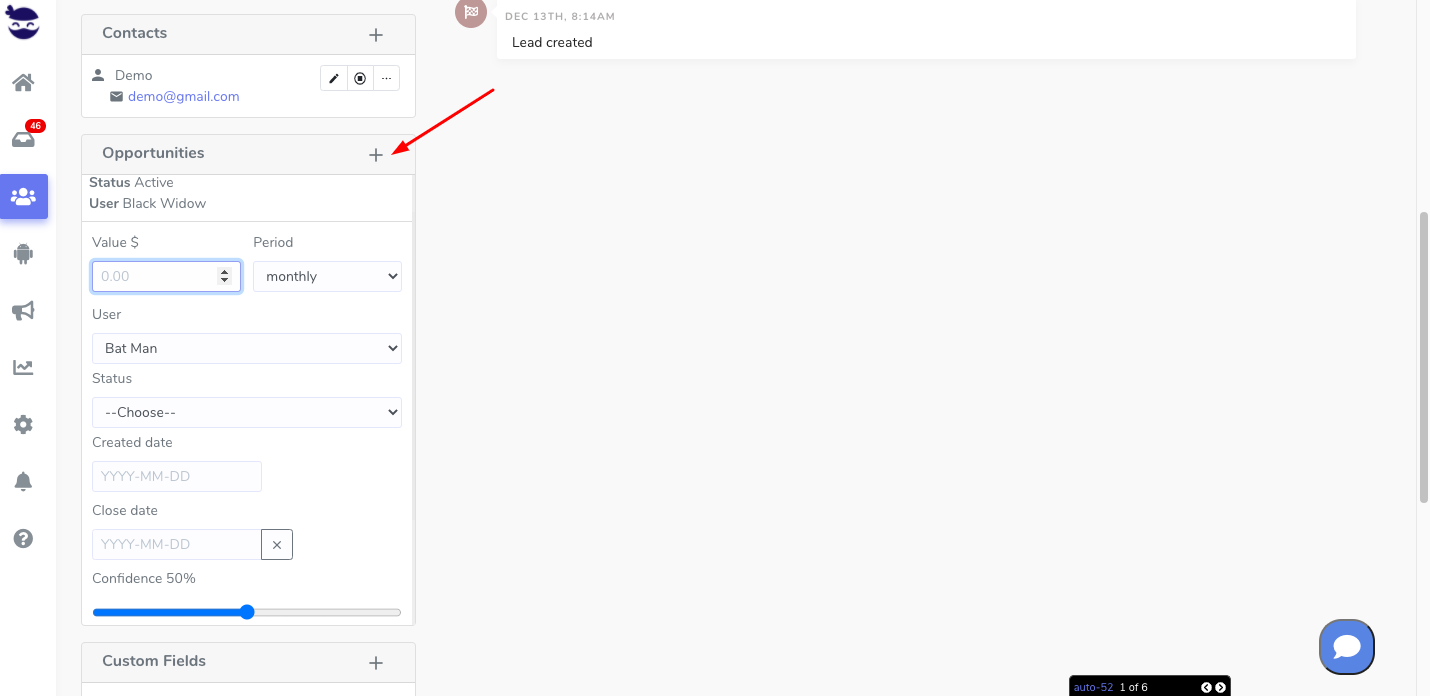
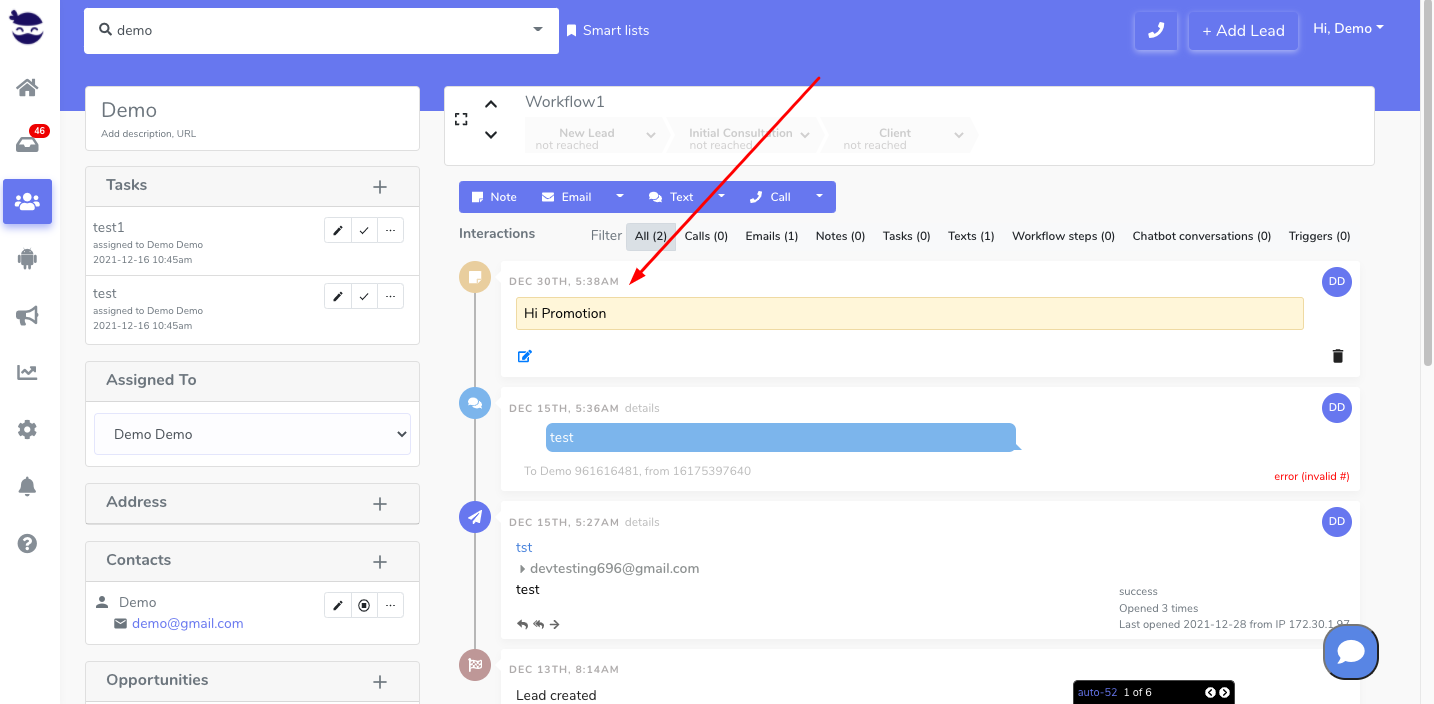
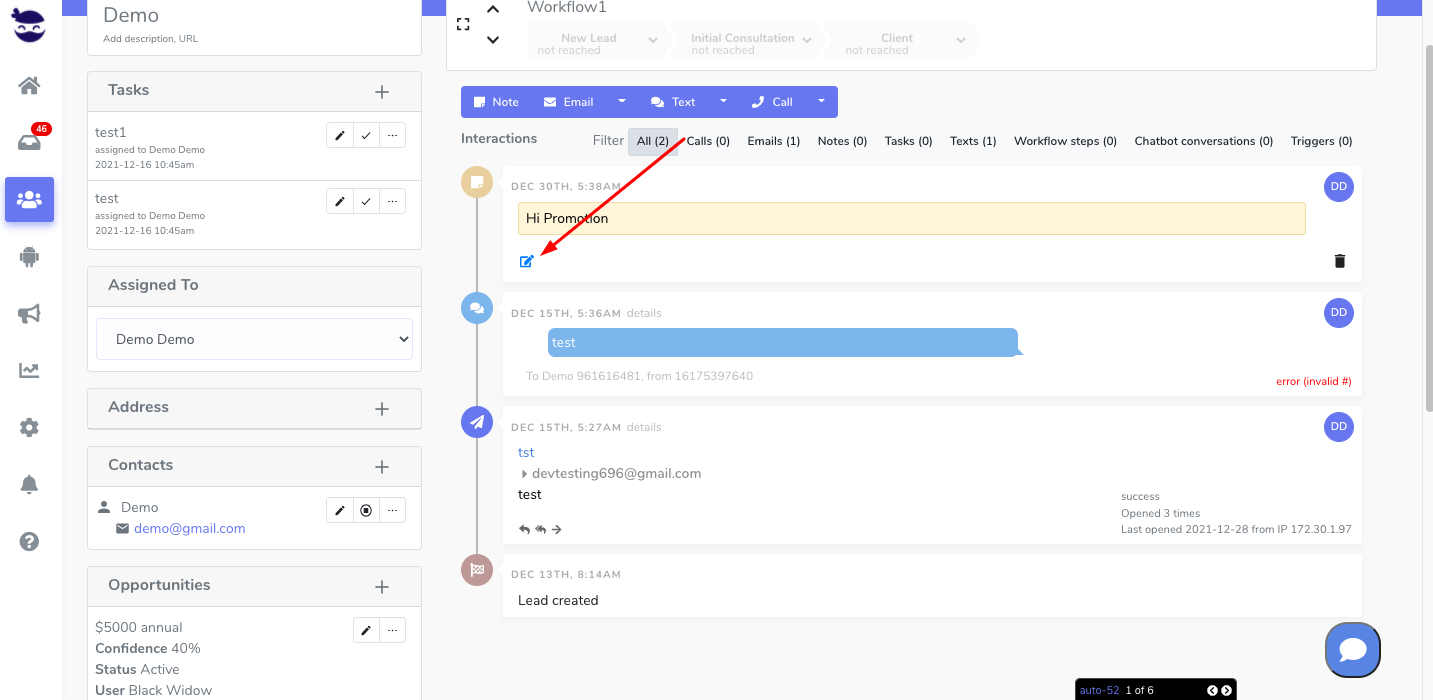
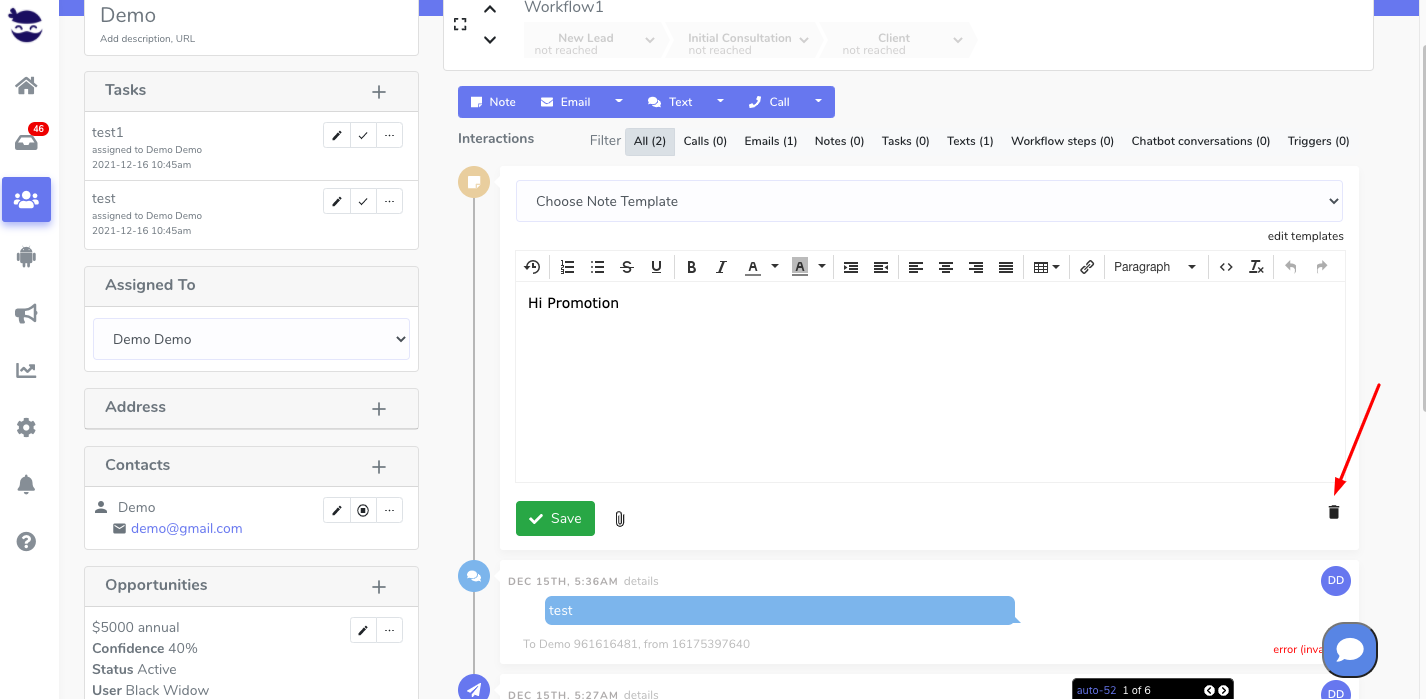
History of emails
When you create or import a lead, if his email address matches your contacts saved in aNinja, then the system automatically adds the emails in the history section of the lead in the lead view.